Thanksgiving is approaching far faster than I would like. Mostly this means that I am supposed to be finishing up those pesky applications for graduate school, however clearly I’m typing this post rather than working on my applications. I’m the worst!
But it’s FALL! I love this weather. I love being able to wear hoodies and scarves while not freezing my bum off as I walk to the subway stop. I also love the crunching of the leaves (and of course the pretty colors that the leaves turn). As I was walking to work today, I saw these roses and was a bit surprised by them being in full bloom in the middle of November, but then again, I know nothing about plants, so maybe this is totally normal?


But back to Thanksgiving. I was musing over possible dessert recipes for this years festivities. Lots of thoughts of caramel, apples, cheese and pumpkin have been floating around my somewhat crowded head. Nothing has been set in stone yet, and probably wont be until I am in the kitchen in central NY. 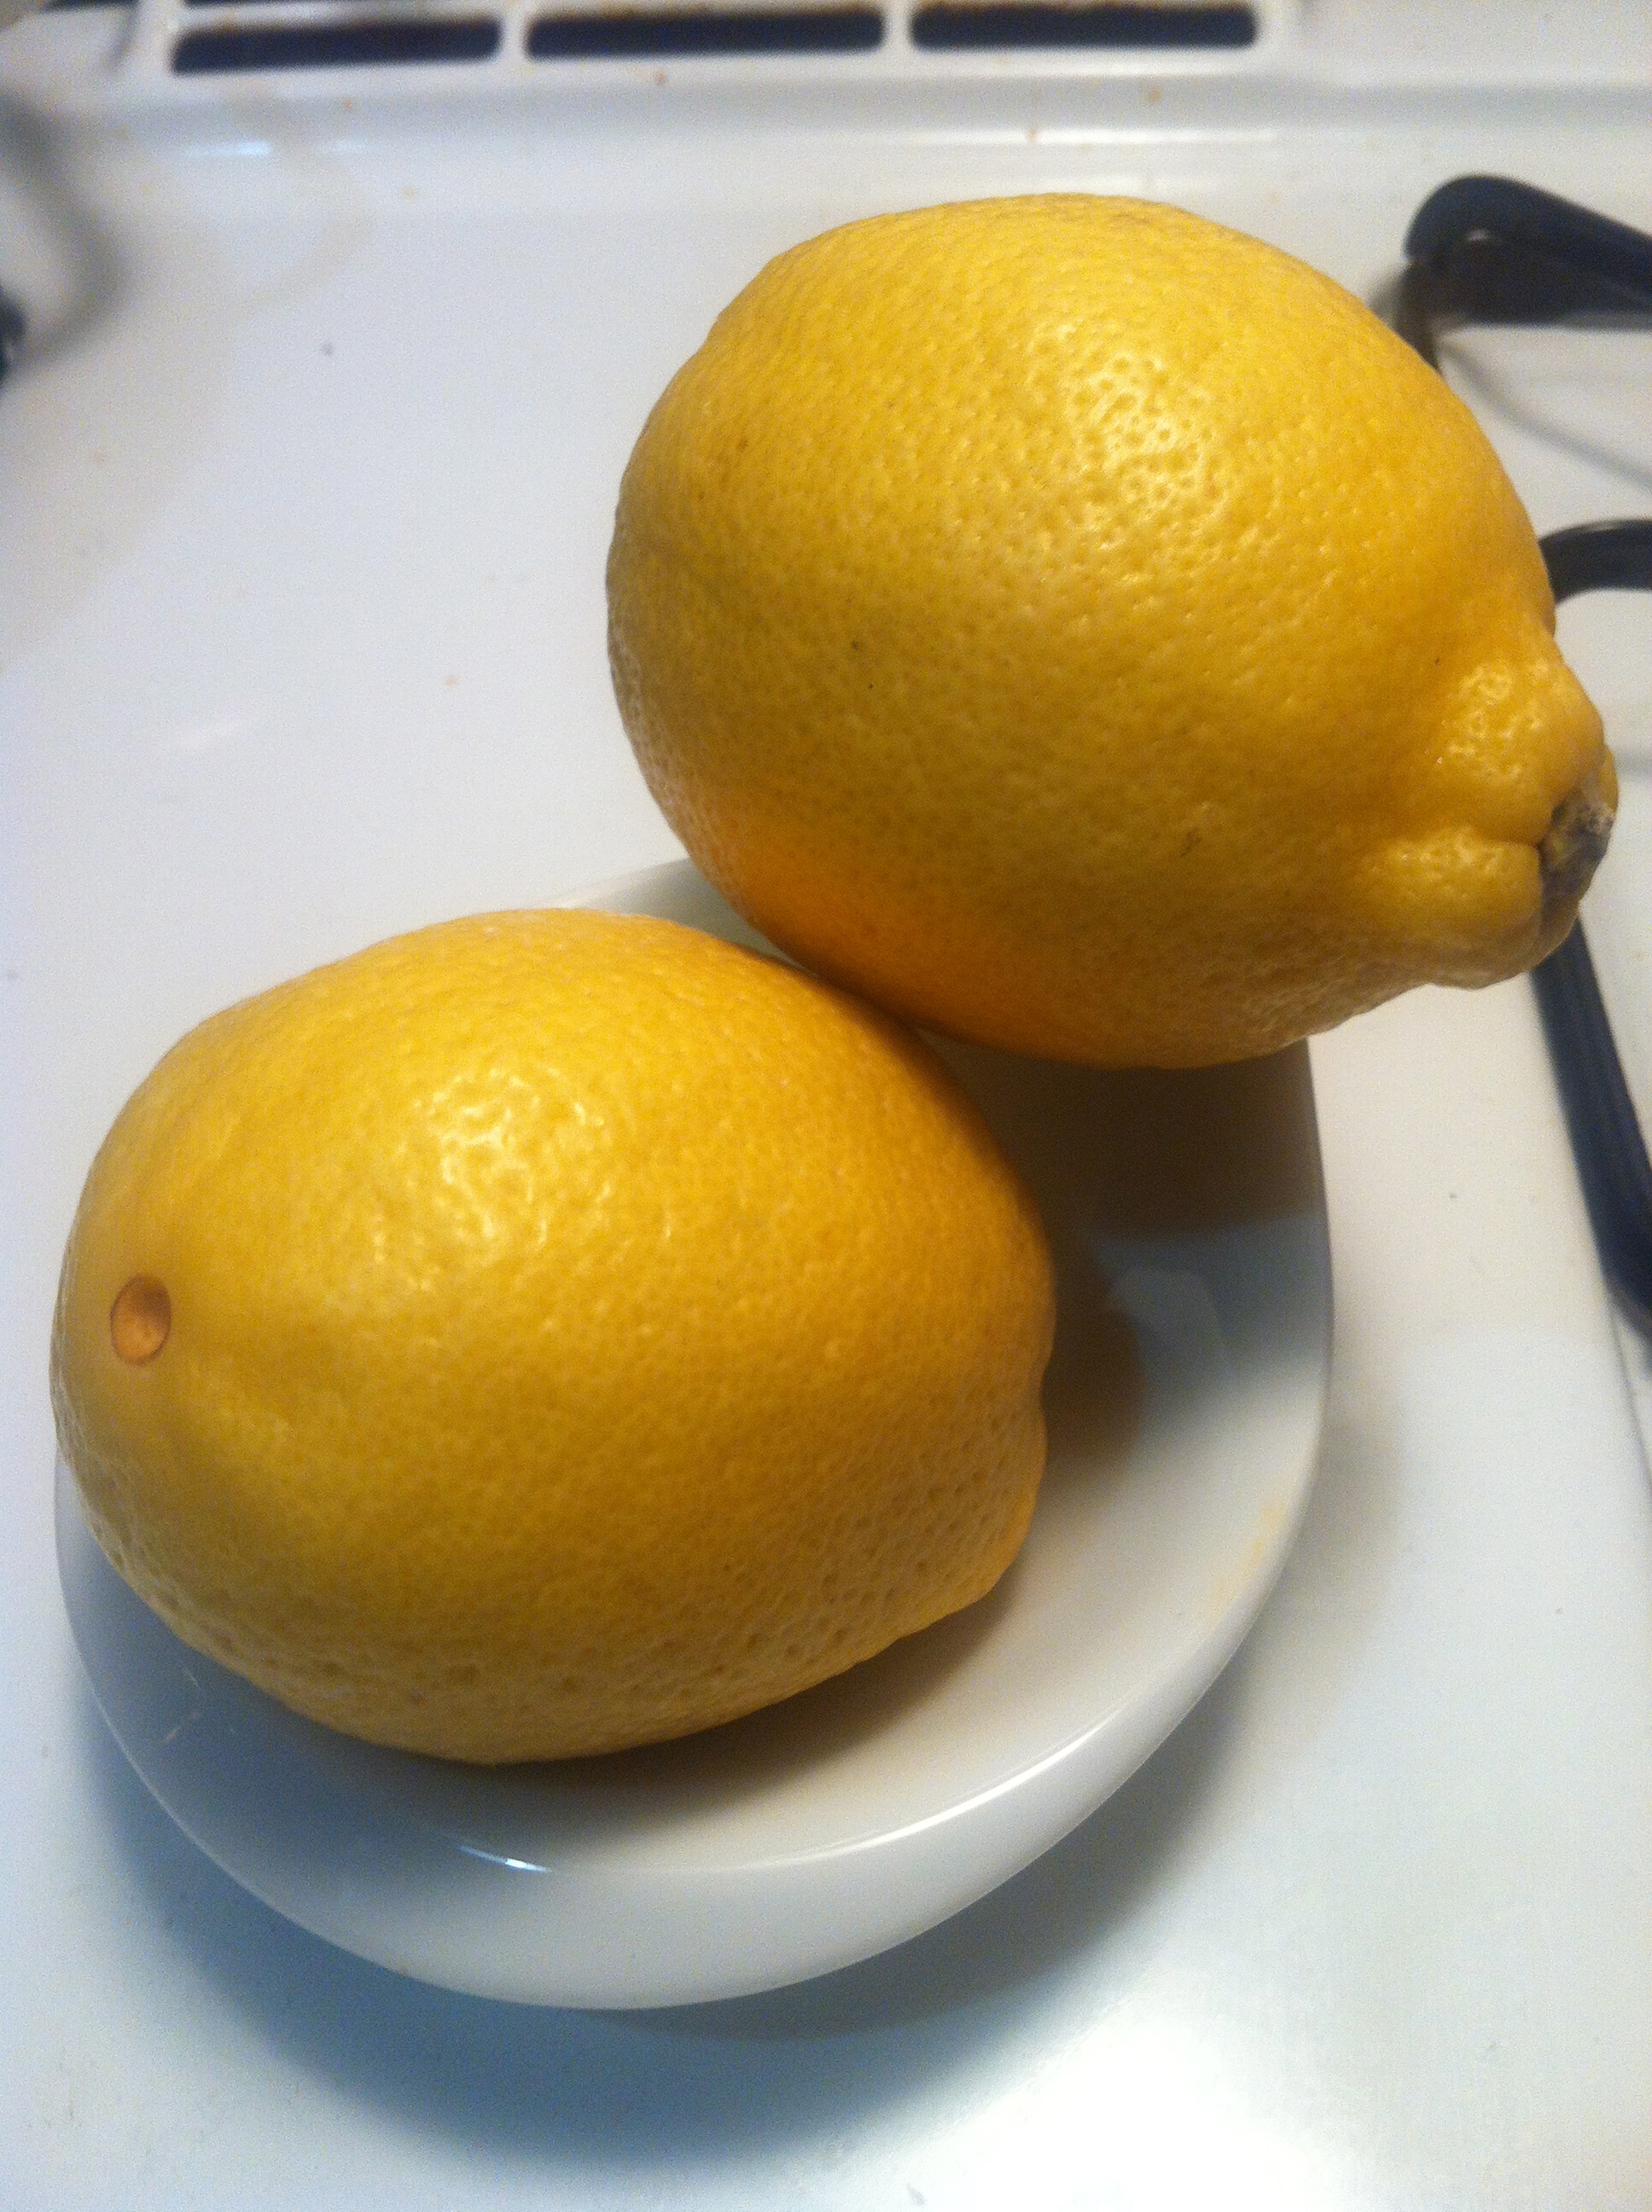 This particular recipe popped into my head because corn is a “festive” ingredient, right? And I love lemon. So why not throw them together into a delicious cake? I’ve made this recipe before, perhaps a year or so ago, and wanted to revisit it. I changed a couple things from how I made it last time, and I think there’s a minor but noticeable improvement.
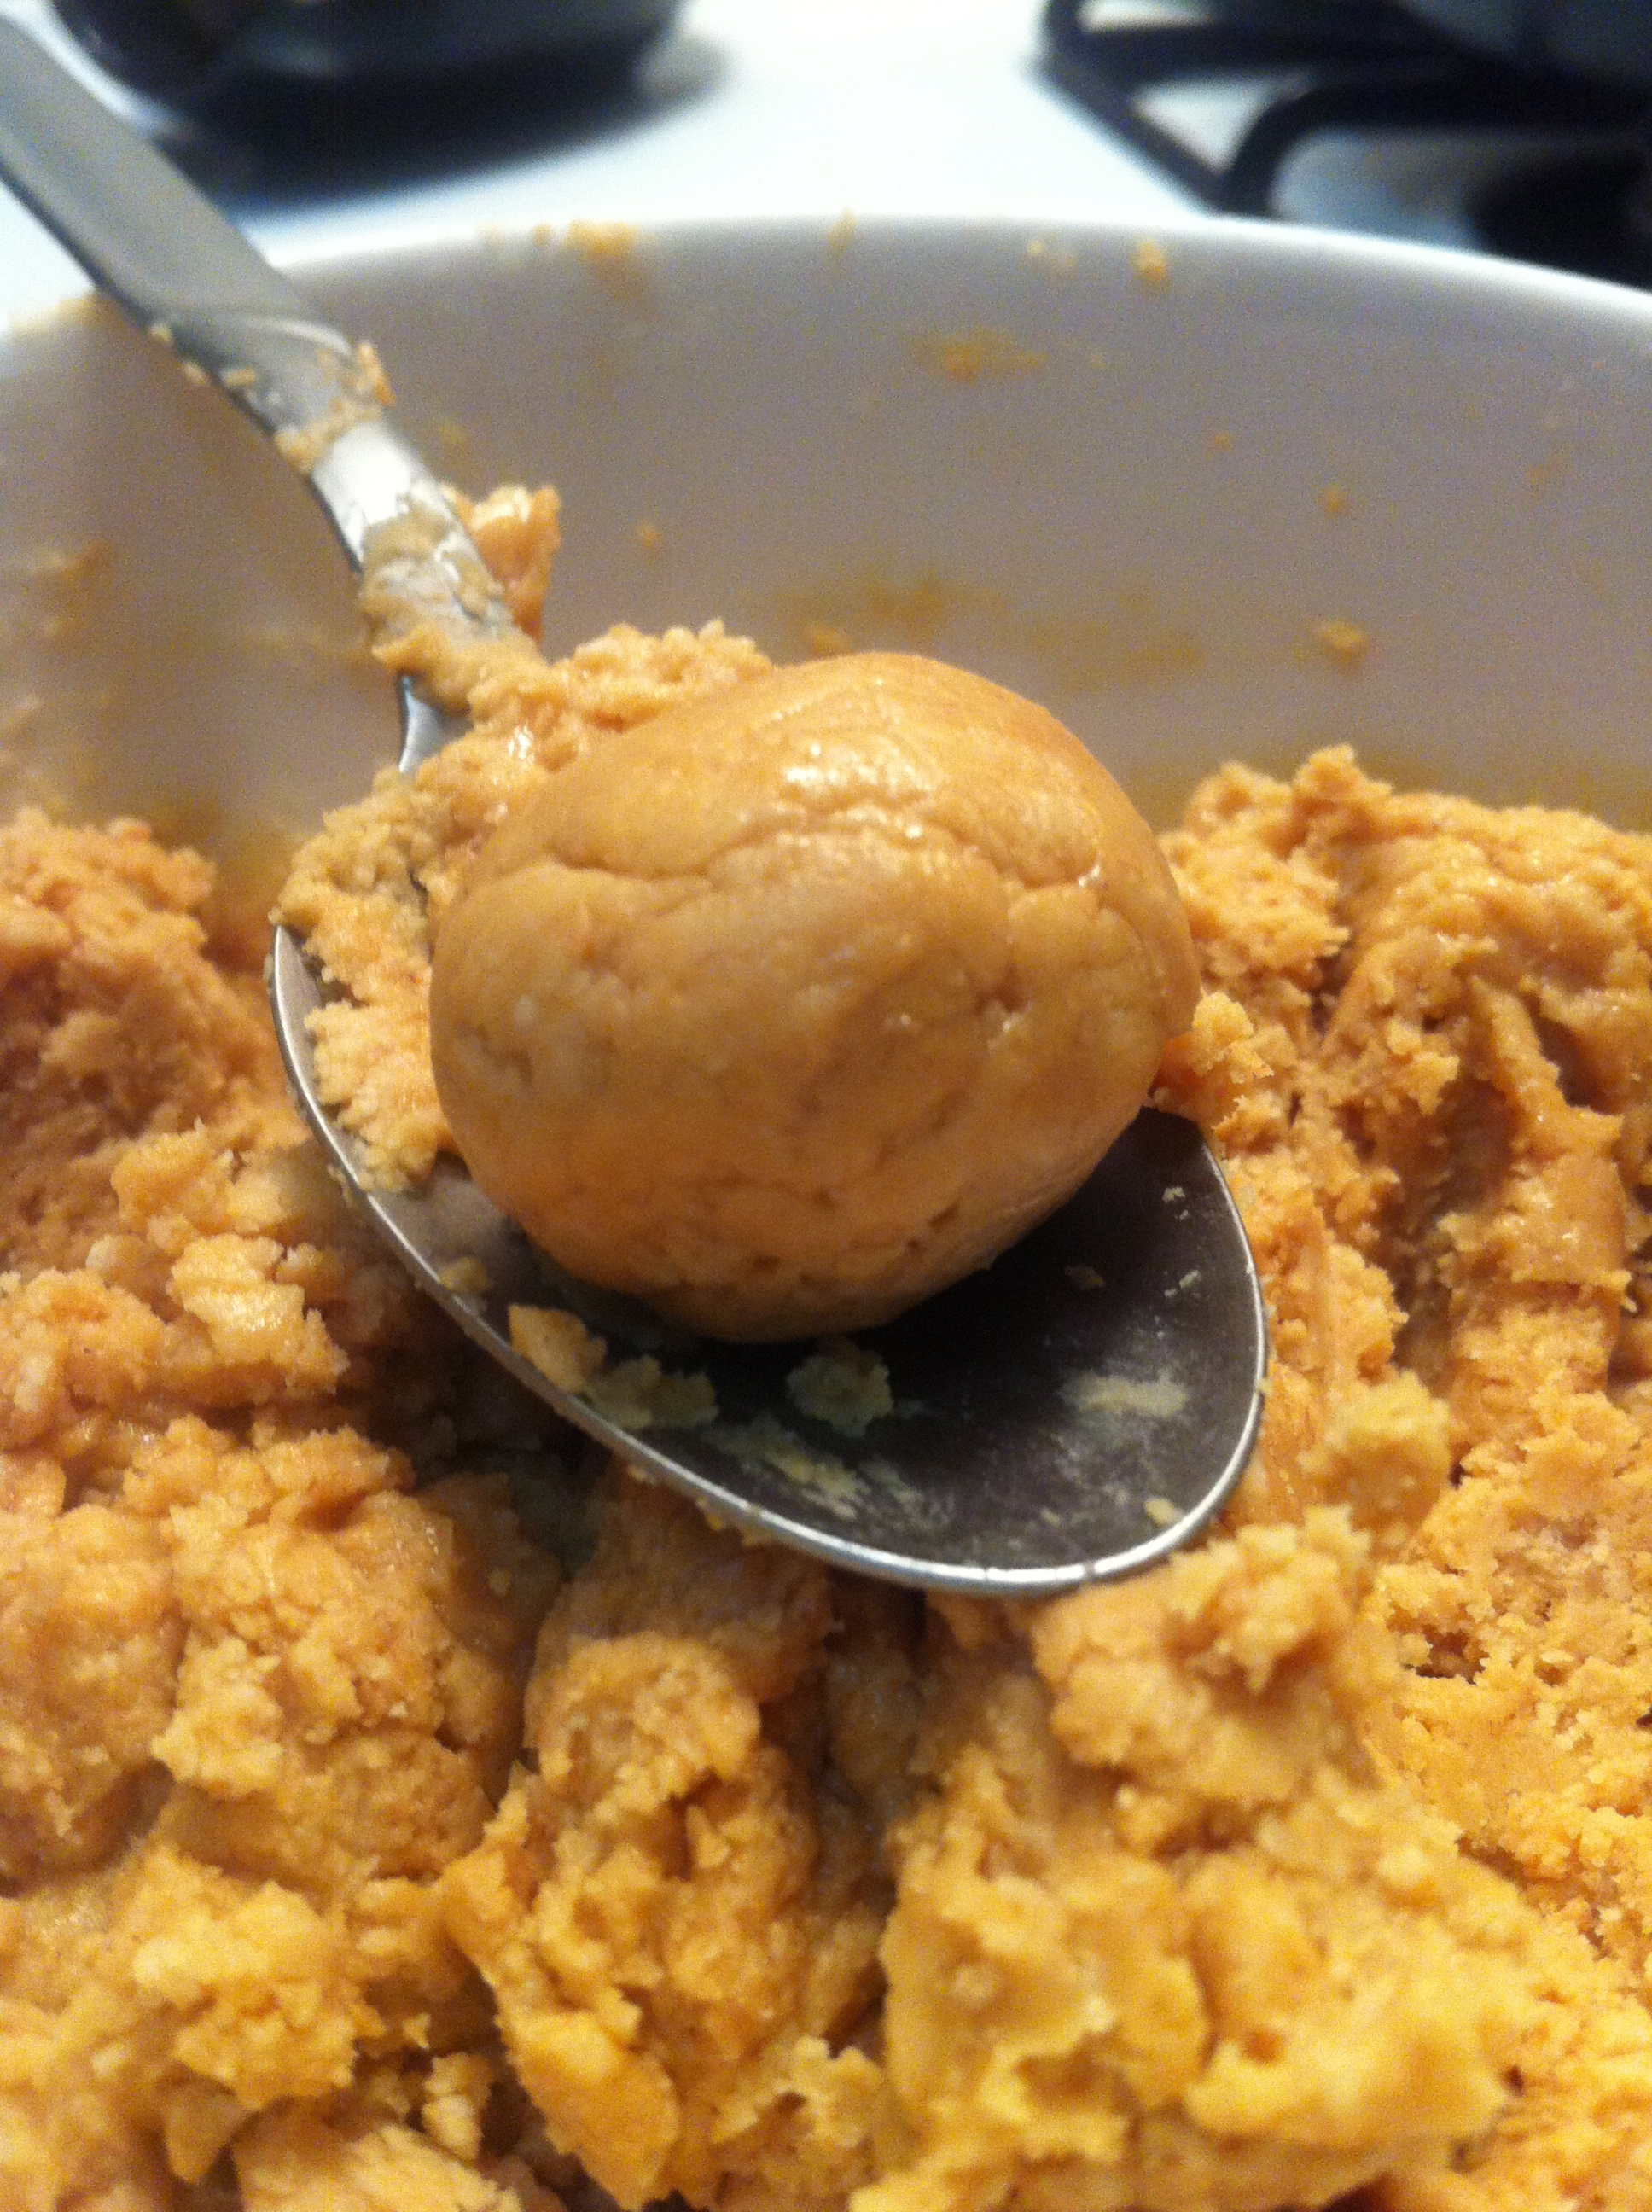
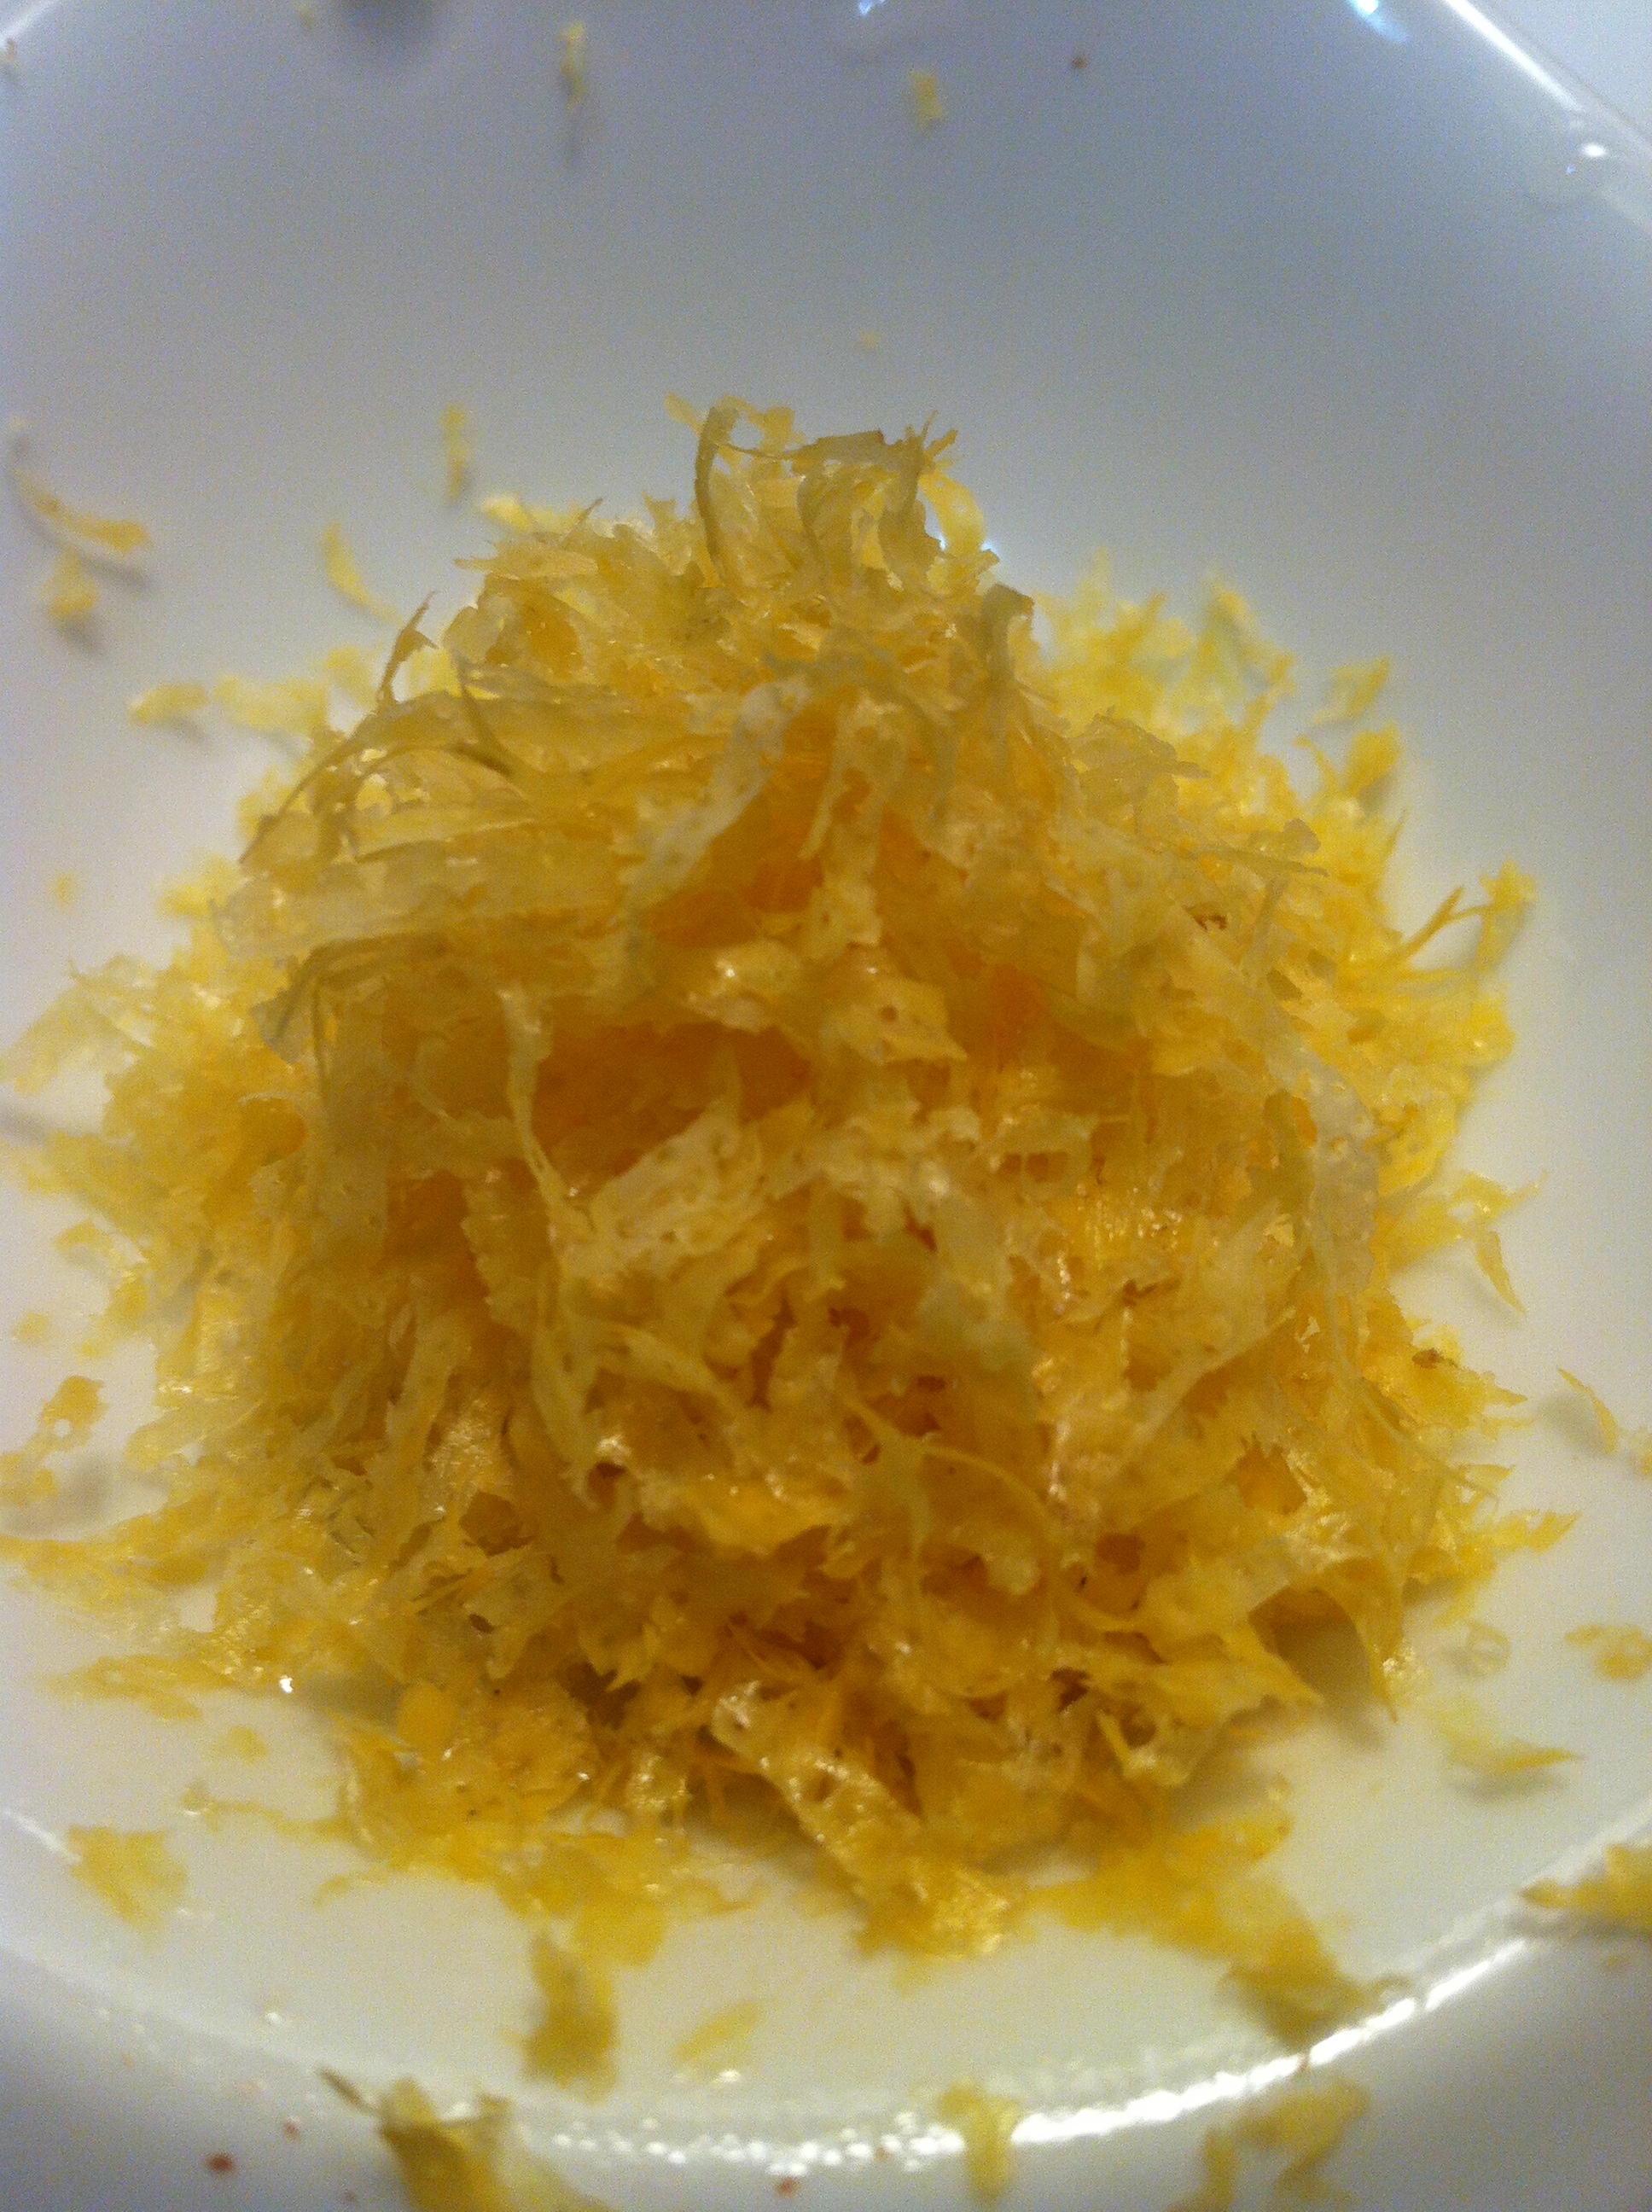
 First, I changed how I made my almond flour. Last time I used my food processor to chop up the almonds into small enough bits to be an acceptable “flour” however I was scared I would turn the almonds into almond butter if I blended too long, so the “flour” was rather coarse. This time, I blended the almonds with the sugar, hoping that the sugar would help keep the almond bits separated and less prone to becoming butter. The result was finer almond bits and no butter! Second, I added more lemon zest, both to the cake and to the syrup. Each part received zest from 1 1/2 lemons, making the whole cake super lemony, but not tart!
If I make this again and have the patience to do so, I think I’ll use a coffee mill to make the almonds, sugar and cornmeal all SUPER fine. I like the somewhat grainy texture of the cake as it turned out this time, but I’m curious to see if making the dry ingredients super fine will make a smoother cake. Also, note that this recipe is GLUTEN FREE!!!!!
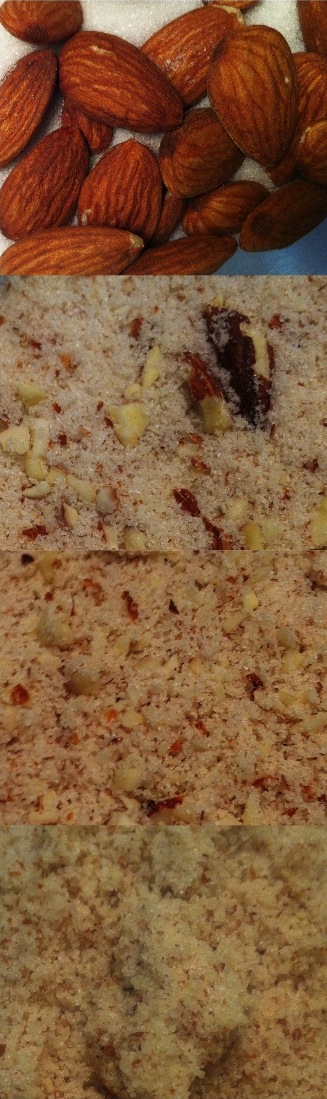
Almond Flour Progression
Cornmeal Lemon Cake
modified from a recipe I took a picture of at Equinox… no clue what the book is. SORRY!
Ingredients
Cake:
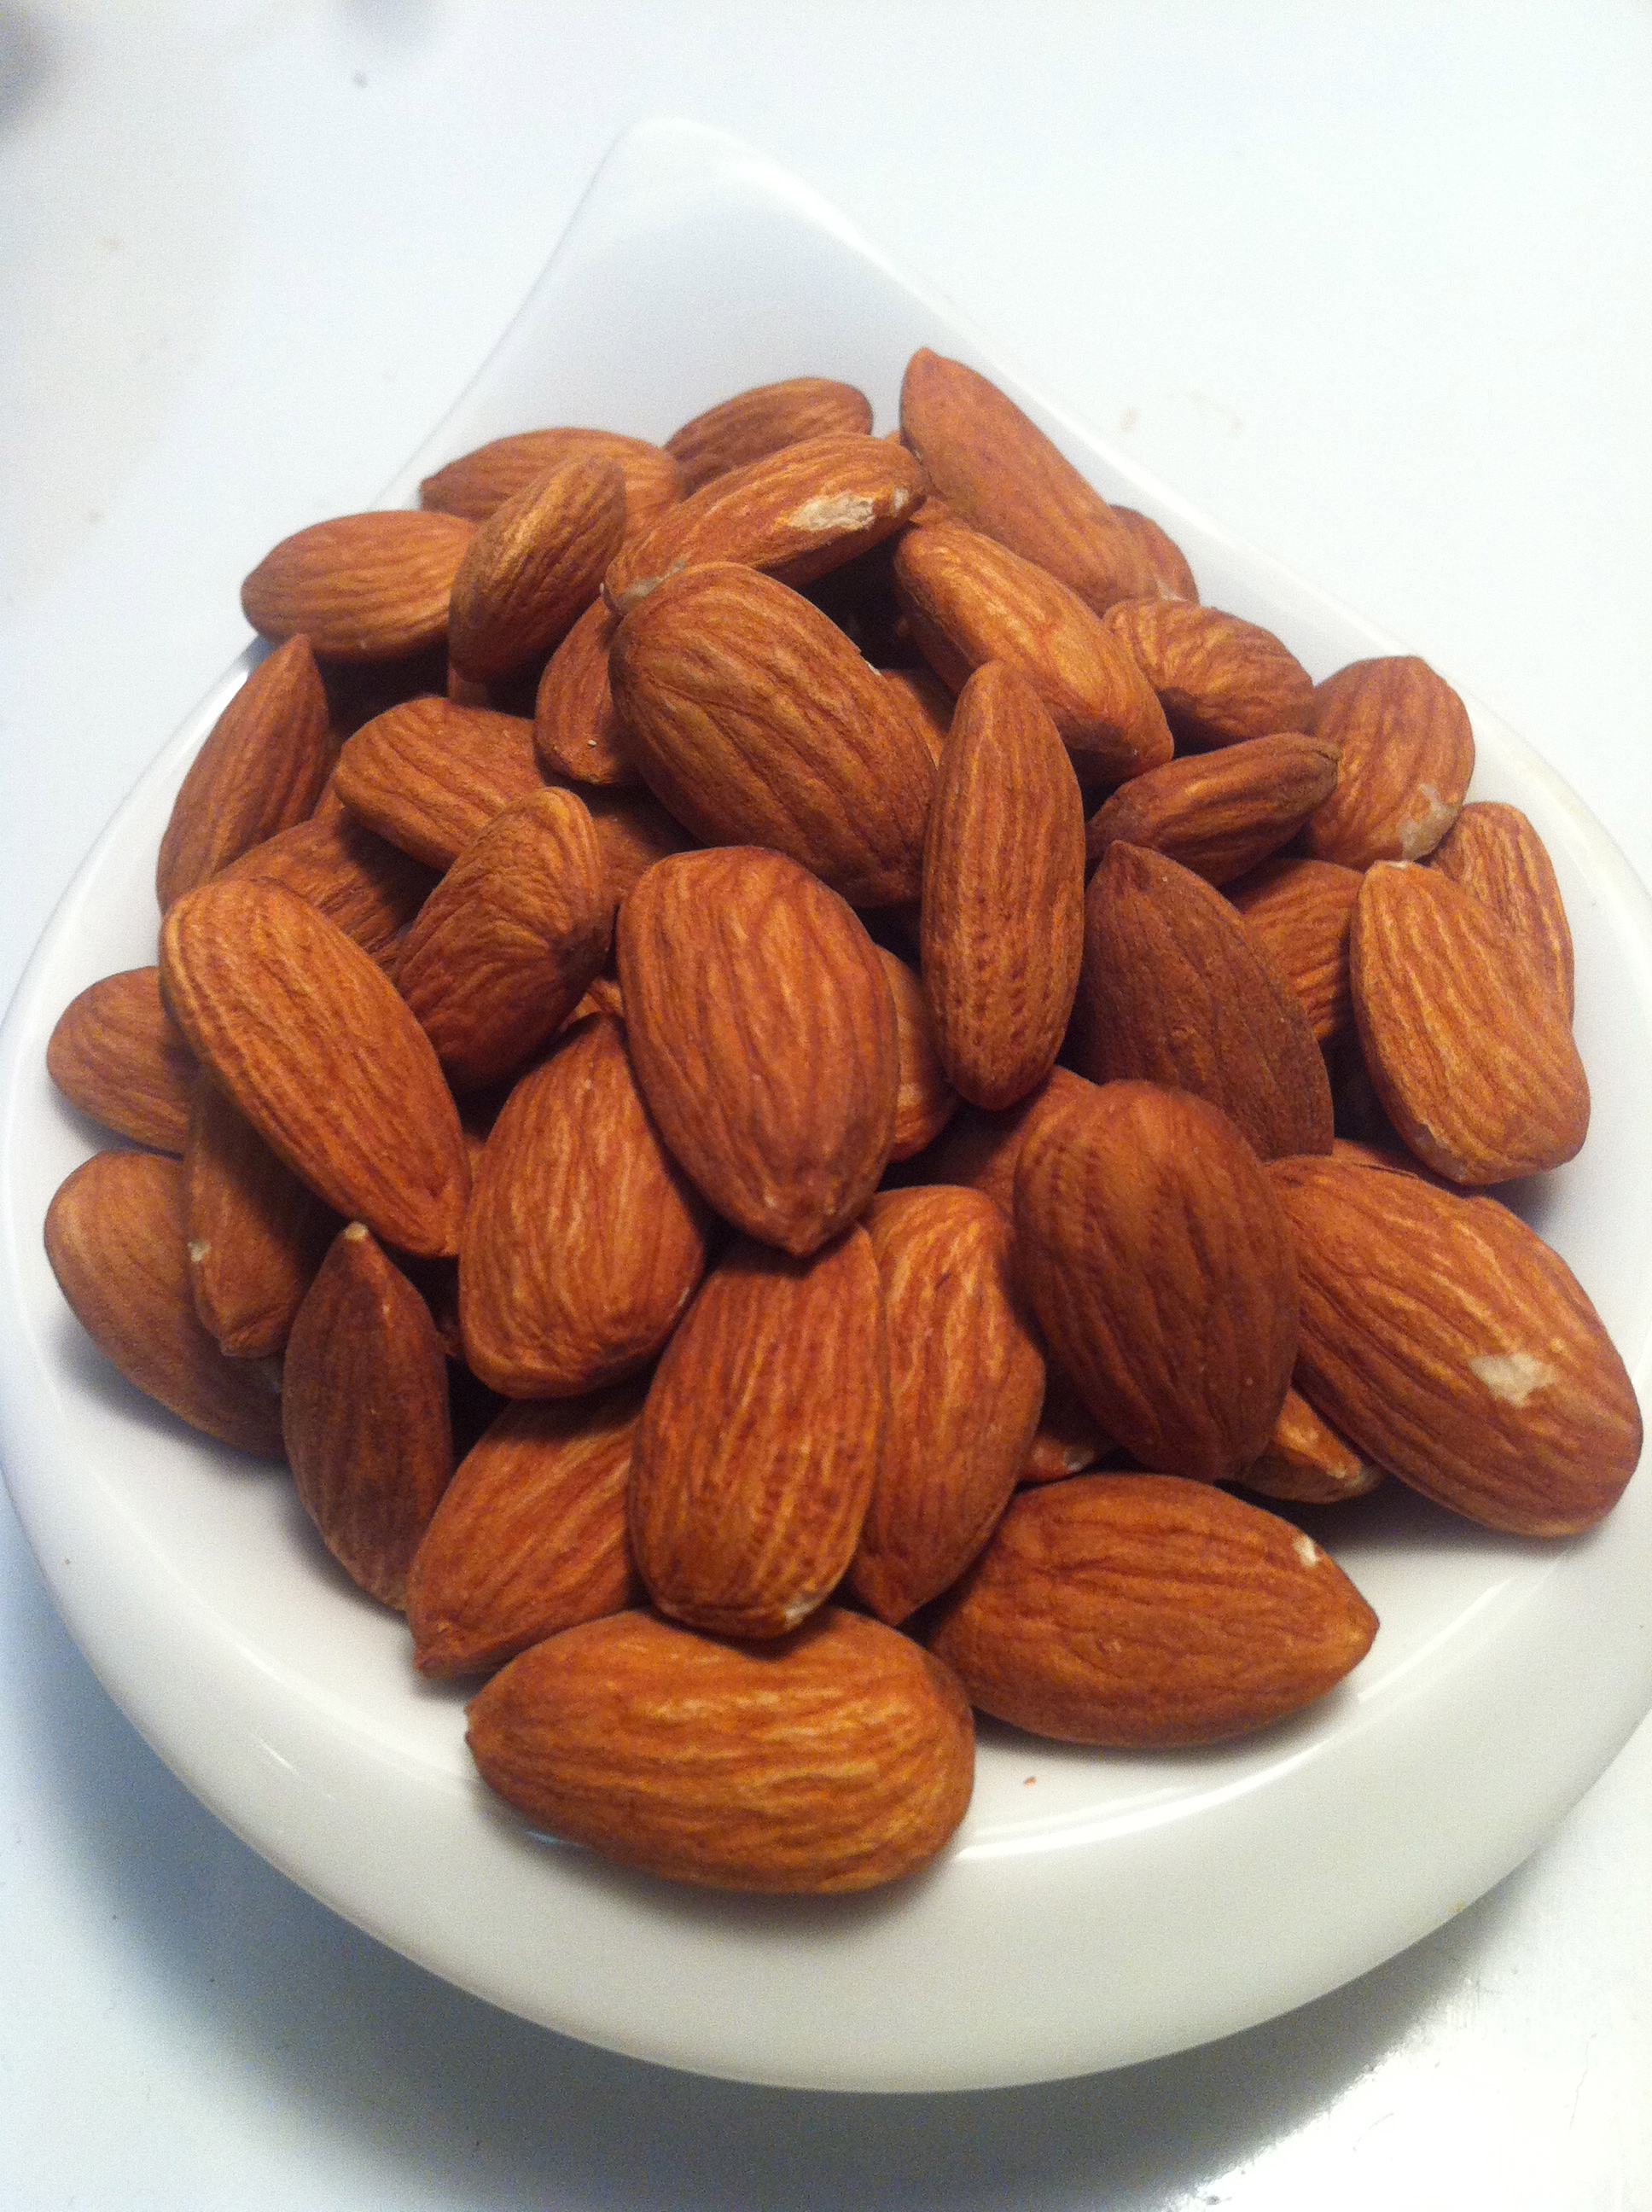
10 oz raw almonds
8 oz white sugar
6 oz cornmeal
1 cup (2 sticks) butter
3 eggs
zest of 1 1/2 lemons
Juice of 1 lemon
1 teaspoon baking powder
Syrup:
zest of 1 1/2 lemons
juice of 2 lemons
1/2 cup sugar
1. Preheat oven to 350 degrees. Line an 8″ round pan with parchment. Set aside.
 2. Place almonds and sugar into a food processor. Pulse for ~40 seconds. Take a look and see if more pulsing is needed. Again, the sugar should help prevent the almonds from becoming butter, so don’t worry about that too much. If you want to try to get the almonds to be finer, go ahead and pulse longer. When satisfied, sift the mixture. undoubtedly, some almond bits will not fit through. Put cornmeal and the almond bits that are too large into food processor and blend some more. Sift again. If some almond bits are still too large and you have the patience to do this again, return some of the cornmeal/almond/sugar mix that did sift through to the food processor with the too-large almond bits. Pulse and re-sift.
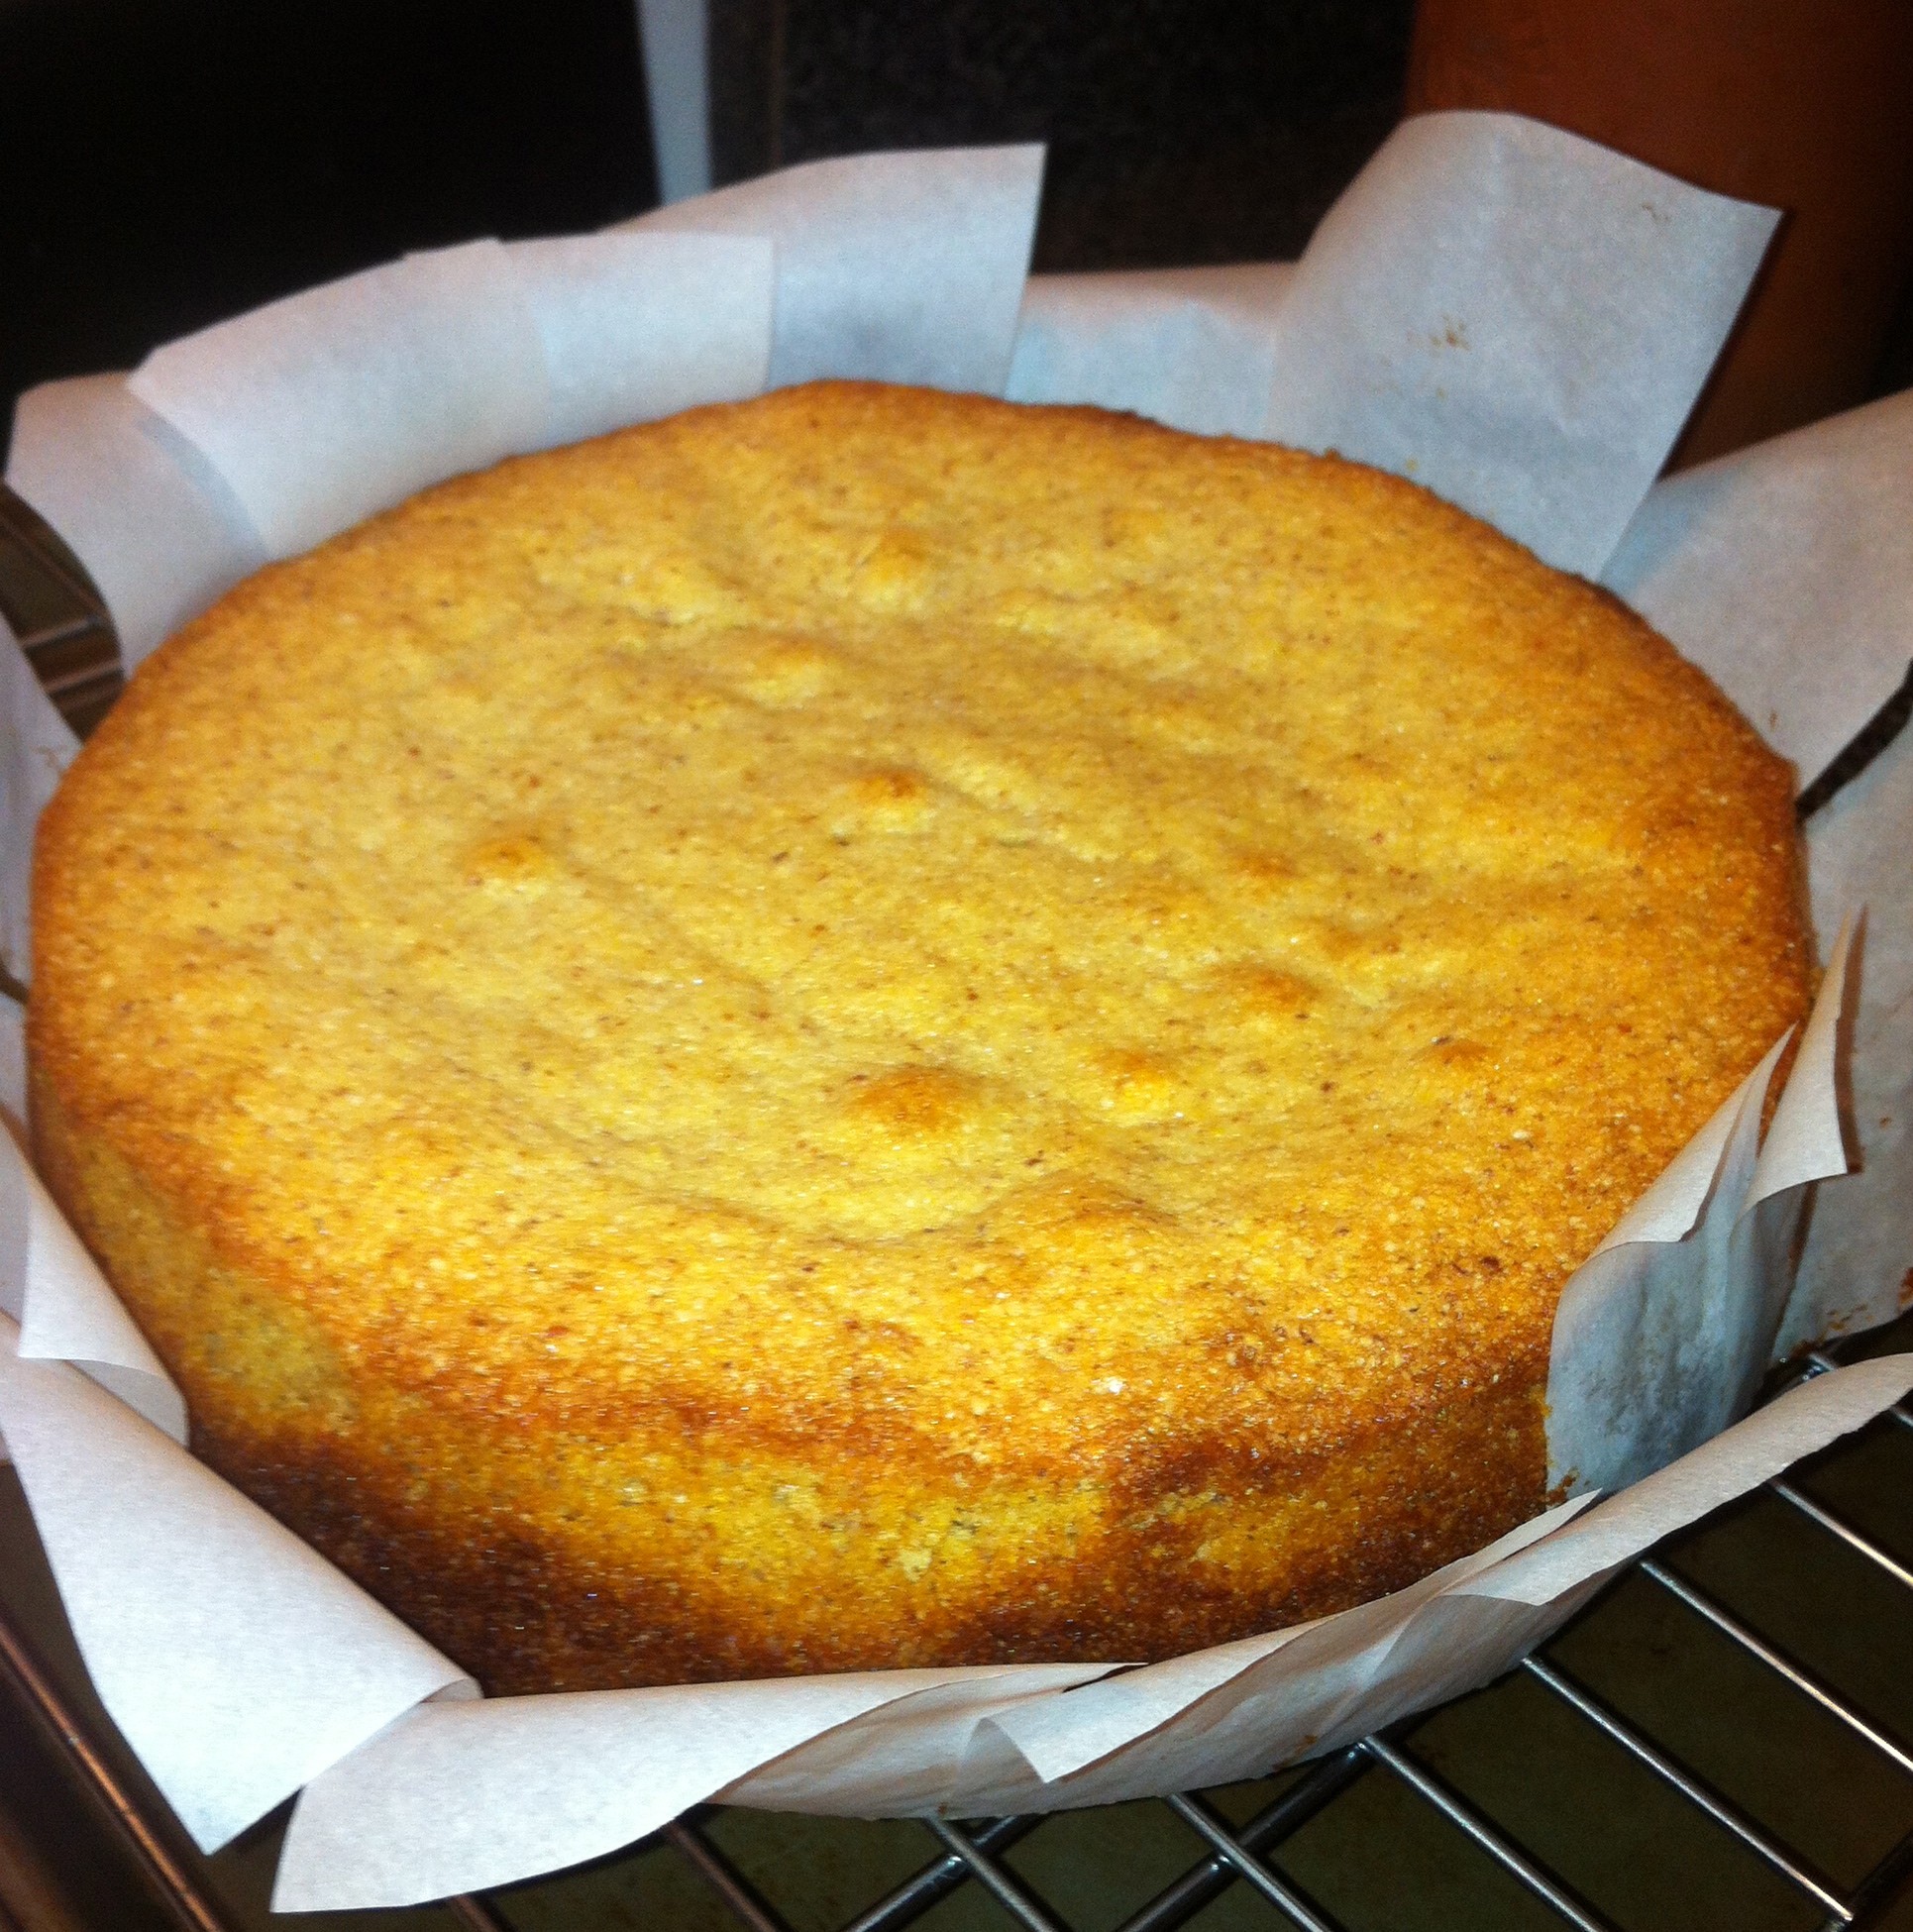
3. Cream butter and ~1 cup of the cornmeal/almond/sugar mixture together in a large bowl. Add the eggs and beat together. Add the rest of the almond mixture, lemon juice, lemon zest, and baking powder. Combine until completely incorporated. Transfer better to prepared pan and bake for 35-40 minutes (or until toothpick comes out clean).
4. Allow cake to cool in pan for at least 30 minutes then transfer to a wire rack. While cooling on the rack, prepare the syrup. Combine all ingredients in a small saucepan and bring to a light boil over a low heat. Stir constantly with wire whisk for ~7 minutes or until mixture has thickened to a runny syrup consistency. Remove from heat and set aside.
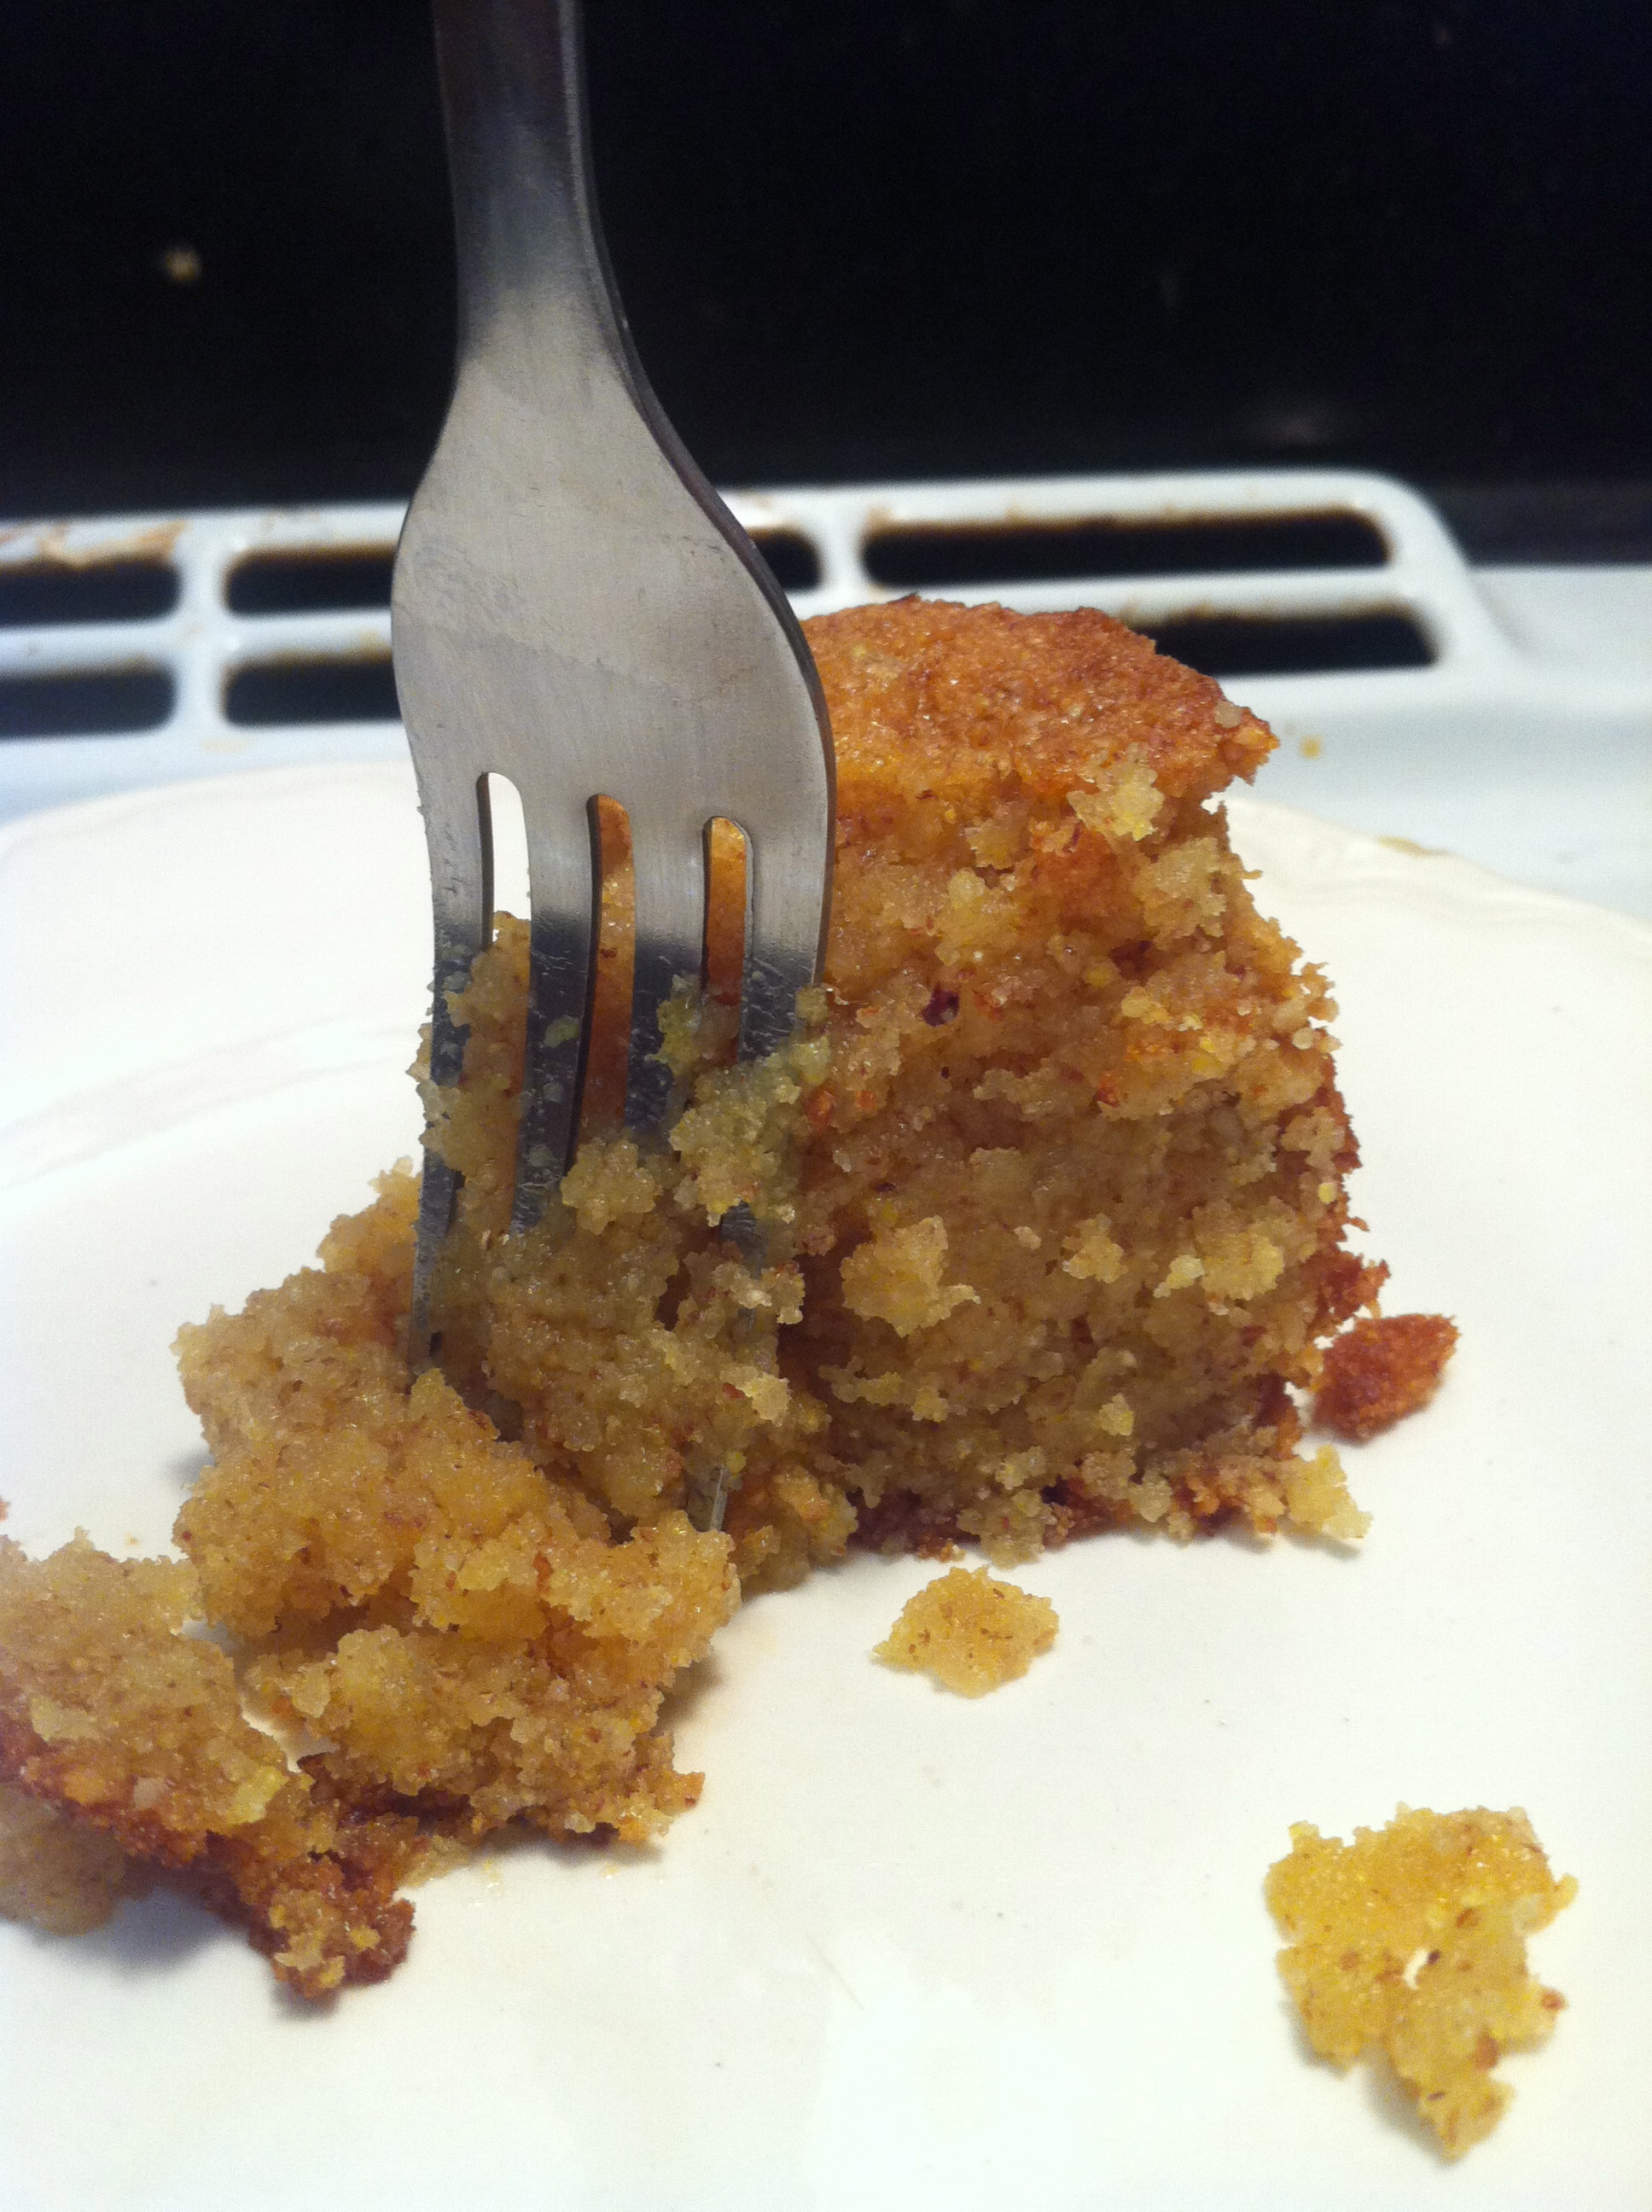 5. Poke holes in the top of the cake! I used a toothpick cuz it was handy, but a fork would work and probably would have been faster than a toothpick. Pour syrup over cake, allowing it to soak into the holes you just poked. I used almost all the syrup, but probably had a couple tablespoons left in the pan. Make sure you get around the edge of the cake as this is the most well done area and soaking it in syrup will soften it up a bit.
6. Serve either immediately or allow to cool completely. Either way, it tastes pretty damn good!!