• Home
  • About the Baker

Baking With Unicorns

a baking adventure

It’s Been Too Long!!!

May 26, 2015 by Baking Unicorn Leave a Comment

Hello! Hello!
I am ashamed that it has been so long since my last post. WORST! SORRY!!
I have been crazy busy with school and stuffs and haven’t had time to bake, much less post about baking.
What could I possibly be doing that would take time away from baking? A valid question.

IMG_1296

Color Run!

As my last post mentioned, I was taking another yoga training. That is all done now, but certainly took more time from life than I originally anticipated. OOPS! But in the end, it was worth it as I’m now teaching yogas again! YAY! Once the training ended, it was right into midterms! And then apparently, after midterms, the semester gets even harder, and it’s all a lil Unicorn can do to keep his head above the sea of papers and projects that need to be completed by the end of the semester. Additionally, I decided to partake in 2 races, one at the end of April and one at the beginning of May, so training took up a fair bit of time as well (But was worth it as the races went quite well!)

IMG_1377

Spartan Unicorns!

But that’s all over now and I’m finally able to take some time to bake and blog about it. There is just one small complication… I currently don’t have a kitchen to bake in. Renovations started the week of finals and continue on. There was once talk of having things done the first week of June…. Something tells me we’re nowhere near that point, but hey! What do I know? So needless to say, the below recipe required very little baking and is actually not a baked good at all. But so it must go until an oven and stove top reappear in my life. Thank you to my mom for sending me a hot plate! This recipe wouldn’t have been possible without that as I need it to boil water on.

Before getting to the recipe, however, I would like to mention this video/song: Leona Lewis “Fire Under My Feet”

I discovered it this afternoon while reading some papers for work. LOVE IT!!!
I had been pondering what video I wanted to place in this post, but after hearing this song there was no question about it. I’m really hoping Leona makes a comeback with this one. Some other contenders for the video spot were:IMG_1452
RuPaul’s “Geronimo“- mostly I just wish I could move my ass like that.
Gin Wigmore’s “Black Sheep“- I heard this in NYC and loved it.
Miley and Ariana’s “Don’t Dream It’s Over“- I was surprised to learn it was the two of them singing. Quite lovely!IMG_1460

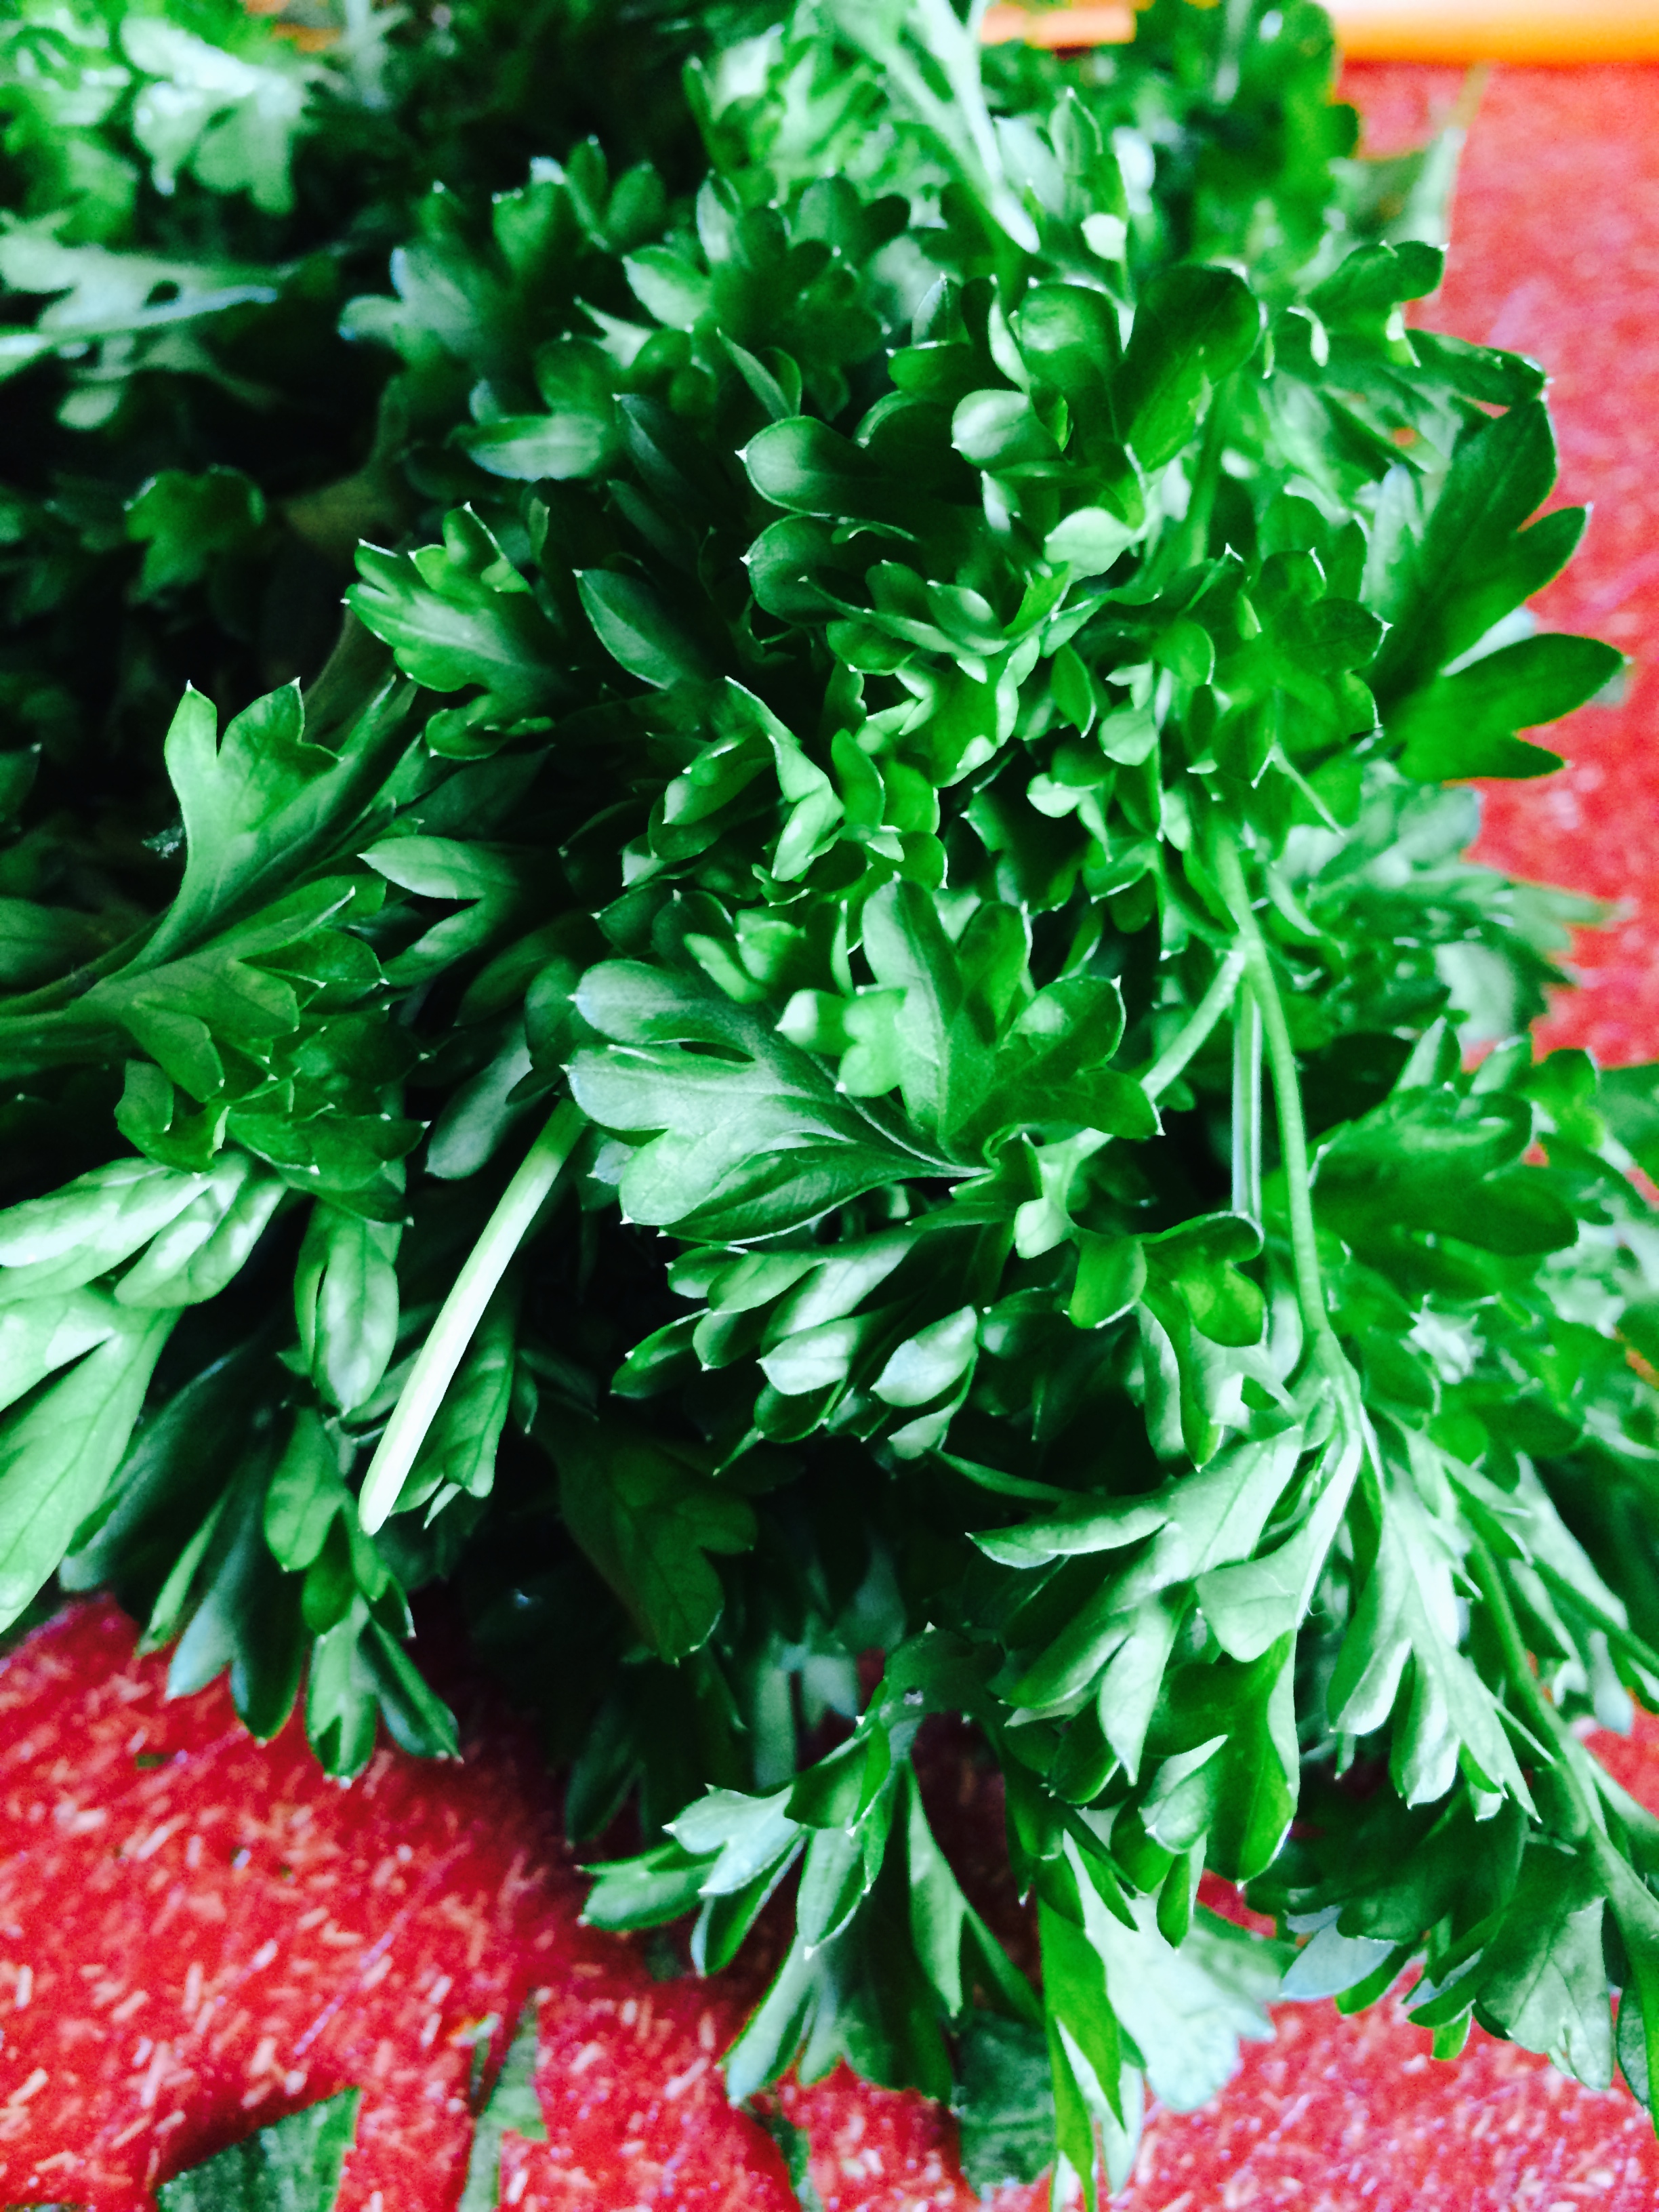
There are other songs I could throw on this list, most of which helped get me through the crazy that was this past semester (not bad crazy, but definitely crazy), but in the interest of not posting my entire playlist, I’ll cap it here. So onto the “baking ” part of the post.

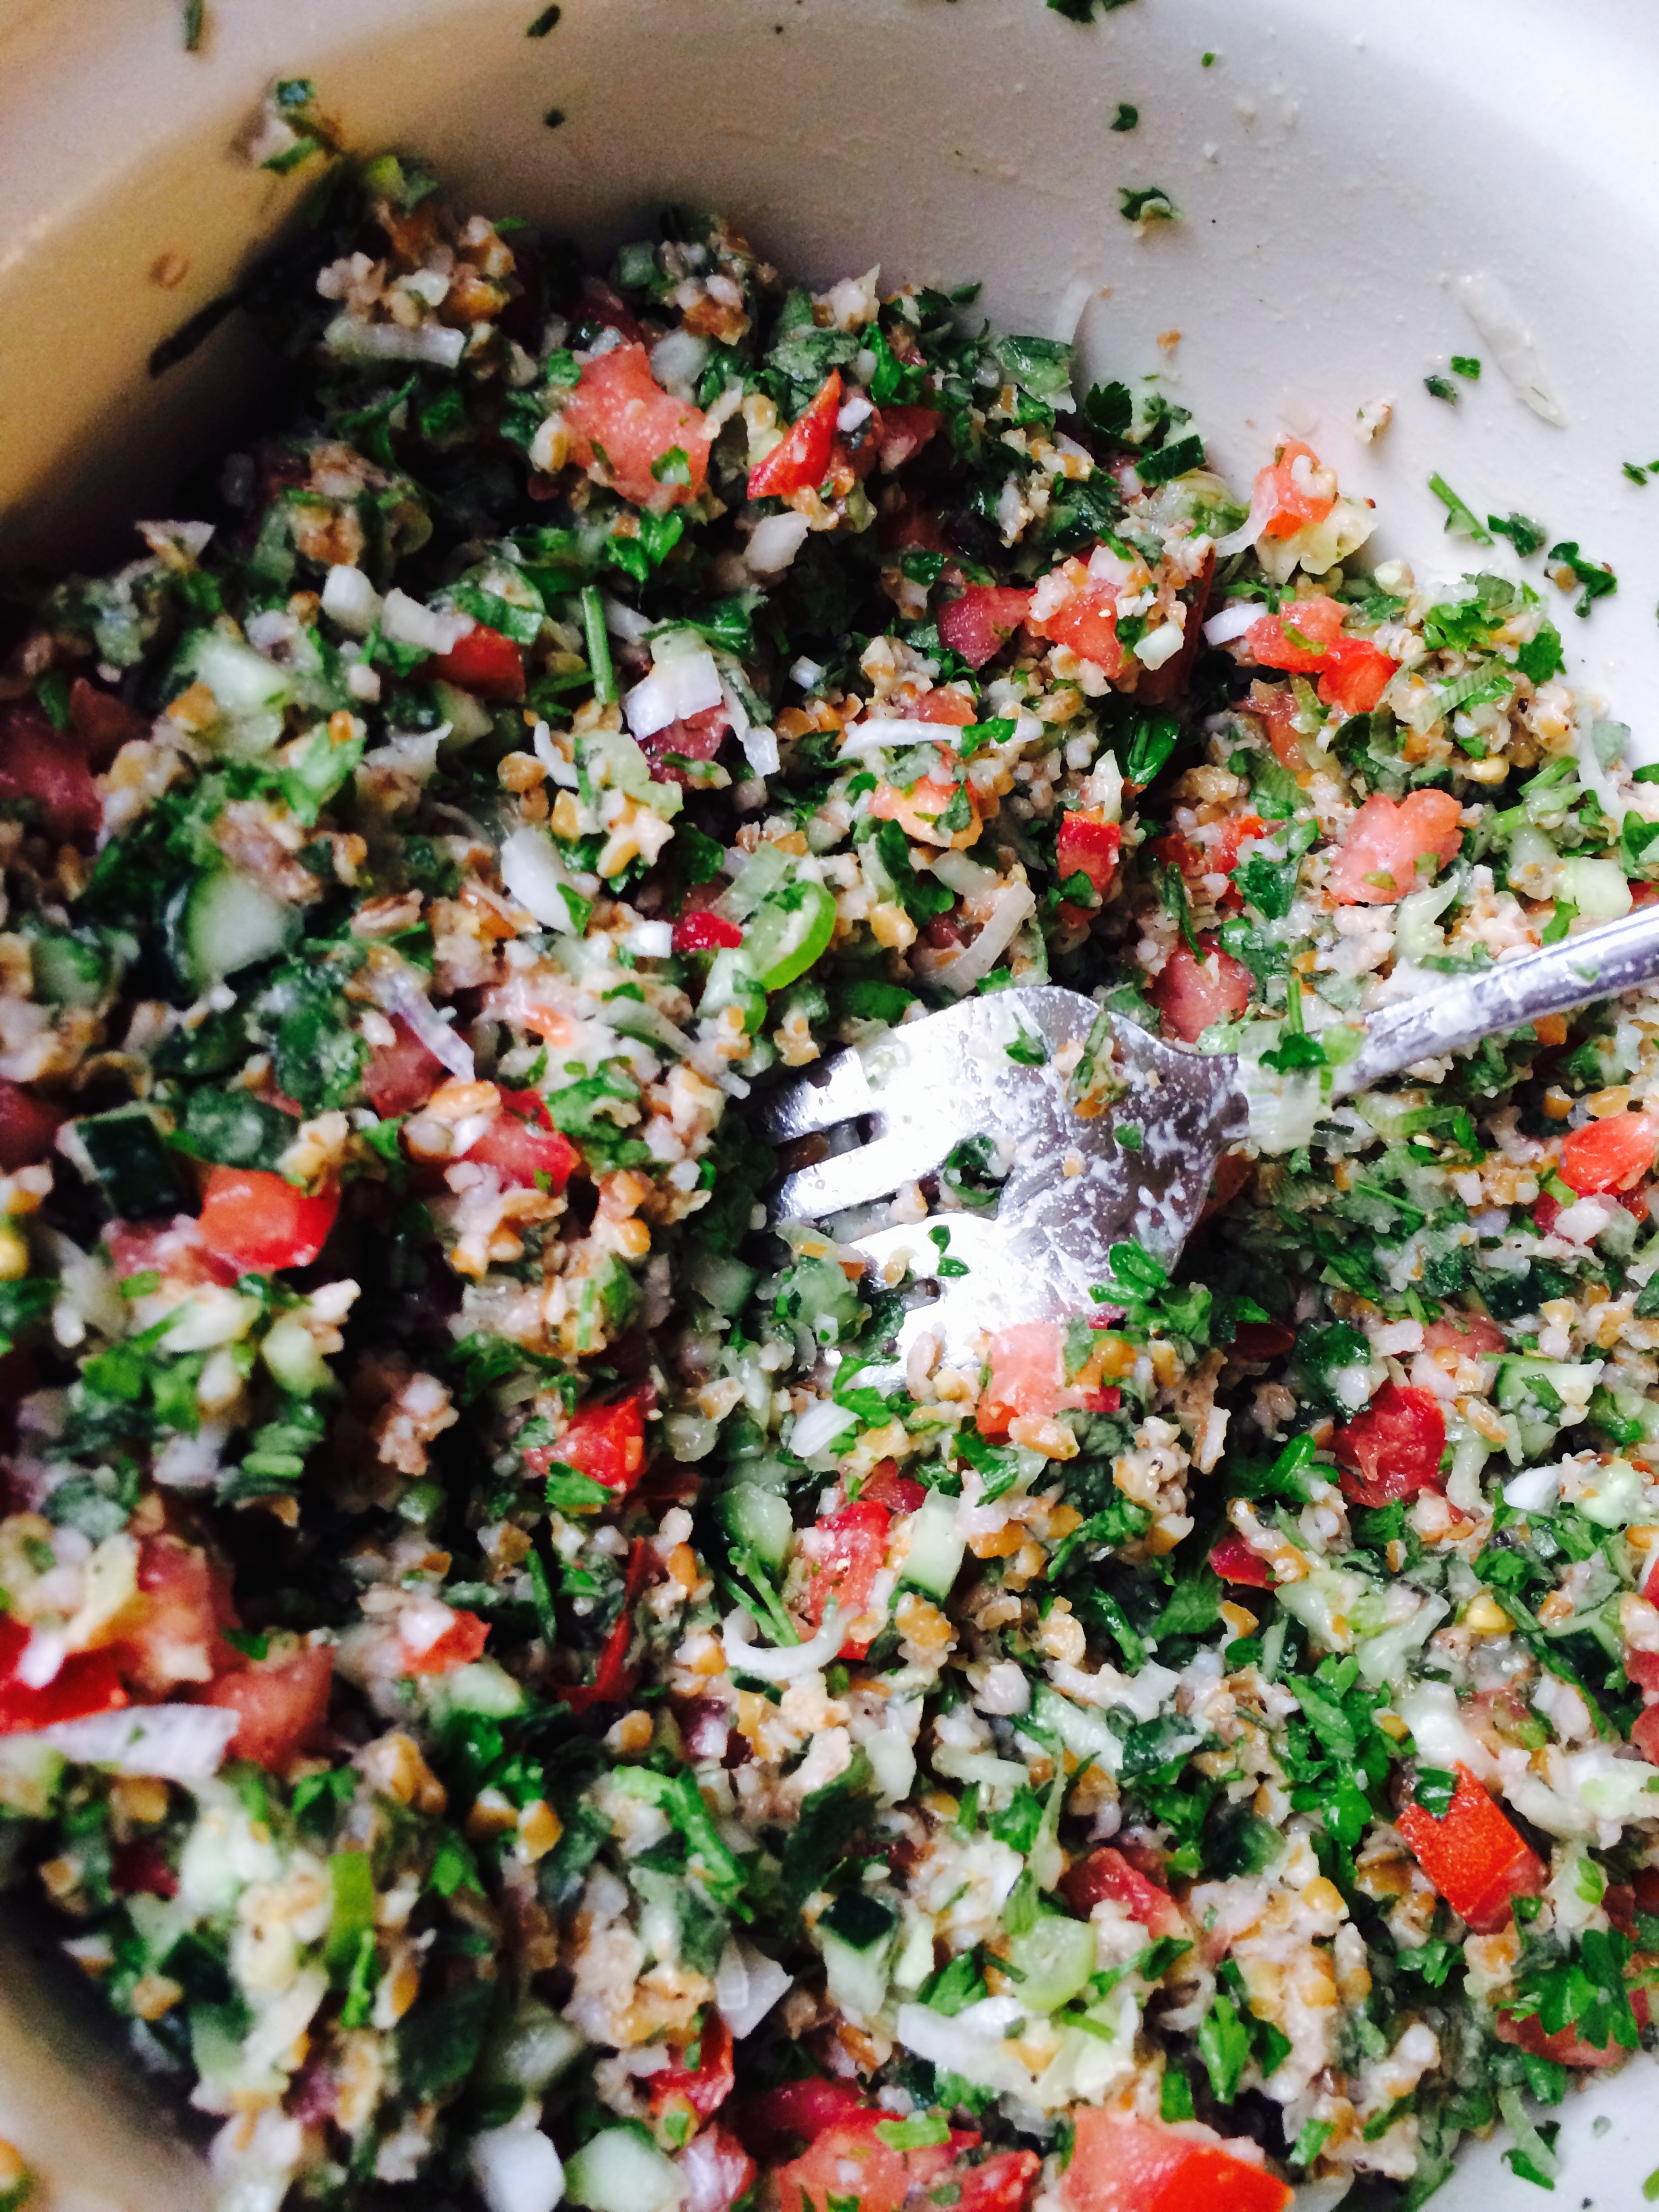
I made this tabbouleh for a Memorial day party. Course I would have preferred to bake something, but again, no oven, no baking. So I went with the tabbouleh, mostly because I had just had a delicious tabbouleh at my friend’s restaurant and wanted to see if I could re-create it. I did not do the best job, but it turned out pretty good in the end. I think I need to work on my bulghur wheat cooking abilities. Next time I will use less water when soaking the bulghur wheat to allow it to be less like a mush and more like individual grains. On a side note, other than the bulghur and lemon, the ingredients came from the local farmers market which gives me some odd degree of satisfaction (and also makes it cost alot more).

Tabbouleh
gently based on the recipe my friend gave me and this

Ingredients:IMG_1457
1 cup Bulghur Wheat
1 1/2 cups boiling water
zest of 1 lemon1/4 cup Fresh Lemon Juice
1/4 cup Olive Oil
1 bunch (~1 cup) Scallions (minced)
1 bunch (~1 cup) mint leaves
2 bunch (~2 cup) parsley
1 cucumber
3 medium tomatoes
Salt and Pepper

IMG_1459
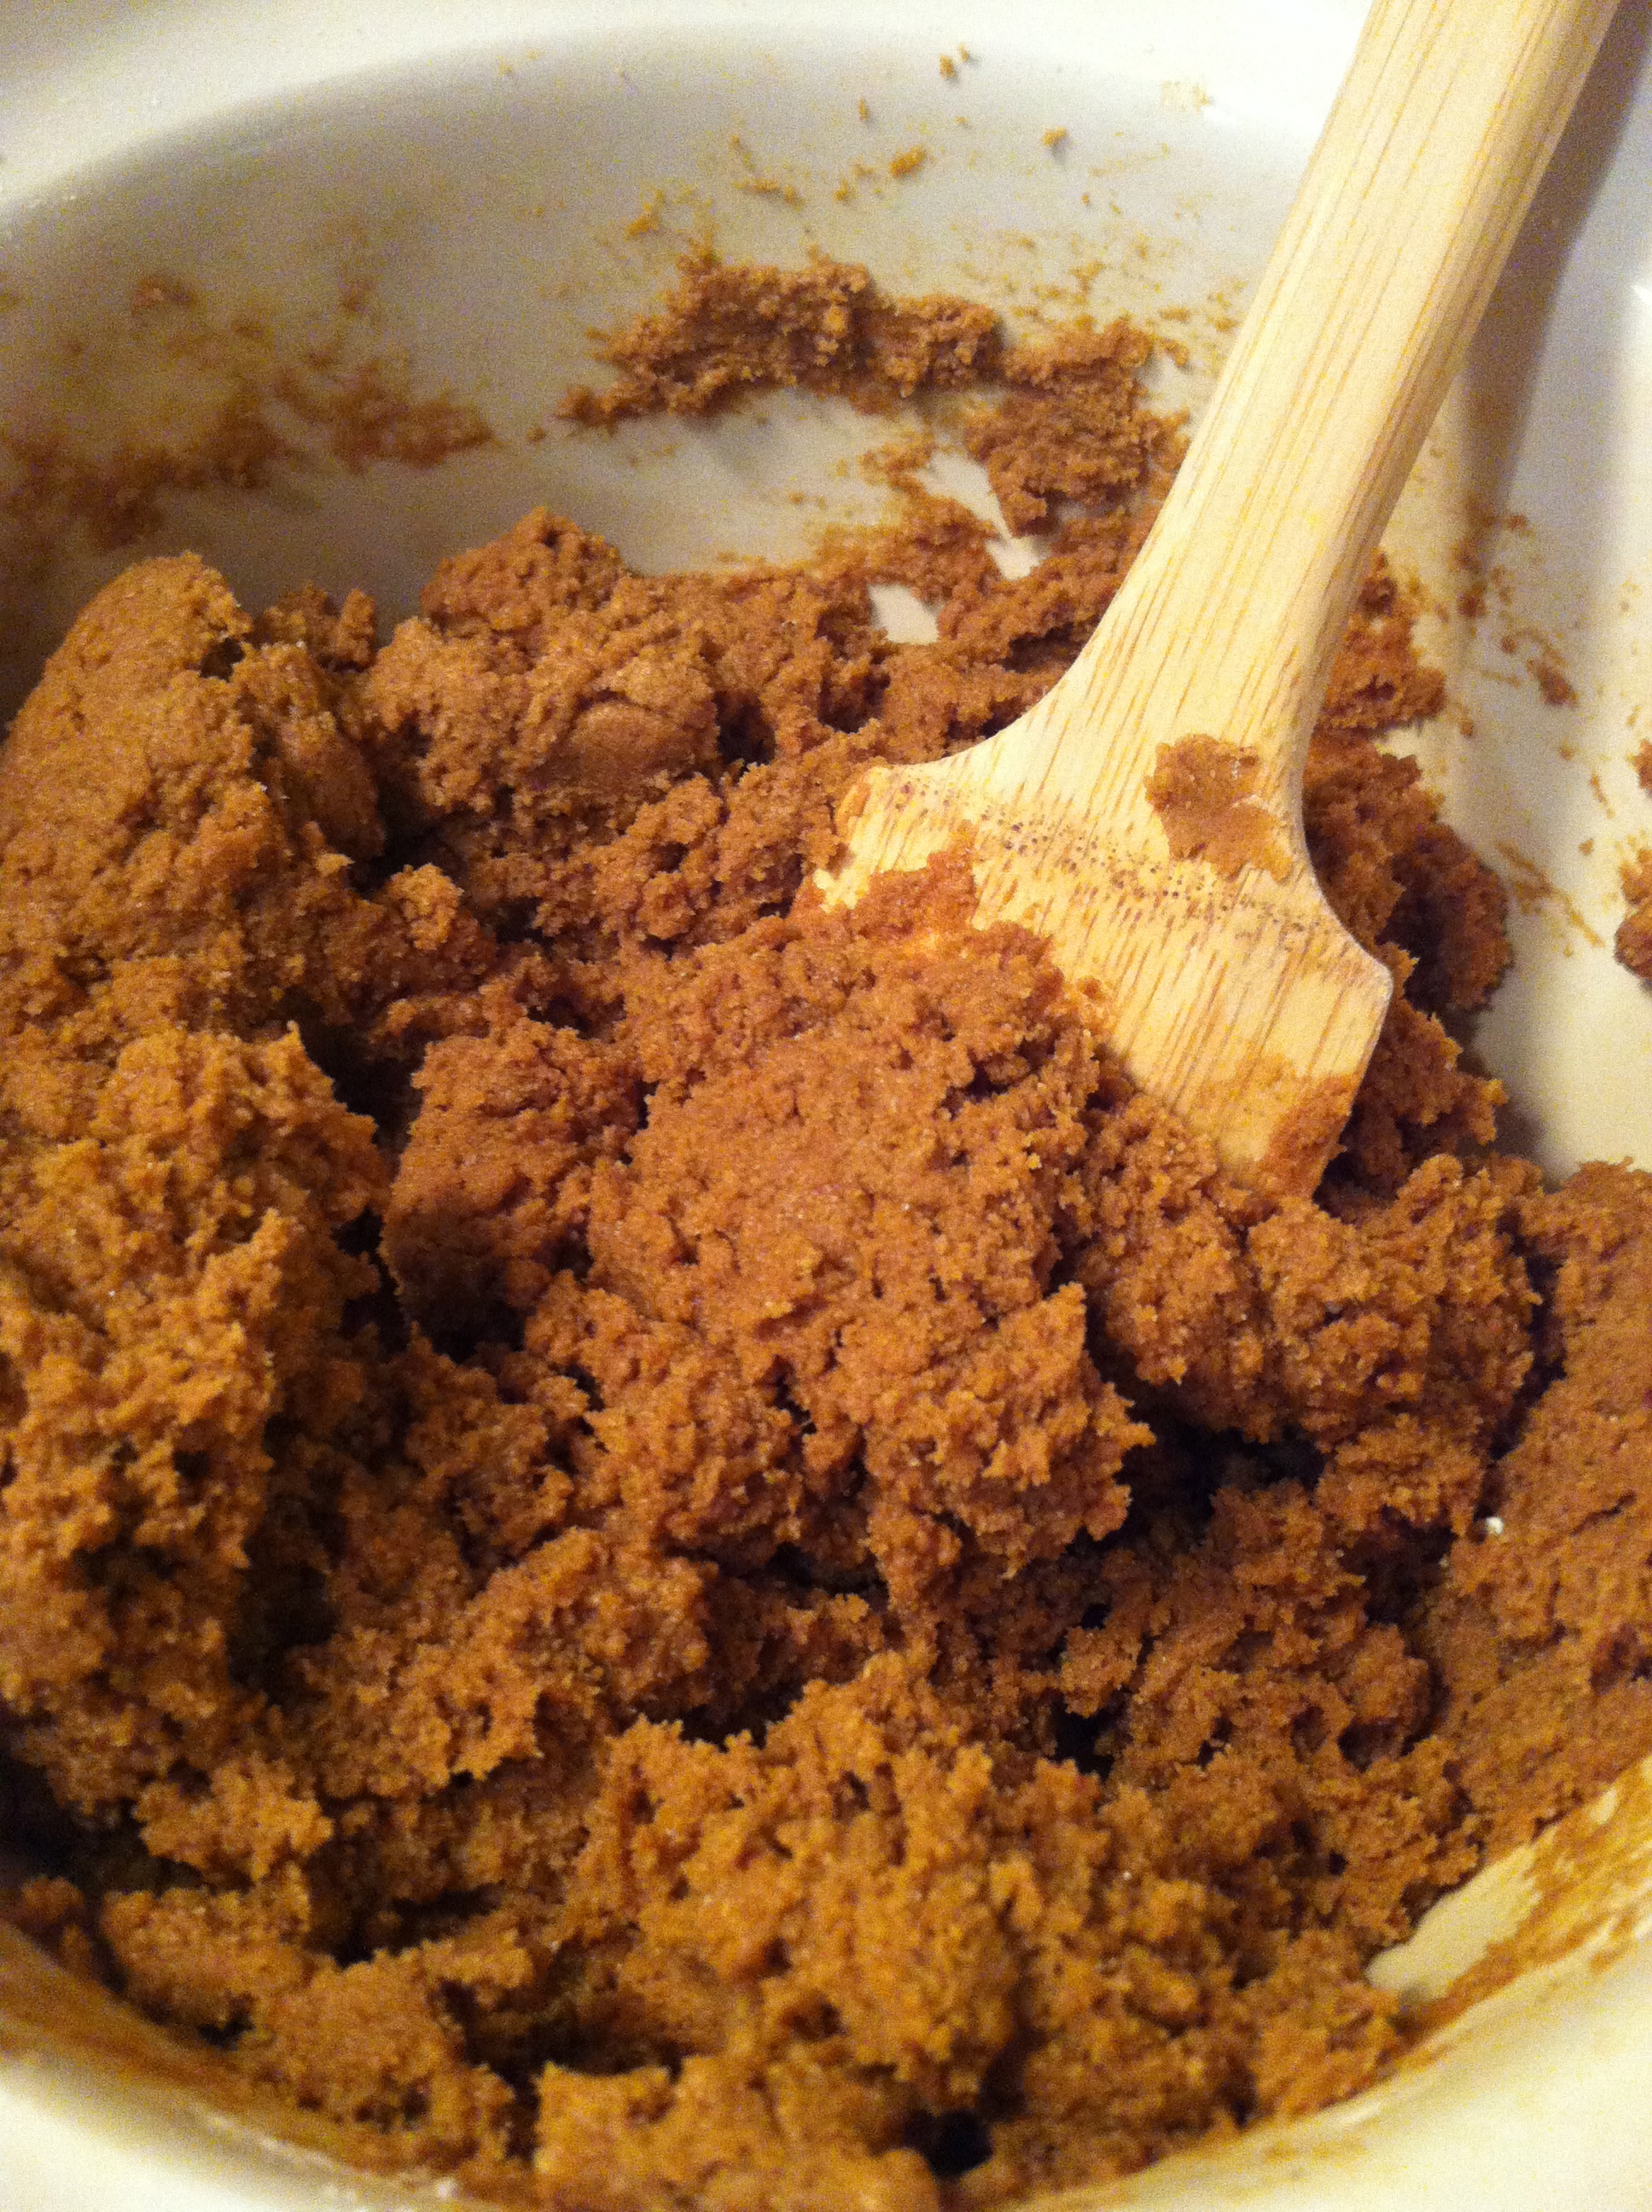
1. Combine water, lemon juice, olive oil and ~1 teaspoon of salt together. Then add in blughur wheat, stir, cover, and allow to sit for an hour (again, I think I would use 1 1/4 cups water next time).

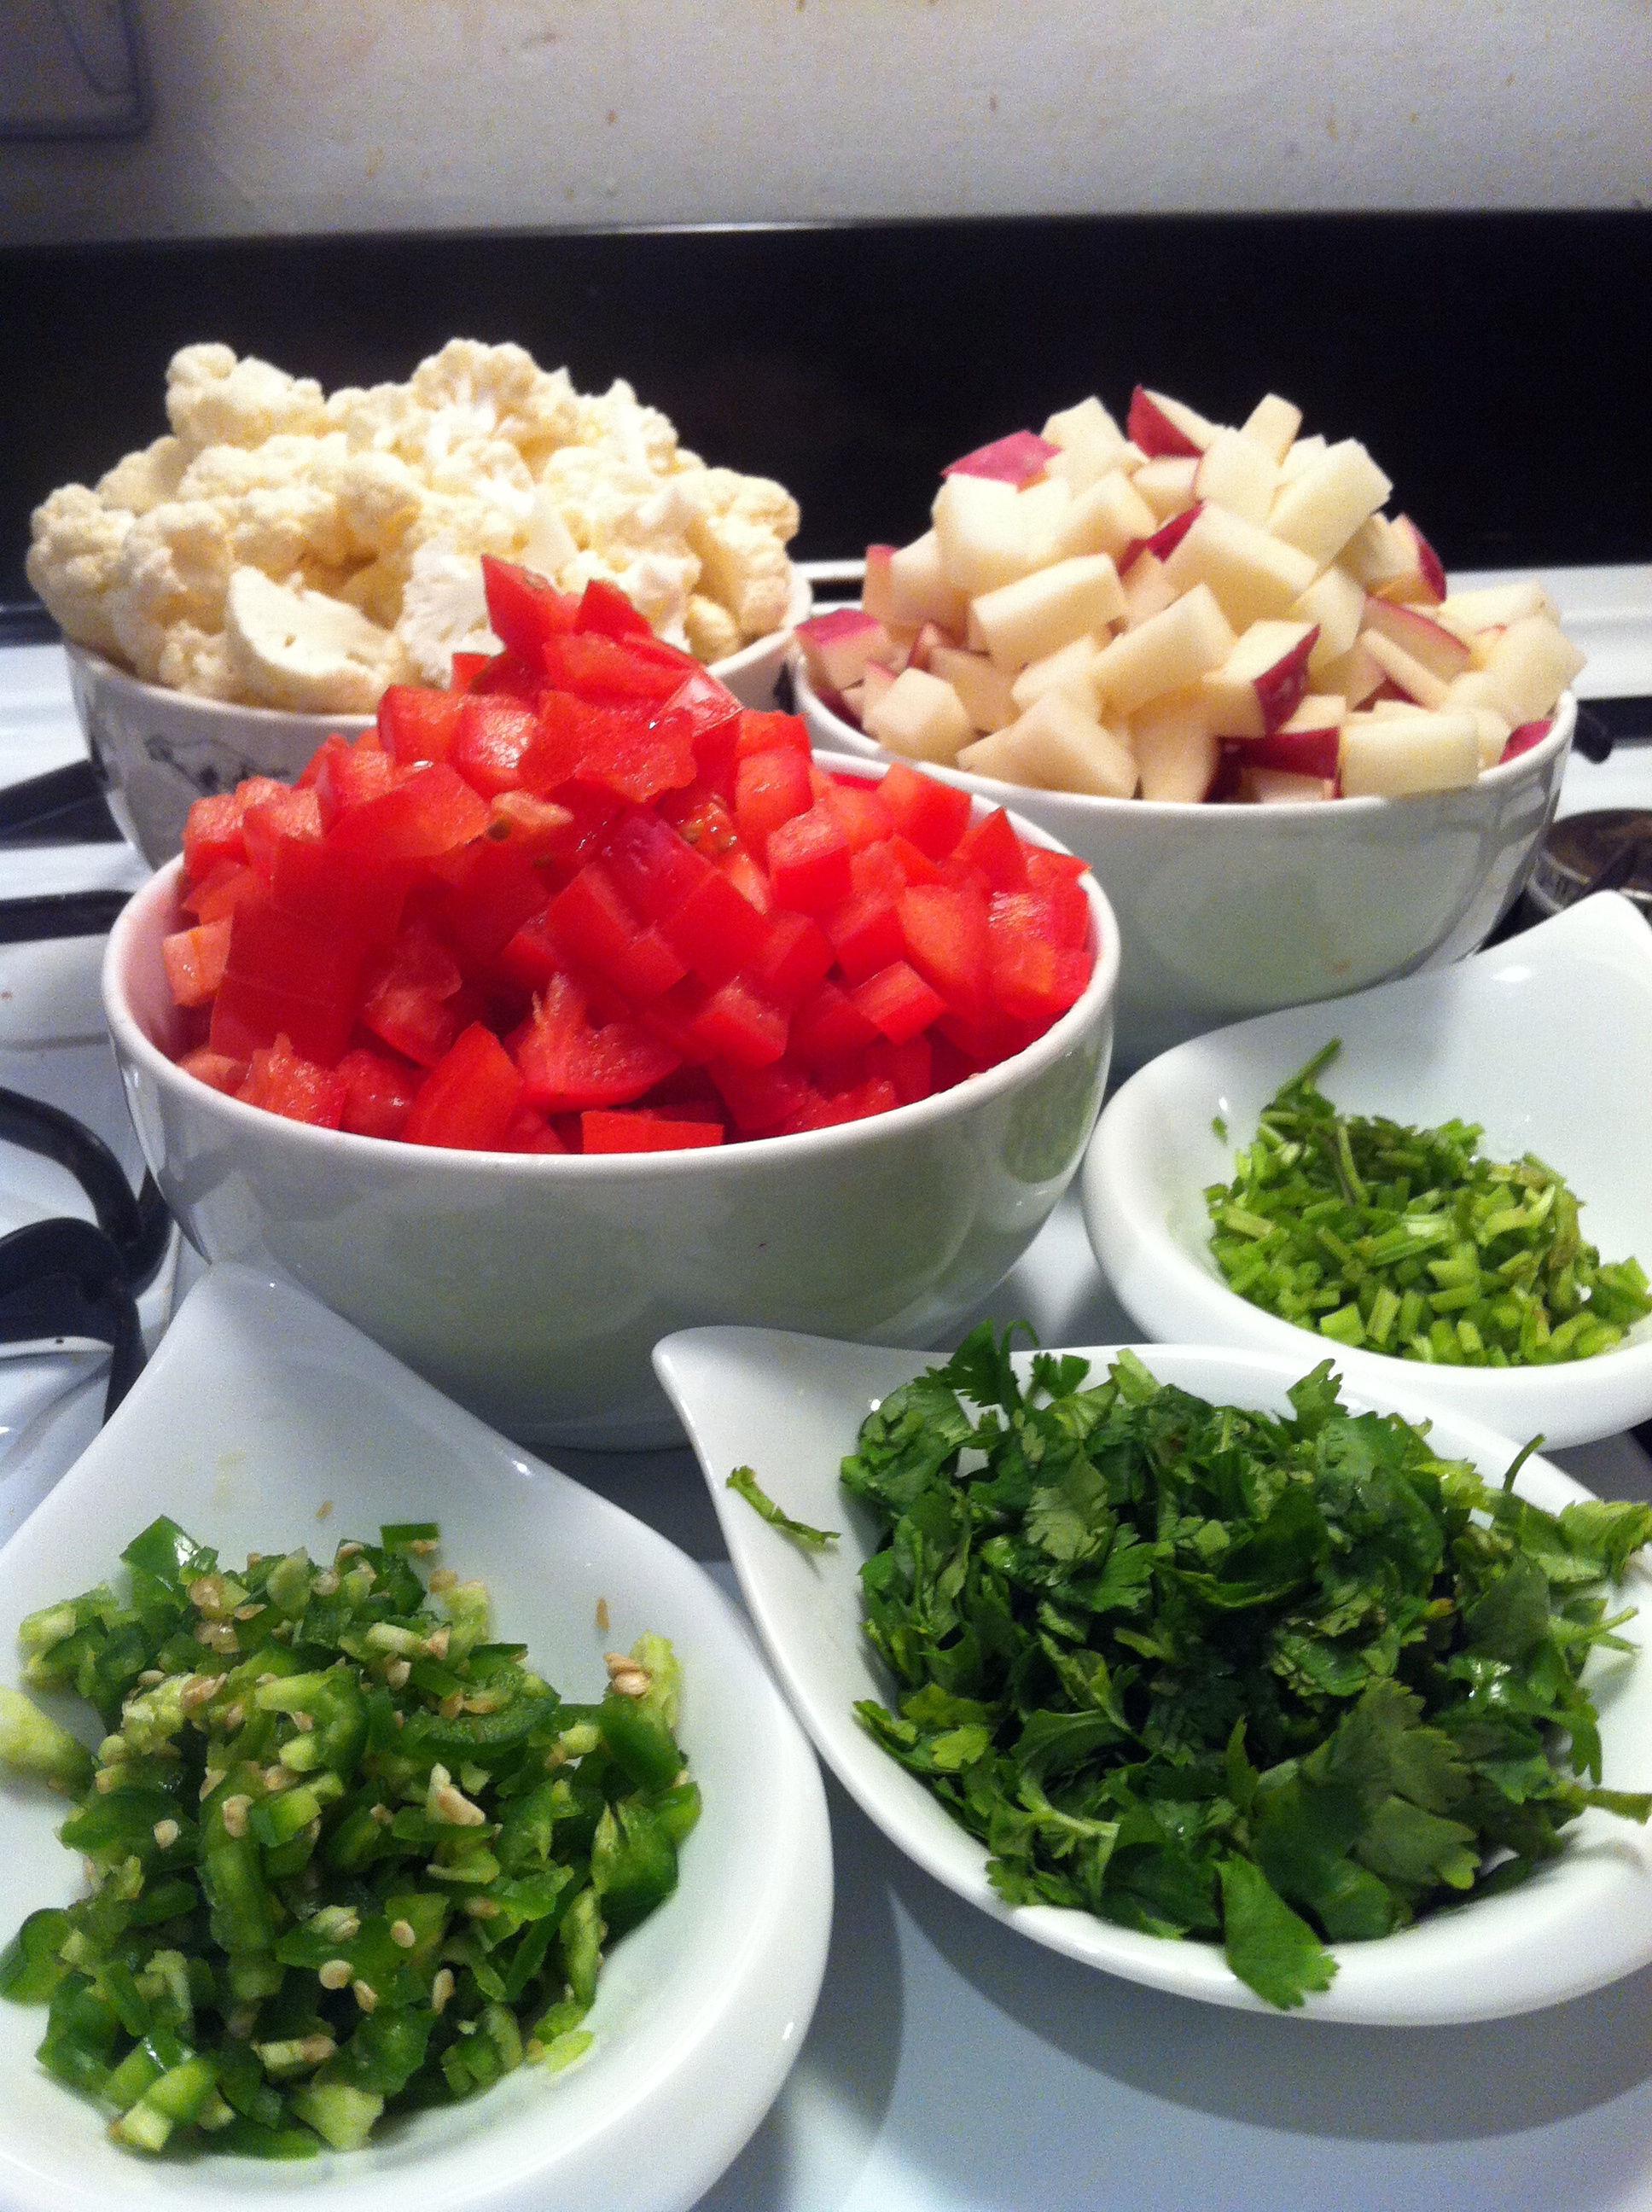
2. While the wheat cooks, chop up all ingredients and place in a large bowl. Once the wheat is done, add to the chopped ingredients and combine! Add salt and pepper toIMG_1461 taste.

3. Allow to chill for at least 2 hours in the fridge to allow the wheat to cool off. Can let it sit longer if you want. I think the flavor significantly improves after it sits for a bit. I left mine overnight and was very happy I did so.

4. Enjoy with pita bread! Or just eat it out of the bowl like I did in the end.

IMG_1467

Savory, Vegan

Vegan Girl Scout?

March 24, 2014 by Baking Unicorn Leave a Comment

Sigh.
Spring break 2014 is done. It always amazes how quickly this one week in the year goes while all other weeks of the year seem to drag one. Amazing! Somehow time just moves differently for this one week. Tricky Tricky.
But even though the week sped by, it was a great one. Lots of amazing friends, food, wine, whiskey, and yoga! I also checked back in with the music scene for a moment, and found “Headlights” by Eminem featuring Nate Ruess. I’ve always been a fan of Eminem, and I’m a HUGE sucker for any song with a featured artist. Gets me every time!

The song is rather intense and sad, but it’s been on repeat all day. It reminds me how lucky I am to have my amazing mom and family. Thank you, family, for being amazing! I’ll never be able to identify with this song because of you guys 🙂

Also this Spring break has found me obsessed with “Gaycation” by DWV

Detox, Willam, and Vicky are (almost too) fabulous. They’re clever, sassy, and unapologetic drag queens. What’s not to love?!

And with that, I’ll conclude my music run down and move onto the baking.
This recipe was originally inspired by a smoothie I had at Juice Generation called the Joyful Almond. I was honestly skeptical that it would be good, but I tried it (mostly because I was tired of the other option) and fell in love with it. So I set out to make a cookie version of the smoothie. And it’s vegan, so it must be healthy, right? yeah….IMG_2261

Anyway, these turned out to be pretty good. They also turned out to be a vegan version of the Samoa Cookie that girl scouts like to get you with (I have a box in my freezer from last year still…. I should probably use that up). There’s sadly no caramel in my cookies (I have no clue how to do a vegan caramel… butter is key to delicious caramel), but the coconut and chocolate are there!

Vegan Almond-Coconut Cookies (a girl scout knockoff)
yield: ~4 dozen

IMG_2263

after 30 seconds

Ingredients:
16 oz (1lb) roasted, unsalted Almonds
2 tablespoons Olive Oil
1 tablespoon baking soda
3/4 cup flour
2 cups sugar
1/2 cup packed brown sugar
1/2 cup applesauce
2 teaspoons vanilla extract
~1 cup shredded, unsweetened Coconut
3.5 oz dark chocolate (I used Green and Black’s Organic Dark Chocolate, 70%)
1 tablespoon agave nectar

IMG_2265

after 90 seconds

1. Preheat oven to 35o degrees and line a baking sheet with parchment or Silpat.

2. Place almonds in food processor and add olive oil on top. Blend on high (if you have different speed settings) for ~30 seconds. Scrape down the sides. Repeat blending and scraping 2-3 more times, until almonds and oil have become almond butter. (you can also skip this step by buying a jar of almond butter….)

3. Place almond butter, baking soda, flour, sugars, apple sauce, vanilla and 1/4 cup shredded coconut into a large mixing bowl and mix it all up together into a dough. The dough should be slightly crumbly but can be formed into a ball.IMG_2272

4. Make ping-pong sized balls of the dough and roll them in the extra coconut. Place on prepared baking pan ~ 1 1/2 inches apart. They spread out a bit (especially if you drop them on the counter to make them chewy rather than crispy). Bake cookies for 10-12 minutes, or until they start to crack at the top. Remove from oven, allow to cool for 5 minutes, and then transfer to cooling rack.IMG_2276

5. While cookies are cooling, place chocolate and agave nectar in double boiler and melt completely, stirring constantly. Allow to cool for 5 minutes while you get the cookies ready. Place the cooling racks on a piece of foil or another pan. Make sure the cookies are touching one another but not overlapping. This will reduce chocolate waste.

6. Once cookies are ready, drizzle the chocolate over the cookies using a spatula or a spoon. Allow chocolate to cool completely. Because of the added agave nectar, the chocolate will not become hard when cooled. Instead, it will be more fudge like.

7. eat! or sell them as girl scout cookies and make a killing.IMG_2287

Nuts, Vegan

Warmth of Ginger in Winter

February 14, 2014 by Baking Unicorn Leave a Comment

Just got back from my interview with UC Berkeley. I had an amazing time. I went to a fun concert with my potential PI, learned my host is a burlesque performer, and got to learn about countless amazing and exciting research projects. To add to all that, at the beginning of the 2 days of interviews, I received a call (and email) from Washington University’s Movement Science program admitting me. WOO HOO! Someone’s going to grad school!!! This is how I’m feeling:

http://stream1.gifsoup.com/view5/1984979/excited-penguin-o.gif

And this gif is especially pertinent as I returned from Berkeley only to find weather like this:
IMG_2087IMG_2145IMG_2030

And of course someone was all cute and did this:
IMG_2144Also, because I mentioned it in my last post, here’s Pink’s performance at the 2014 Grammy’s. Oh, how my heart skips a beat when I watch it! In all seriousness, it takes some massive skill to do what she does here. Yipes!

Now, for those of you who don’t know, I loves the ginger. It’s spicy, kinda burns a bit, and yet soothes the stomach. It’s also delicious. So of course I added more ginger to the following recipe than was originally called for. And on top of that, if I make these again, I think I would like to add crystallized ginger bits. I honestly feel these cookies lack a little something, but I haven’t figured out what exactly. Perhaps a hint more molasses would do the trick. Or perhaps the crystallized ginger will give them that extra edge. Who knows? If anyone plays around with these and has suggestions, lemme know!

Vegan Ginger Molasses Cookies!
Based on this!
Yield: ~3 dozen

Ingredients:IMG_2151
2 cups flour
1 teaspoon baking soda
1 teaspoon baking powder
1/2 teaspoon salt
2 teaspoons ground ginger
1 tablespoon fresh grated ginger
1 teaspoon cinnamon
1/2 teaspoon nutmeg
1/2 teaspoon cloves
1/2 cup (1 stick) Earth Balance (vegan)
3/4 cup sugar
3/4 cup molasses
~1/4 cup water

How to:IMG_2150
1. Preheat oven to 35o degrees and prepare baking sheets with either SILPAT’s or parchment paper.

2. Mix the flour, baking soda, baking powder, salt, and dry spices in a small bowl and set aside. Mix sugar, Earth balance, molasses and fresh ginger in mixing bowl until completely combined. Add in dry ingredients and most of the water. Combine completely. I added just over 1/4 cup of water because I prefer my cookies to be a bit thinner. If you prefer thicker cookies, then add less water (means the cookies spread out less when in oven).

IMG_21543. Spoon dough onto cookie sheets, approximately the size of a ping-pong ball (some people may have pink ones from Priscilla, Queen of the Desert. I suggest using those as a reference). Make sure there’s enough room between spoonfuls so cookies have enough room to spread out (depending on how much water you added).

IMG_21584. For chewy cookies: Bake for 5 minutes, remove from oven, and drop pan on counter from a height of ~3 inches above counter. Then place back in oven for another 5 minutes. Remove again and drop again. Then let cool for ~3 minutes before transferring to cooling rack.
For crispy, crunchy cookies: Bake for 10-12 minutes and remove from oven. Don’t drop! Allow to cool for ~5 minutes and then transfer to cooling rack.
Dropping the cookies causes the air bubbles inside the cookies to burst. If these bubbles remain inside the cookies, then they continue to cook the cookies a bit, allowing them to become crispy.

5. EAT!

IMG_2156


Cookies, Vegan

Not baking… but yummy!

February 1, 2014 by Baking Unicorn Leave a Comment

Sorry for my delay in posting anything. It’s been a busy month, despite being on break from school for most of it. I just got back from an interview with the Movement Science Program at Washington University in St Louis. It was great! Two more interviews to go!

On my way to St Louis and back (and ever since to be honest) I was listening to “Cannonball” by Lea Michelle. Overall, it’s a terrible song, but I like her voice. The video (below) is rather boring and unimaginative. I was hoping that she would turn into a cannonball or something interesting like that, but alas, no. She’s in an attic… At least she could have exploded or something, shattering the roof of the attic. Regardless of her video, I enjoy the song’s rhythm and her vocals.


Additionally, I would like to comment on Pink’s Grammy performance last Sunday. I know it’s a week later, and everyone is probably over it, but I’M NOT! I tried to find a good video of it on YouTube, but failed. Look it up yourself if you didn’t see it, or just sit back and take a moment to recall how amazing it was.  Sigh…..

Onto the food that I’ve made. I was inspired to make this food after going to an Indian restaurant with my friend. The chana masala was amazing, and their gluten free chickpea roti was DERRRRICIOUS! Just thinking about it makes me hungry! Anyway, I made this a few days ago (but am only getting to posting now), and at that time I was on an “anti-yeast” diet. So nothing fermented (wine was out which made me cry) and no bread. Also no yogurt or cultured foods. No Cheese!!! Randomly, no onions, beets, oranges, garlic, or sugar that wasn’t in other fruits. I was pretty much a vegan who couldn’t even eat bread. TORTURE!! Additionally, I did a lil research and found nothing that really supported this diet as being a useful means of helping joint problems (my doc and I had an exchange of words). I’m off it now, but this recipe comes from that time, which is why it’s not an actual baked good. Baking was too depressing when you can’t eat sugar or butter. Even this recipe had to be modified because of the onion and garlic restriction. If you choose to make this dish, I would suggest adding in the onion and garlic, but it’s quite yummy without as well.

Aloo Gobi
inspired by this!

Ingredients:IMG_2102
1/4 cut olive oil
1 onion (optional)
1 bunch of cilantro, divided into stalks and leaves
2 small jalapenos (This is what I used, but would have preferred serrano)
1 head cauliflower
3 medium red potatoes
5 Roma Tomatoes
Fresh grated ginger
Fresh garlic (optional)
1 teaspoon cumin seeds
2 teaspoons turmeric
1 teaspoon salt
2 teaspoons garam masala

How to make:
1. Chop onion (optional), cauliflower, potatoes, and tomatoes into small cubes. Dice garlic (optional), cilantro (leaves and stems divided), and jalapenos. Keep everything divided into bowls.

IMG_21052. Heat oil in a large pot. If you’re doing the onions, toss them in now with the cumin seeds and cook until onions become translucent. Or just add the cumin and let is sizzle for ~2 minutes. Next, add in the cilantro stalks, turmeric, tomatoes and jalapenos. Allow to cook in oil for ~1 minute. Then add in ground ginger and garlic. Mix completely. I let it heat up so that it was starting to bubble a little before moving onto the next step.

IMG_2113

The Tomato Sauce

3. Add in the cauliflower and potatoes into sauce with ~1/4 cup water. Stir completely, making sure all cauliflower and potato gets covered in the sauce. Then cover the pot with a lid and allow to simmer for ~20 minutes or until the potatoes are easily pierced with fork.

IMG_2115

Before Cooking

4. Once cooked through, add in the cilantro leaves and garam masala and mix completely. Remove from heat and allow to sit for at least 10 minutes to let flavors sink in (I found left overs were even more flavorful).

IMG_2117

After Cooking

5. Serve with rice and/or lentils. I made a mixture of jasmine rice and french lentils. If you are trying to time things to come out at the same time, when you start heating the oil for the Aloo Gobi, start a large pot of water heating so that it comes to a boil. Use about 8 times as much water as dry rice you intend to cook.  Once you put the lid on the Aloo Gobi pot to simmer and cook, throw in your rice into the pot of boiling water. Allow this to boil for the whole time the Aloo Gobi is cooking plus 10 minutes. Then drain rice and BAM! you have rice! (I learned this trick from me mum. No more trying to measure out water and rice perfectly).

WOOT!
IMG_2124IMG_2127


Gluten free, Savory, Vegan

I SWEAR I’M NOT VEGAN!!!!

October 4, 2013 by Baking Unicorn 2 Comments

I swear it!!!
But once again I have managed to make another vegan delight.
It just happens this way.
I swear!

So it was my original goal to post once a week. Sadly, I have already broken that goal within my first few weeks of doing this.
Sigh.
But I’ve been a bit busy. There was an exam to study for. And then there were meetings that I had to prepare for (which went very well and I’m feeling… better about grad school). And then there were Gotham Girl Roller Derby Jeerleader practices. Sometimes there’s just not enough time in the week to bake. A sad fact we must accept and then move on with our lives.

OH!! But more important than all of that, there was the dropping of Cher’s new album Closer To The Truth which I have been listening to on repeat for the past week or so. And then there was Brit Brit’s new video to get excited for! I have to admit, the song is rather club-tastic, but it get’s me going on the cardio machine. In fact, I bet it’s no so secretly being played into the ears of most of those gym goers in NYC…. Don’t be afraid to admit it, Chelsea boys. Enjoy the video:

But enough of this pop culture. Back to the baking!! I actually made these cookies for a “how to apply to grad school” meeting that I’m going to. One of the grad students who will be at the meeting telling us how to make it all happen is vegan (and also a member of the lab I work at), so I thought I should say “ThankYouForPassingOnAllYourValuableKnowledge” by making some baked goods that he could eat. Seems only fair, no?

IMG_1715I’ve made this recipe in various forms many a time. This time, I added more flour than usual so the cookies would hold their shape a touch more, allowing me to throw in a chocolatey surprise into the center. This idea actually came from a reversed scenario, where I made a chocolate cookie and inserted a ball of peanut butter into the center and baked. Those guys baked quite nicely, and looked like flying saucers or chocolate fried eggs because the dough just melted and baked over the ball of PB. Though adorable, the shape made them a bit annoying to package and carry around. So I tried to make these cookies a bit more “baker on the move” friendly.

YIKES!!!! I was just typing my ingredients below and realized that in my batch of cookies, I completely forgot to add 1 cup of sugar. I only added brown sugar… WHOOOOOOPS! But they cookies taste fine nevertheless. The sugar may have been nice to counteract the super dark chocolate chunks in the middle, but whatever…. you can add the sugar if you wish.

Vegan Peanut Butter Cookies with Chocolate Centers
Yields ~40 cookies

18 oz Crunch Peanut Butter (or smooth, but I like crunchy…)
1 tablespoon baking soda
1/2 cup apple sauce
1/2 cup brown sugar
1 1/4 cup flour
2 teaspoon vanilla extract
~4 1/2 ounces vegan dark chocolate, broken into bite sized pieces

1. Preheat oven to 350 degrees. Line baking sheet with parchment paper.

2. Place all the ingredients into a large bowl and combine completely.

3. WASH YOUR HANDS COMPLETELY!

IMG_1717

Roll. Flatten. Chocolate Bit. Reform. Done.

4. Begin rolling the cookie dough into ping-pong sized balls. Flatten the ball, place a piece of chocolate in the center, and then roll the dough around the chocolate piece. Place on baking sheet, with about 1 inch between balls. Because we added a fair amount of flour, they don’t spread out much.

5. Bake for 10-12 minutes, depending on how soft you like your cookies. I like them fairly gooey, so I compromised and baked them for 11 minutes. Once baked to desired softness, take baking sheet and hold 2-3 inches above counter. Drop sheet onto counter. Repeat 1-2 more times. This gets out air bubbles trapped inside the cookies, allowing your cookies to remain soft and gooey instead of getting crunchy as they cool. Allow cookies to cool for ~5 minutes and then move to cooling rack to completely cool.

6. ENJOY!

IMG_1722


Chocolate, Cookies, Vegan

Next Page »

Recent Posts

  • That’s a Wrap! January 5, 2017
  • TURTLE! nom nom August 30, 2016
  • Nailed It! July 17, 2016
  • Simple and Sweet May 30, 2016
  • Happy Autumn November 2, 2015

Categories

Alcohol Birthdays Cake Candy Cheese Chocolate Cookies Fruit Gluten free Nuts Peanut Butter Pie Savory Scone Uncategorized Unicorns Vegan

Copyright © 2025 · Going Green Pro Theme on Genesis Framework · WordPress · Log in