Sorry for my delay in posting anything. It’s been a busy month, despite being on break from school for most of it. I just got back from an interview with the Movement Science Program at Washington University in St Louis. It was great! Two more interviews to go!
On my way to St Louis and back (and ever since to be honest) I was listening to “Cannonball” by Lea Michelle. Overall, it’s a terrible song, but I like her voice. The video (below) is rather boring and unimaginative. I was hoping that she would turn into a cannonball or something interesting like that, but alas, no. She’s in an attic… At least she could have exploded or something, shattering the roof of the attic. Regardless of her video, I enjoy the song’s rhythm and her vocals.
Additionally, I would like to comment on Pink’s Grammy performance last Sunday. I know it’s a week later, and everyone is probably over it, but I’M NOT! I tried to find a good video of it on YouTube, but failed. Look it up yourself if you didn’t see it, or just sit back and take a moment to recall how amazing it was. Sigh…..
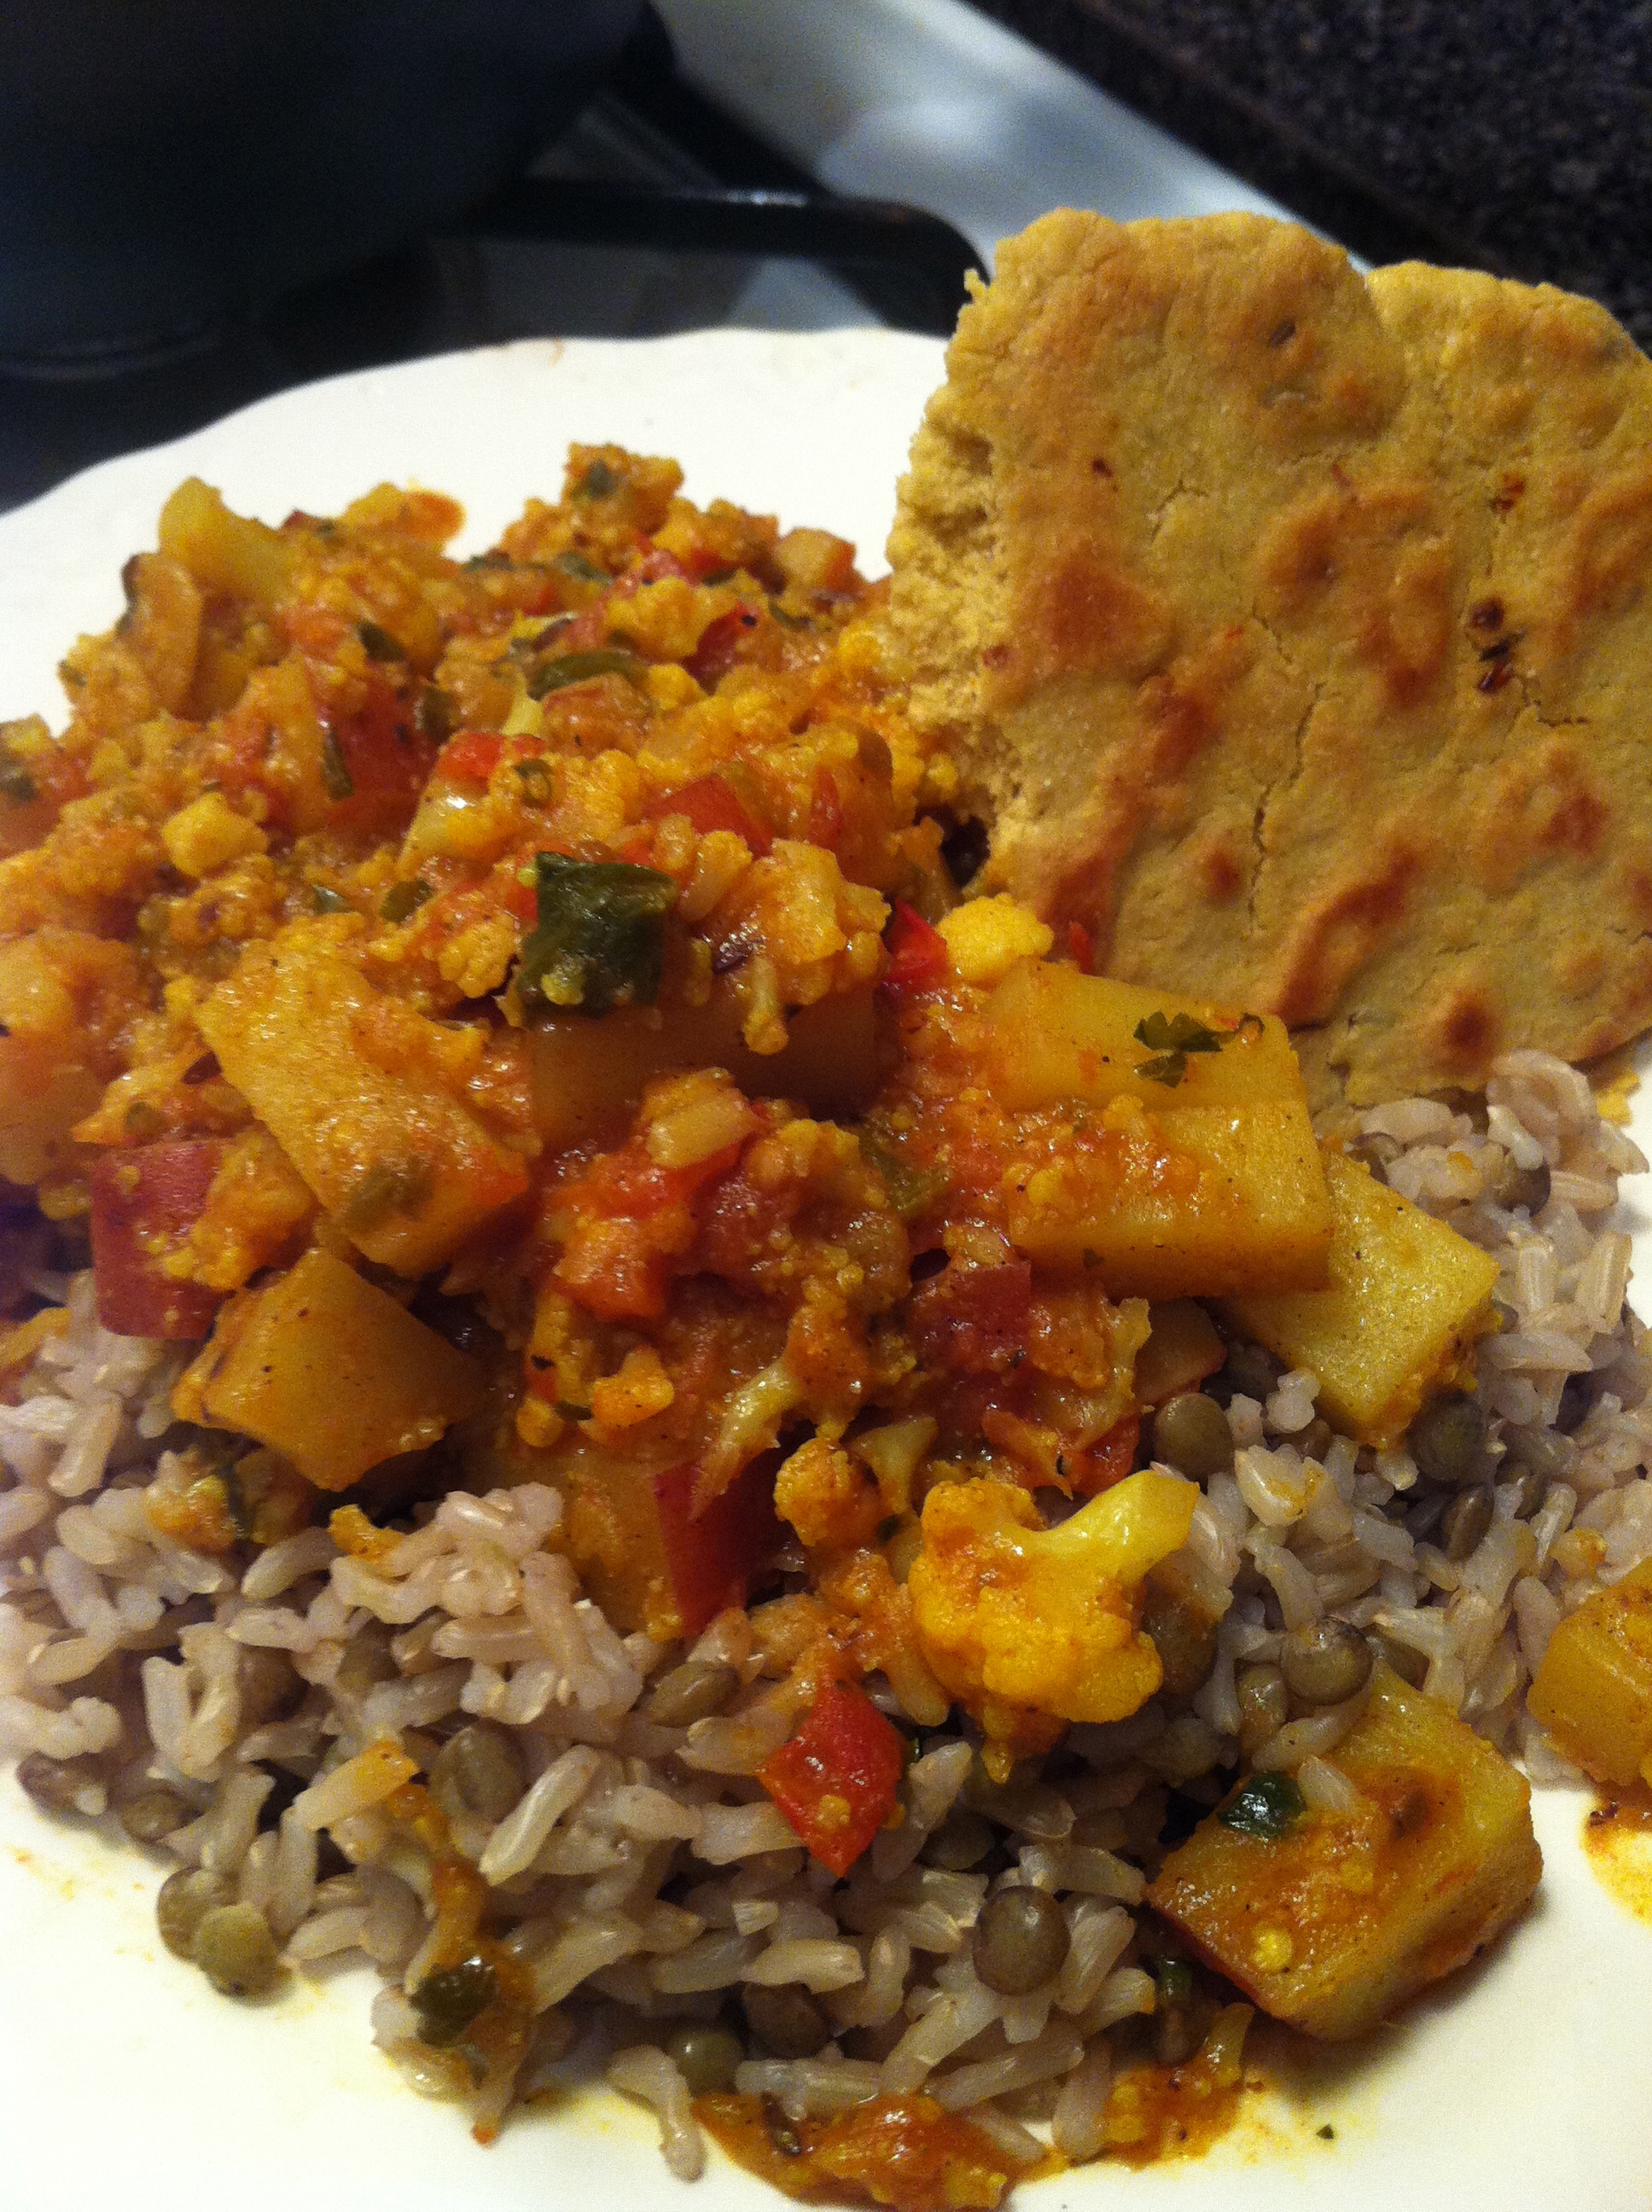
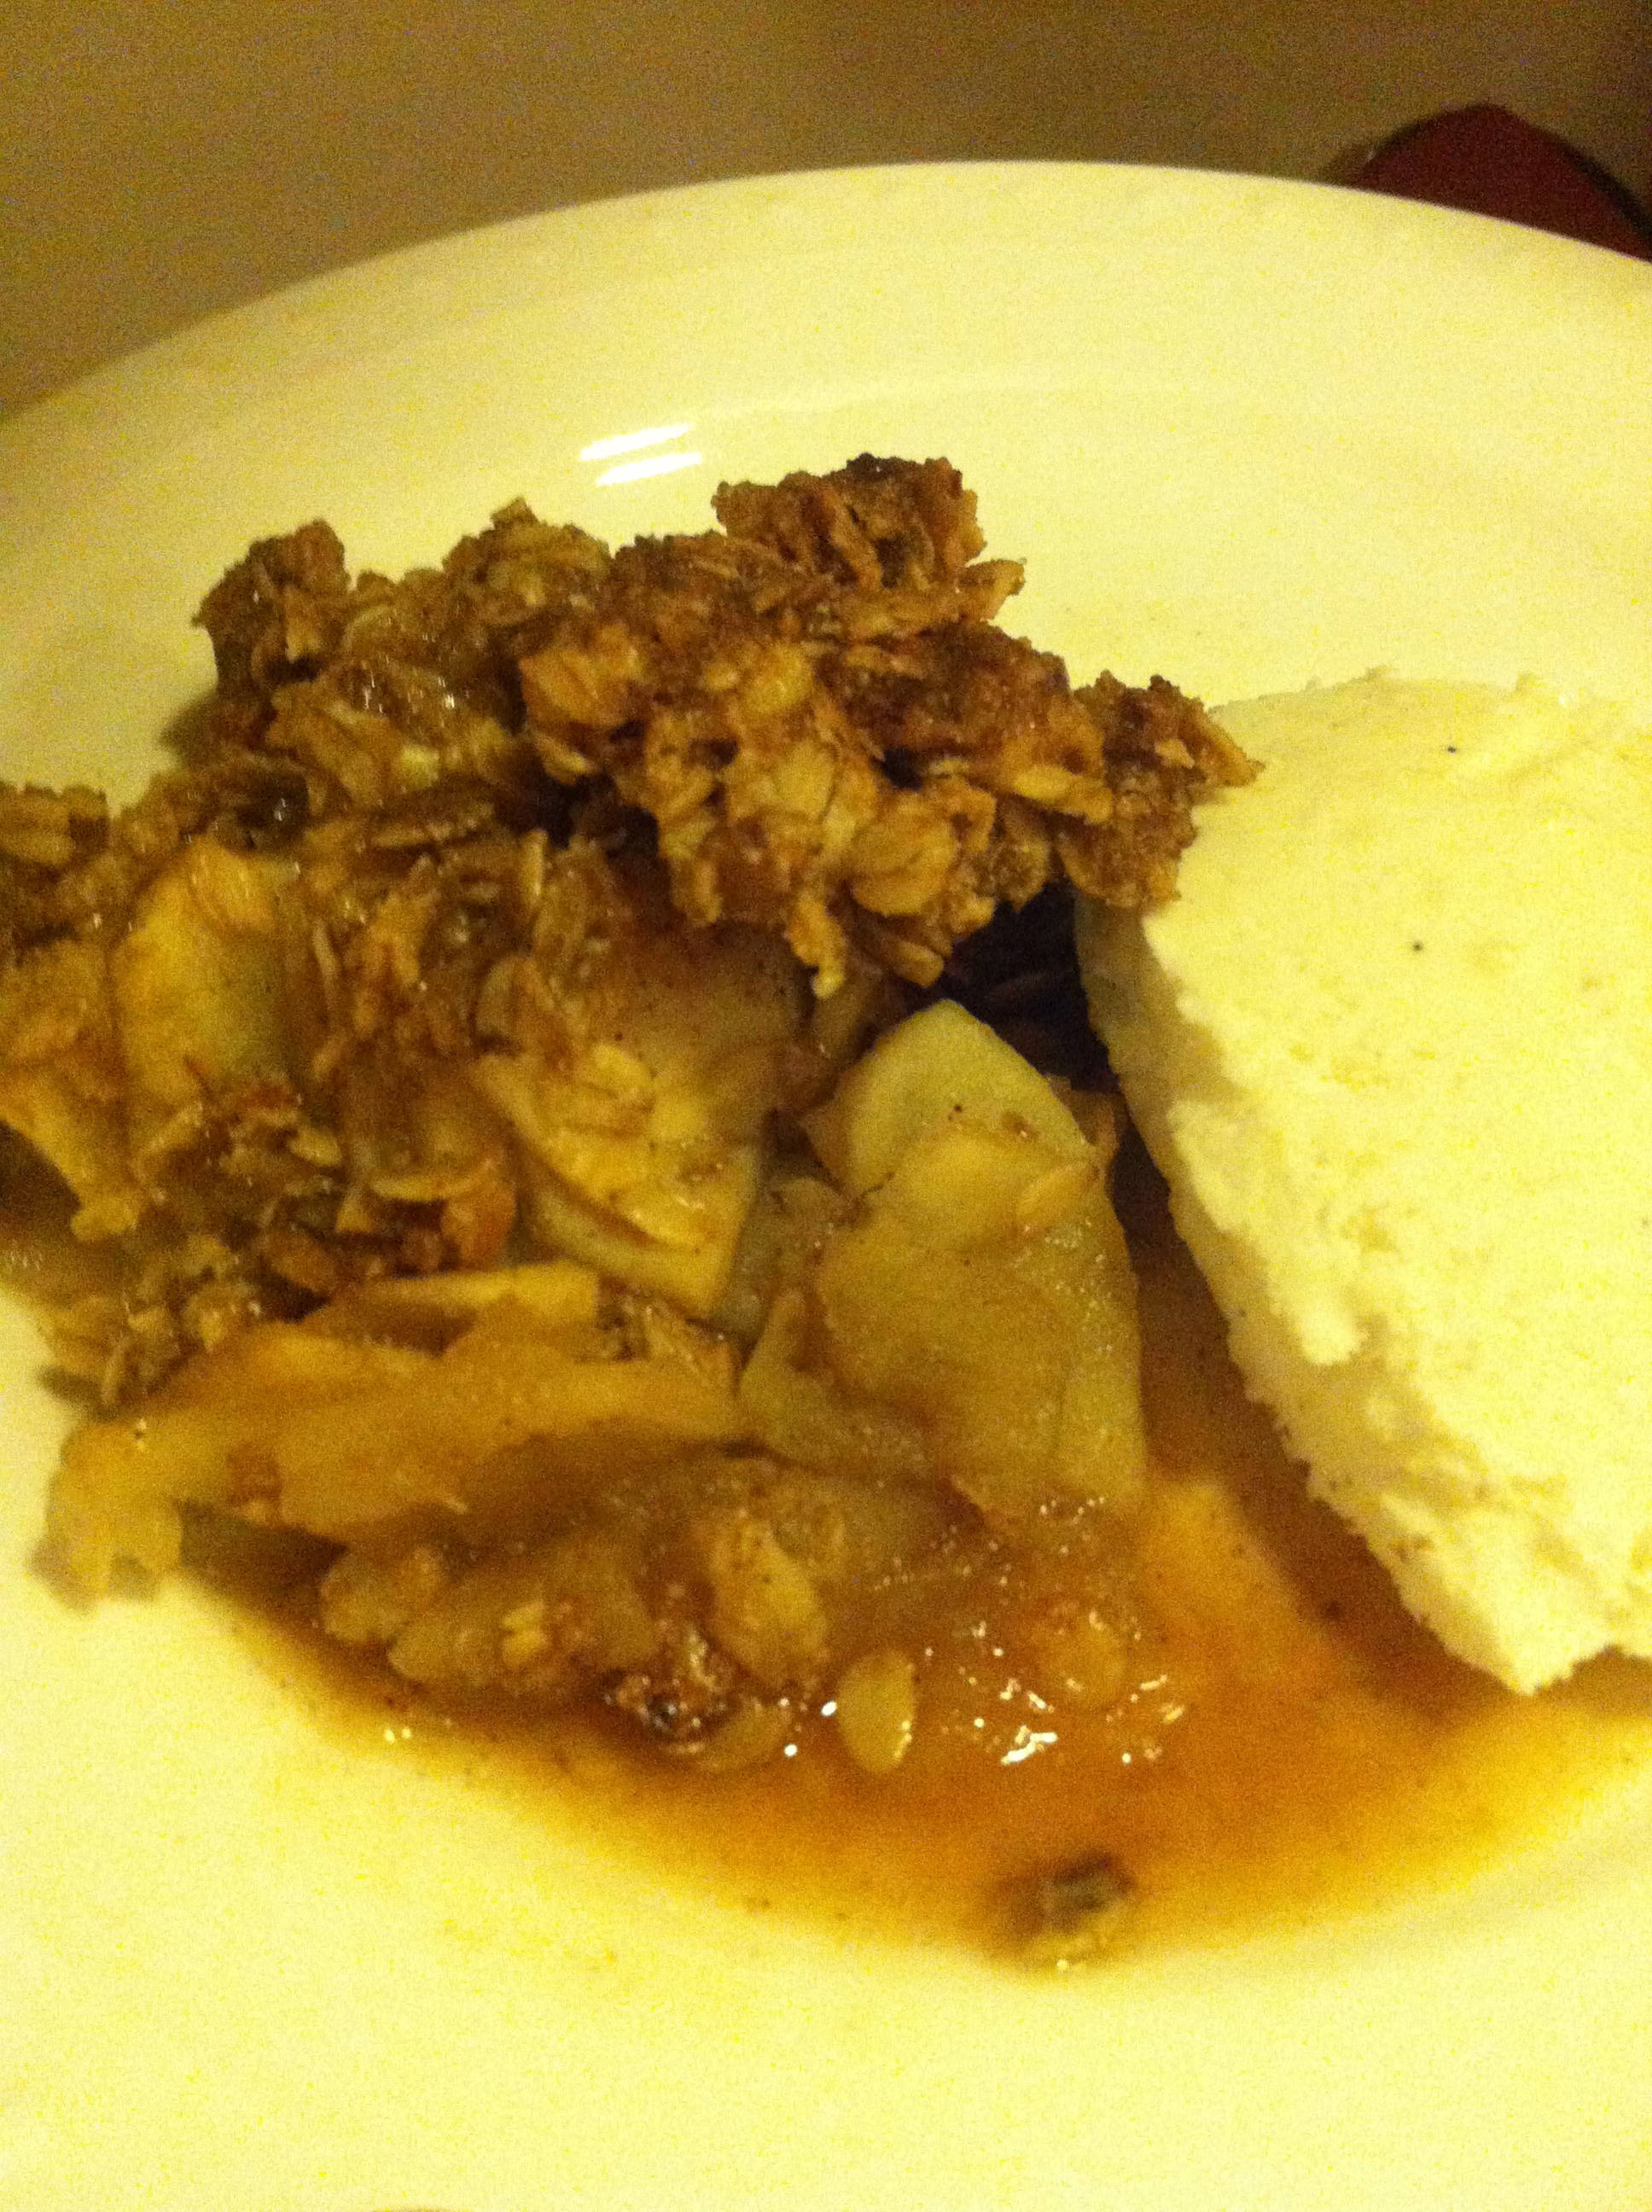
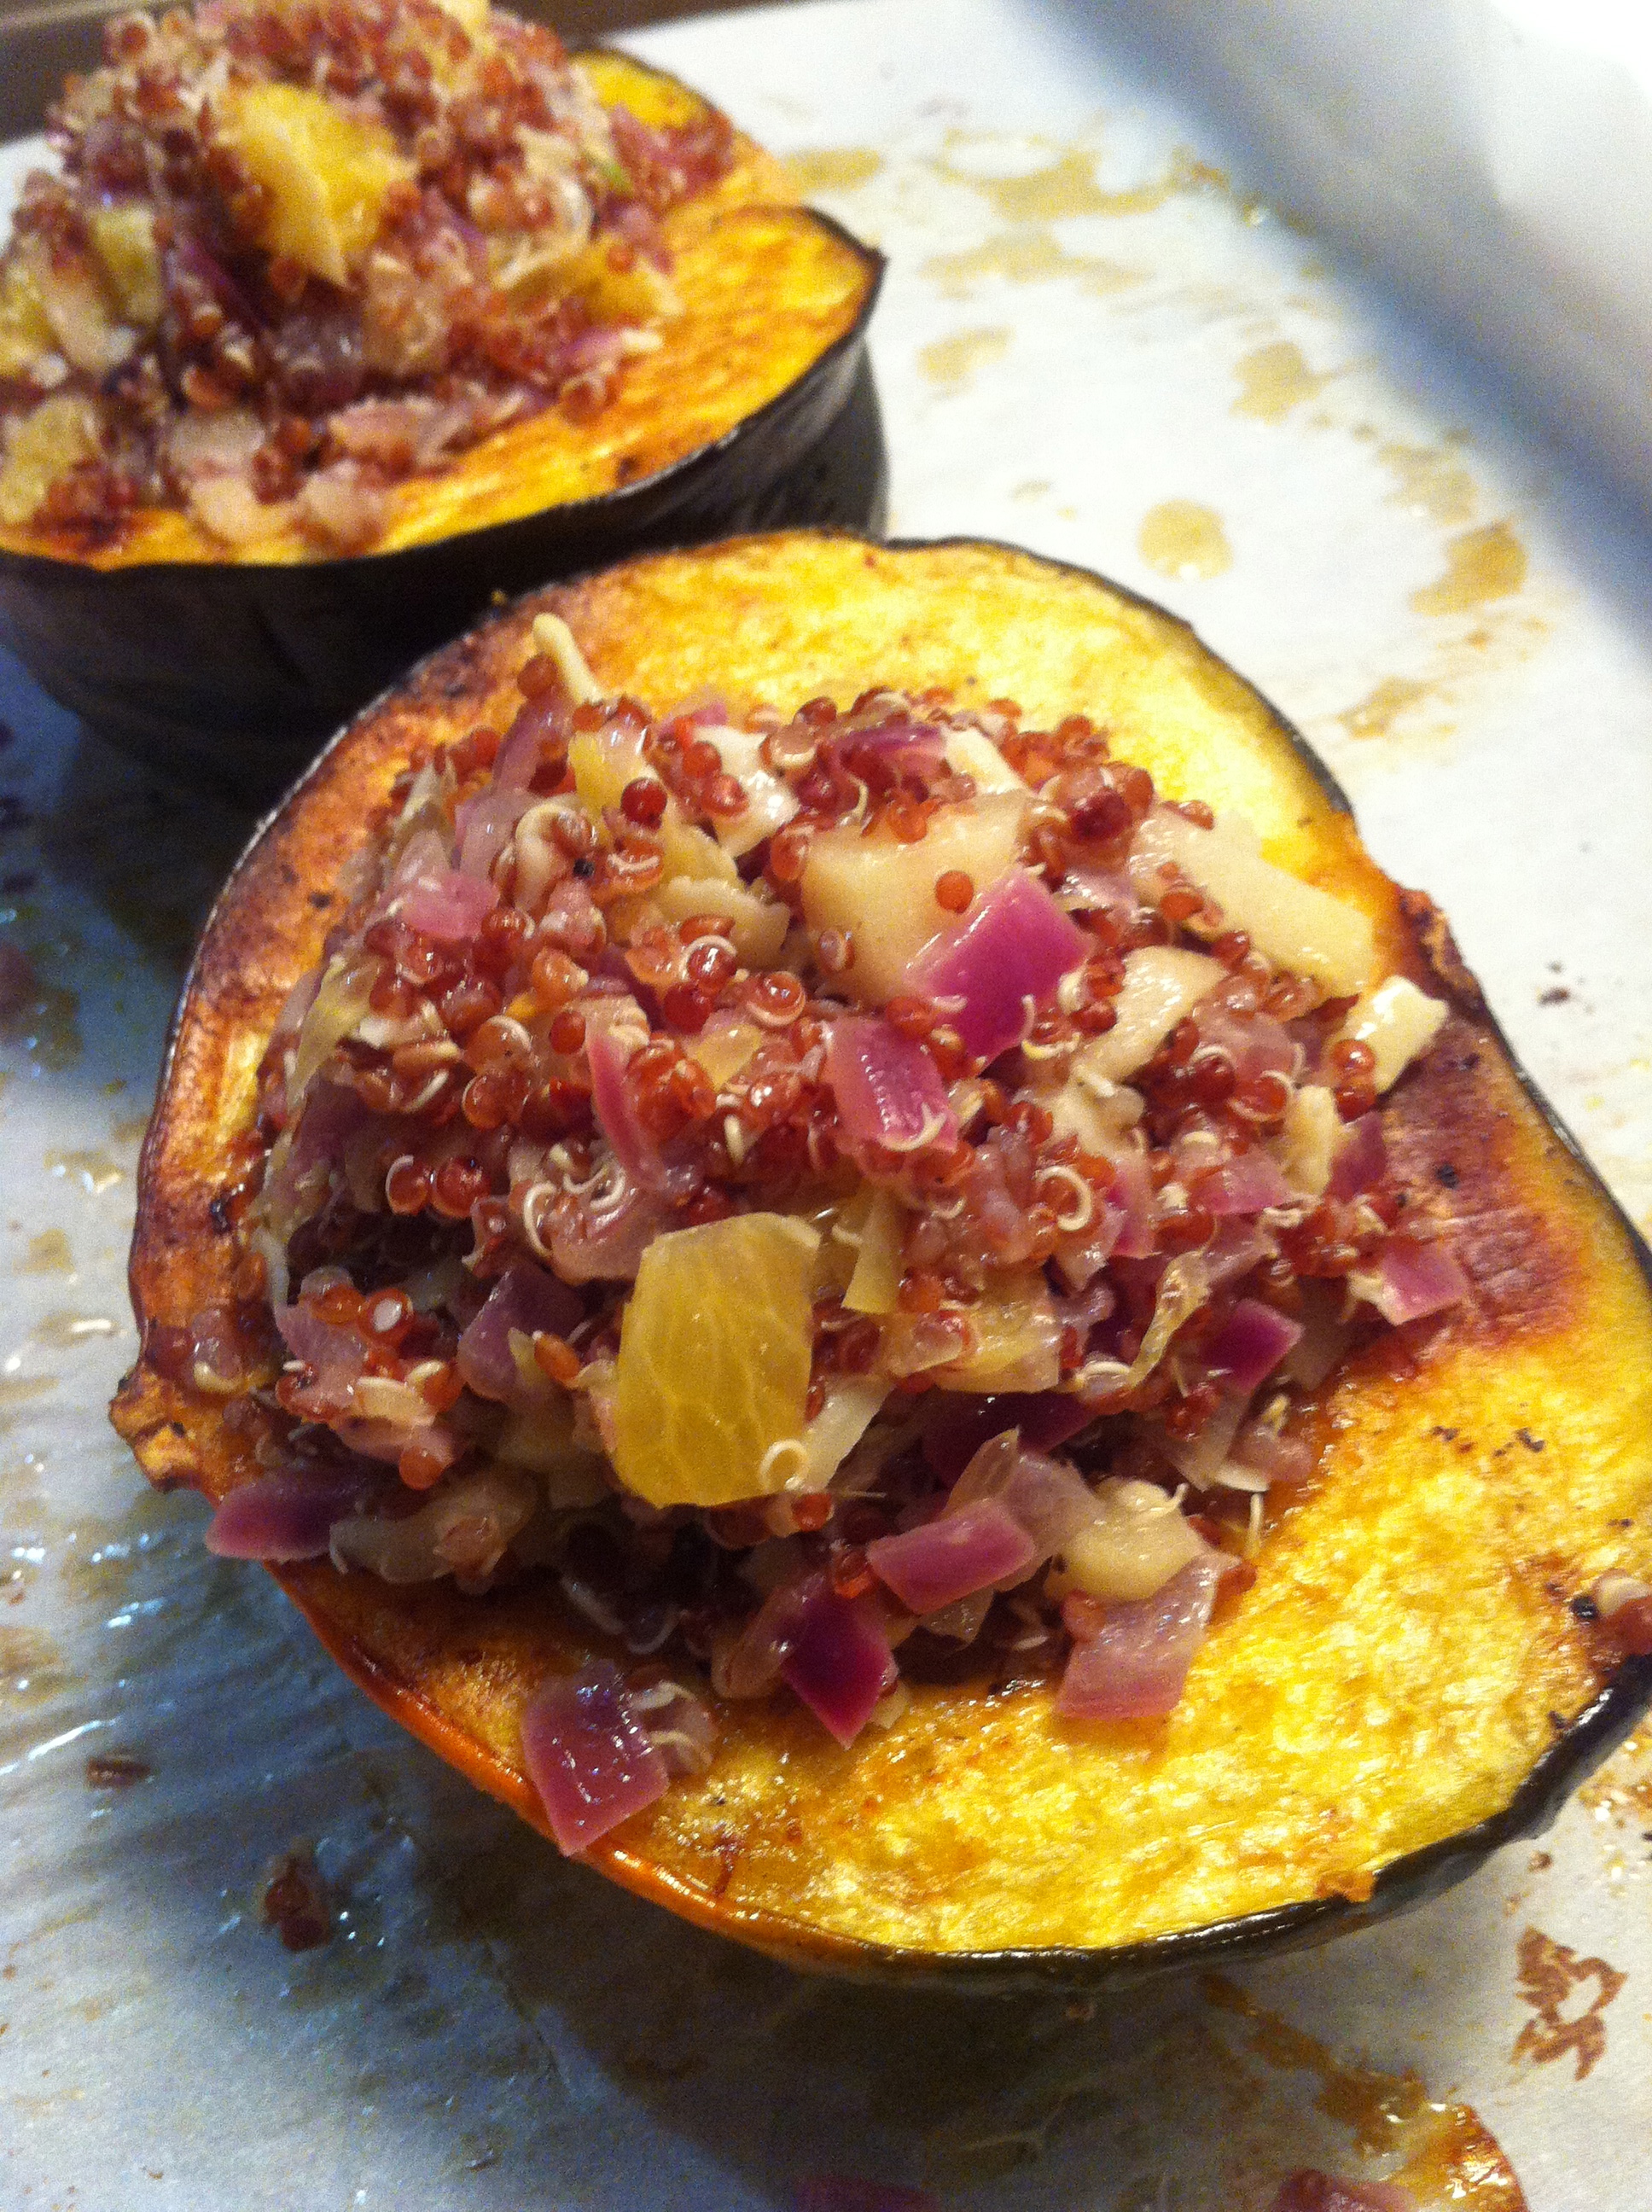
Onto the food that I’ve made. I was inspired to make this food after going to an Indian restaurant with my friend. The chana masala was amazing, and their gluten free chickpea roti was DERRRRICIOUS! Just thinking about it makes me hungry! Anyway, I made this a few days ago (but am only getting to posting now), and at that time I was on an “anti-yeast” diet. So nothing fermented (wine was out which made me cry) and no bread. Also no yogurt or cultured foods. No Cheese!!! Randomly, no onions, beets, oranges, garlic, or sugar that wasn’t in other fruits. I was pretty much a vegan who couldn’t even eat bread. TORTURE!! Additionally, I did a lil research and found nothing that really supported this diet as being a useful means of helping joint problems (my doc and I had an exchange of words). I’m off it now, but this recipe comes from that time, which is why it’s not an actual baked good. Baking was too depressing when you can’t eat sugar or butter. Even this recipe had to be modified because of the onion and garlic restriction. If you choose to make this dish, I would suggest adding in the onion and garlic, but it’s quite yummy without as well.
Aloo Gobi
inspired by this!
Ingredients: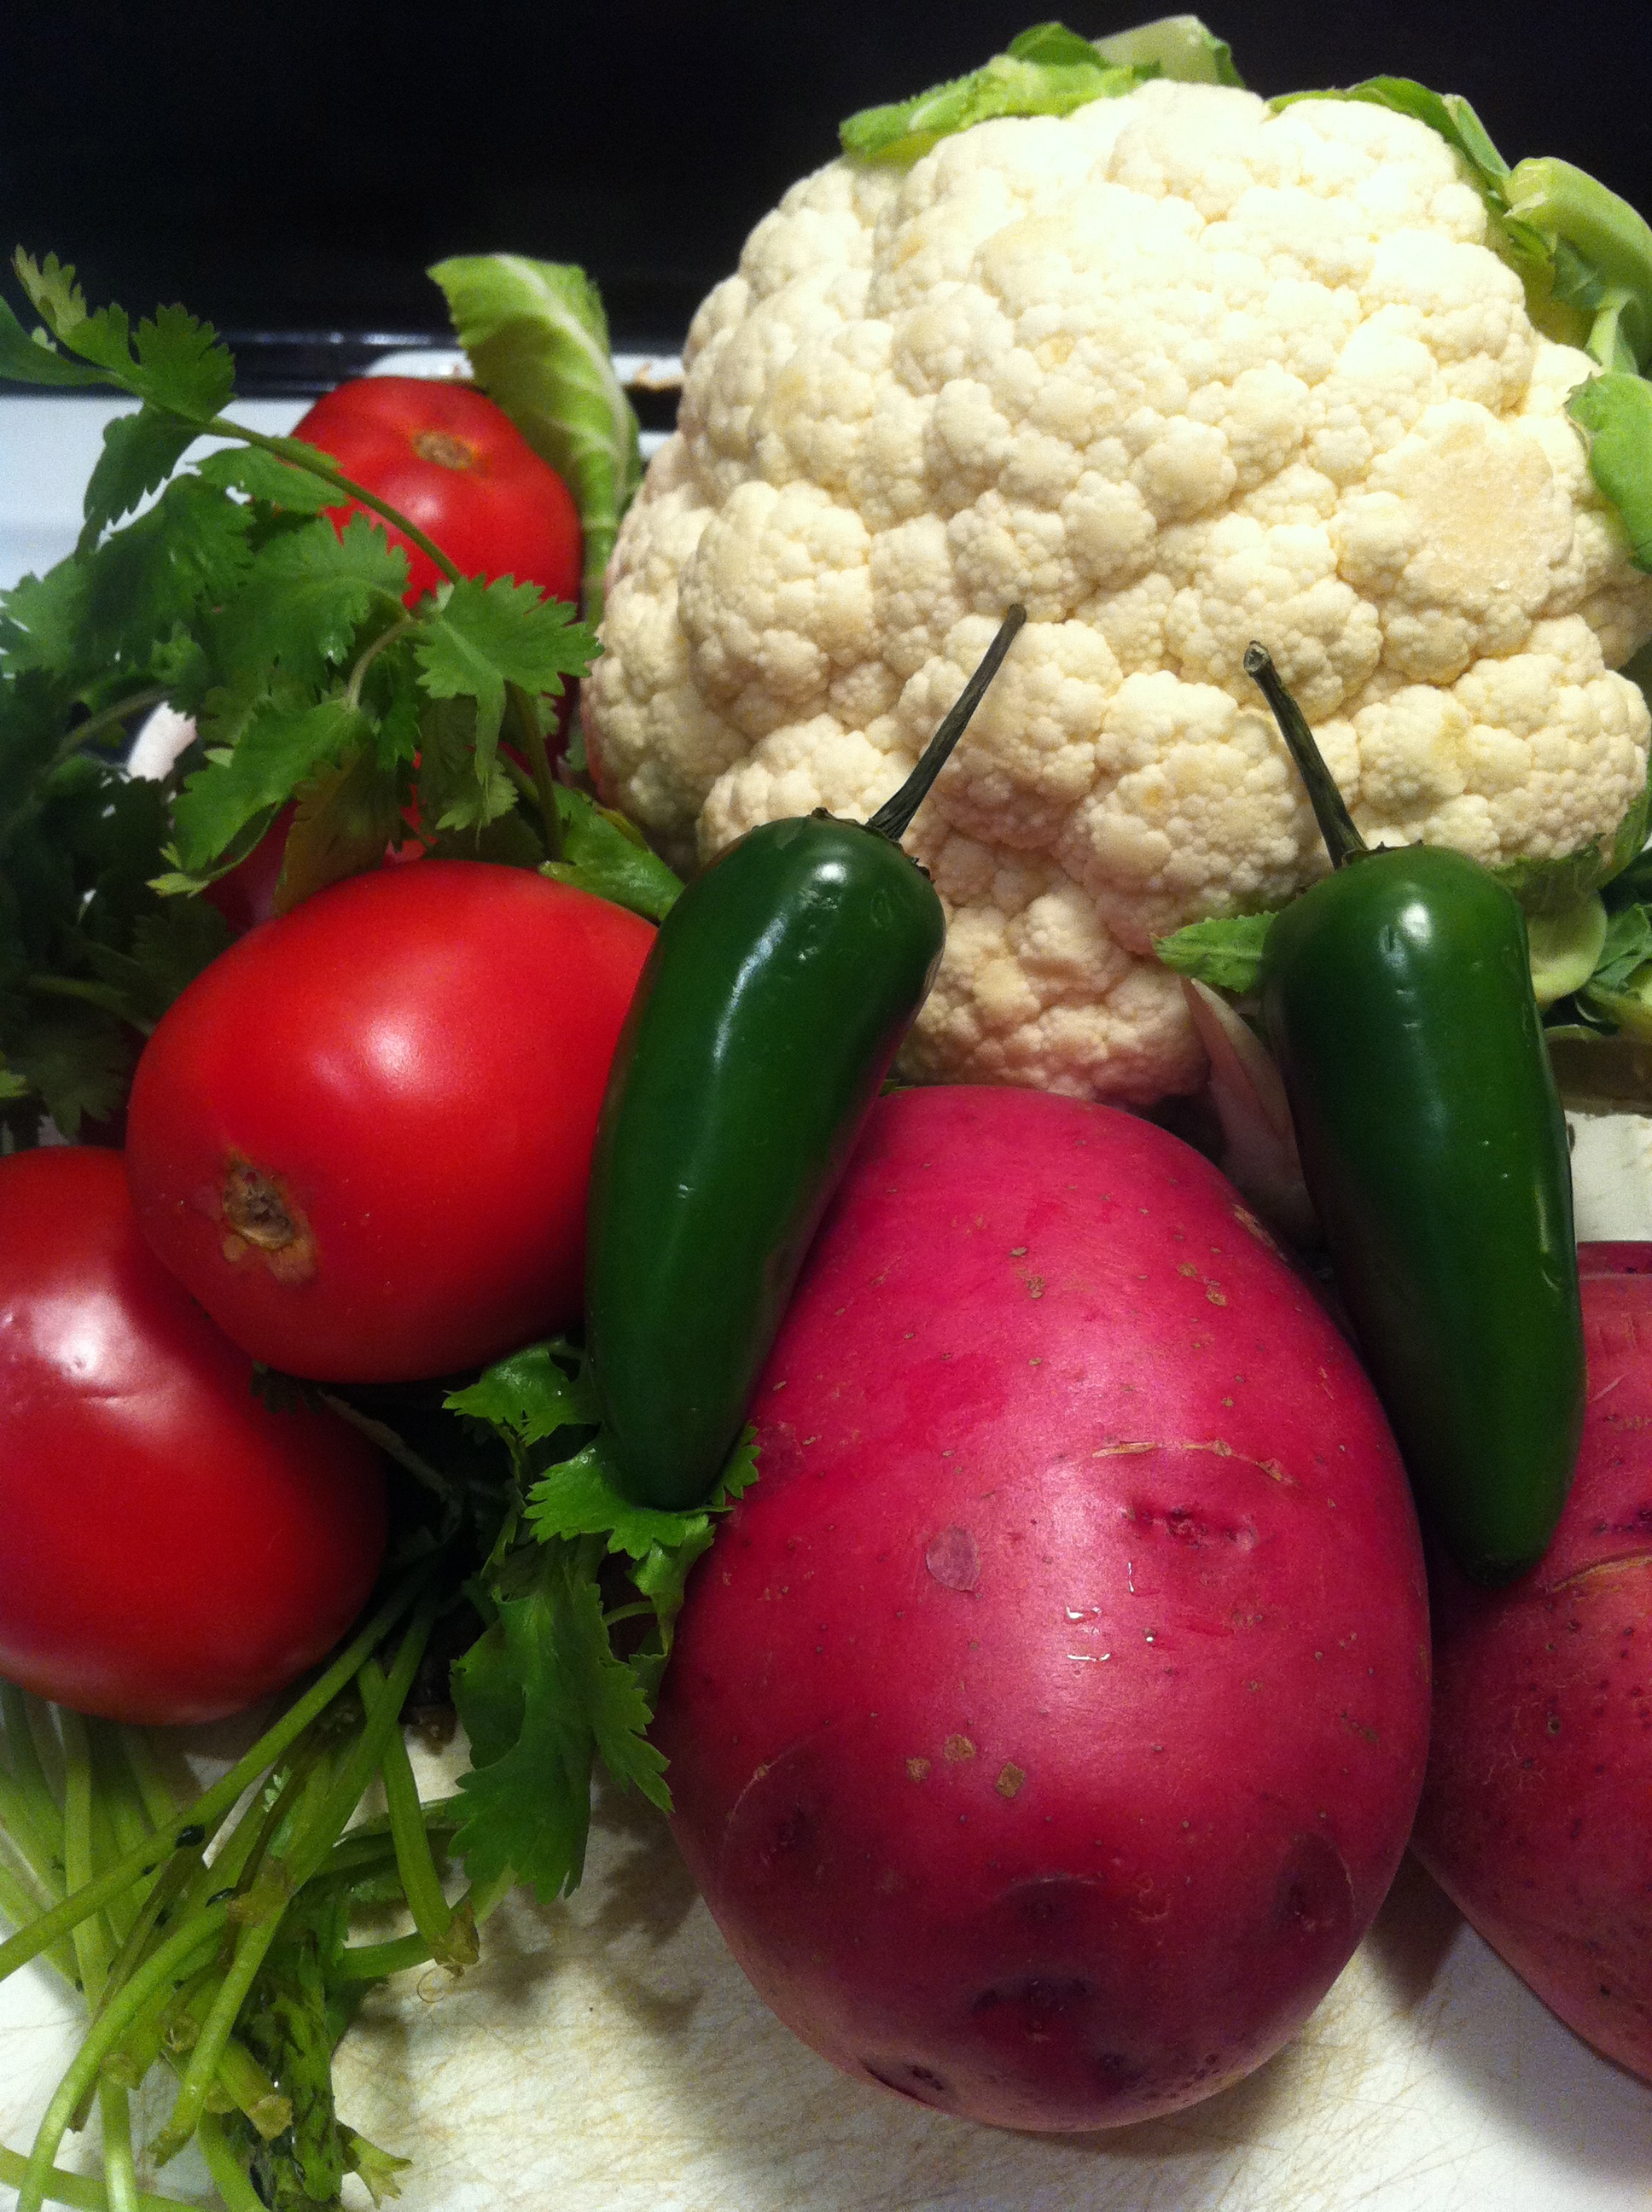
1/4 cut olive oil
1 onion (optional)
1 bunch of cilantro, divided into stalks and leaves
2 small jalapenos (This is what I used, but would have preferred serrano)
1 head cauliflower
3 medium red potatoes
5 Roma Tomatoes
Fresh grated ginger
Fresh garlic (optional)
1 teaspoon cumin seeds
2 teaspoons turmeric
1 teaspoon salt
2 teaspoons garam masala
How to make:
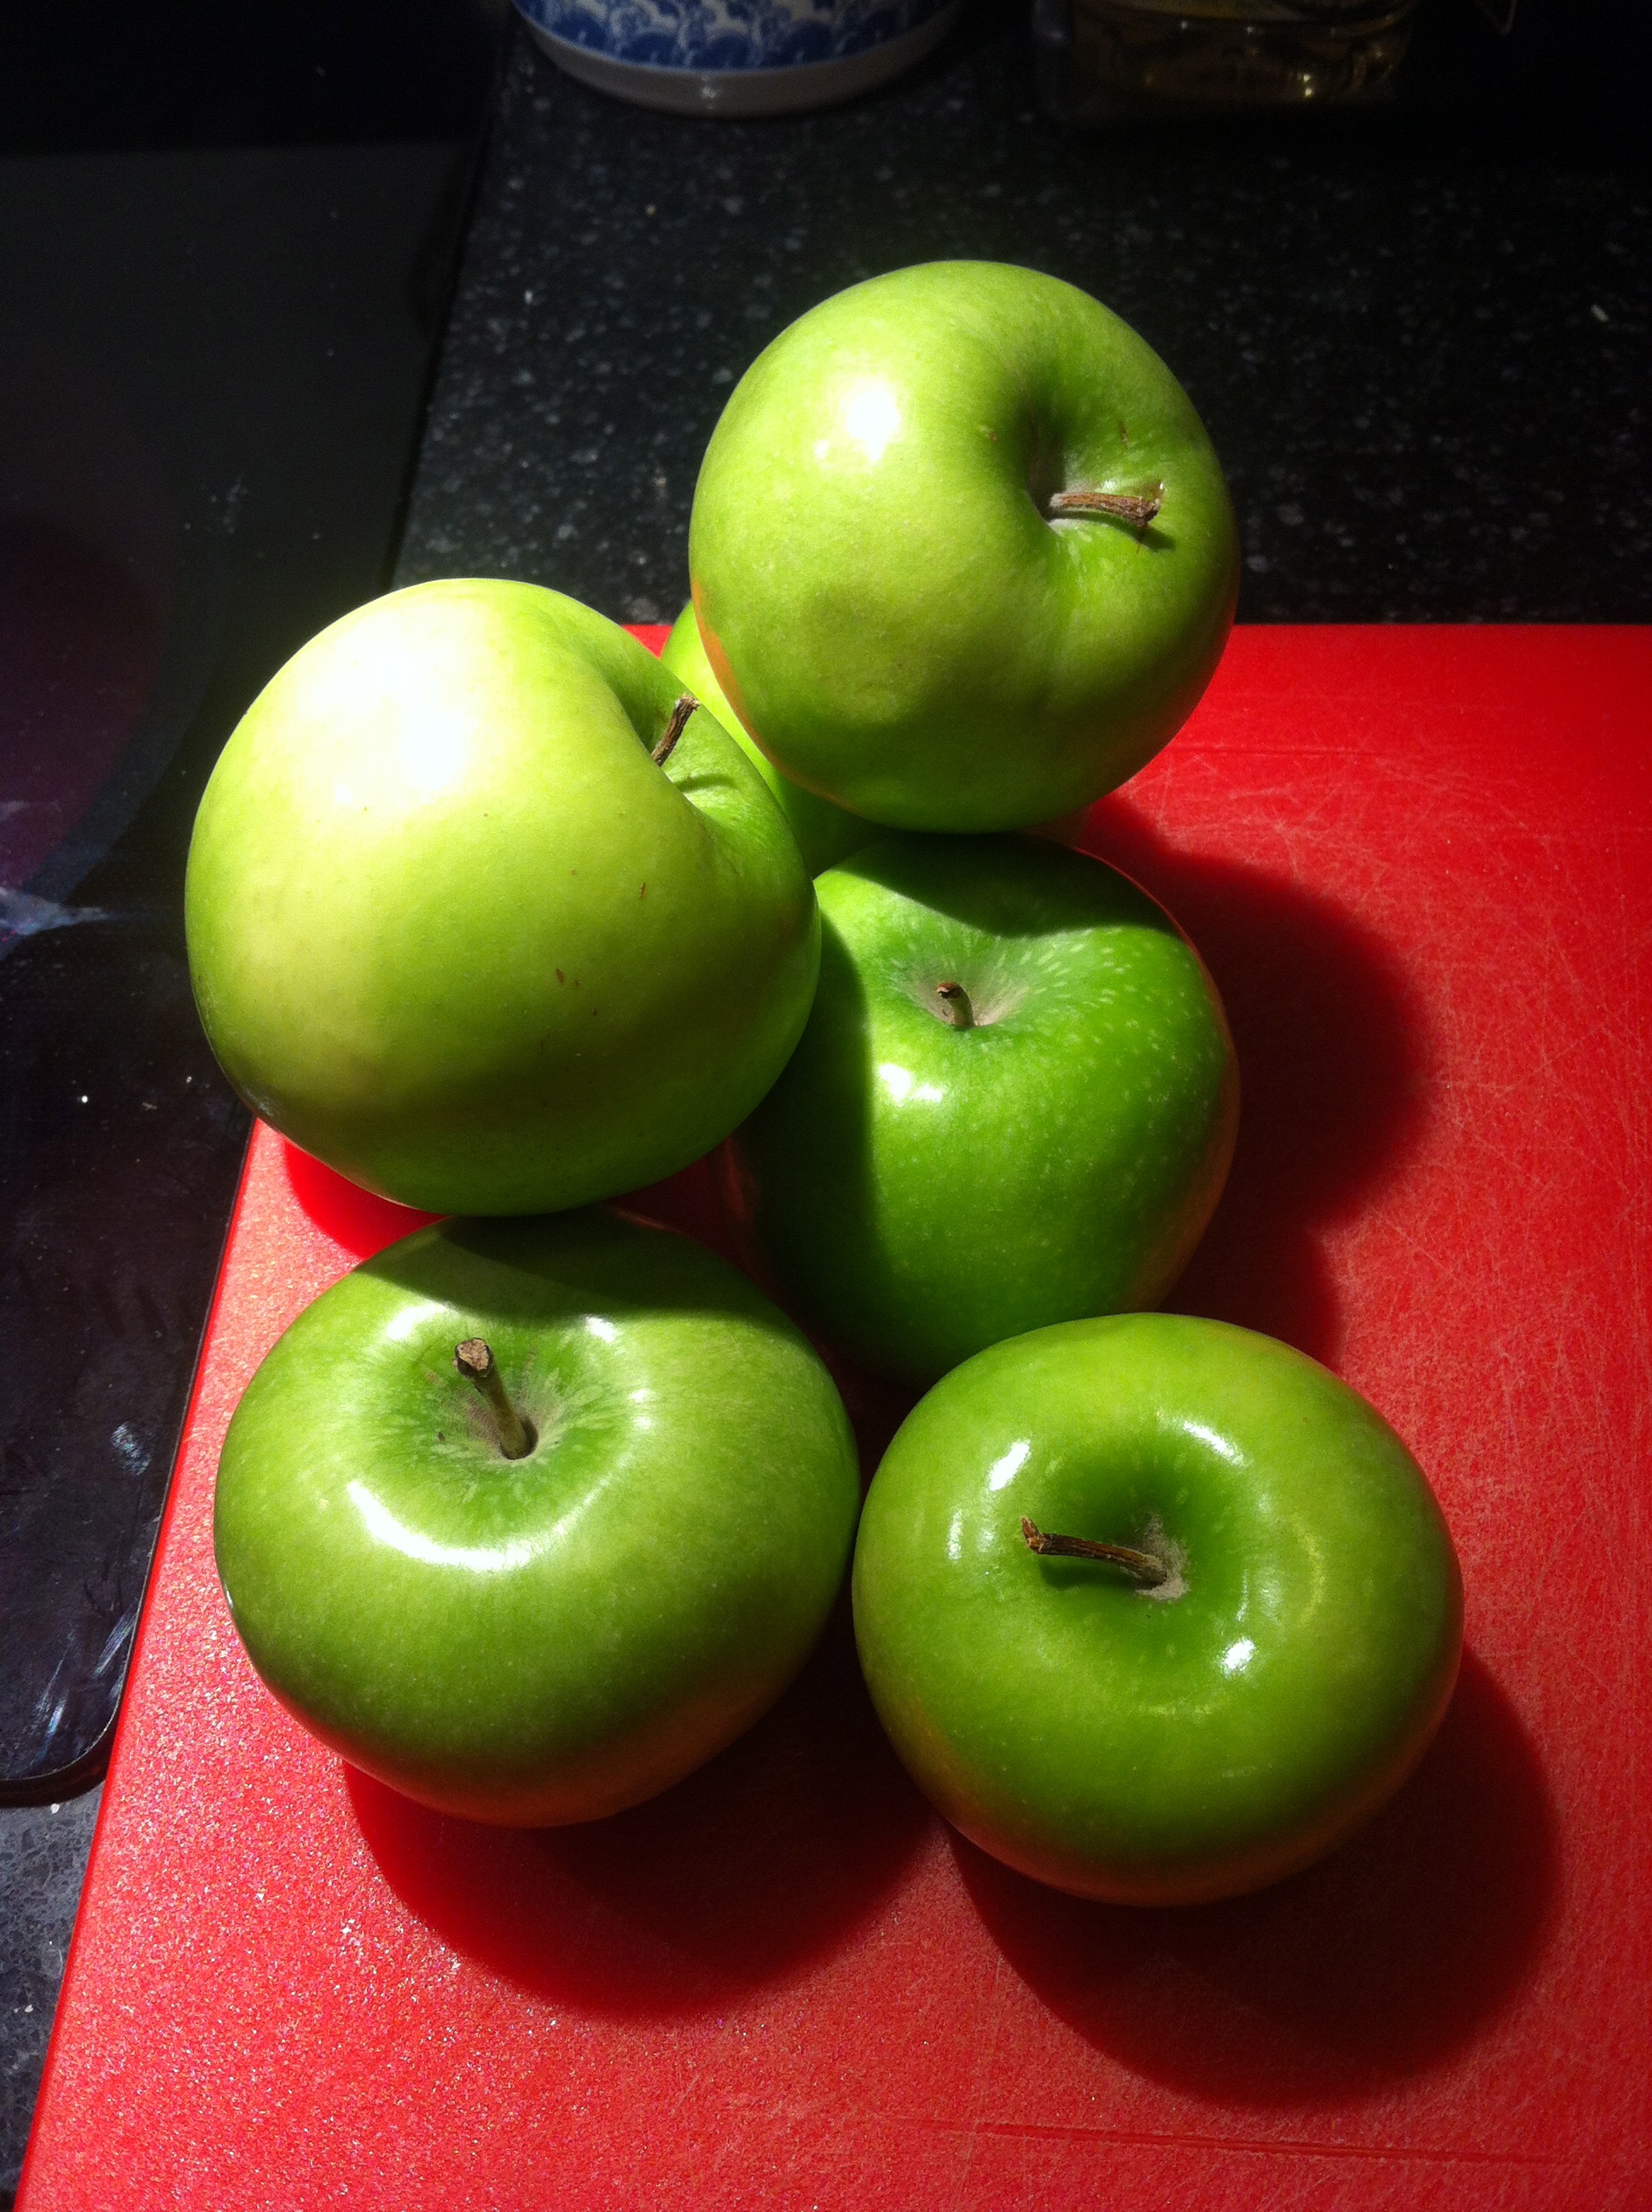
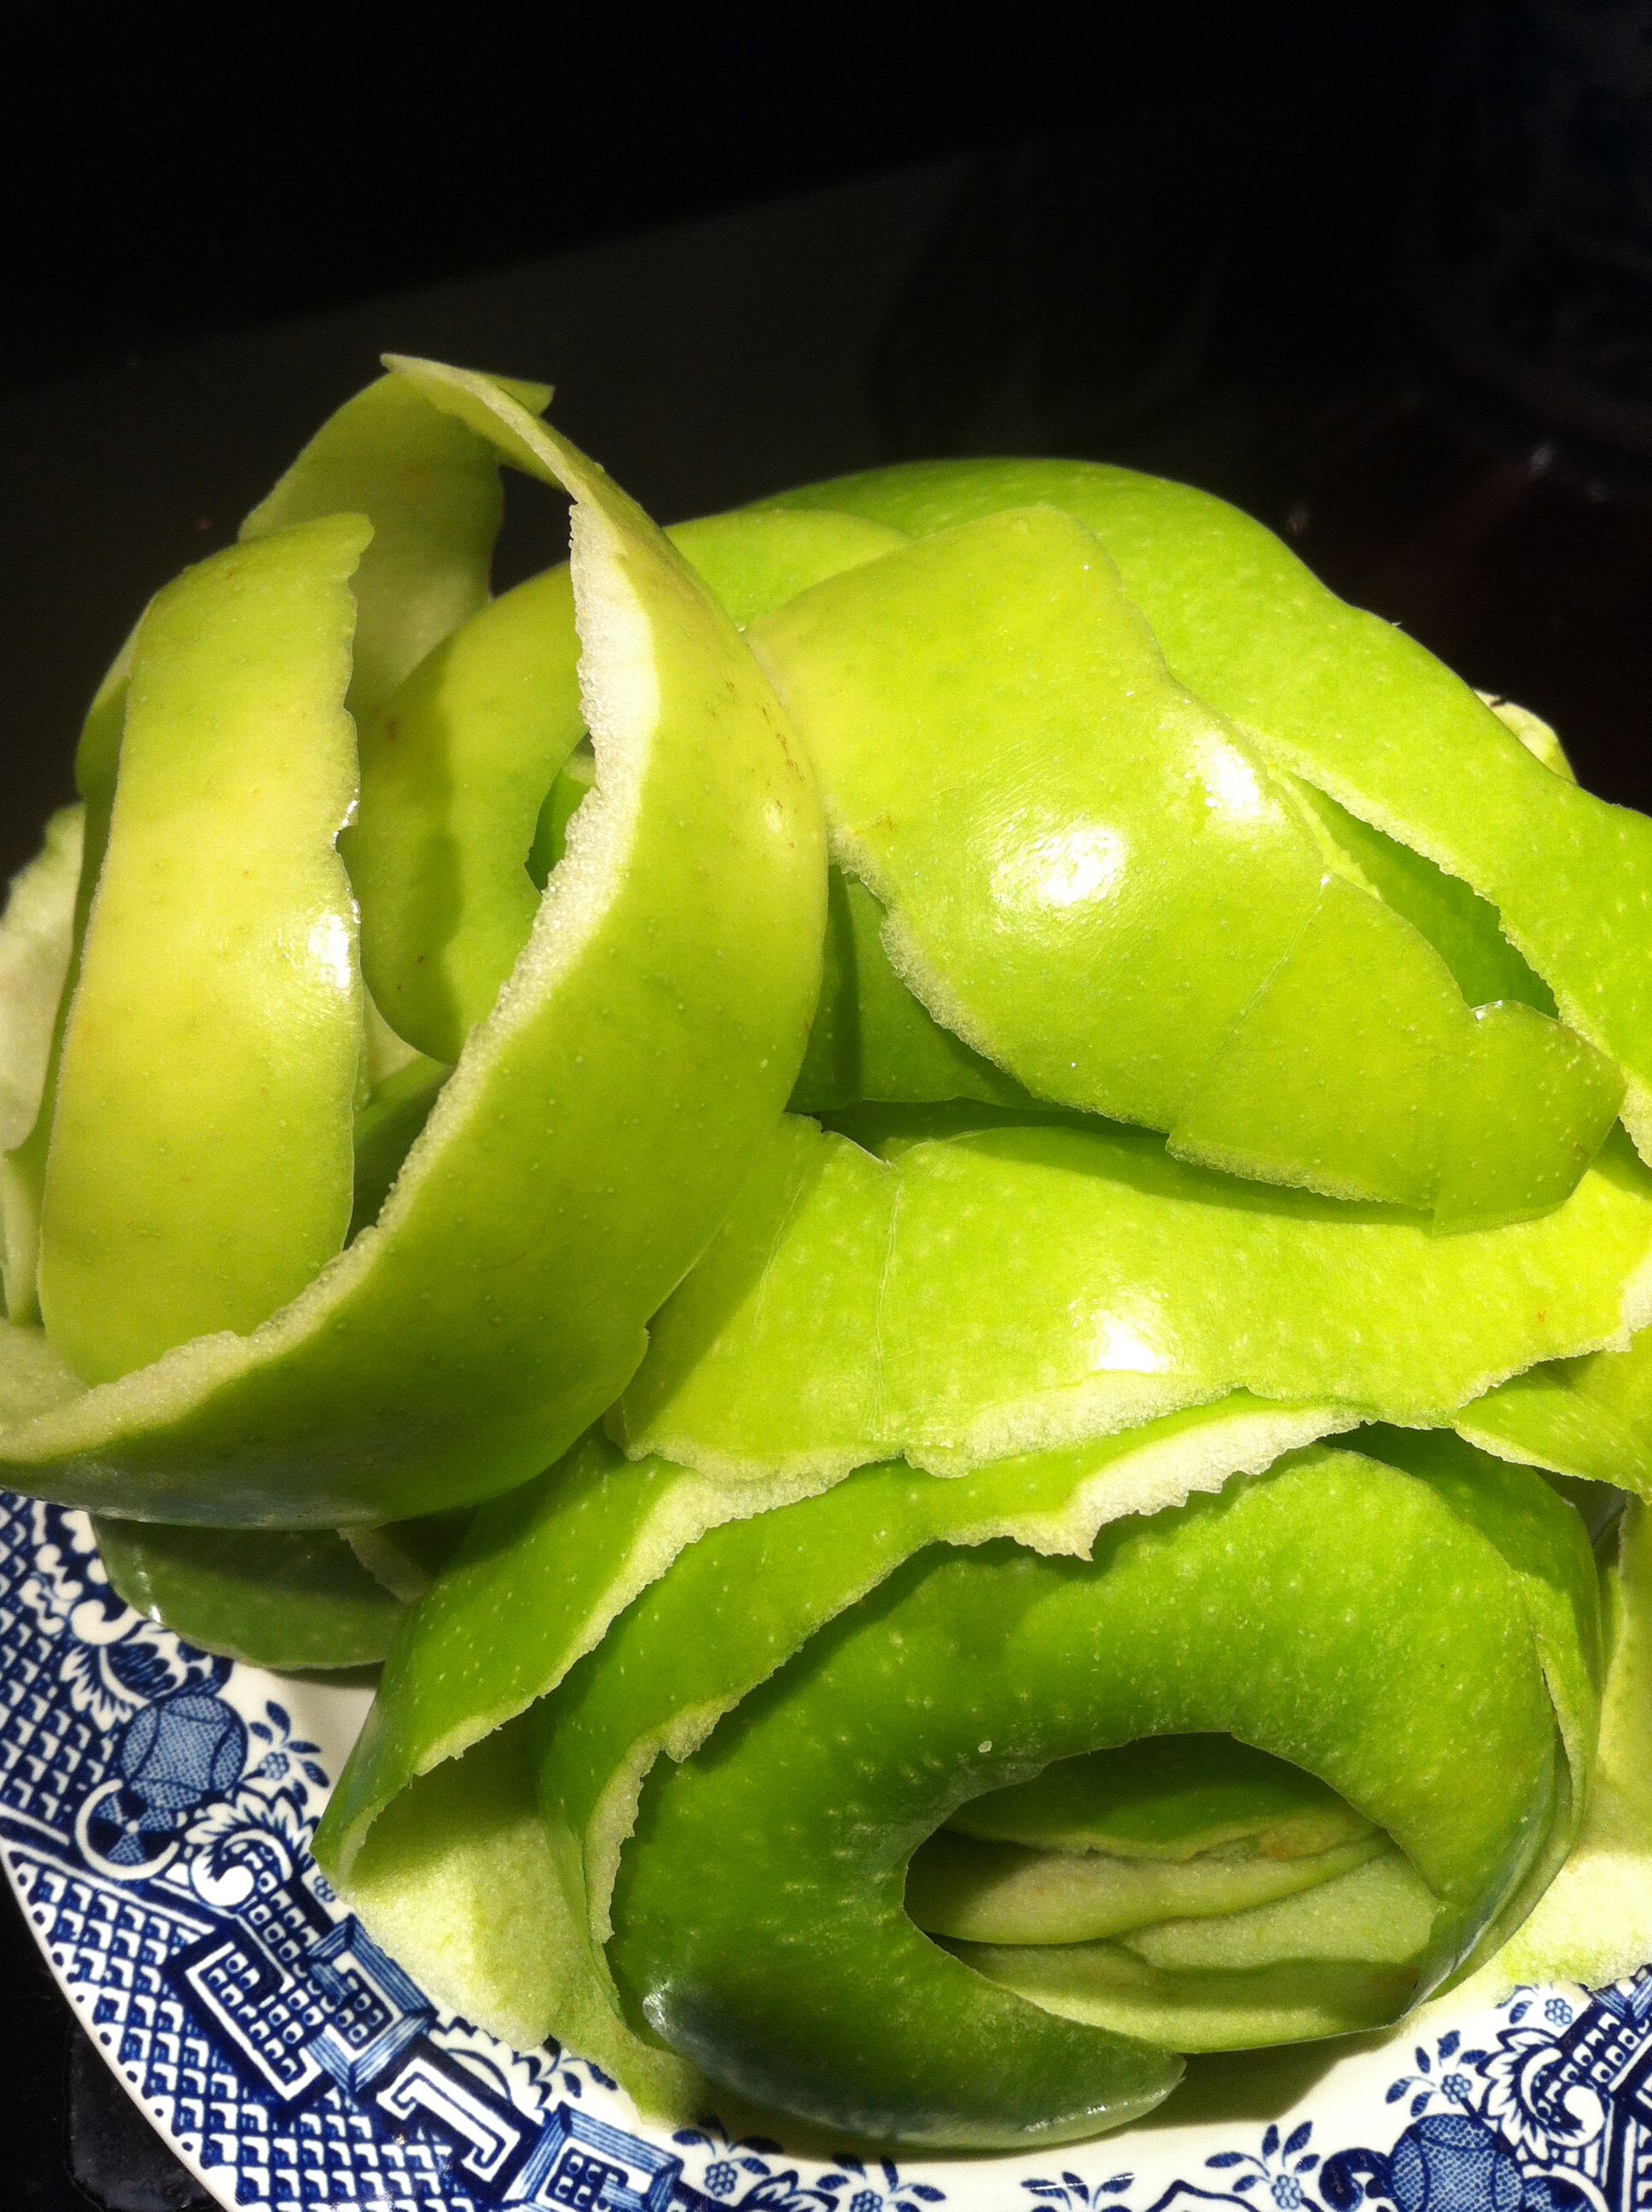
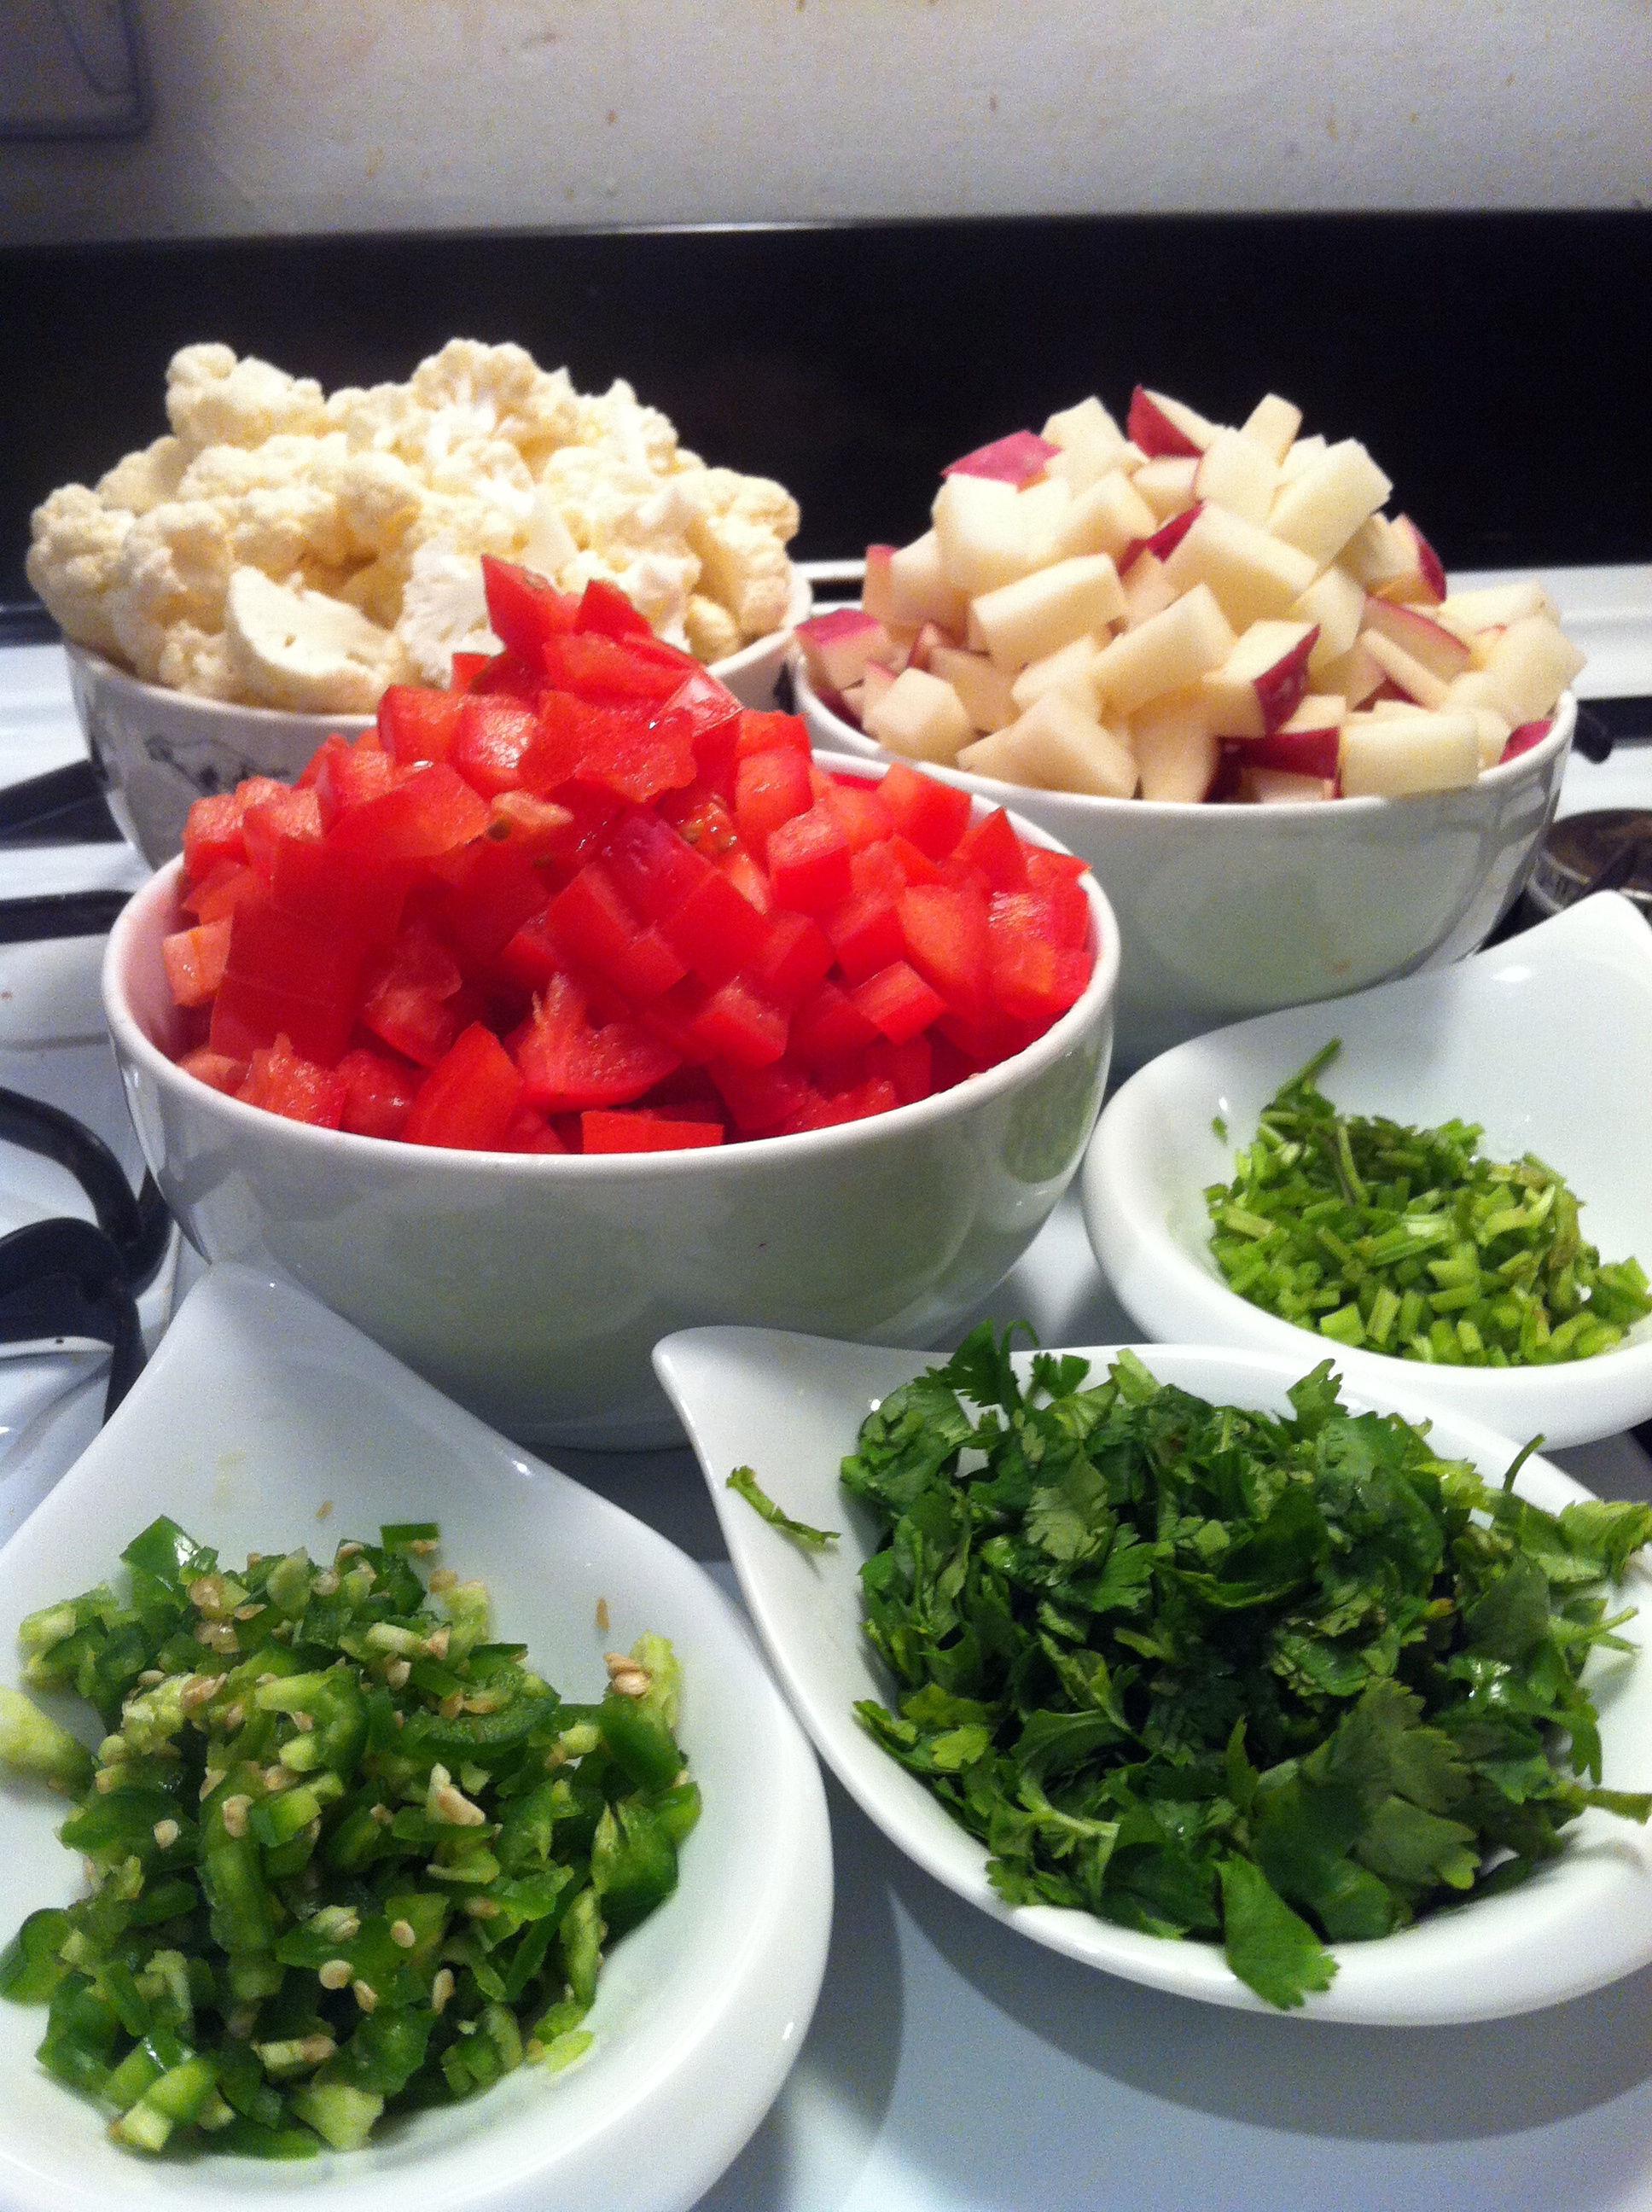
1. Chop onion (optional), cauliflower, potatoes, and tomatoes into small cubes. Dice garlic (optional), cilantro (leaves and stems divided), and jalapenos. Keep everything divided into bowls.
 2. Heat oil in a large pot. If you’re doing the onions, toss them in now with the cumin seeds and cook until onions become translucent. Or just add the cumin and let is sizzle for ~2 minutes. Next, add in the cilantro stalks, turmeric, tomatoes and jalapenos. Allow to cook in oil for ~1 minute. Then add in ground ginger and garlic. Mix completely. I let it heat up so that it was starting to bubble a little before moving onto the next step.
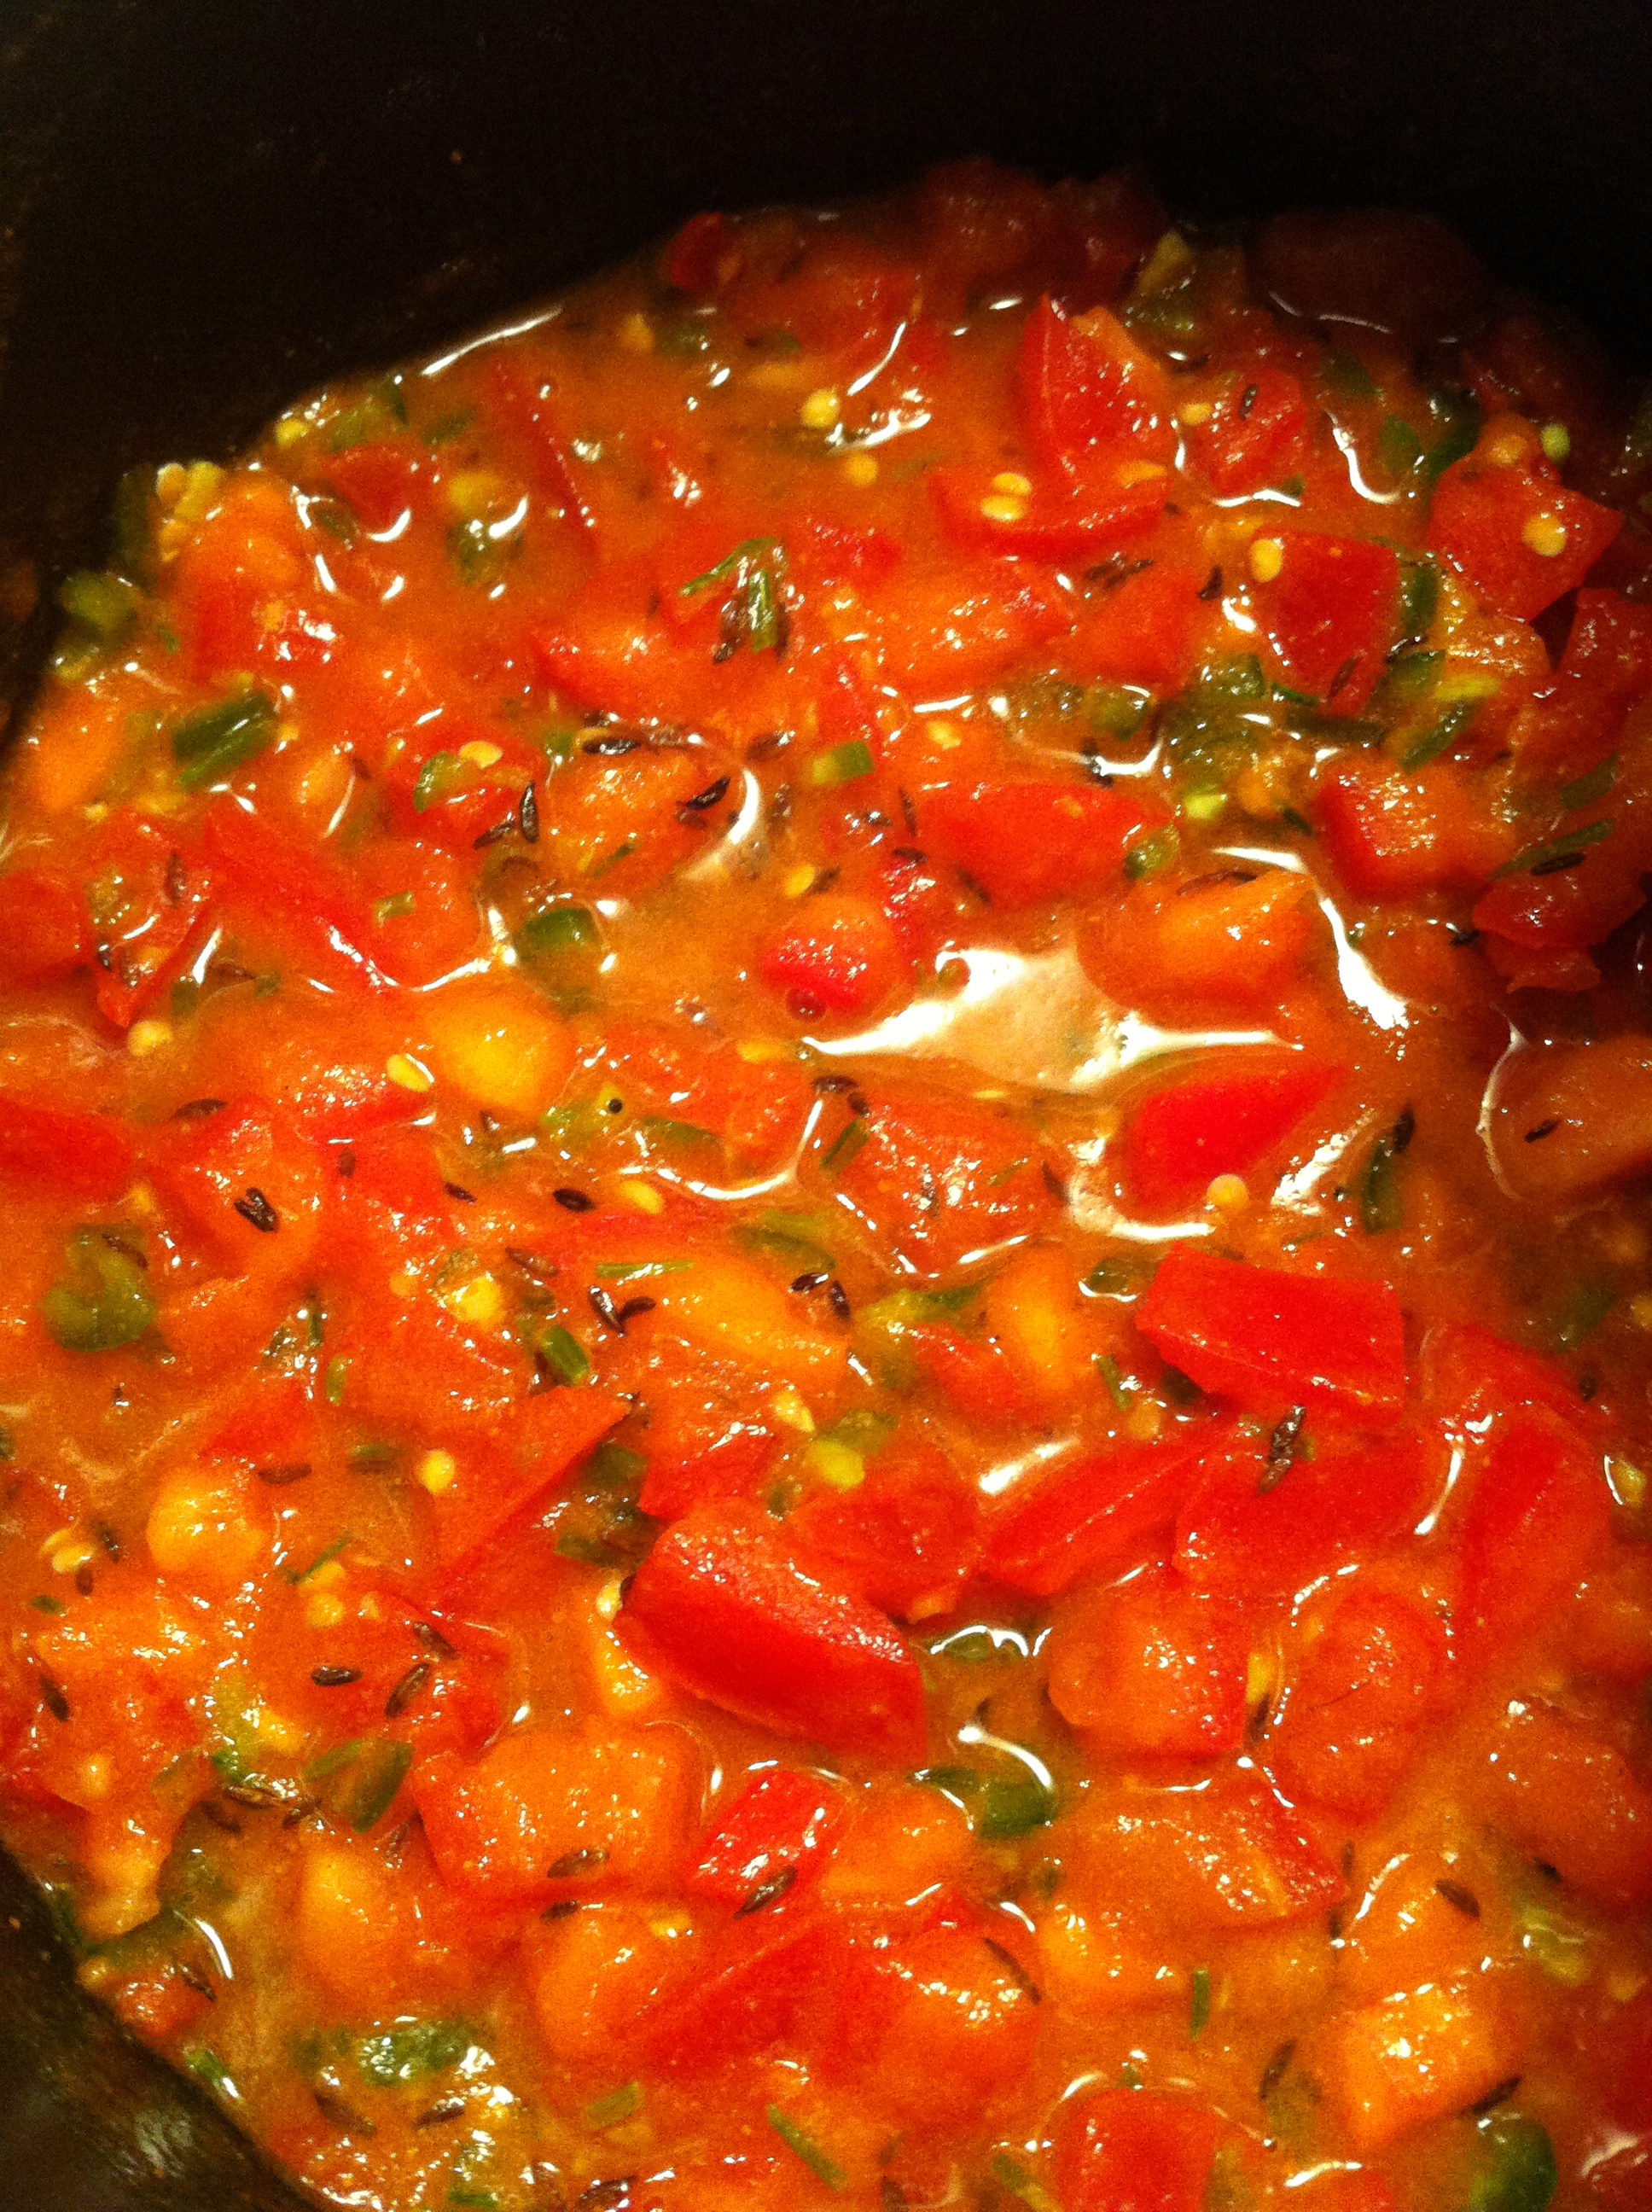
The Tomato Sauce
3. Add in the cauliflower and potatoes into sauce with ~1/4 cup water. Stir completely, making sure all cauliflower and potato gets covered in the sauce. Then cover the pot with a lid and allow to simmer for ~20 minutes or until the potatoes are easily pierced with fork.
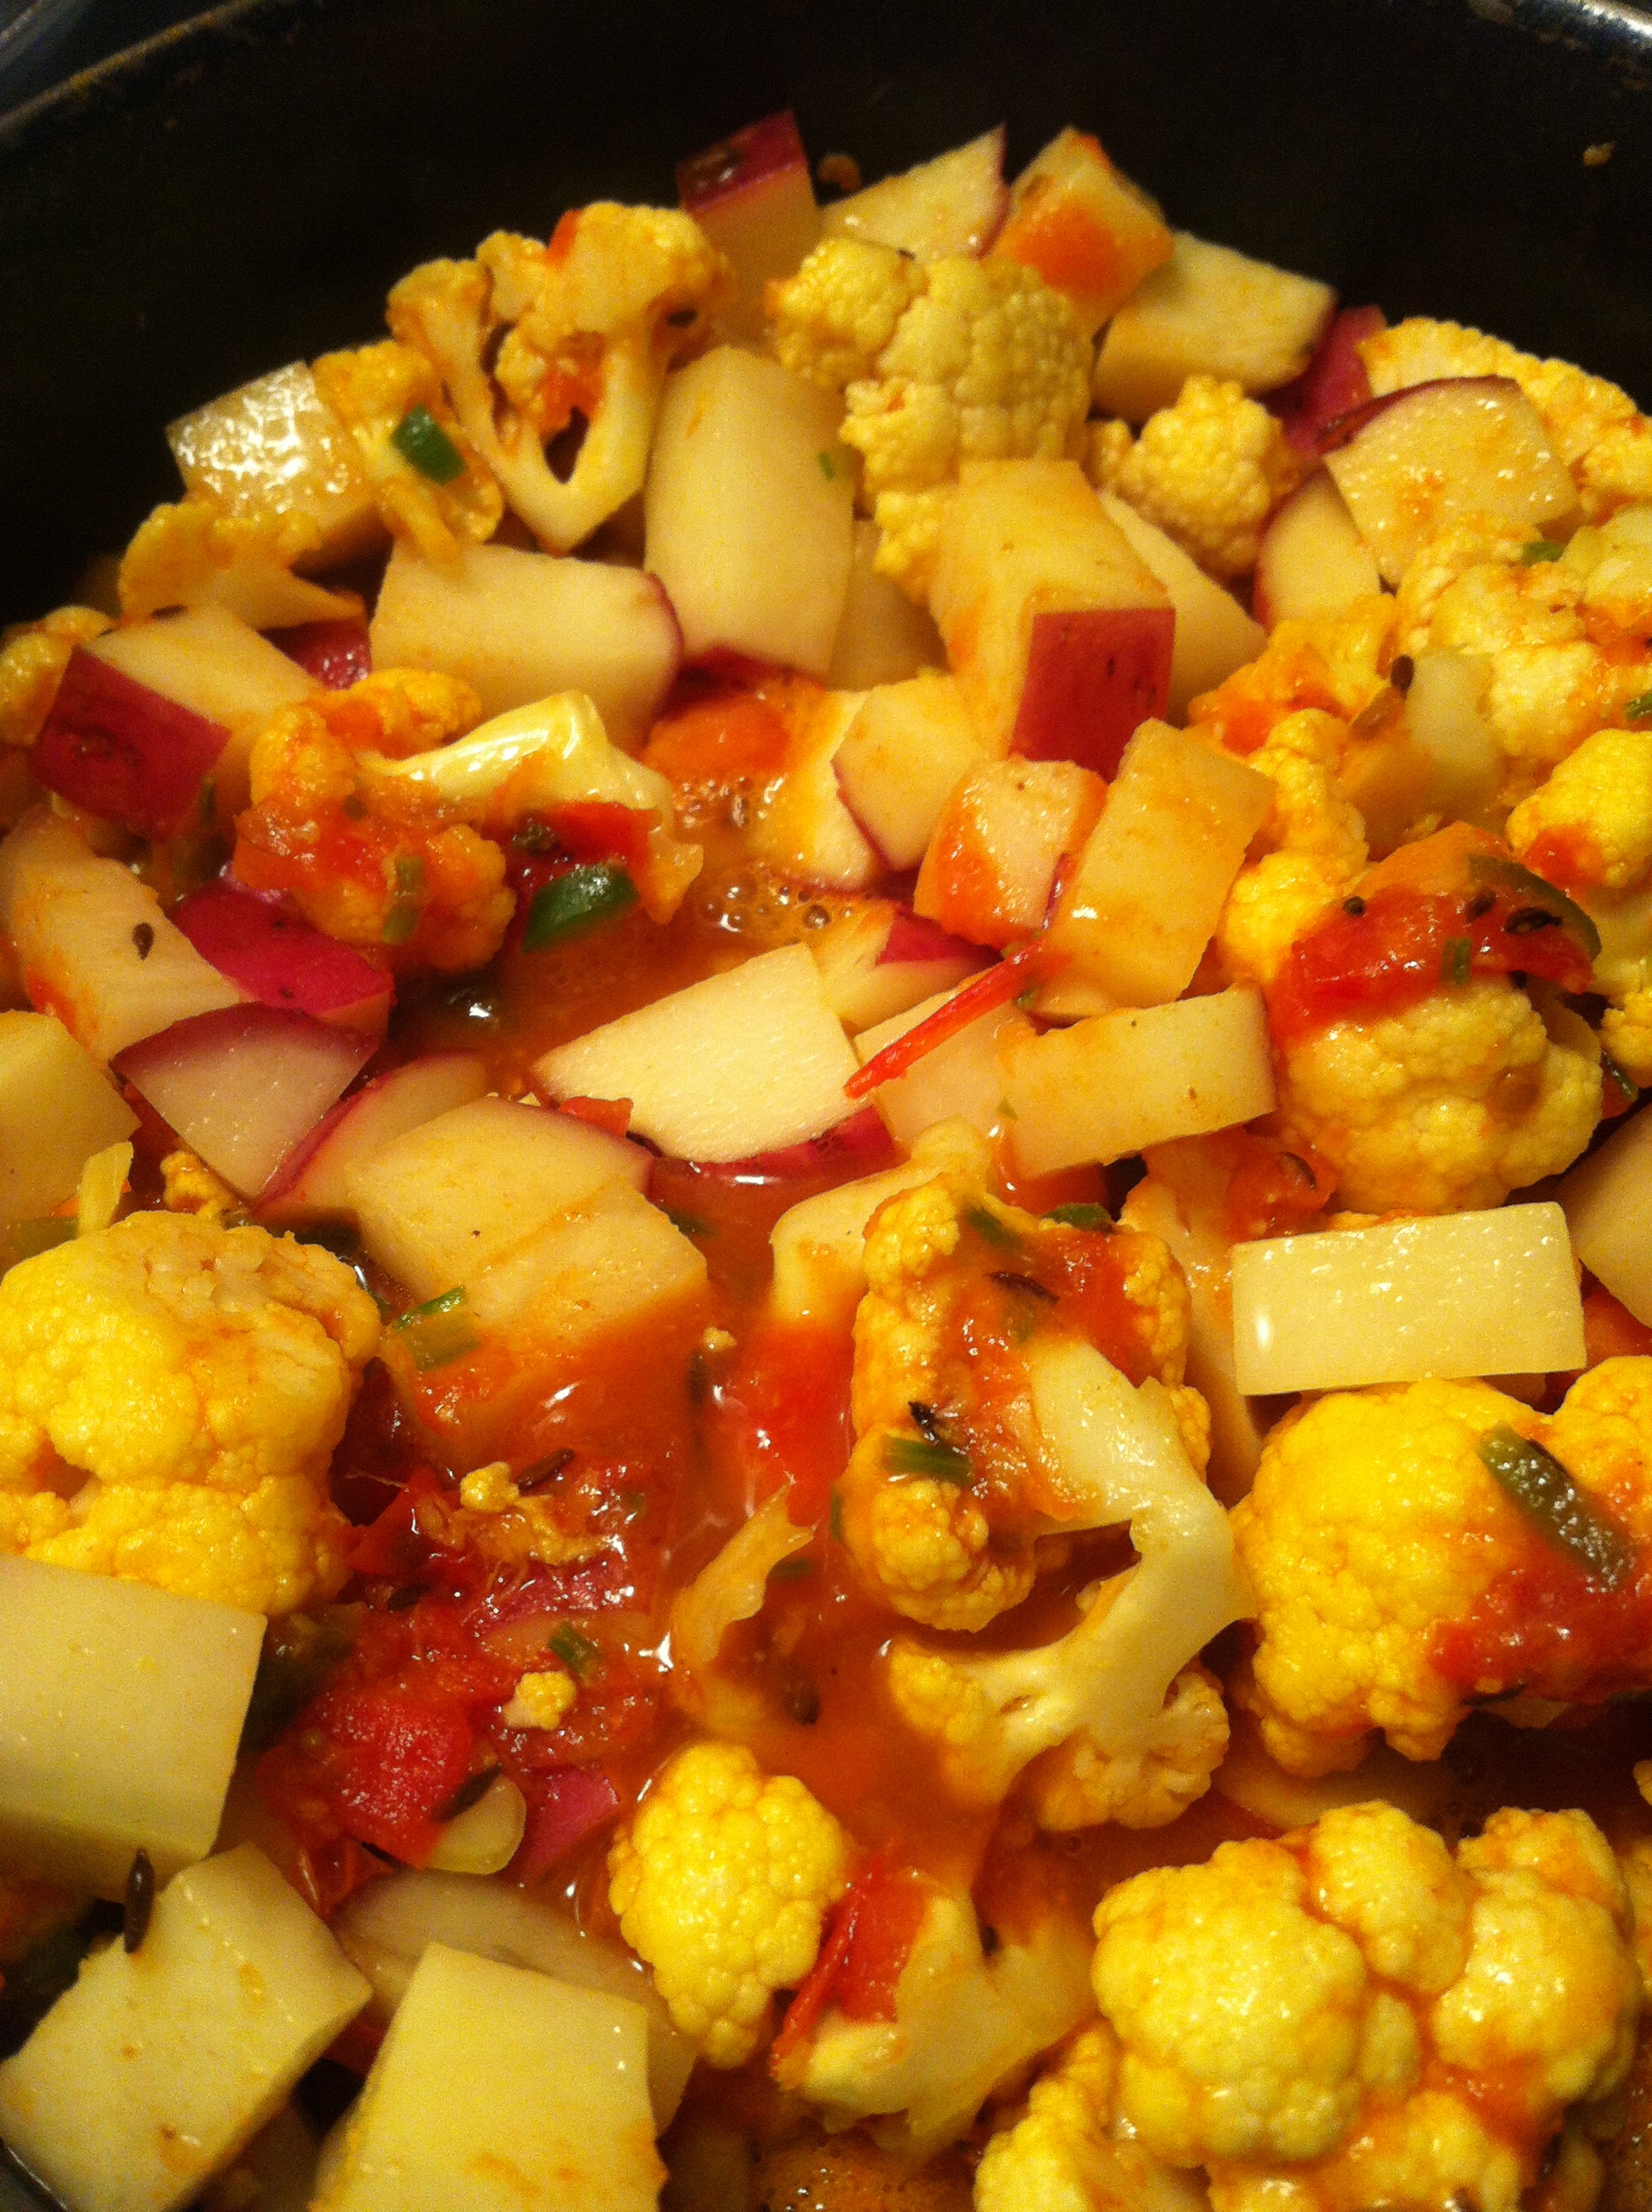
Before Cooking
4. Once cooked through, add in the cilantro leaves and garam masala and mix completely. Remove from heat and allow to sit for at least 10 minutes to let flavors sink in (I found left overs were even more flavorful).
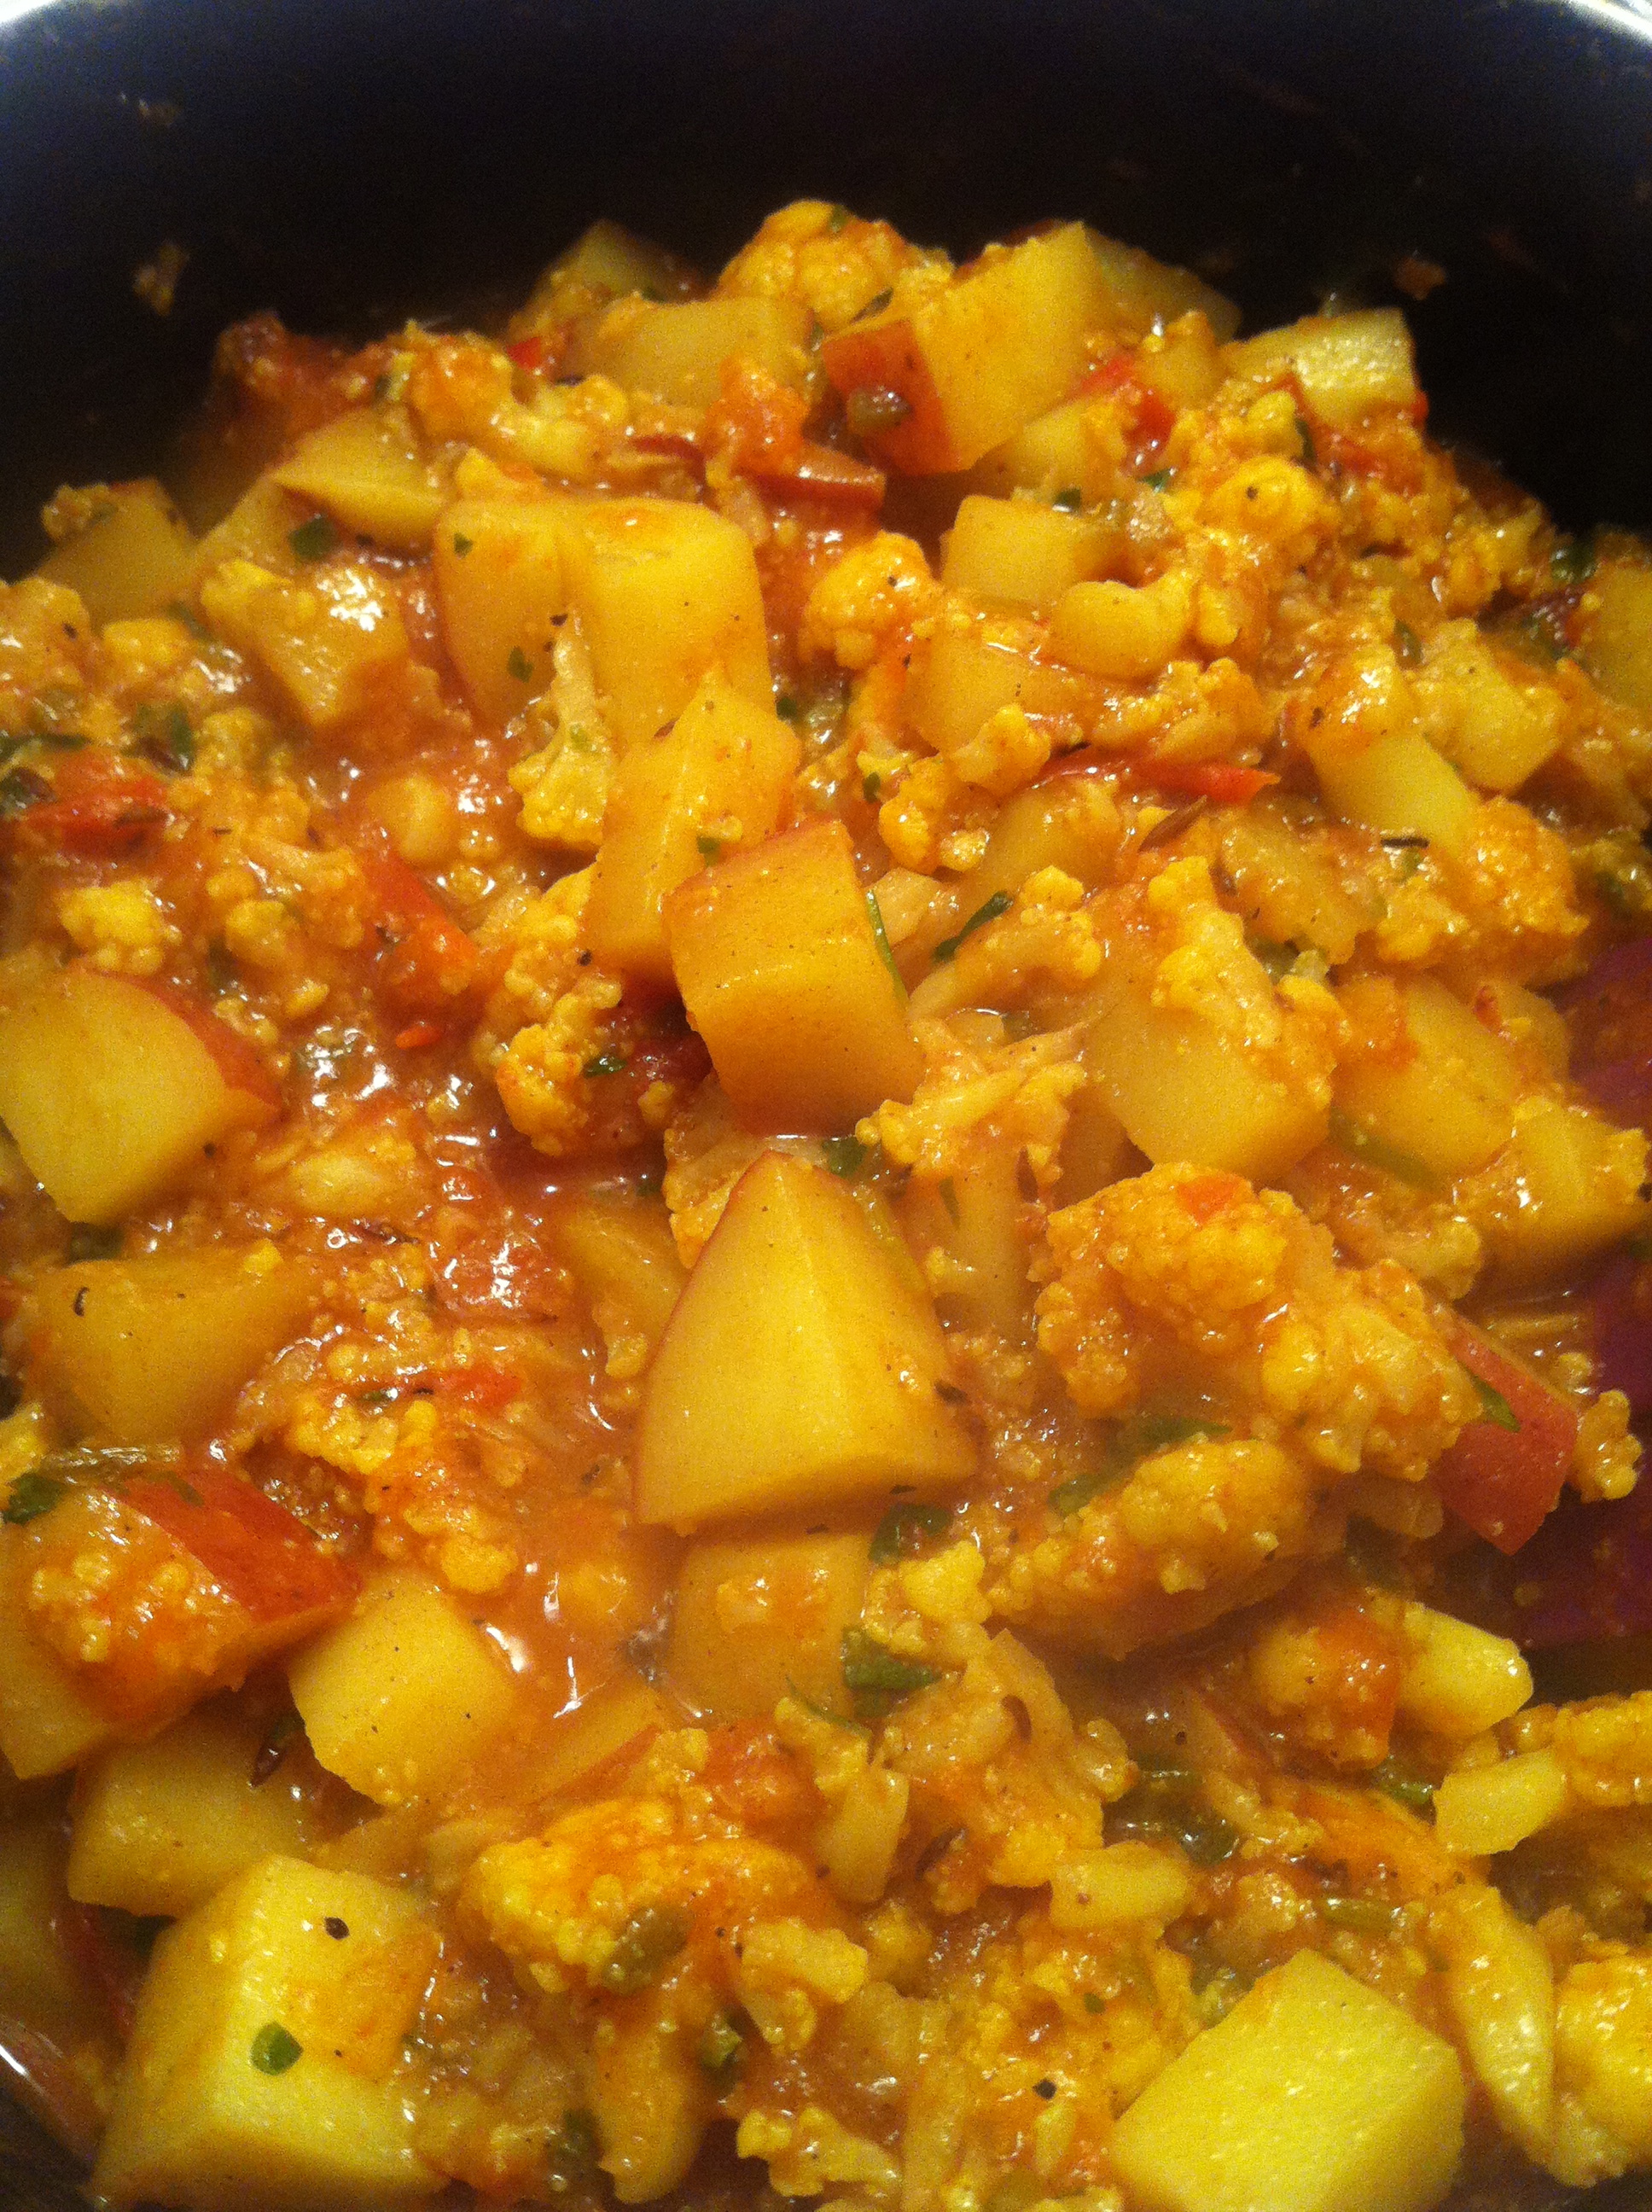
After Cooking
5. Serve with rice and/or lentils. I made a mixture of jasmine rice and french lentils. If you are trying to time things to come out at the same time, when you start heating the oil for the Aloo Gobi, start a large pot of water heating so that it comes to a boil. Use about 8 times as much water as dry rice you intend to cook. Once you put the lid on the Aloo Gobi pot to simmer and cook, throw in your rice into the pot of boiling water. Allow this to boil for the whole time the Aloo Gobi is cooking plus 10 minutes. Then drain rice and BAM! you have rice! (I learned this trick from me mum. No more trying to measure out water and rice perfectly).
WOOT!