Well, clearly my posting streak died. Damn you school!
But hopefully this post signifies the start of a more regular posting regiment… though considering how I failed to know about several exams and meeting that were on some calender somewhere, I say this with a grain of salt… or a block of salt.
This song/video I was planning on posting as my new favorite… about a month and a half ago. I still love it (clearly as I’m sharing it here), but it’s rather sad that it’s been that long since my last post. wah wah.
I actually love all of Miranda’s new CD, Platinum. Of note, the title track, Platinum, and Gravity is a B**ch.
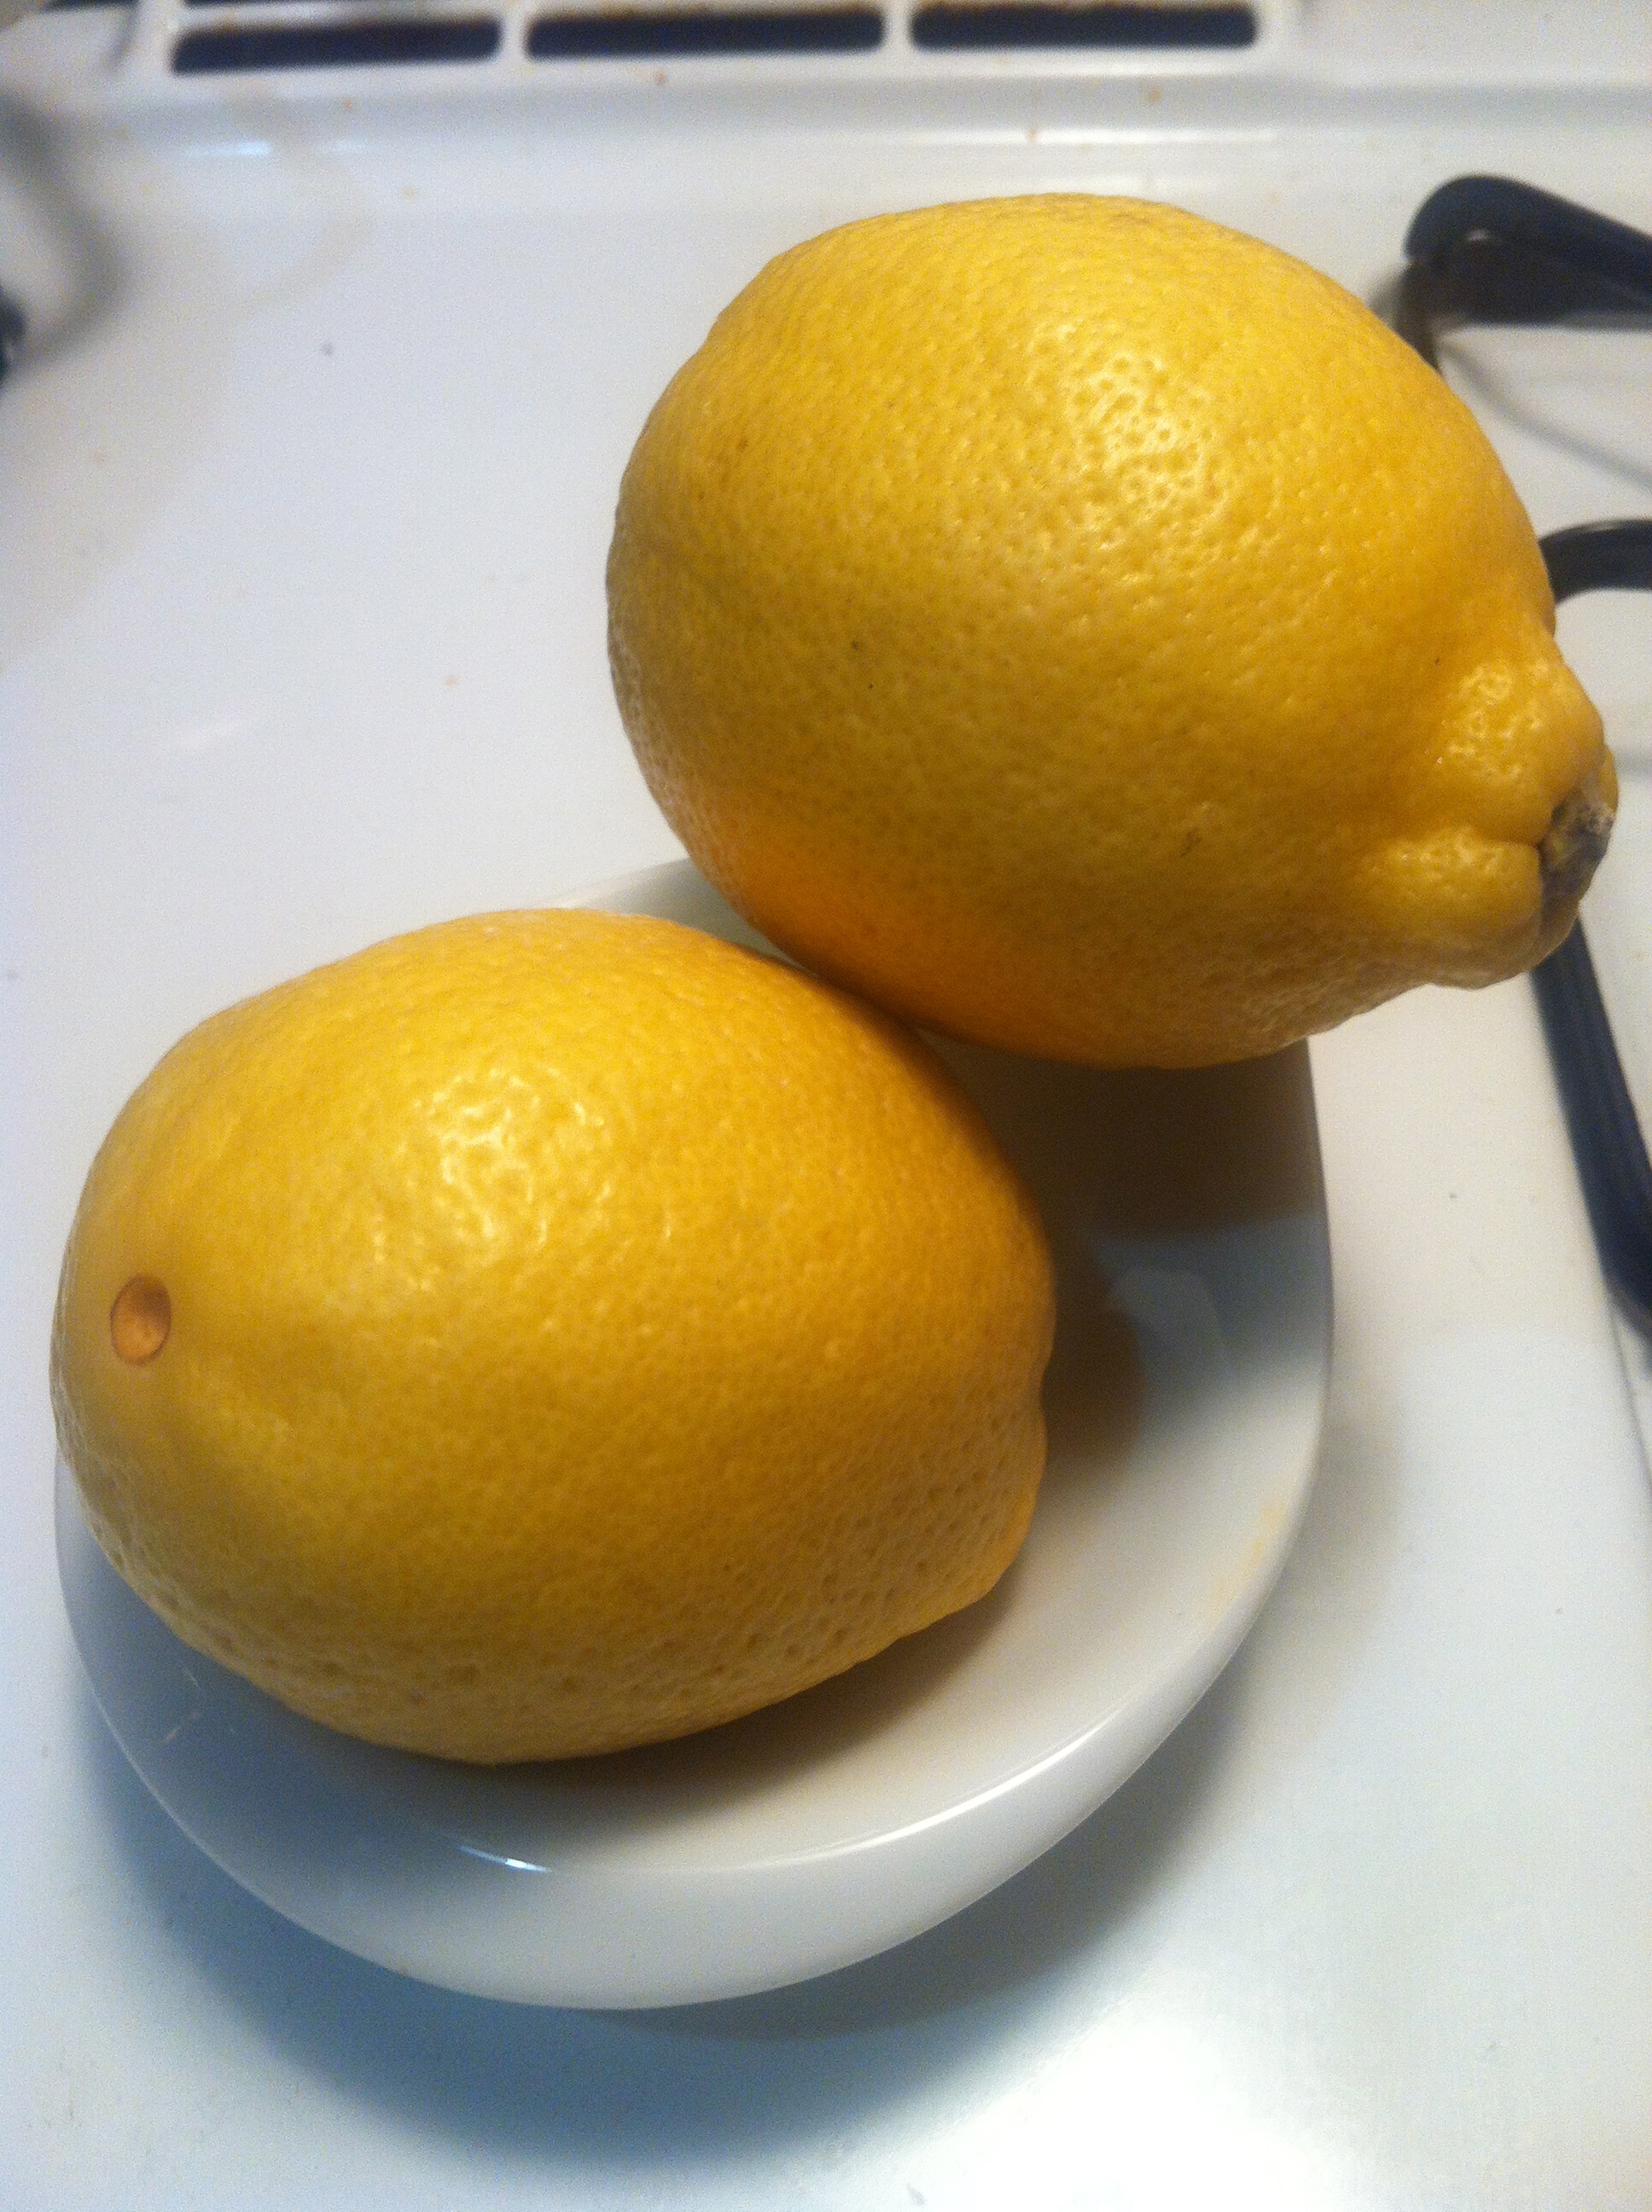
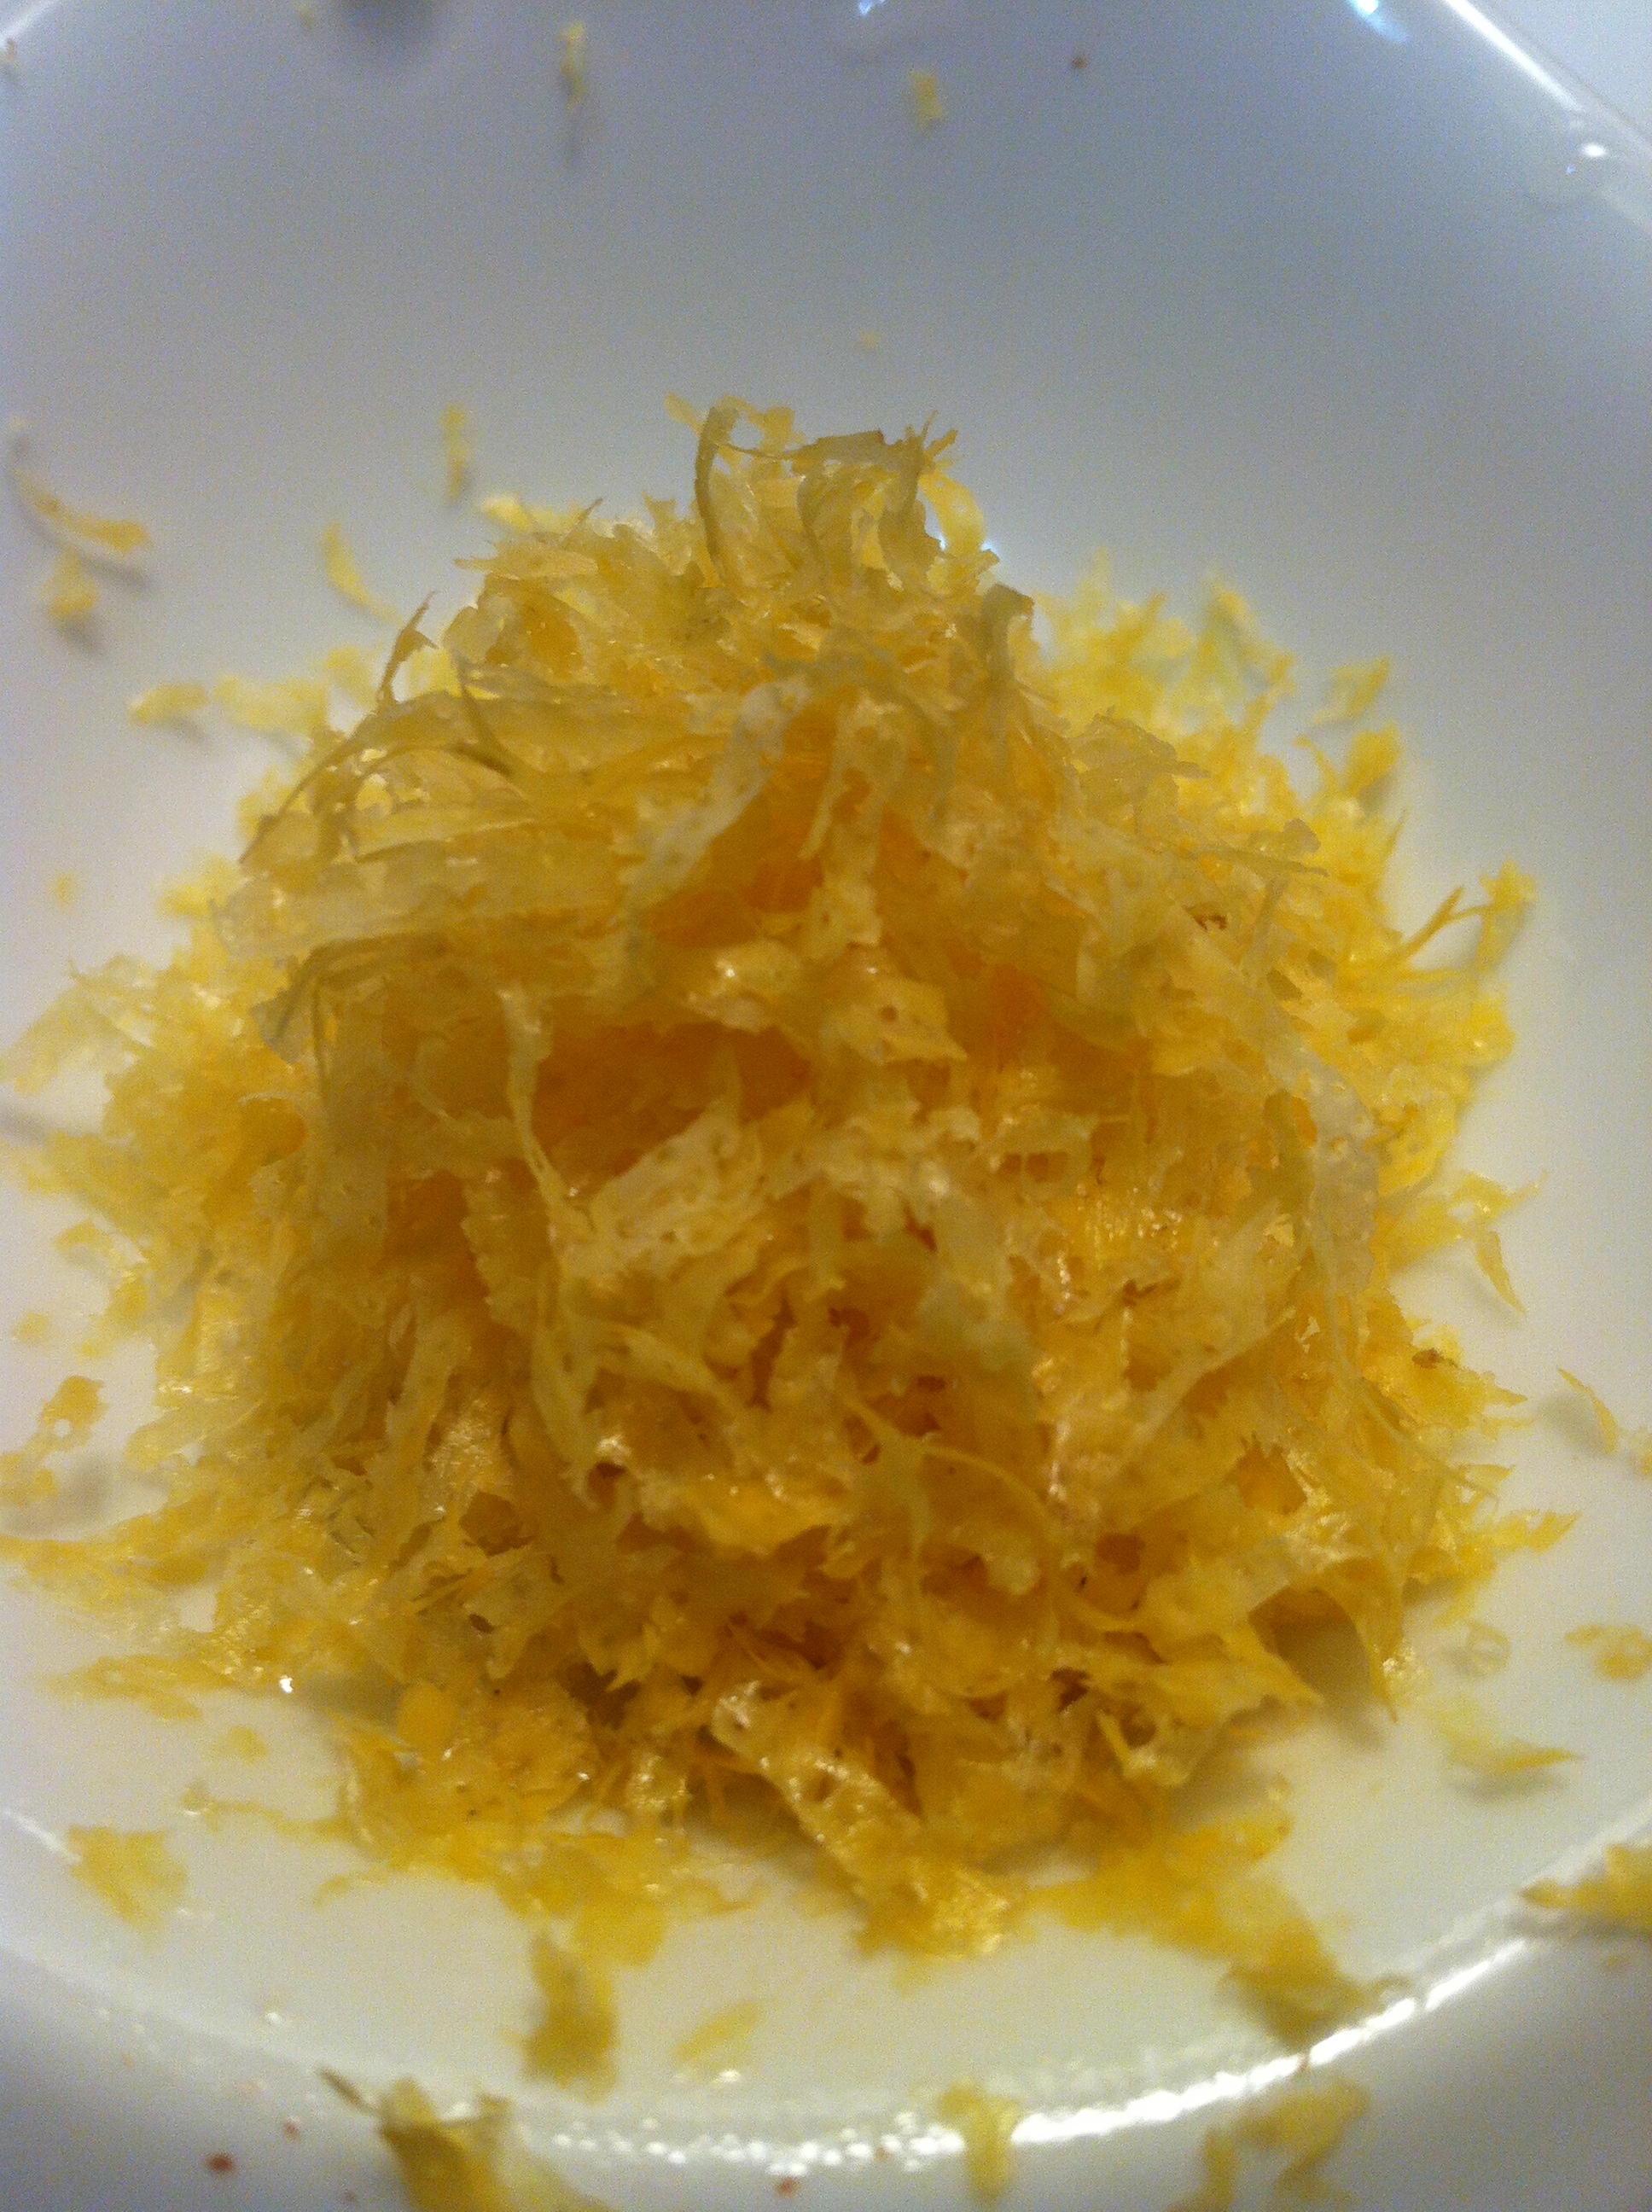
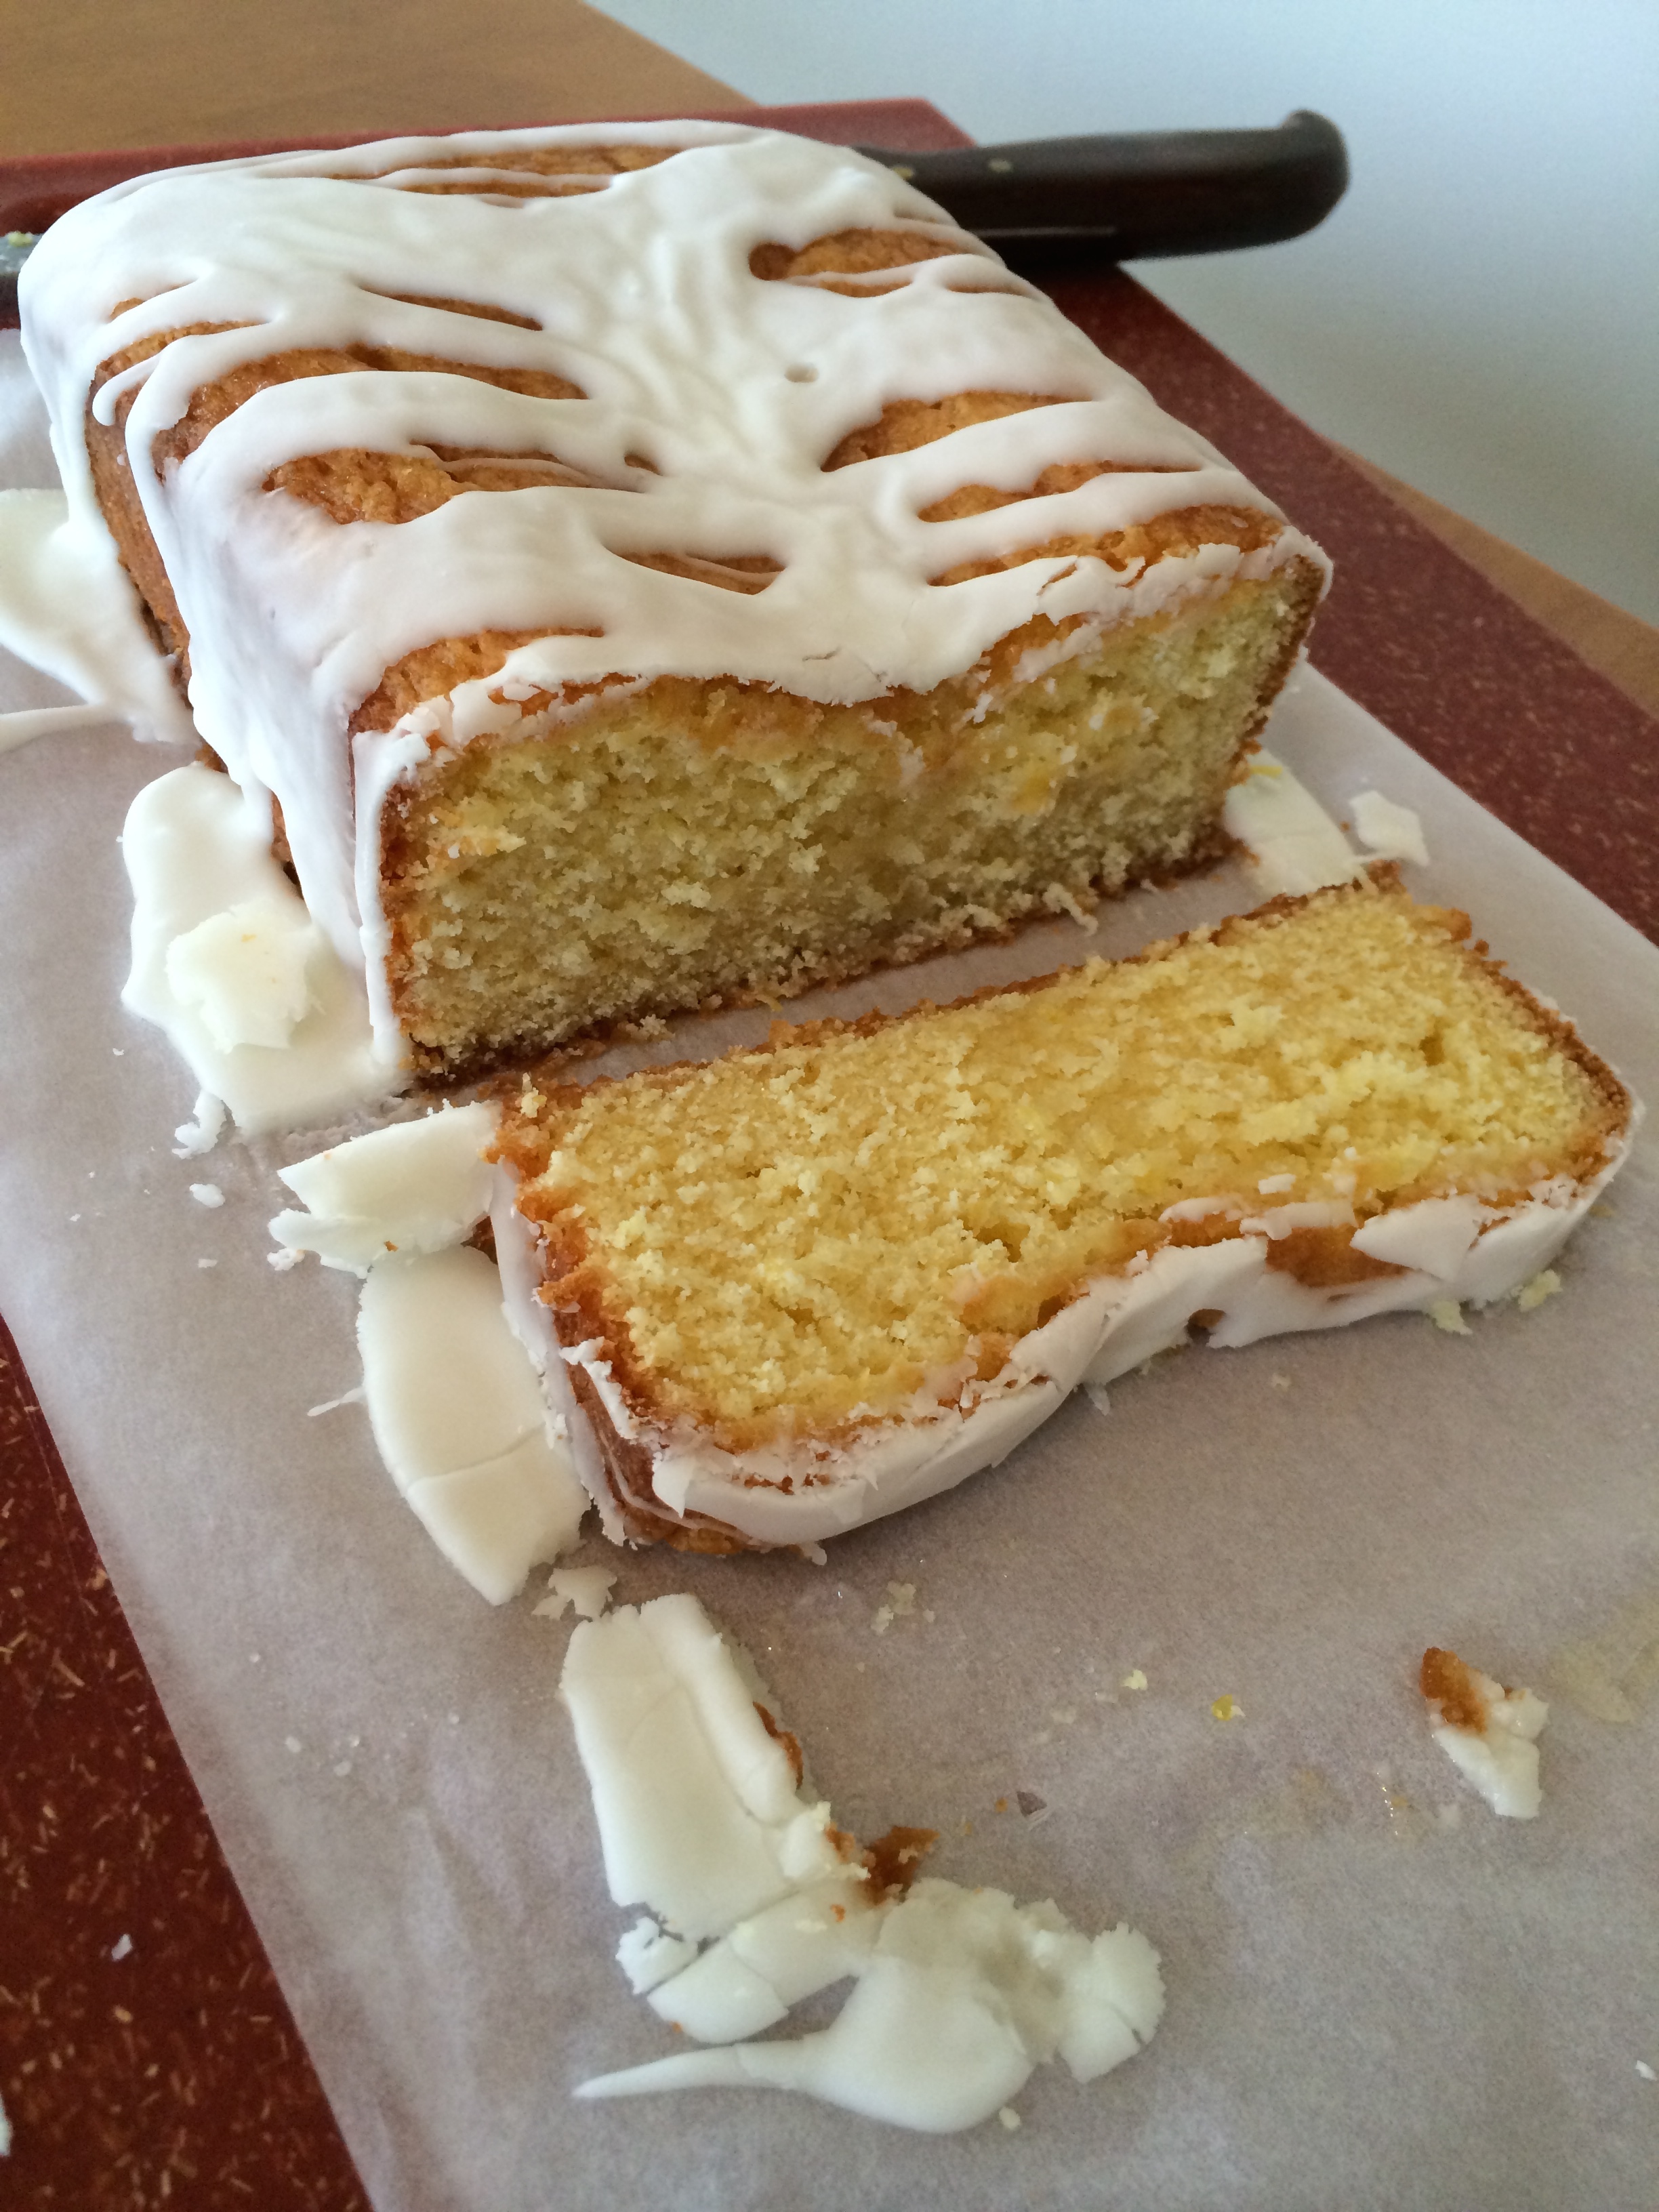
So why do lemons make me happy? Because they do… specifically in yogurt form.
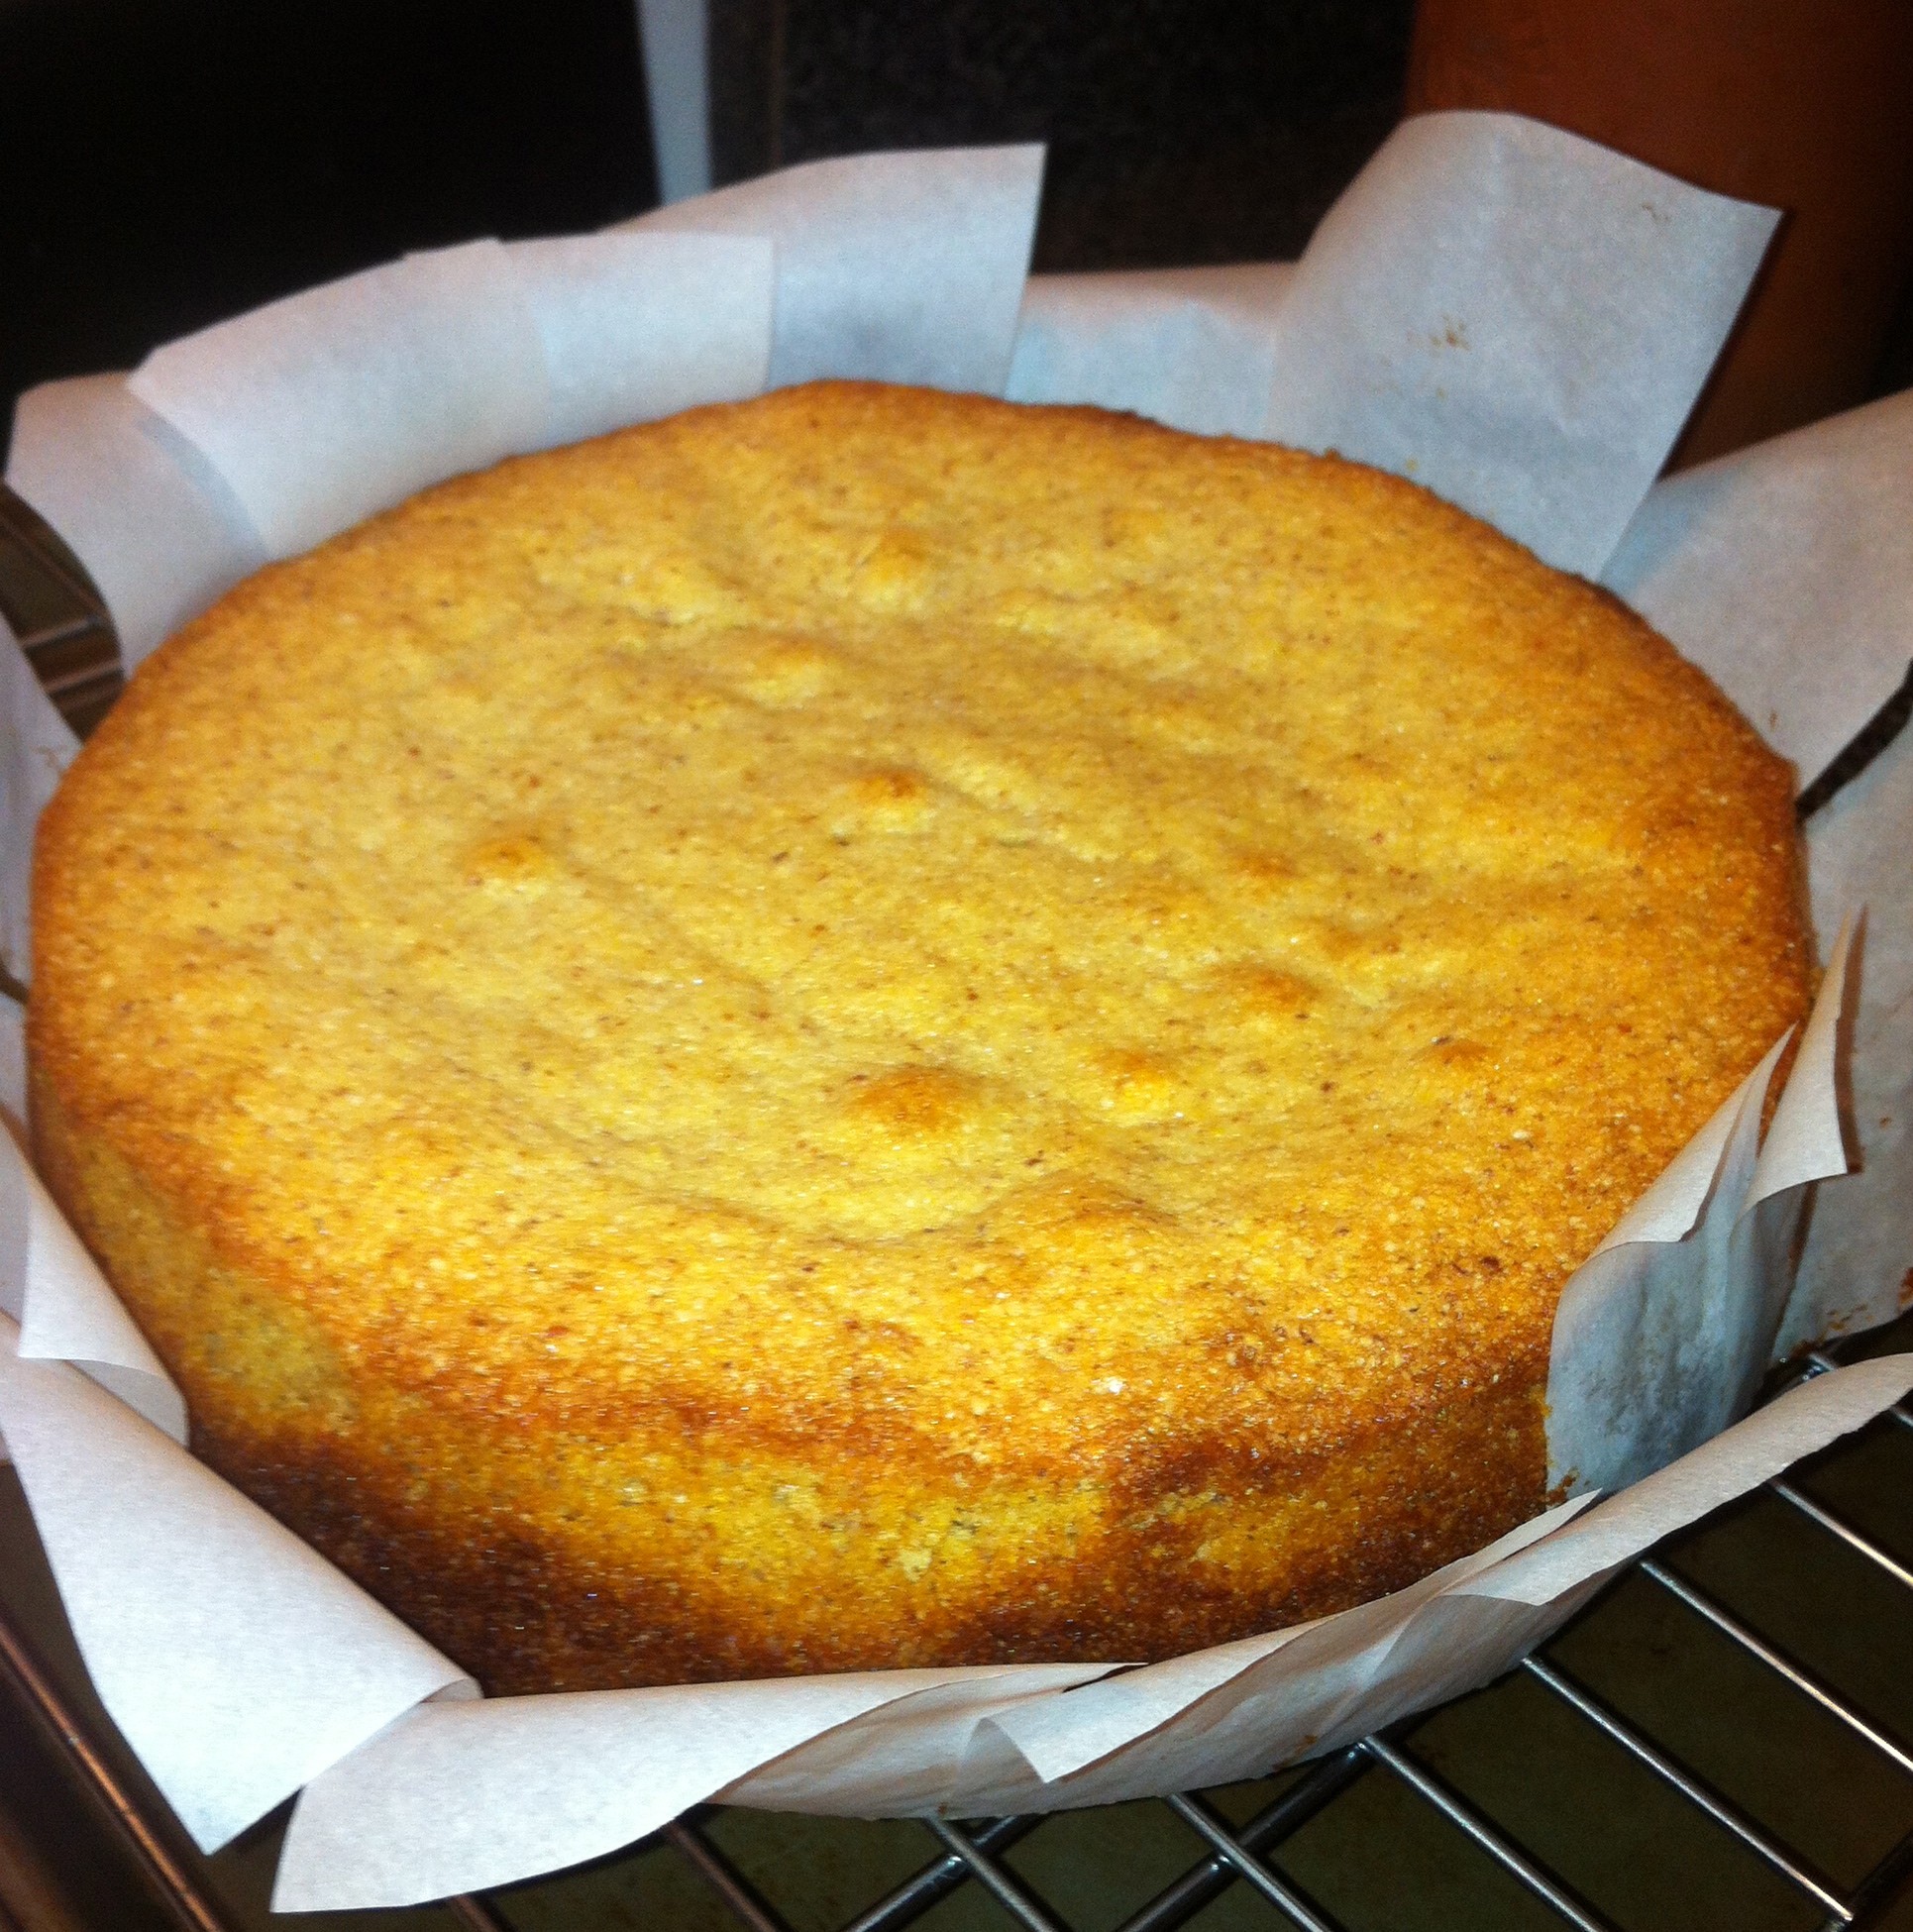
I’m currently training for a half marathon. It’s in 1 week! YIPES! Went for a 13.1 mile run (aka, a half marathon) last week and then spent the rest of the day limping around Grove Fest with friends. OOOPS! Apparently my body decided to be angry. But why is this of any importance to baking? Really, it’s only because the half marathon sent out a sponsor email with a coupon for Noosa Yohgurt, which has become my new favorite food thanks to my friend Caroline (damn her for getting me addicted). Anyway, I decided baking with said yohgurt should happen. Since lemon is me favorite, a natural progression was lemon pound cake, right? Right. After a bit of googling around for a recipe, I found Ina Garten’s recipe. Since it’s just me in my place, I decided to half the recipe and made only one cake (reflected below). As you’ll see in the pictures, my cake decided to sink in the middle rather than rise… I’m not certain if this is because I didn’t add enough baking soda (or powder?) cuz I definitely did not measure them out properly, or whether I beat the batter too much (or too little)… but regardless, my cake middle is concave rather than convex. Meh! Still tastes good!
Lemon Pound Cake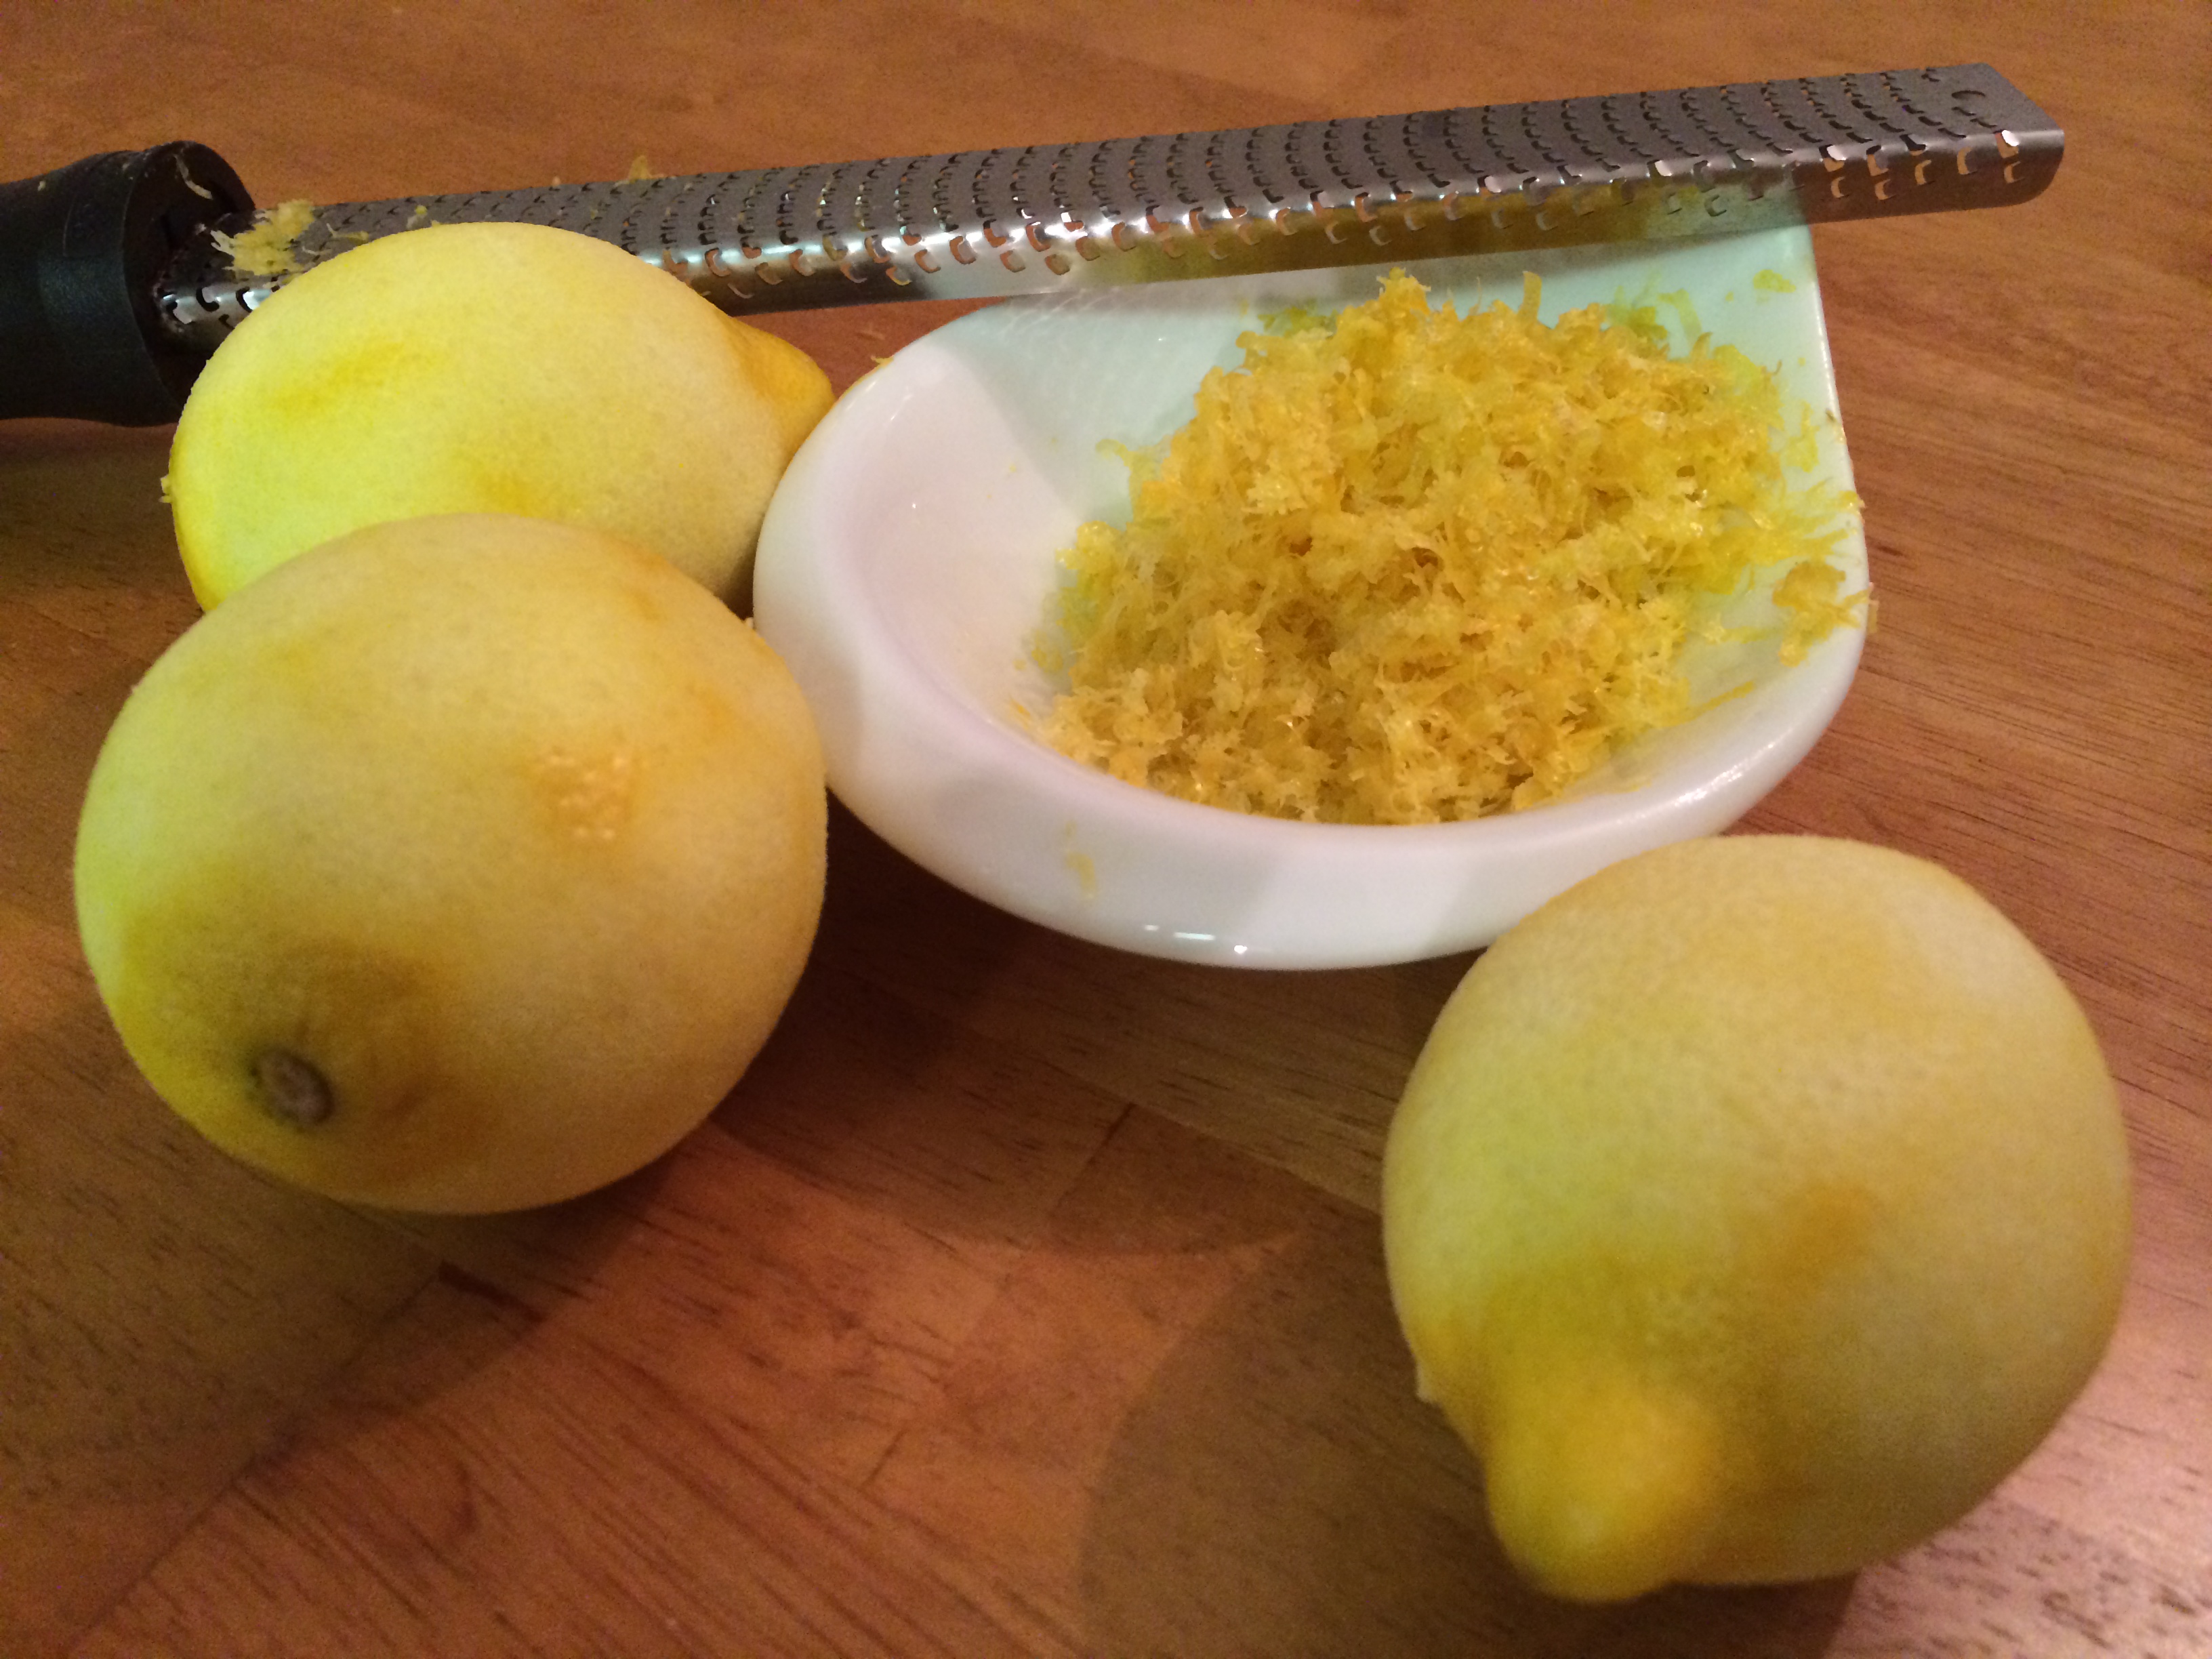
Inspired by this
Ingredients
Cake:
1 stick Butter
1 cup Sugar
2 Eggs
zest of 3 Lemons
1 1/2 cups Flour
1/4 teaspoon Baking Soda
1/4 teaspoon Baking Powder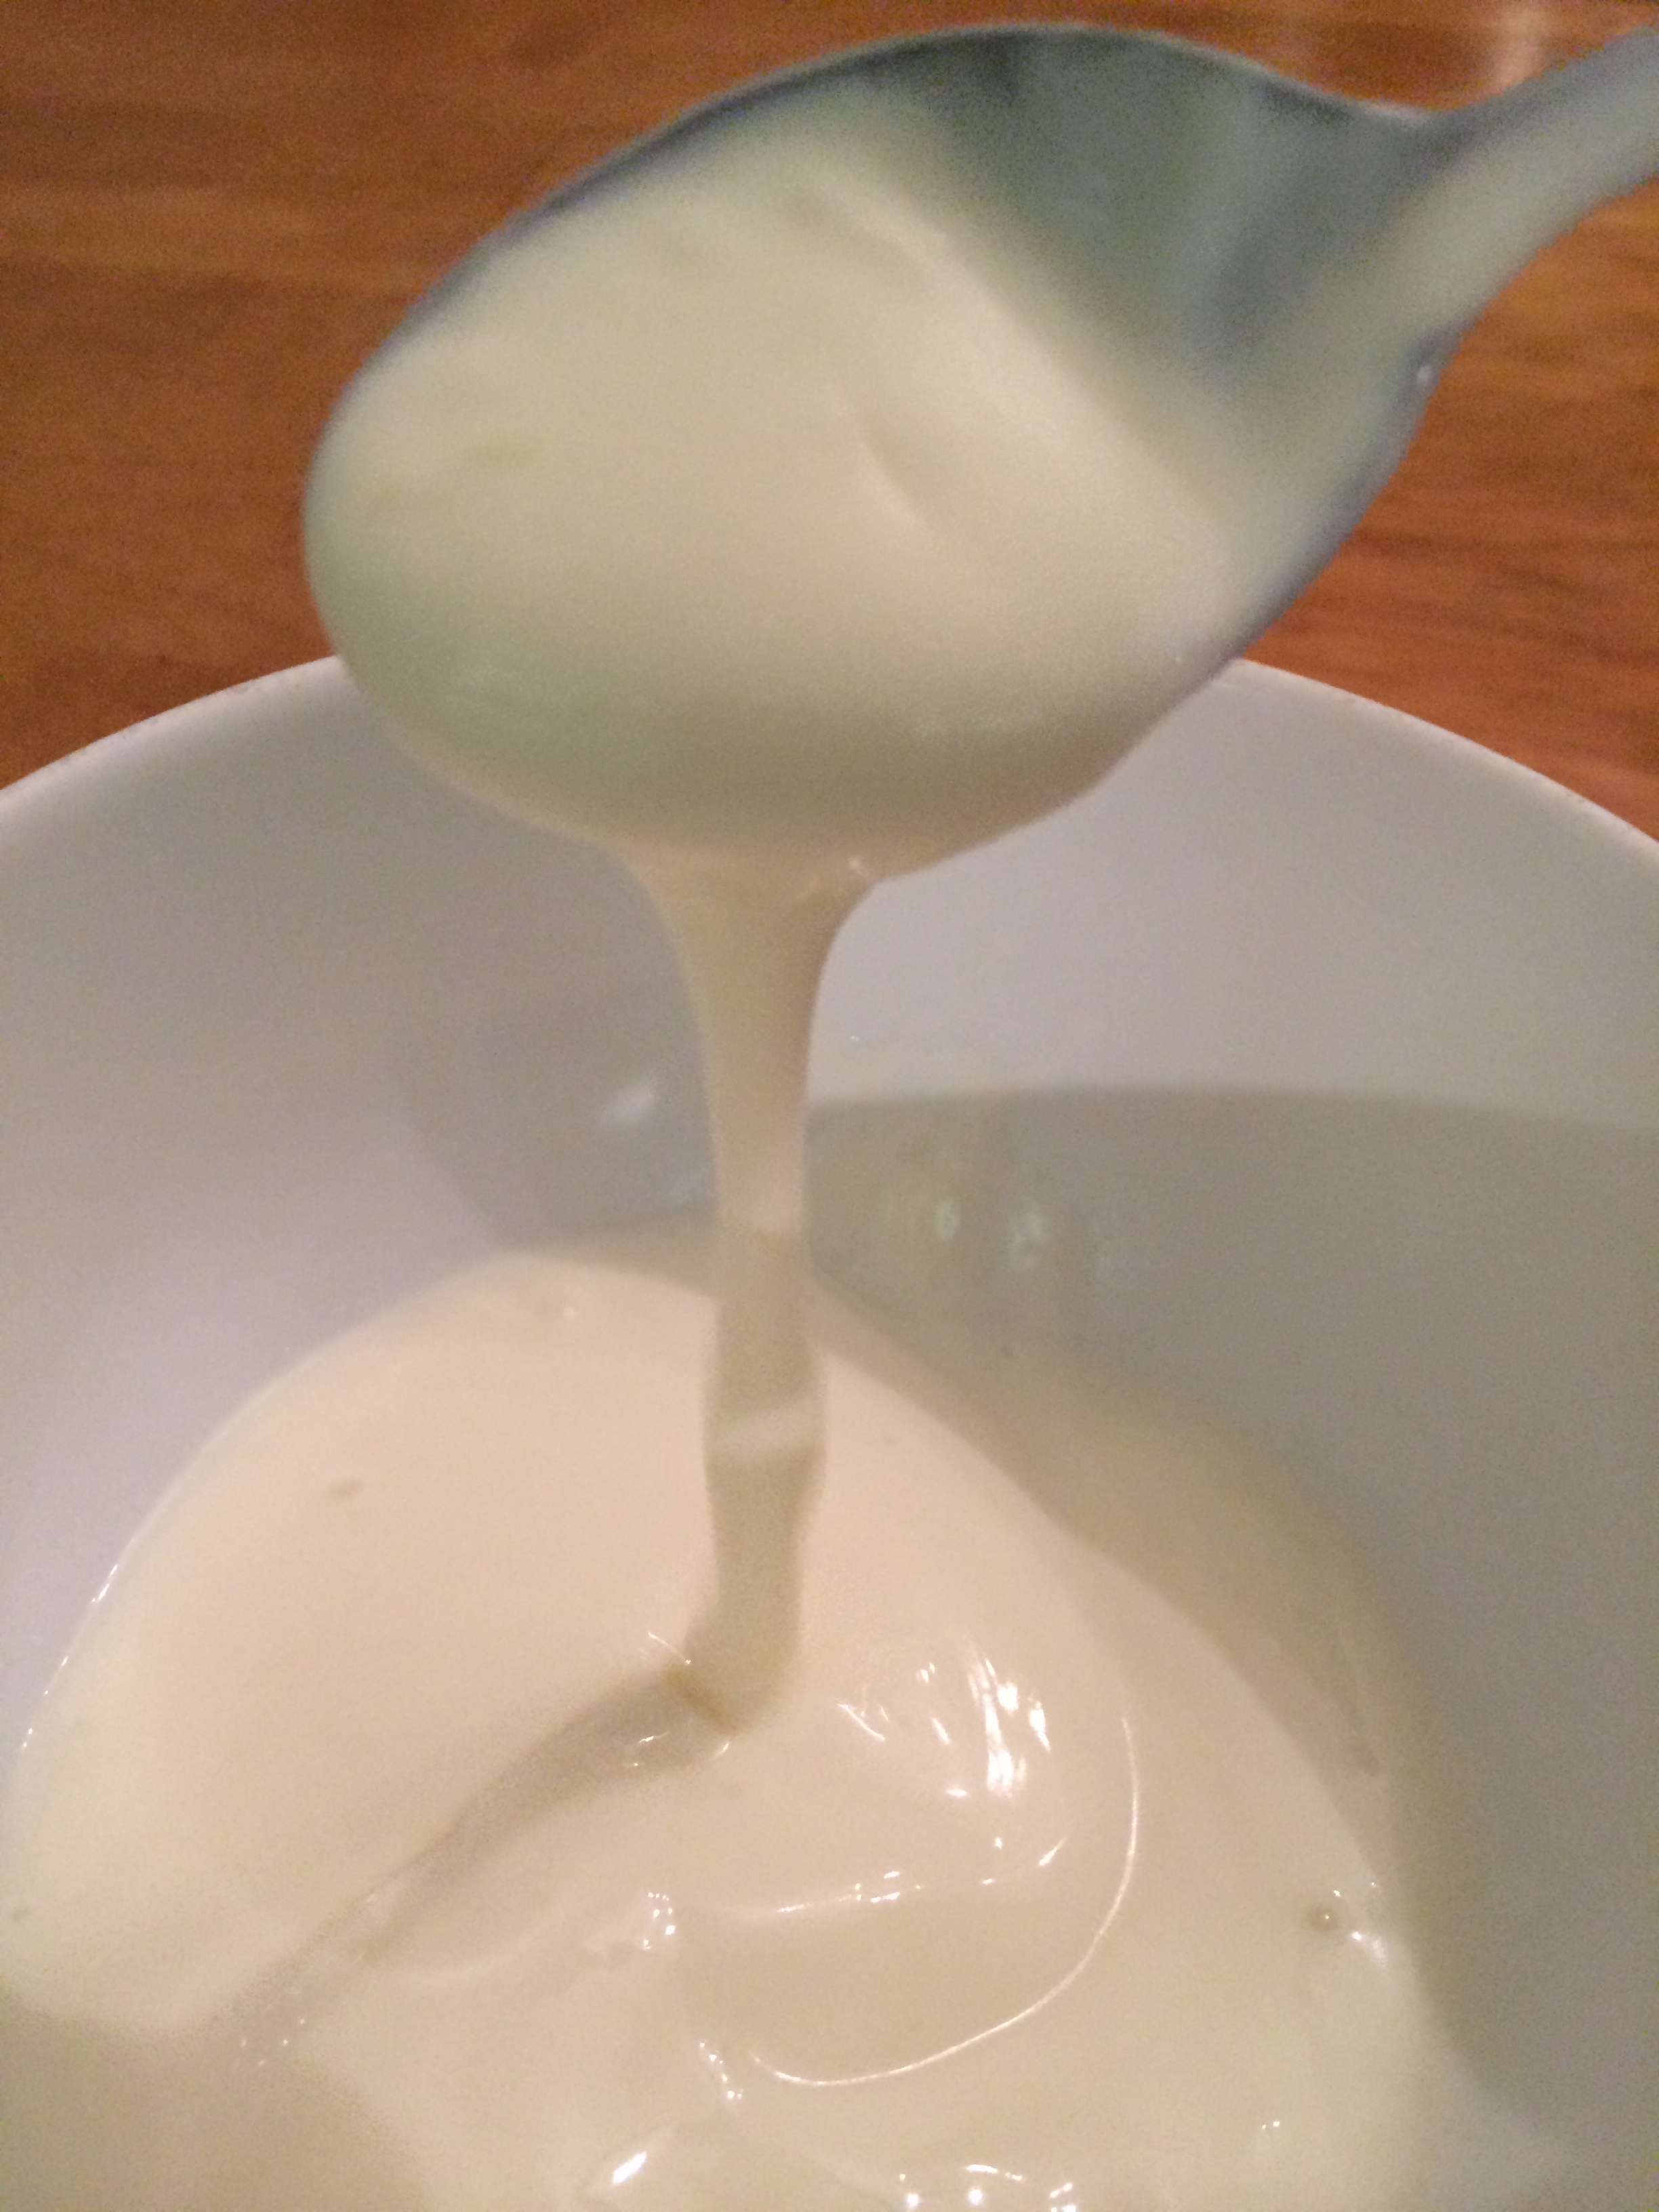
salt
3 oz Noosa Yohgurt (lemon!)
2 tablespoons Fresh Lemon Juice
1/2 teaspoon Vanilla
Syrup/Glaze:
1/4 cup Sugar
1/4 cup + 2 tablespoons Fresh Lemon Juice
1 cup confectioners Sugar
1. Preheat oven to 350 degrees. Butter and flour an 8 1/2 X 4 1/2 X 2 1/2 inch loaf pan.
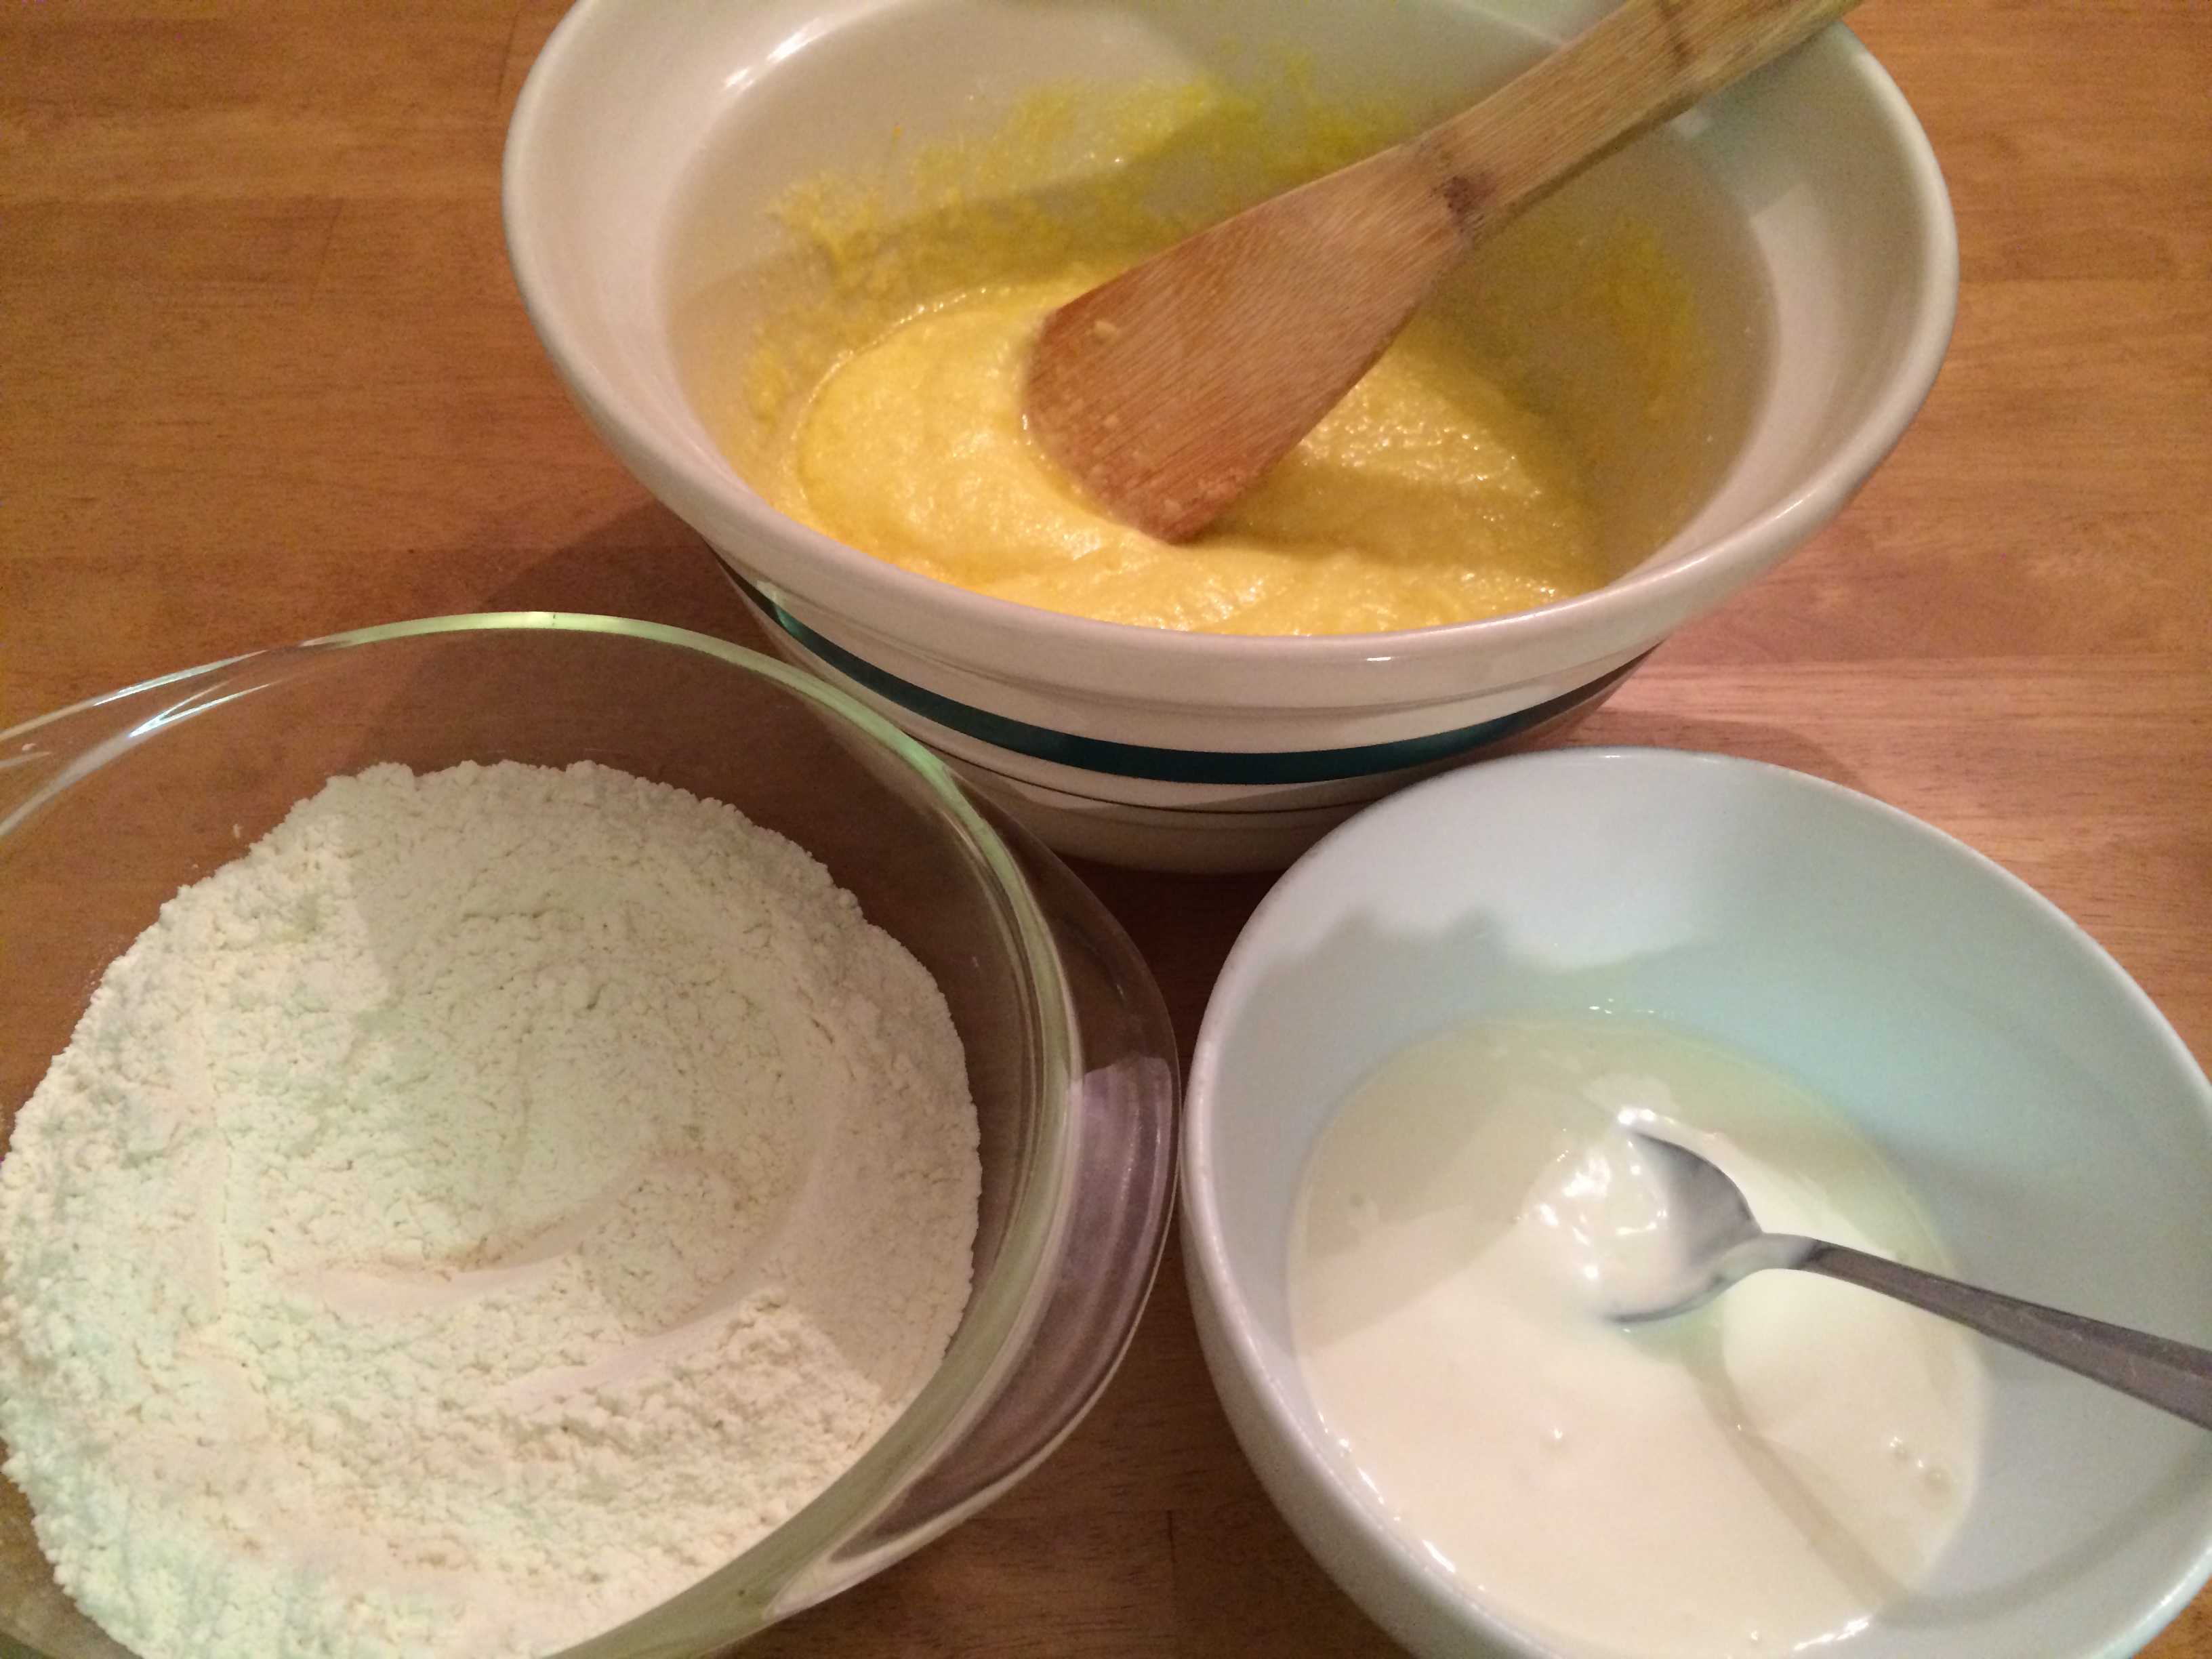 2. Cream butter and sugar together in mixing bowl. Add lemon zest and eggs to butter mixture and beat until completely combined. Set aside. In a separate bowl, combine baking soda, baking powder, salt and flour. Set this aside too! In a small bowl, combine Noosa Yohgurt, vanilla and lemon juice together, mixing completely. Then add half the flour to the butter mixture. Mix until incorporated, then add all of the yoghurt mixture. Stir yoghurt mixture in and then finish by adding the second part of the flour mixture. Mix completely.
 3. Transfer batter to prepared pan and bake for 50-60 minutes (toothpick should come out clean!). Remove from oven (unless you want it EXTRA crispy) and allow to cool for ~10 minutes. While the cake cools, place 1/4 cup sugar and 1/4 cup of lemon juice in a small saucepan over medium-low heat. Allow sugar to dissolve completely. I personally wanted a slightly thicker syrup, so I allowed some of the liquid to boil off.
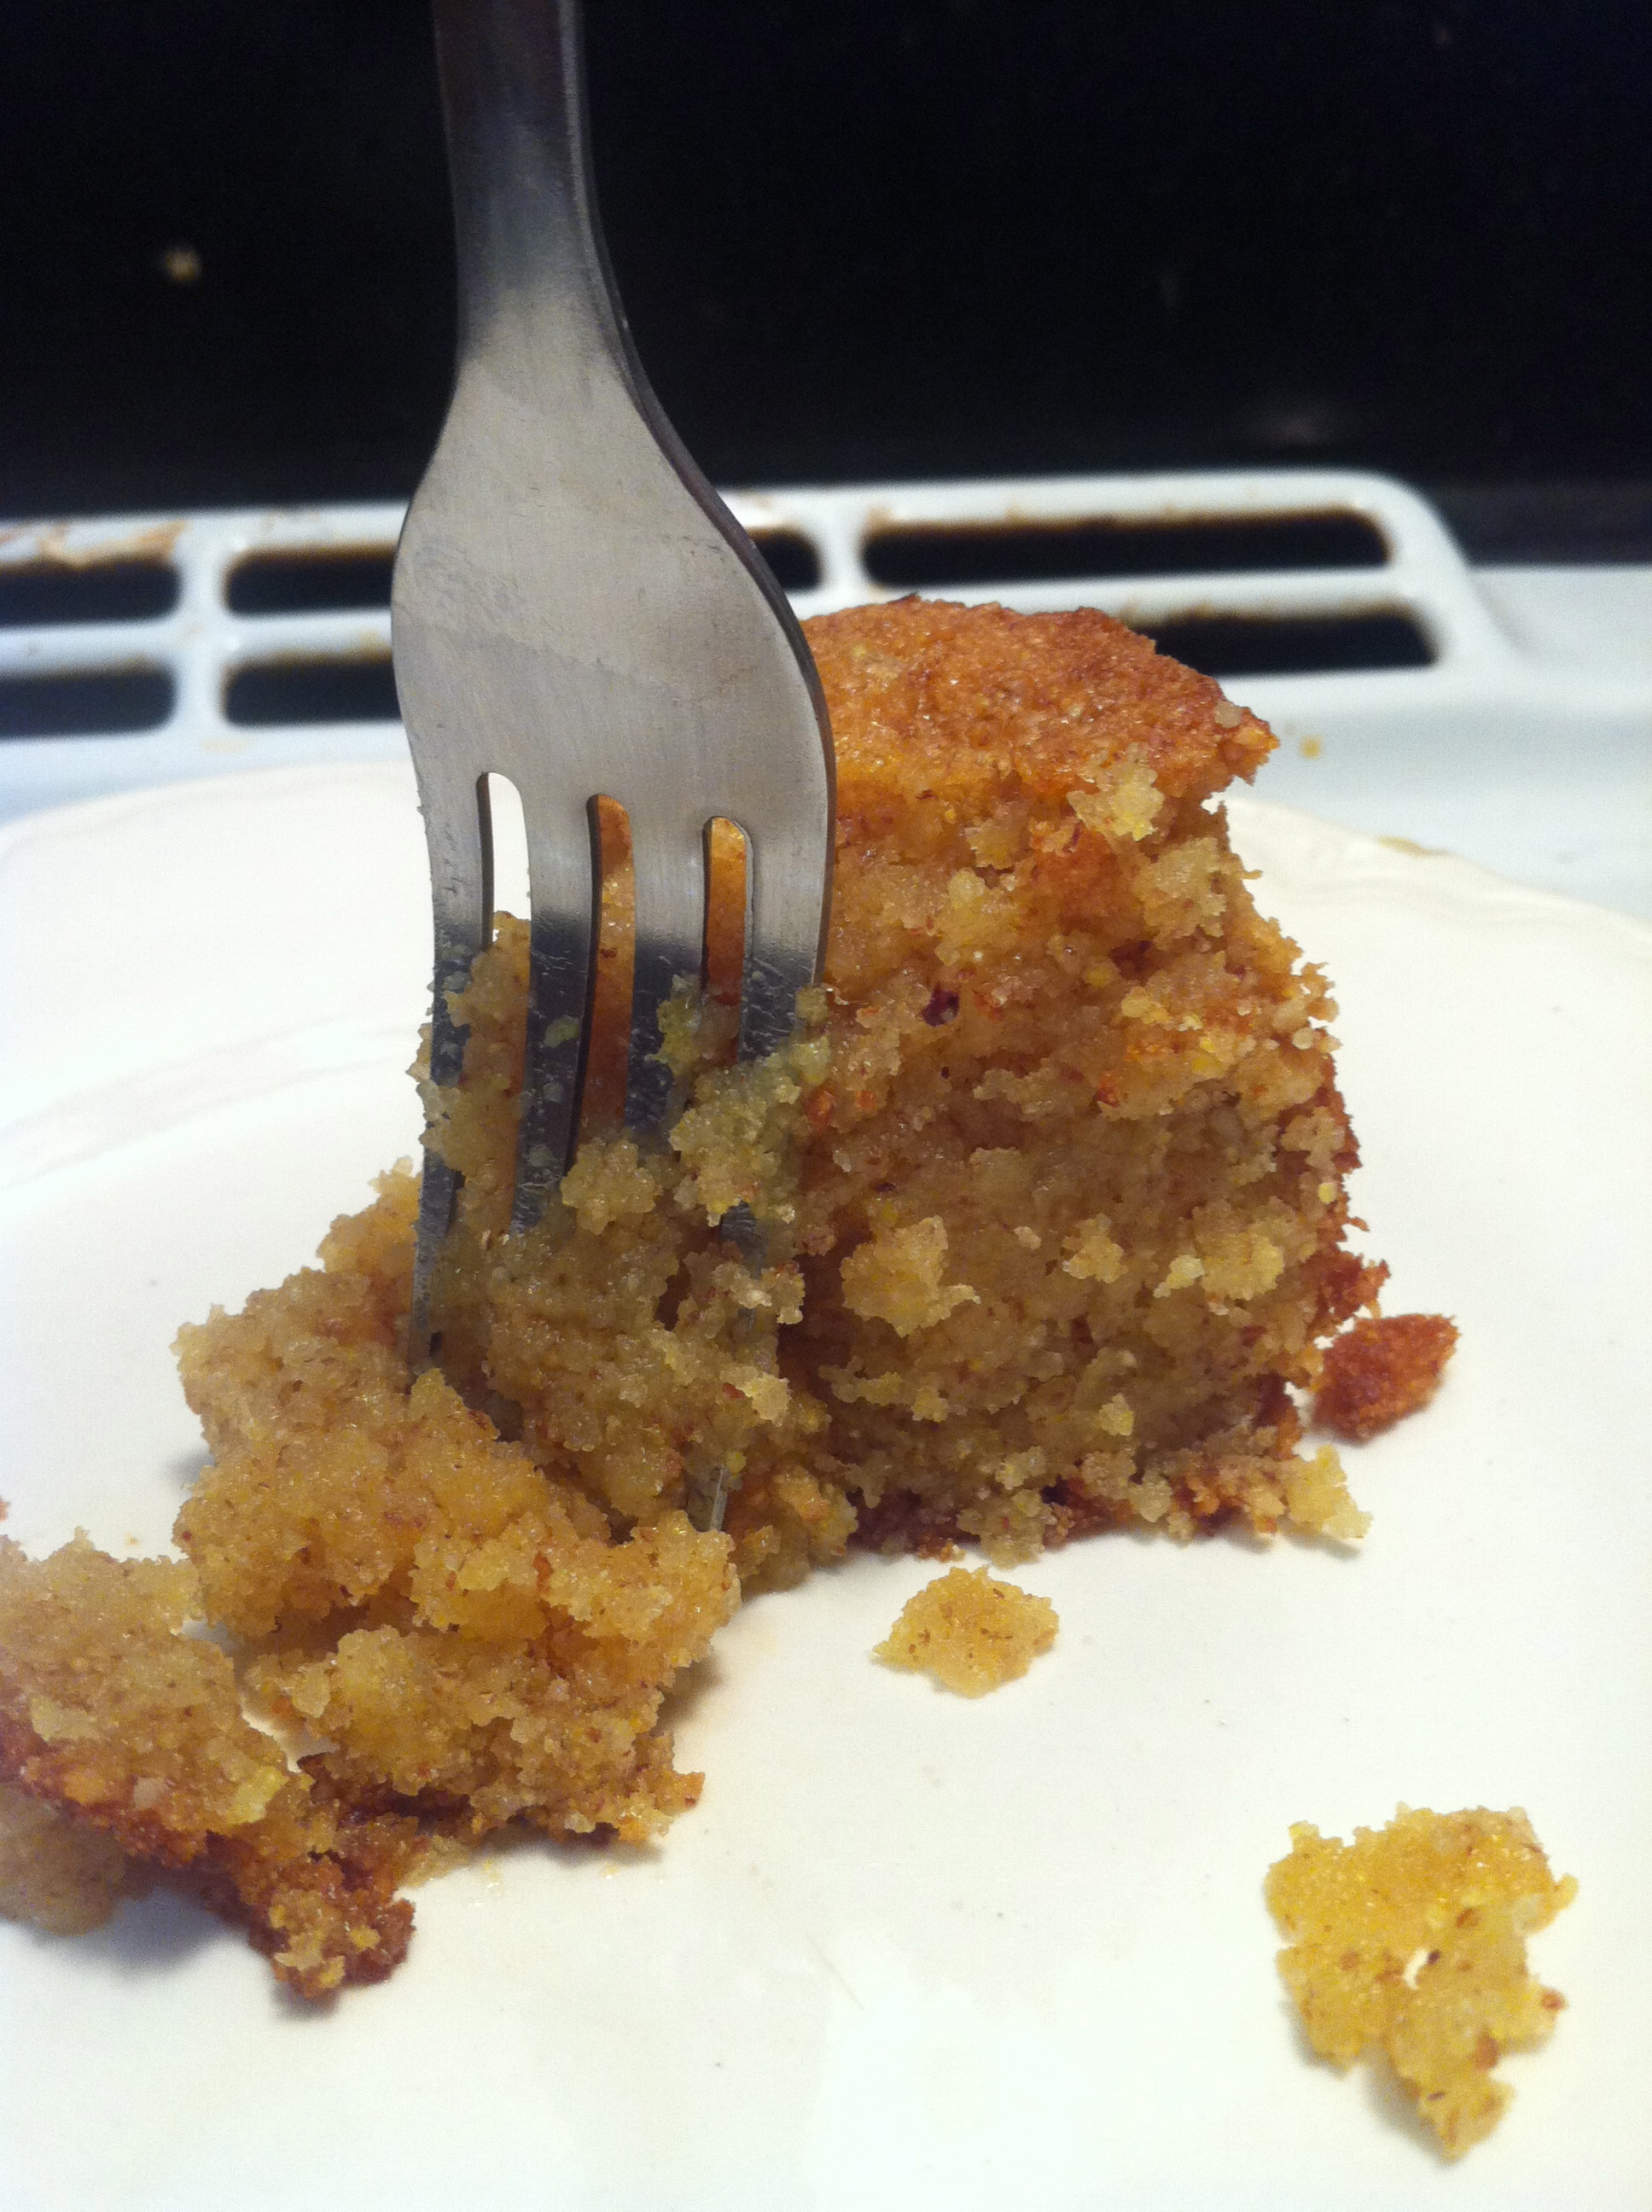
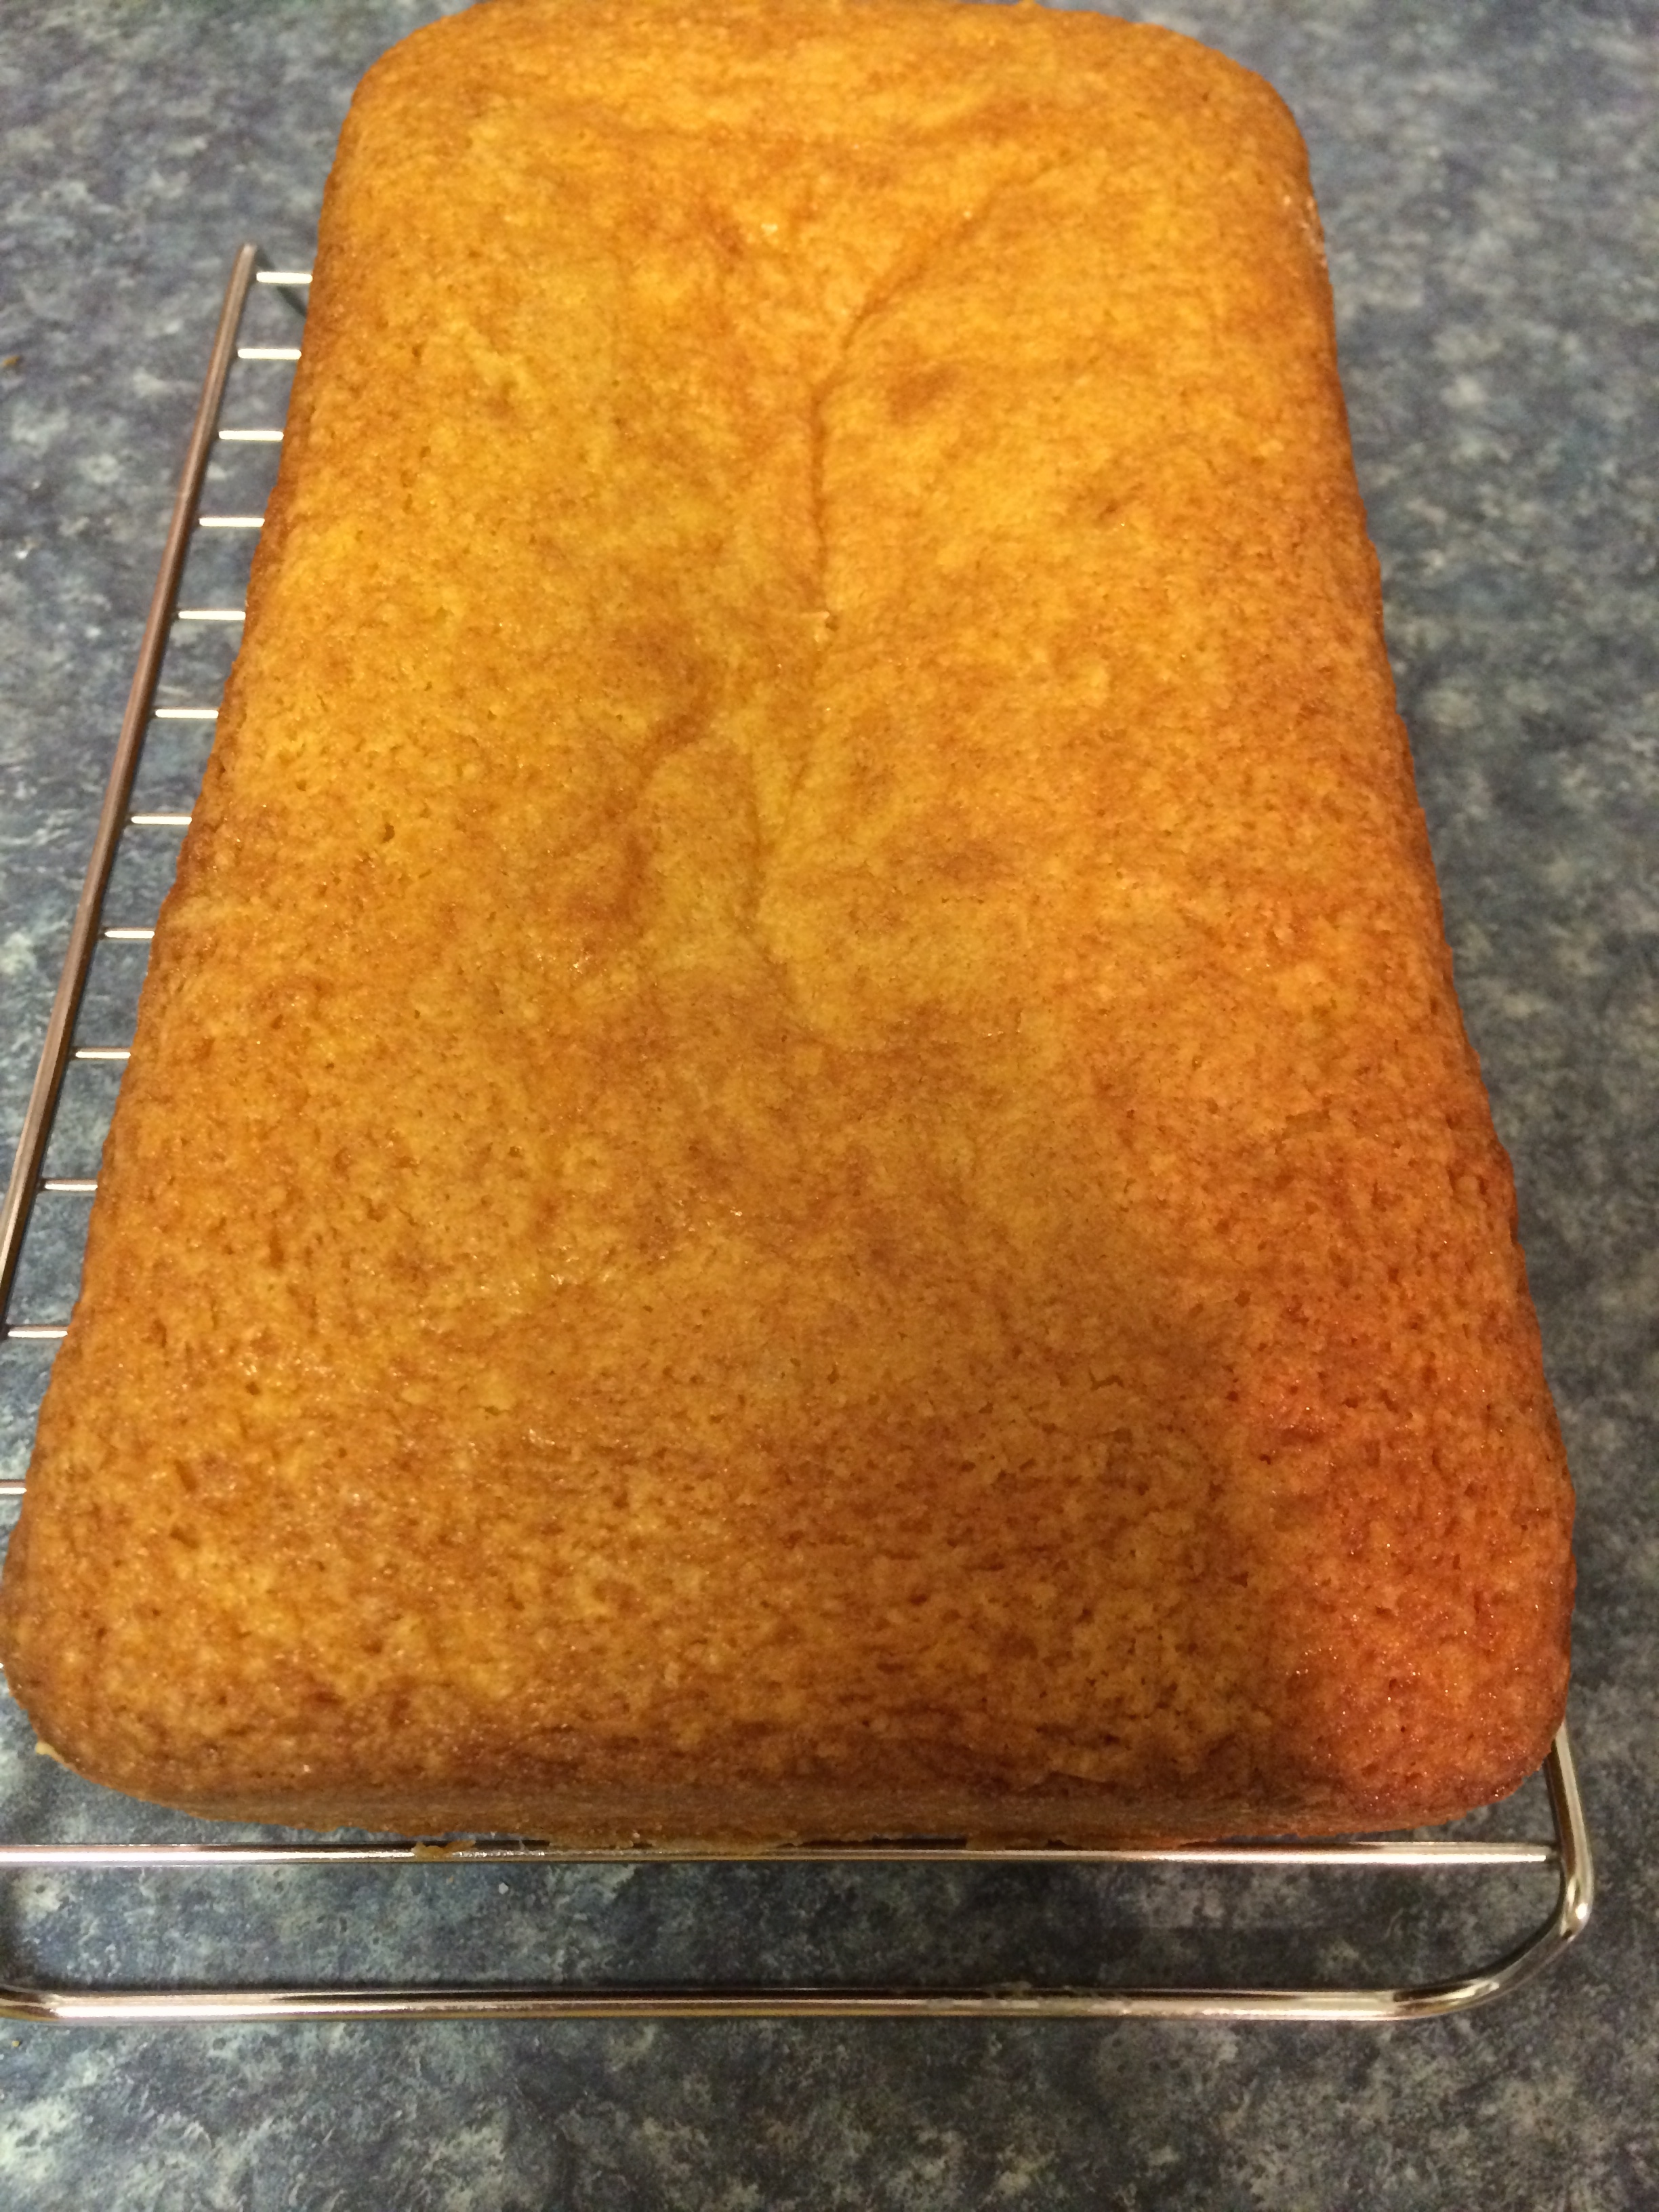 4. Use a spatula to loosen sides of cake from pan and turn onto wire rack. Take a fork to the top of the cake and prick small holes in the top. Pour prepared syrup on top of cake, allowing it to spill over sides and soak into the top via the pricked holes. Allow cake to cool fully (~45-60 minutes?). When cake is cooled, combine confectioner’s sugar and 1 tablespoon lemon juice in a small bowl. Continue to add lemon juice to glaze until desired consistency is obtained. Then drizzle the glaze over the cooled cake, again letting excess drip down the sides.
5. nom nom 😀
WAIT!!!!
So I started writing this post a week ago. Since then I’ve discovered a new song that has been on repeat all night. I would save it for the next post, but I’m faaaaaaar toooo excited to wait that long (cuz who knows when that will be?!). This is You + Me, a teaming up of Alecia Moore (aka, PINK!) and Dallas Green. So excited for this album!

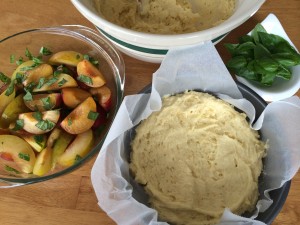
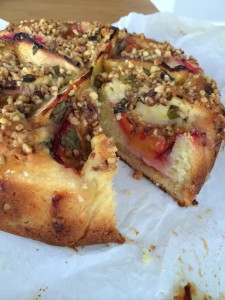
 She’s wonderful! This particular recipe is based on
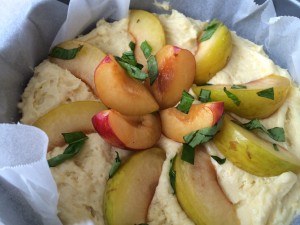
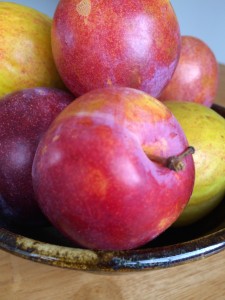
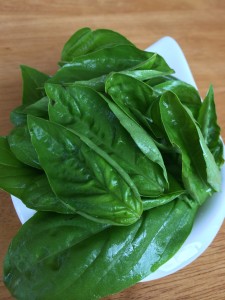
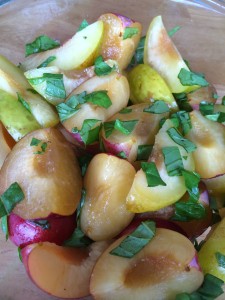
 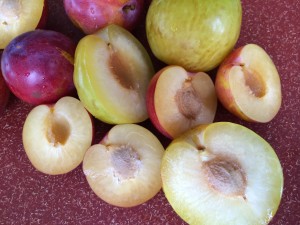 ith this particular iteration, I had leftover ingredients. I cut a few too many plums and made too much of the candied walnuts. So those became a salad with arugula, heirloom tomato, and fresh p
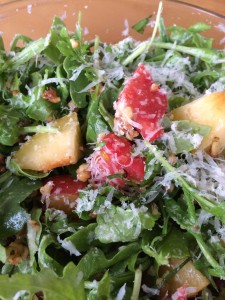
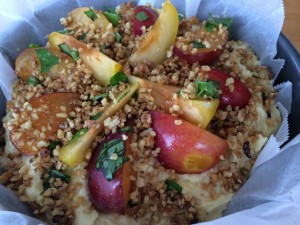
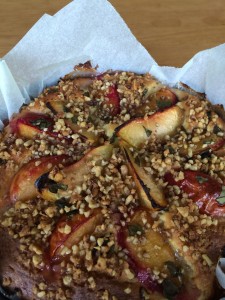
 2. Toss chopped walnuts, 1/2 tablespoon butter and 1 tablespoon sugar into a frying pan and place on medium heat. Allow butter to fully melt. Stir constantly until sugar and butter begin to caramelize and walnuts begin to toast. Remove from heat and set aside.