• Home
  • About the Baker

Baking With Unicorns

a baking adventure

Back To Basics

September 7, 2015 by Baking Unicorn Leave a Comment

It has been a whole summer since my last post. And it seems like every post in the past year or so has echoed the idea that I am going to increase my posting rate. This post is probably not much different, however instead of trying to do better, I think I have to just commit to rolling with the punches and posting when I can.IMG_1836

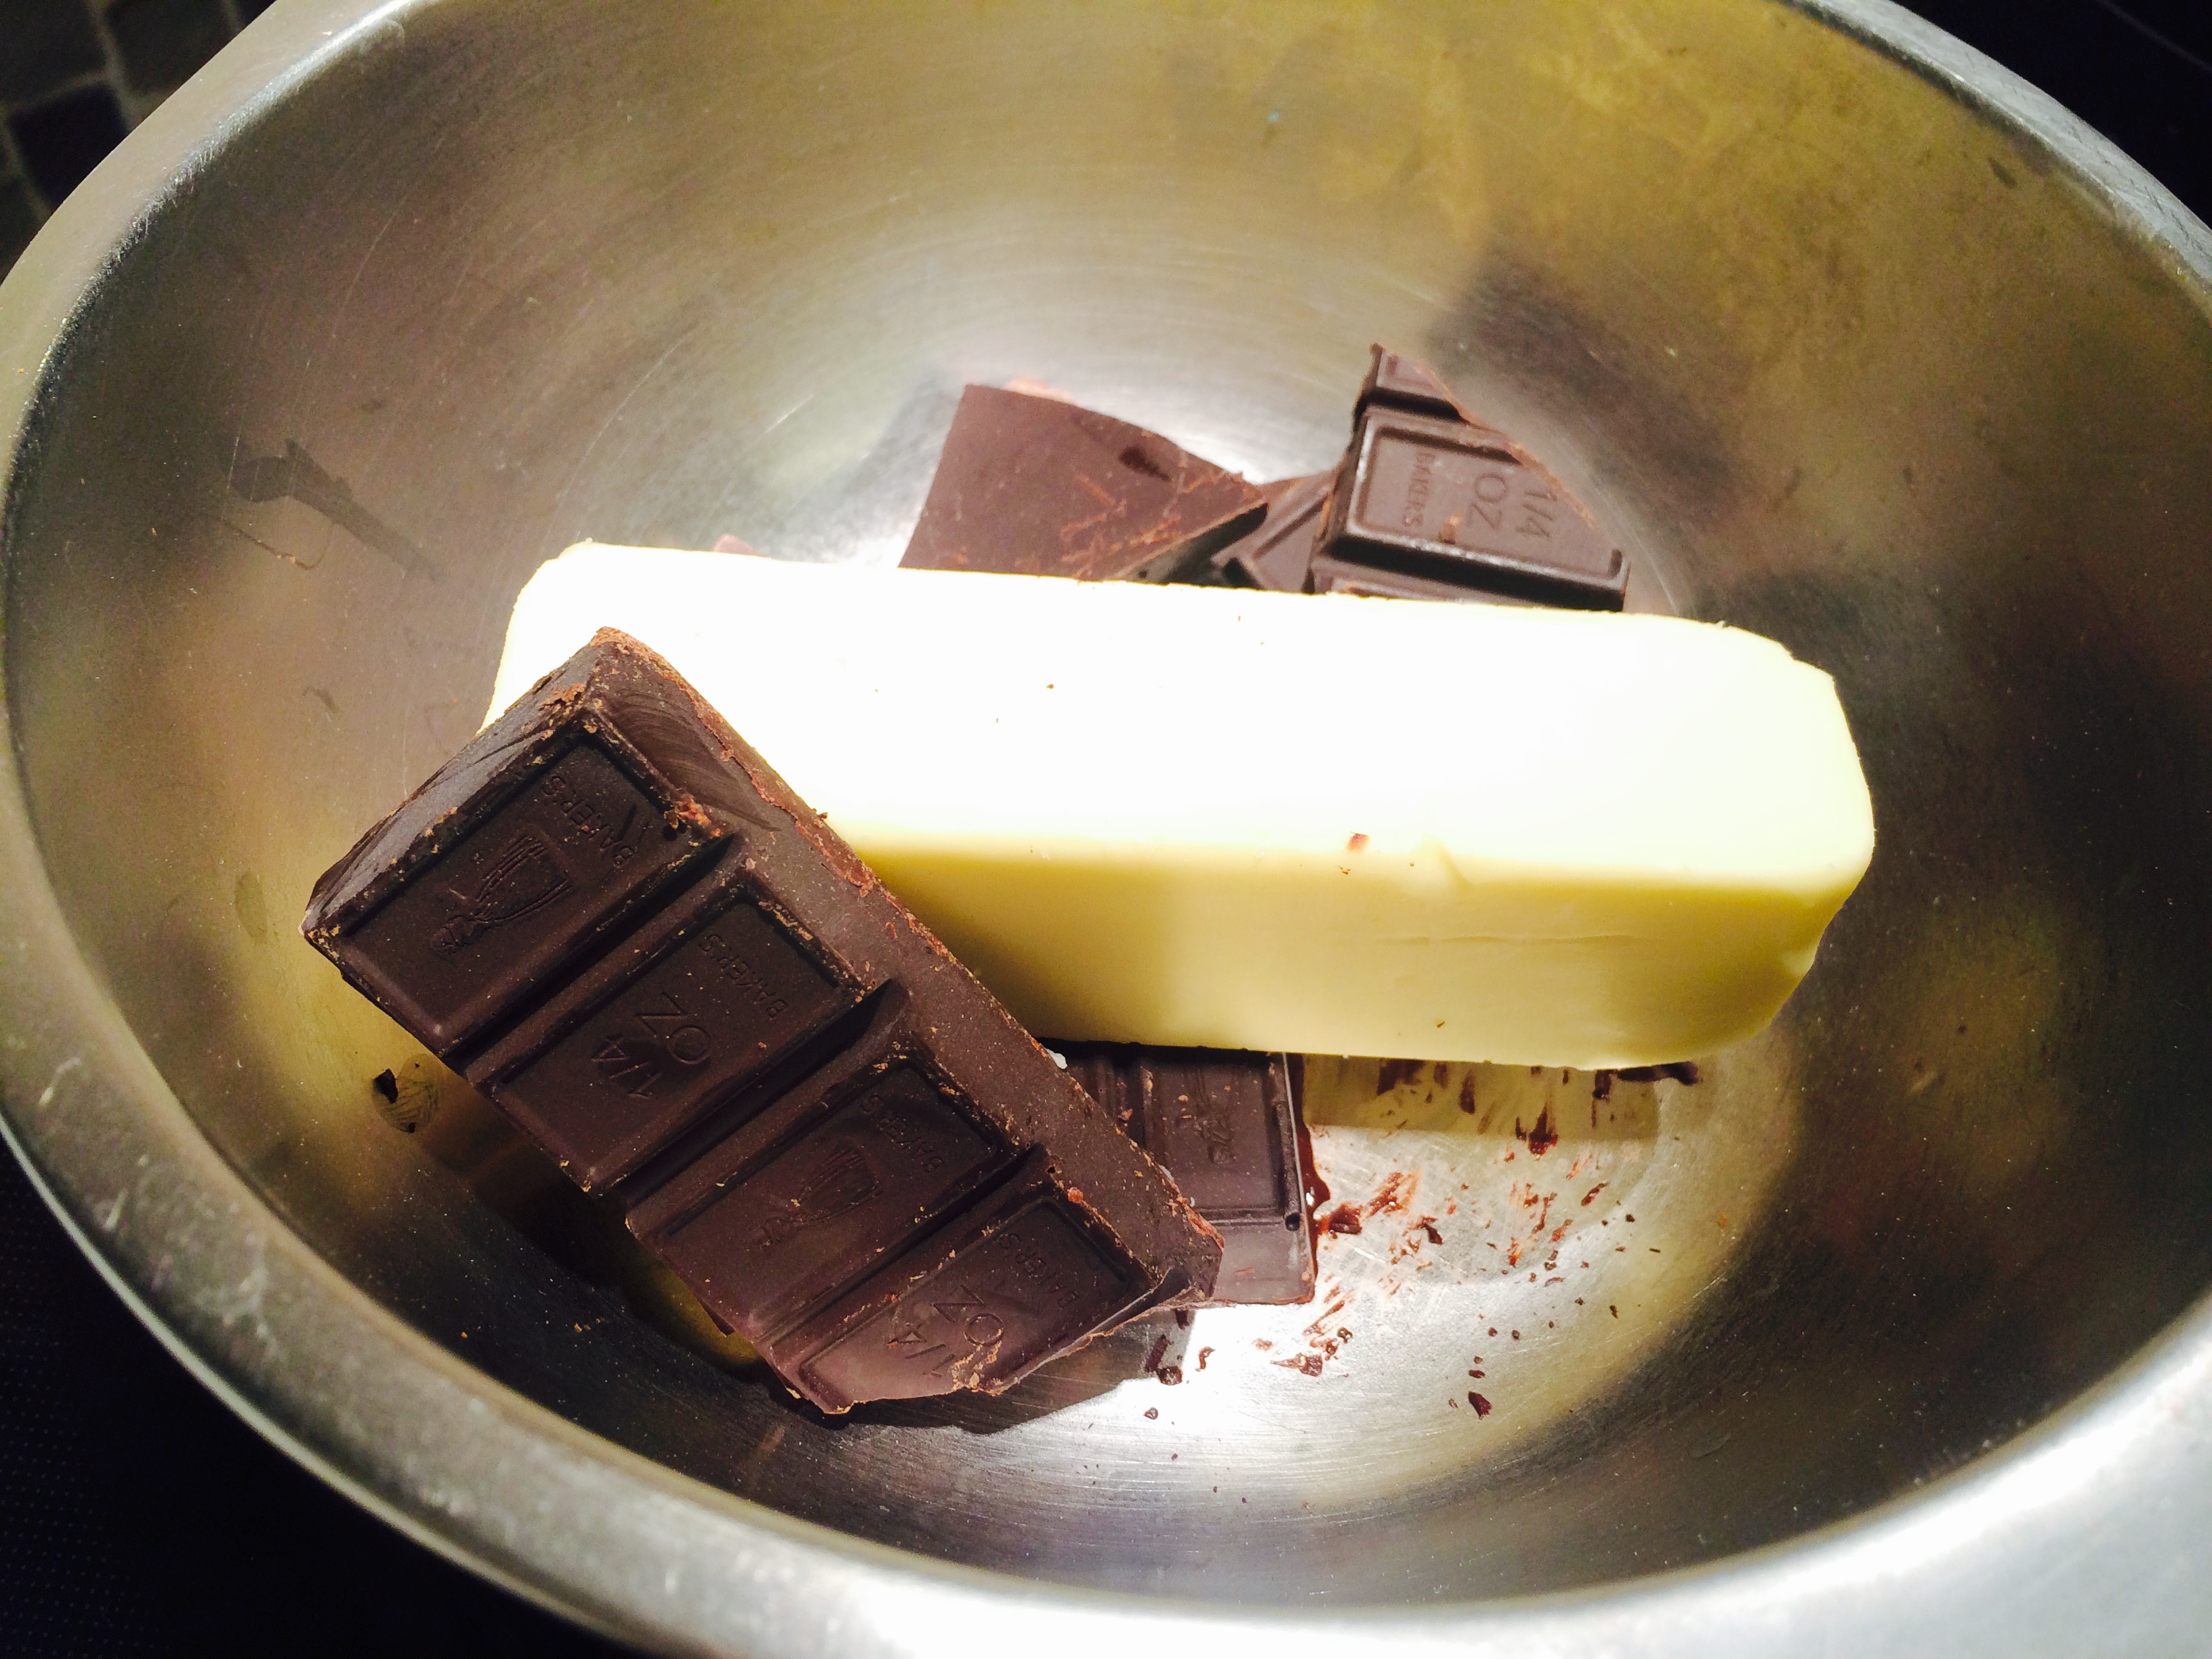
And that commitment actually drives the title of this post. Getting back to aspects of life that get lost when one is like me and runs through the days like there is something chasing him. This summer has been a whirlwind of travel, parties, work, and fun, but now that it’s over and classes have started again, I’ve had the opportunity to pause and reflect on the good, the bad, and the ugly. To highlight a few things:

  1. My lab work over the summer was rather awesome. Though I still do not have any results to show as of now, I learned a lot. In addition to the learning, I actually kinda liked having regular hours when I was expected(ish) to be at the lab. Yes, those hours were flexible and I took full advantage of that, but I appreciated not taking work home and juggling it with classes, meetings, and fun.
  2. Teaching yoga and boot camps this summer has been so much fun! Even though teaching responsibilities cause me to take advantage of flexible hours, I’m reminded that I really do love leading fitness classes. Being able to positively affect someone’s day with a simple hour of class is a great feeling that I’m in no hurry to give up!
  3. Outdoors! Outdoors! Outdoors! I’ve had the opportunity to go camping, hiking, biking, and racing this summer. I’ve loved it. Just being outside in the forests and mountains has reminded me that there is so much life to appreciate outside the city, and one should take full advantage of it whenever possible. IMG_1849

While I would not change any of this summer’s events, I realize that my favorite moments were when I stopped and took a breath. They were the times when I didn’t let the rest of life take up parts of my mind while engaged in another activity. Though I have no intentions of slowing down my everyday life, I intend to try to keep things more simple. More basic. Maybe that will be making dinner at home rather than going out. Or maybe that will mean finding a better balance between work, school, and fun. Maybe it just means I turn off my phone for a couple of hours. Who know? All I know is that I’m looking forward to it!

Now, perhaps it is just me, but whenever I hear the words “back to basics” of course I think of Christina Aguilera’s album. Here’s the intro to that album:

But since that song is a bit old, here’s a song off of Leona Lewis’ latest album that I’ve been dancin’ around to lately. It’s called “I am.” (yes, I realize I posted a Leona song last time… I’m okay with this)

Keeping with the theme of this post, I decided I would go back to the first recipe I remember learning. It’s my mom’s brownie recipe that I remember baking when I was probably 7? 8? Somewhere in there. My strongest memory attached to this IMG_1856
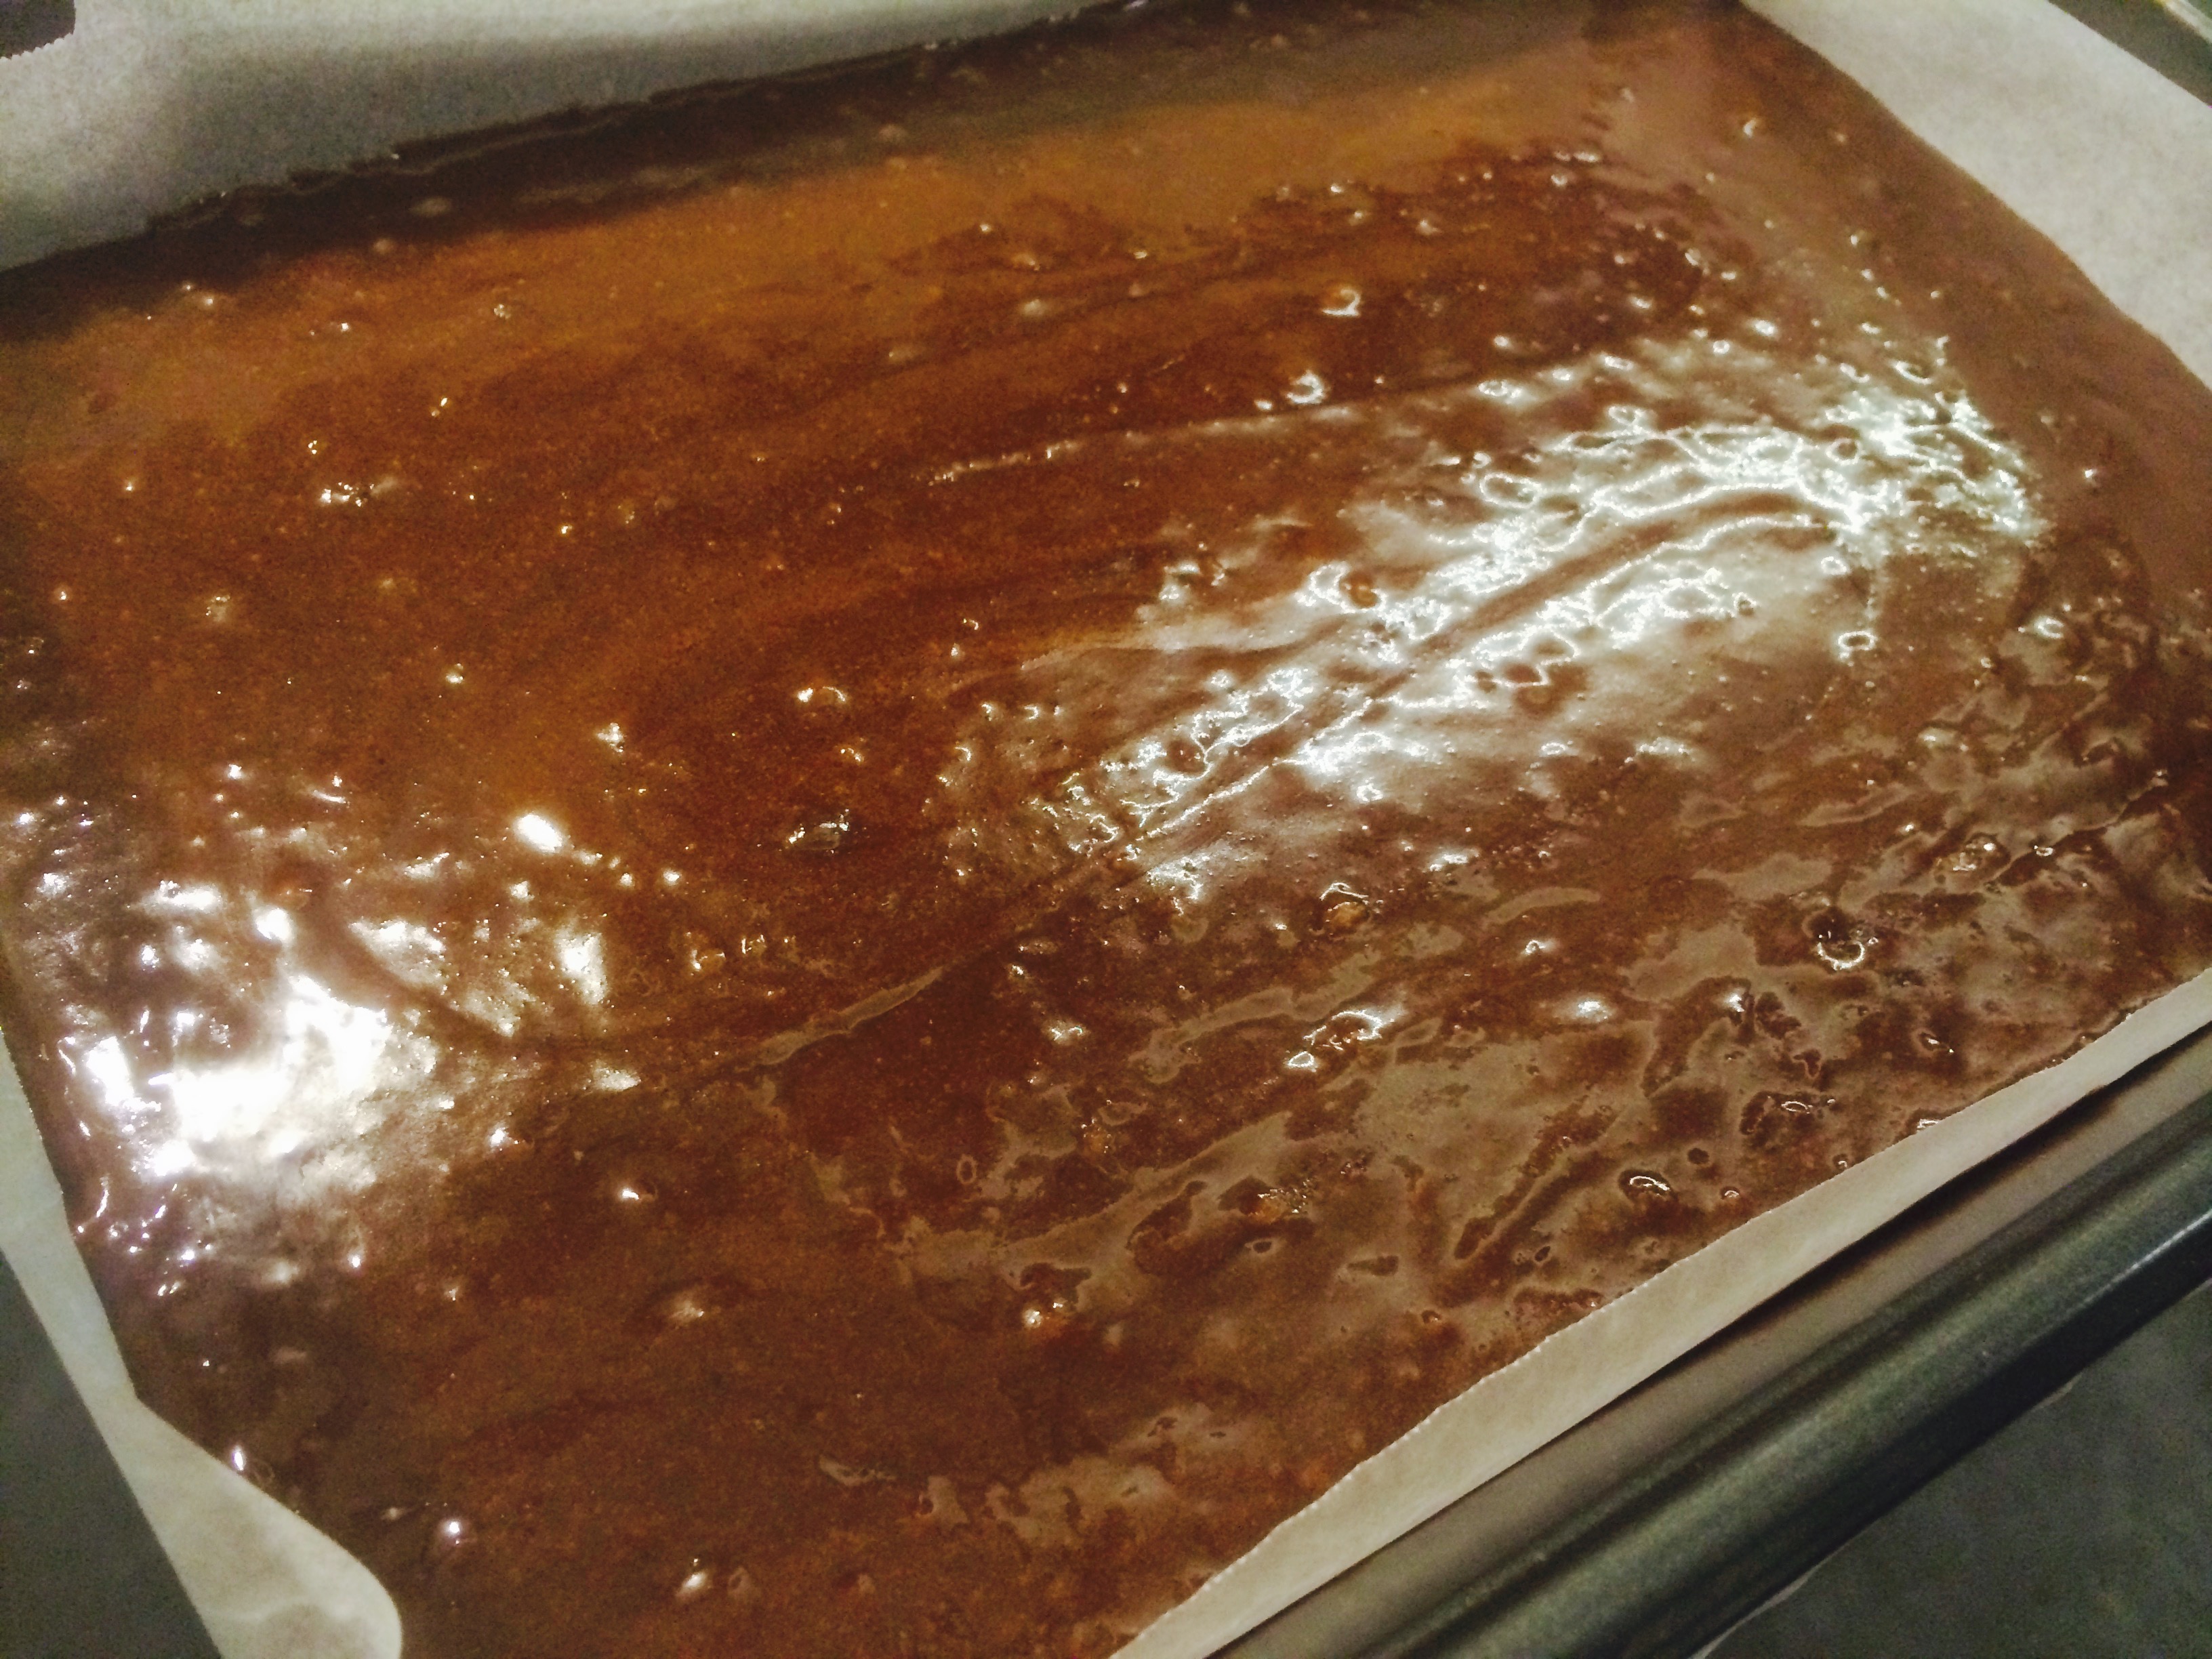
recipe is that she gave it to me to bake, but made it into a lil math problem, telling me to make only an eighth of the recipe and then bake it in the toaster oven. Whether her intention was to teach me math or to get herself a fresh brownie is unclear. Regardless, it achieved both purposes and also taught me that I love baking! (I also remember trying to divide an egg in half and failing. We decided          the whole egg was okay)
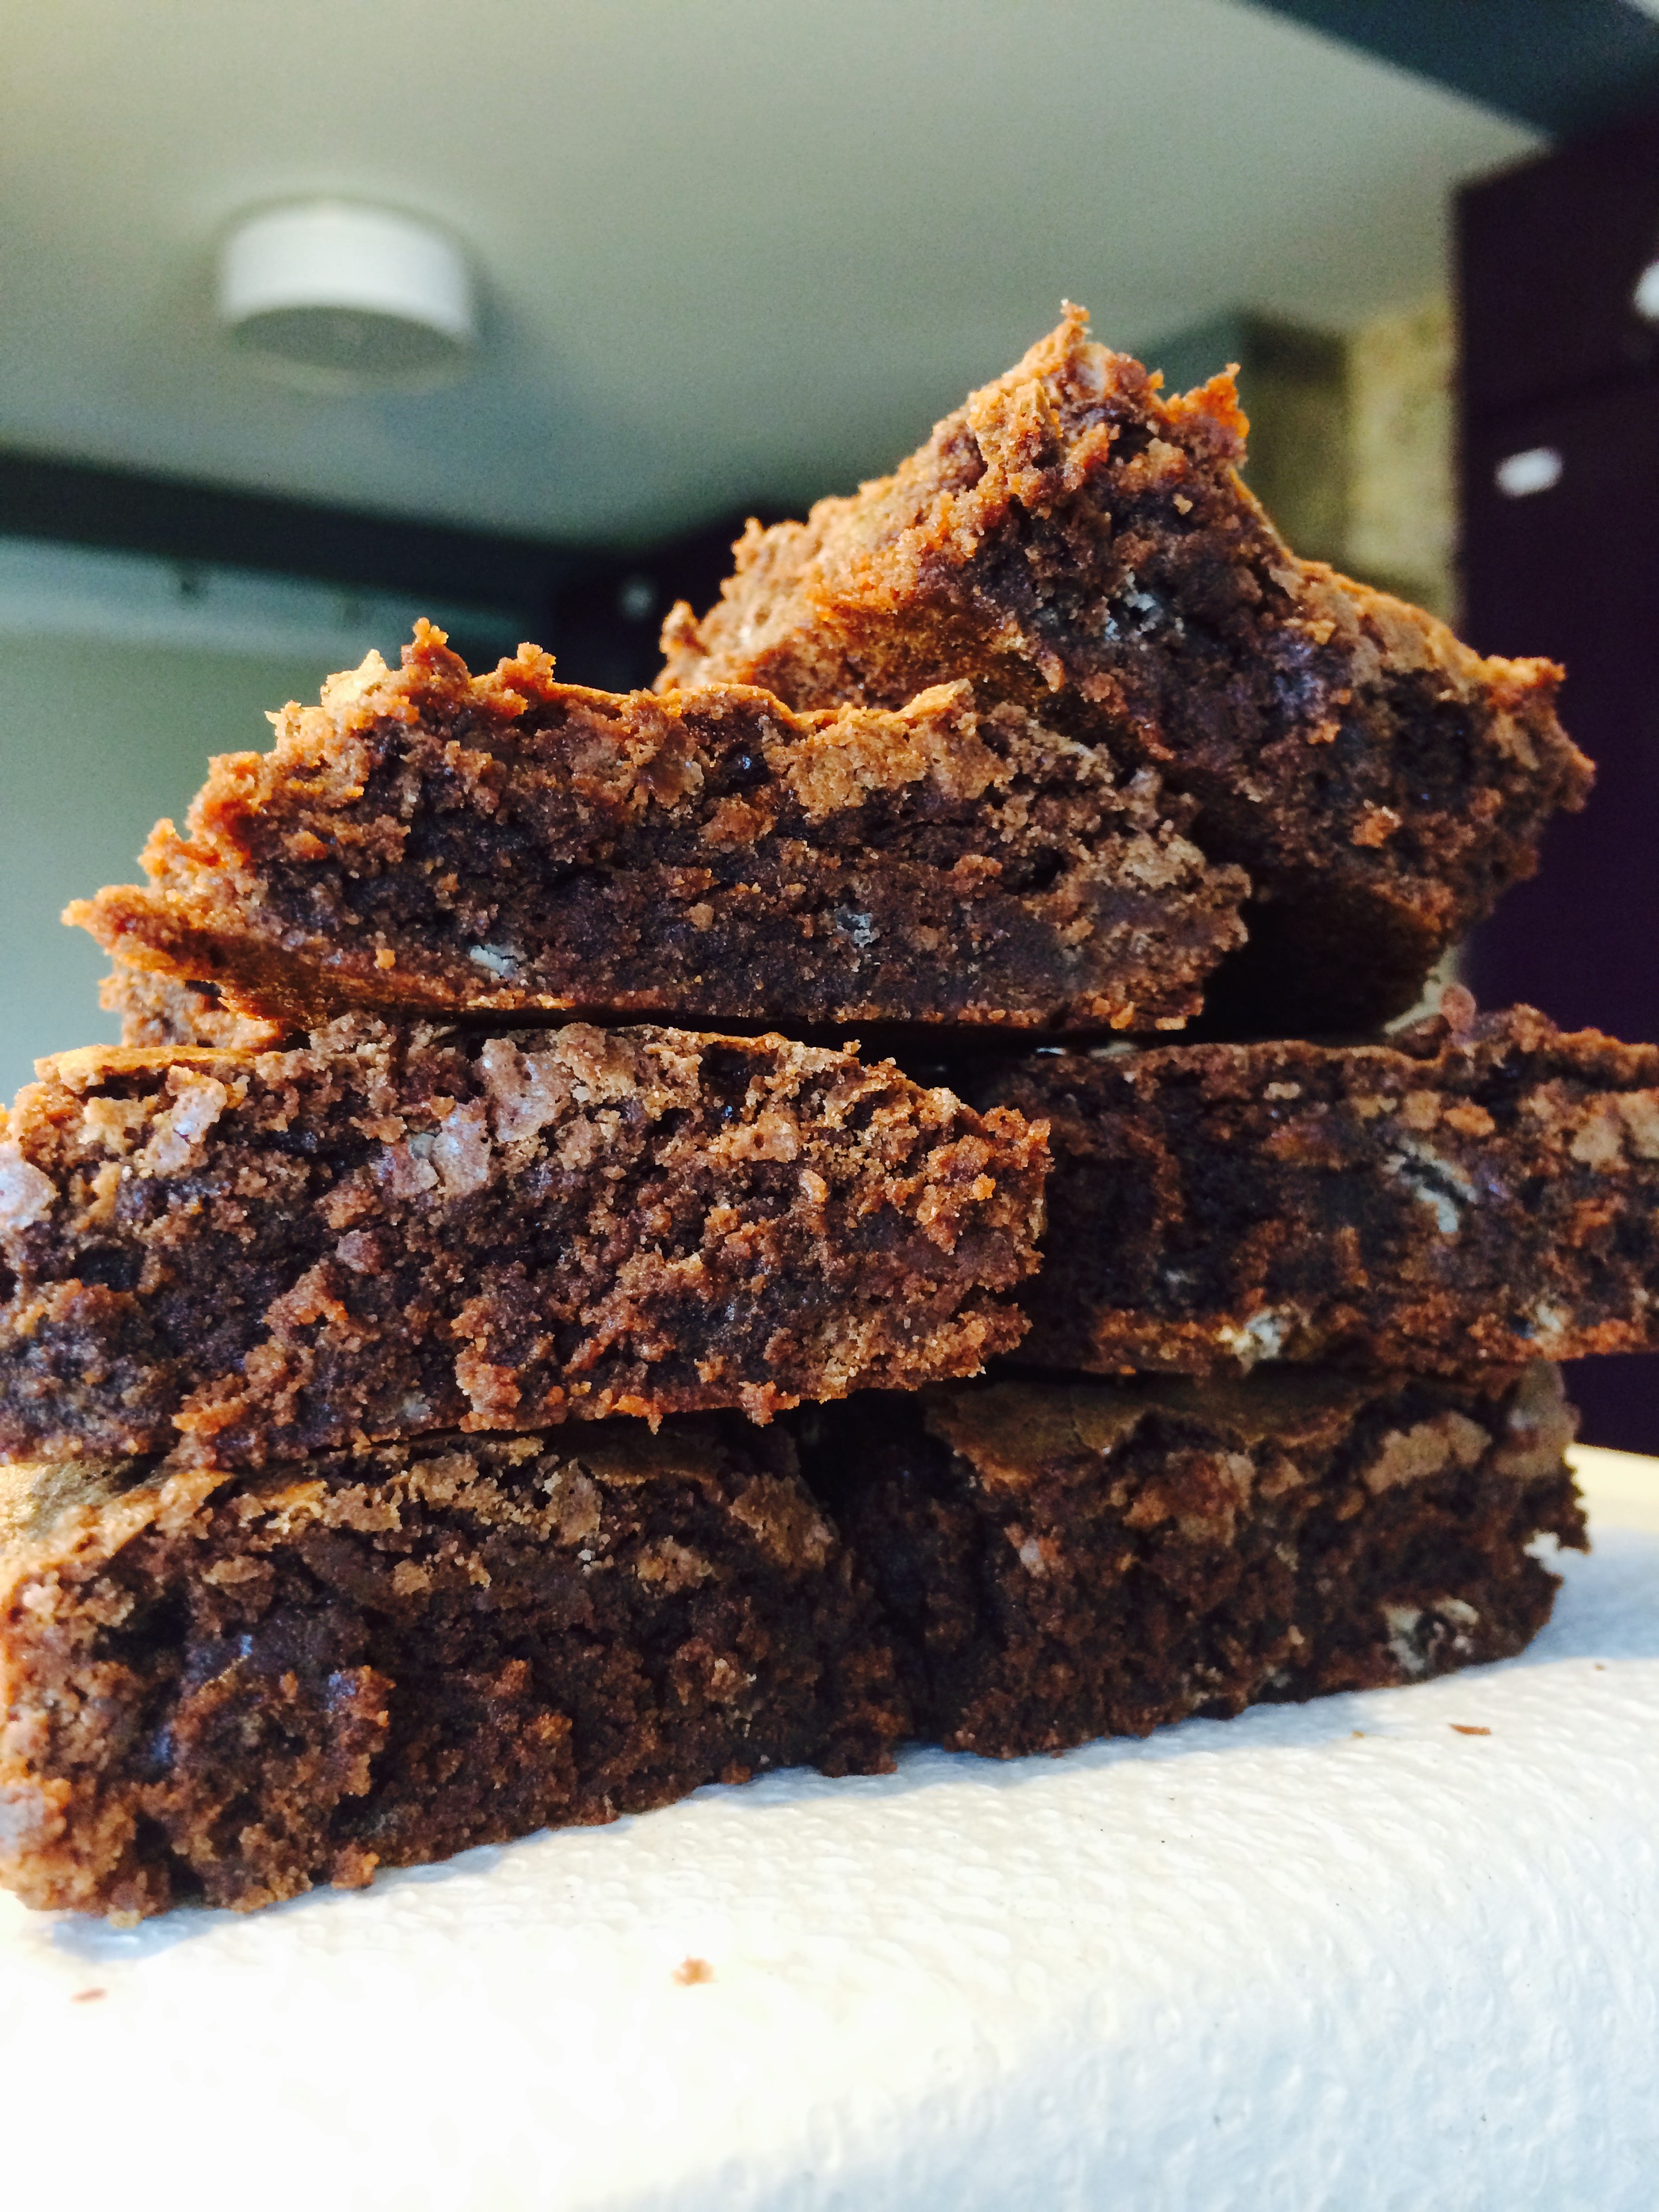
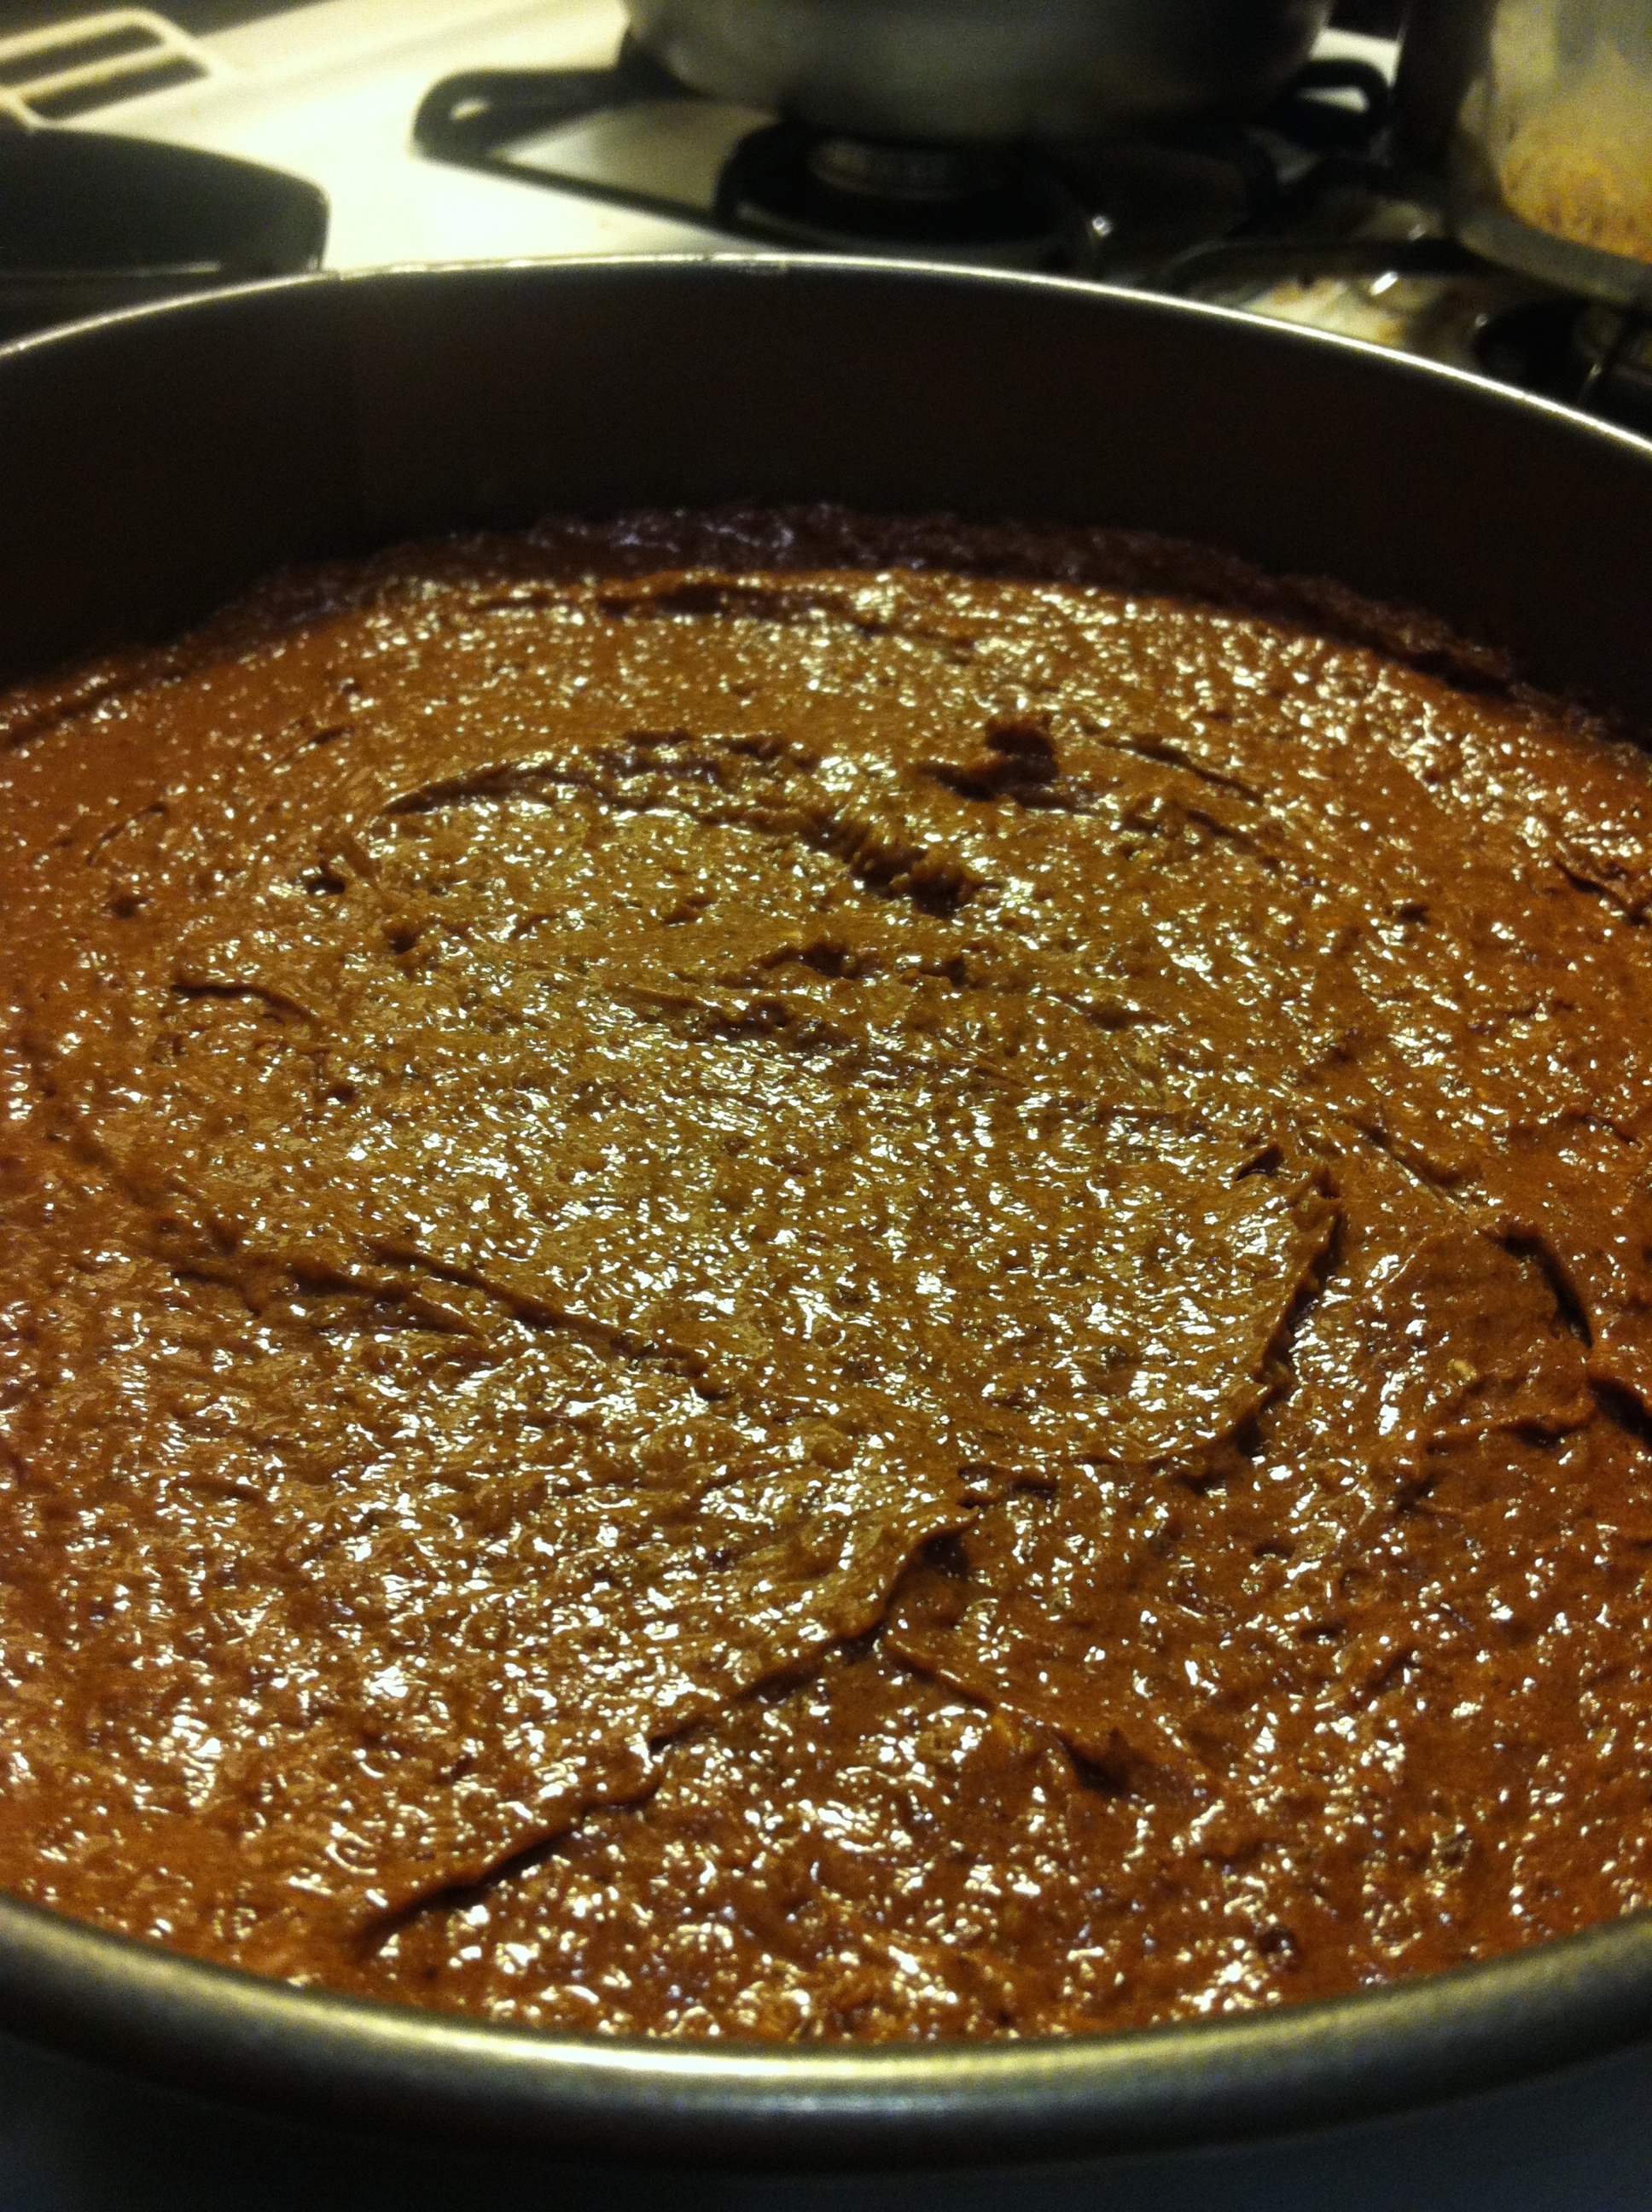
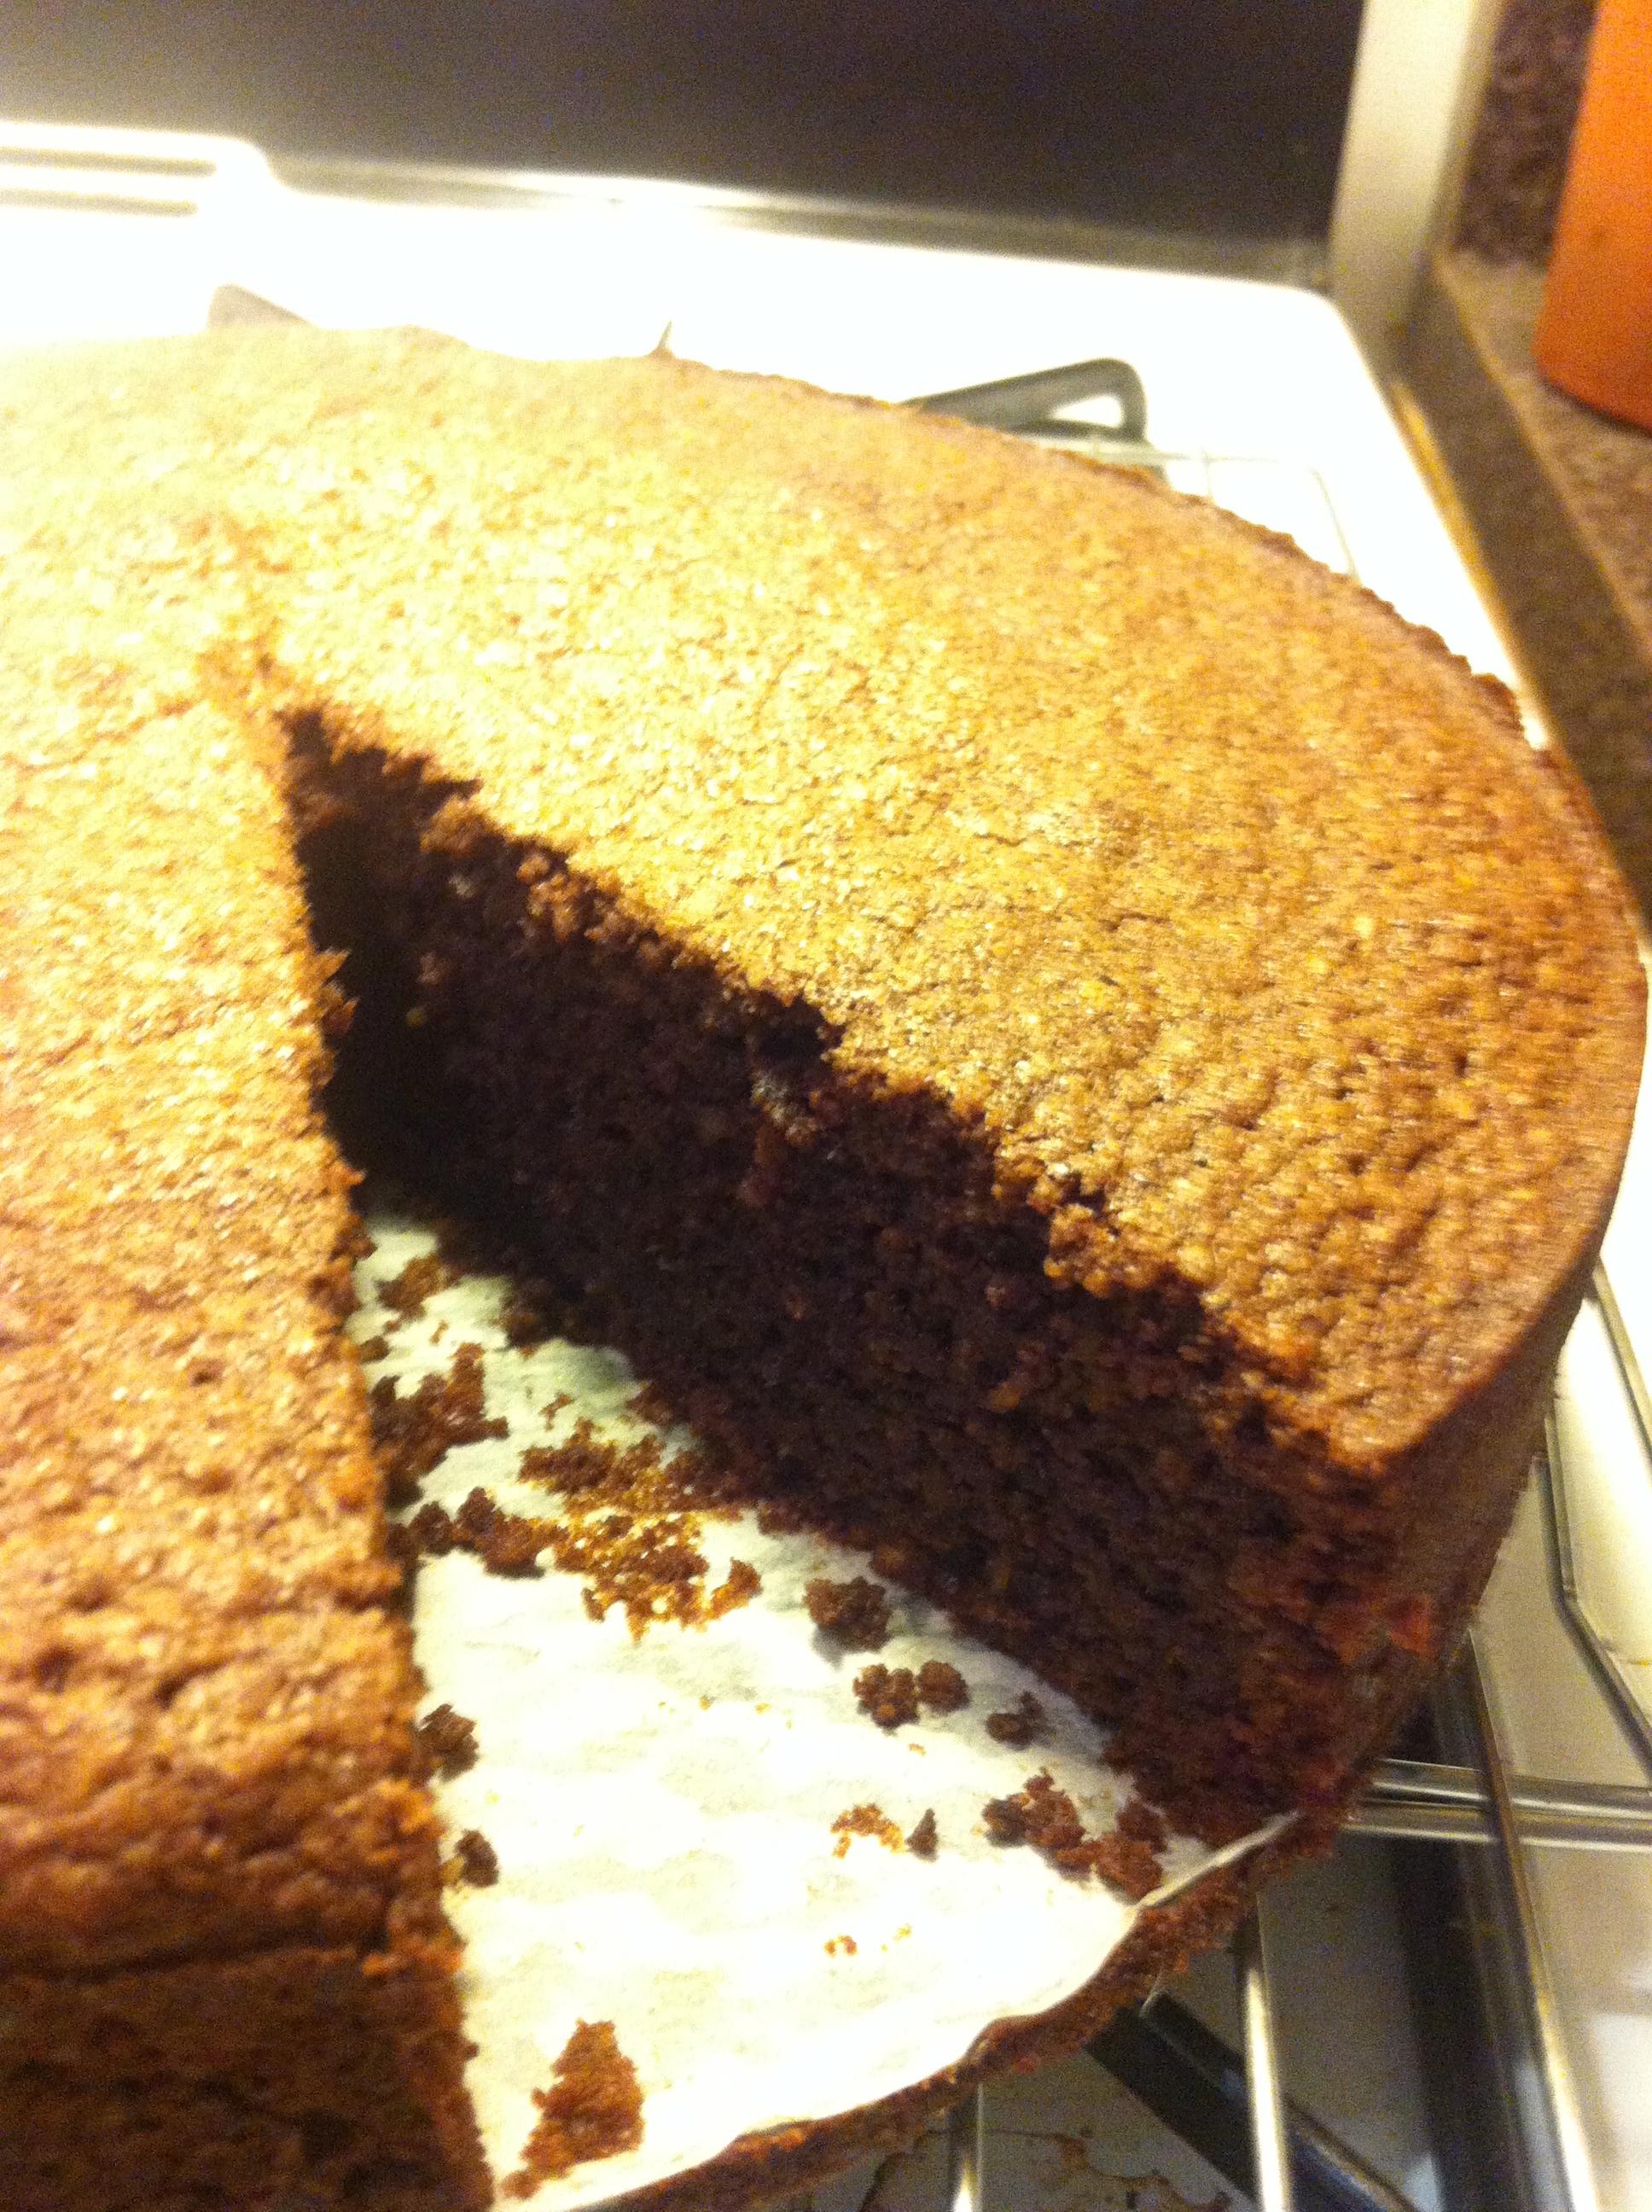
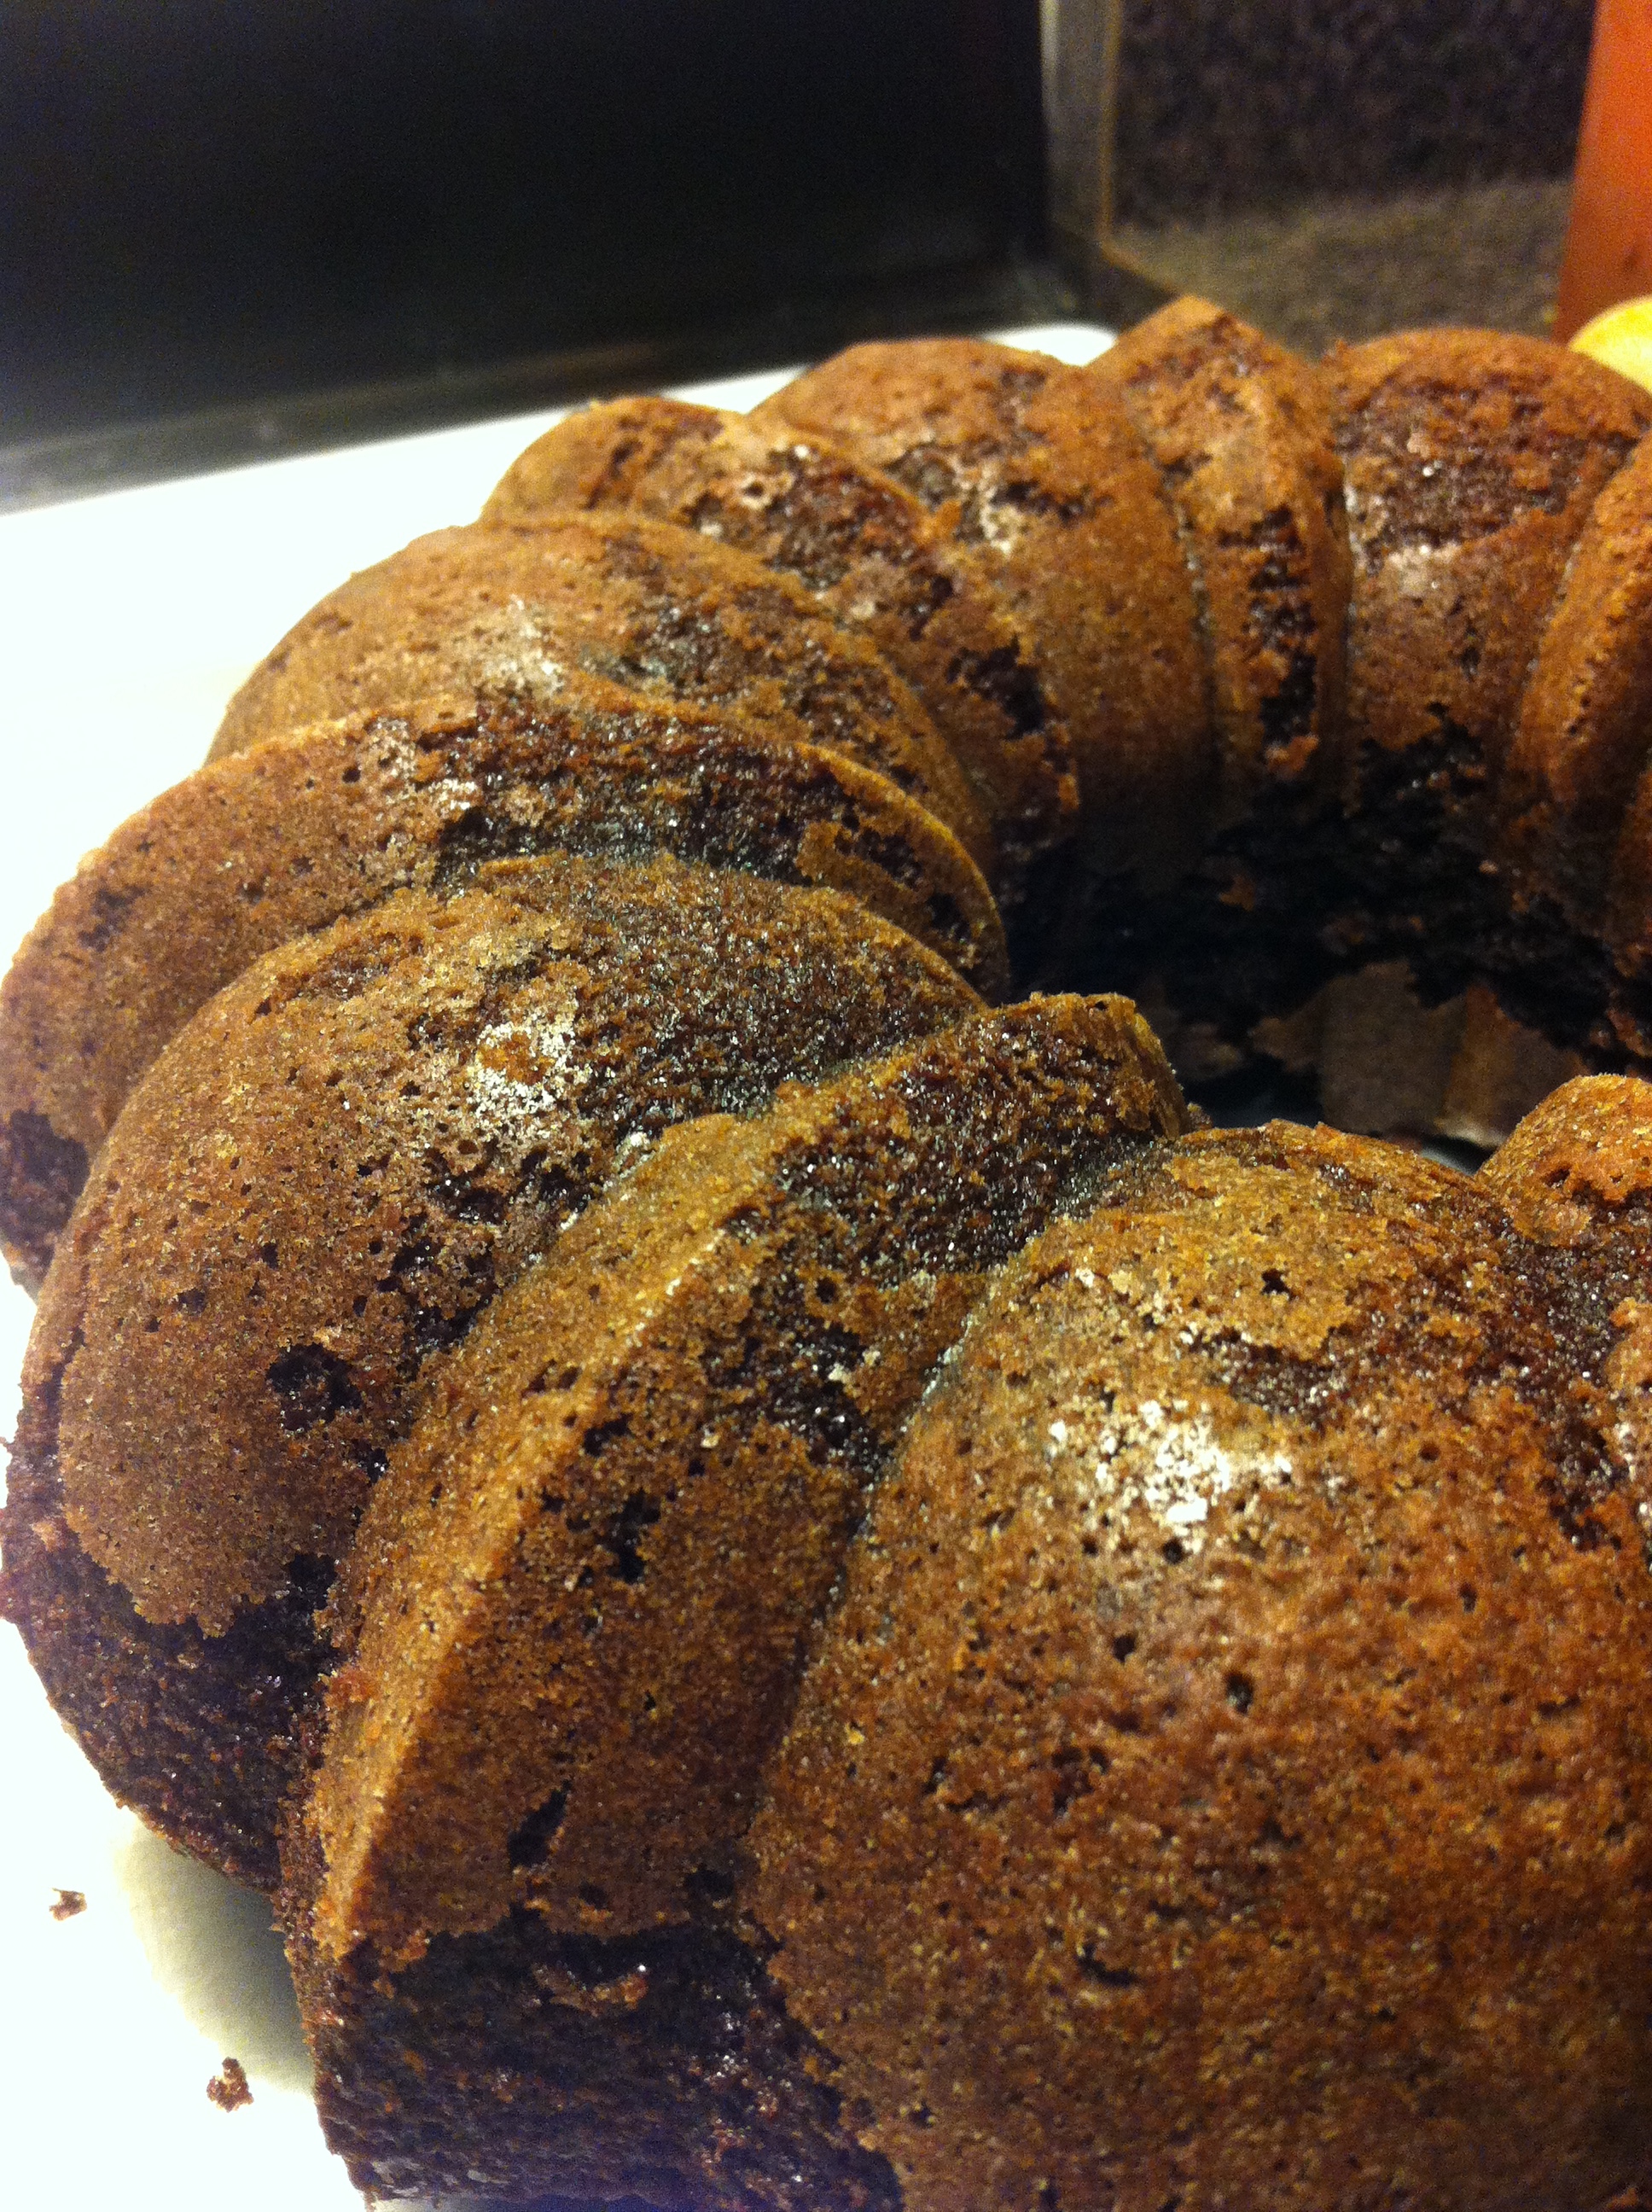
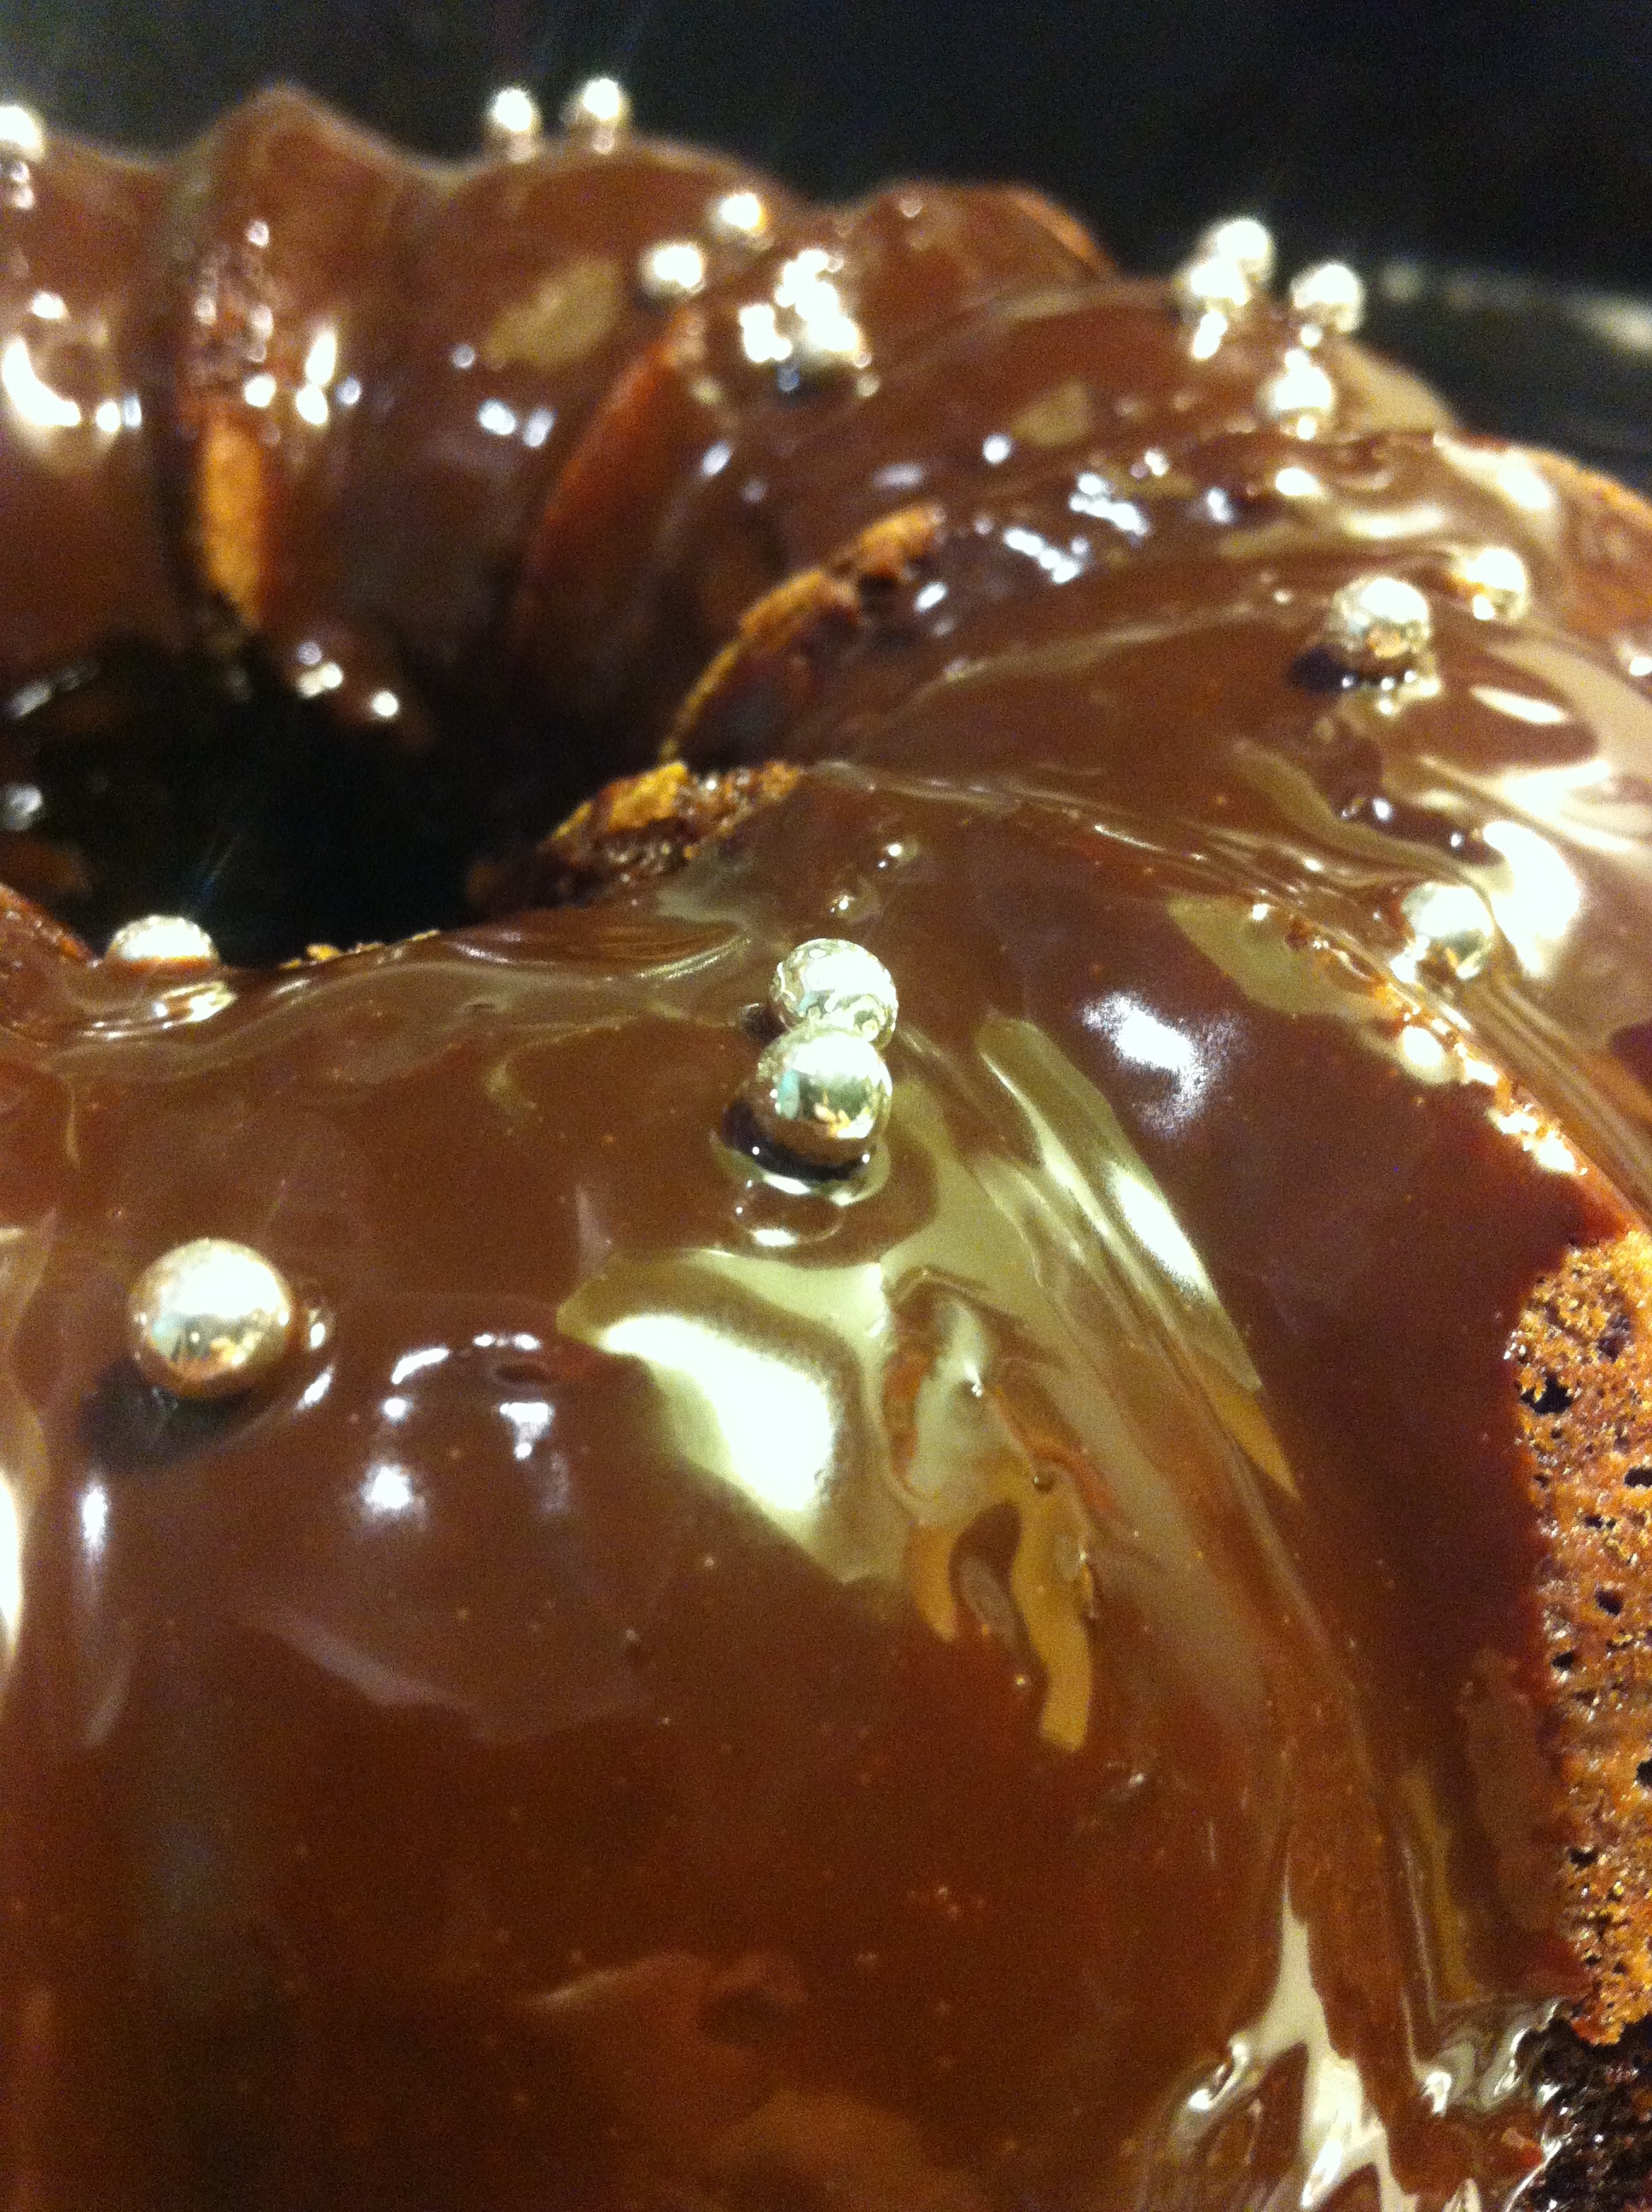
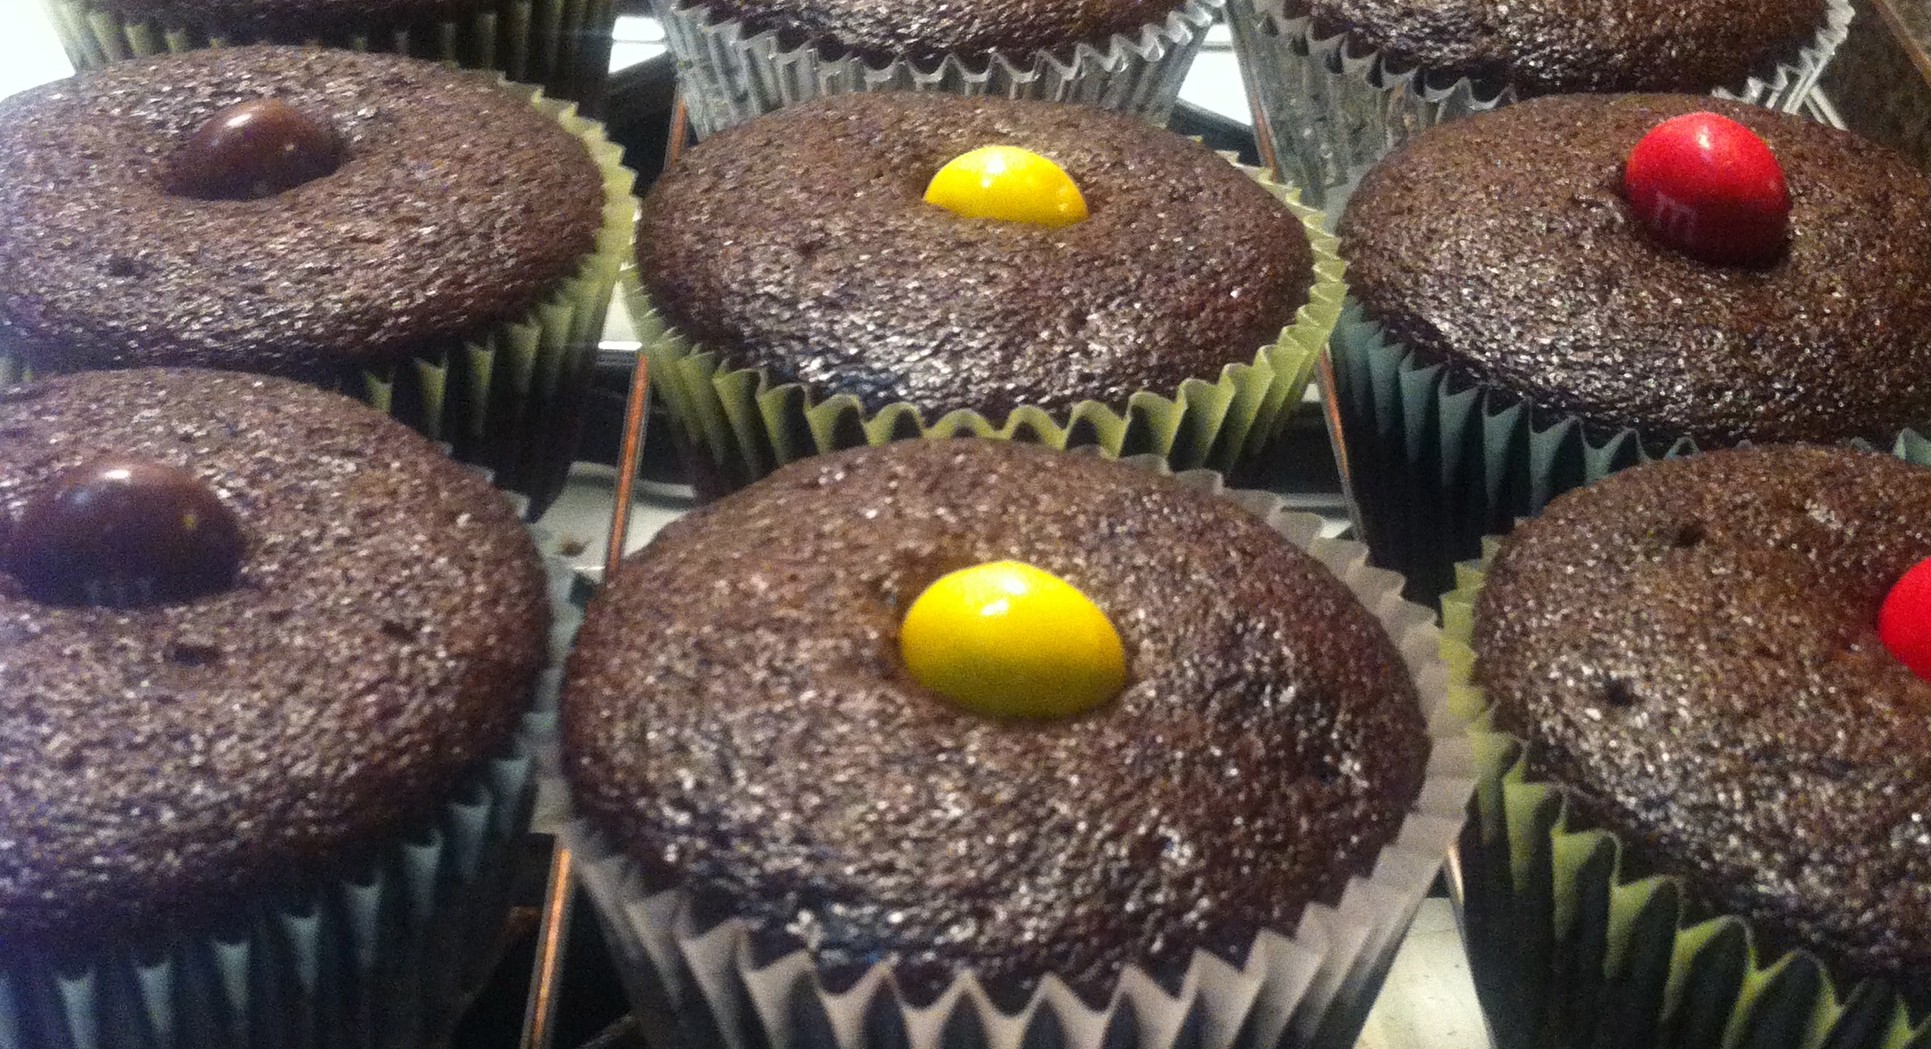
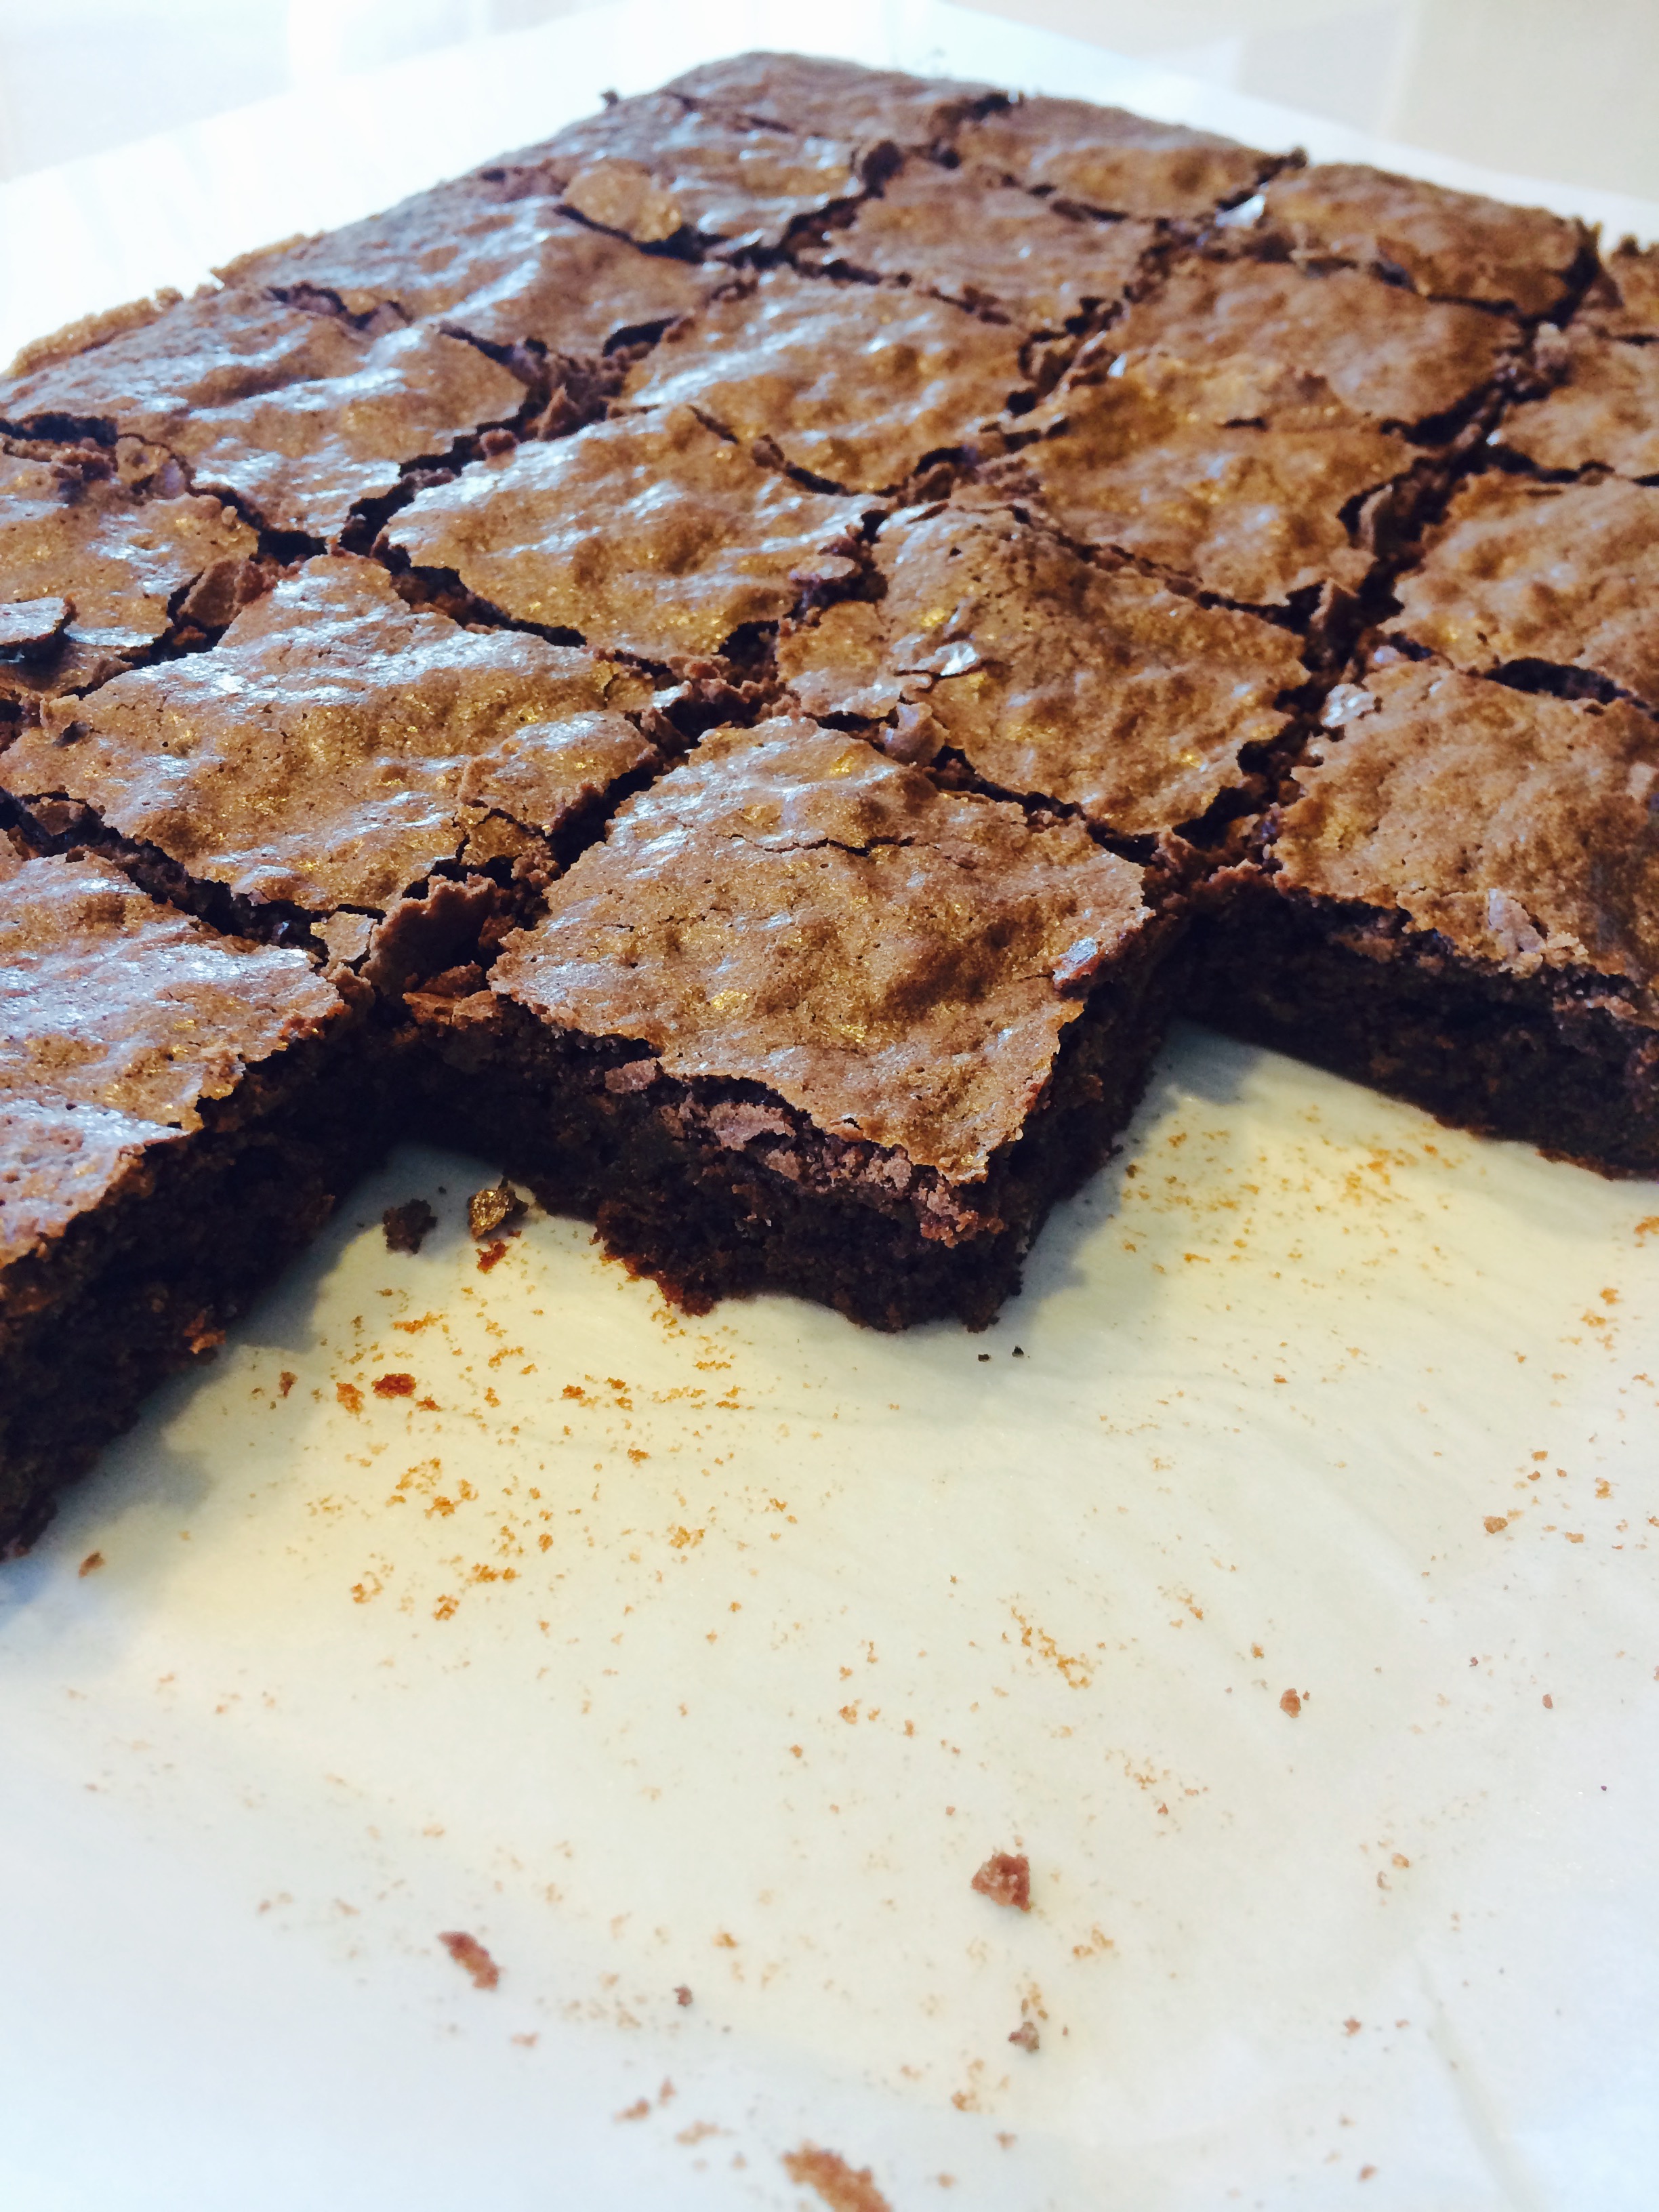
BROWNIES!!!IMG_1835
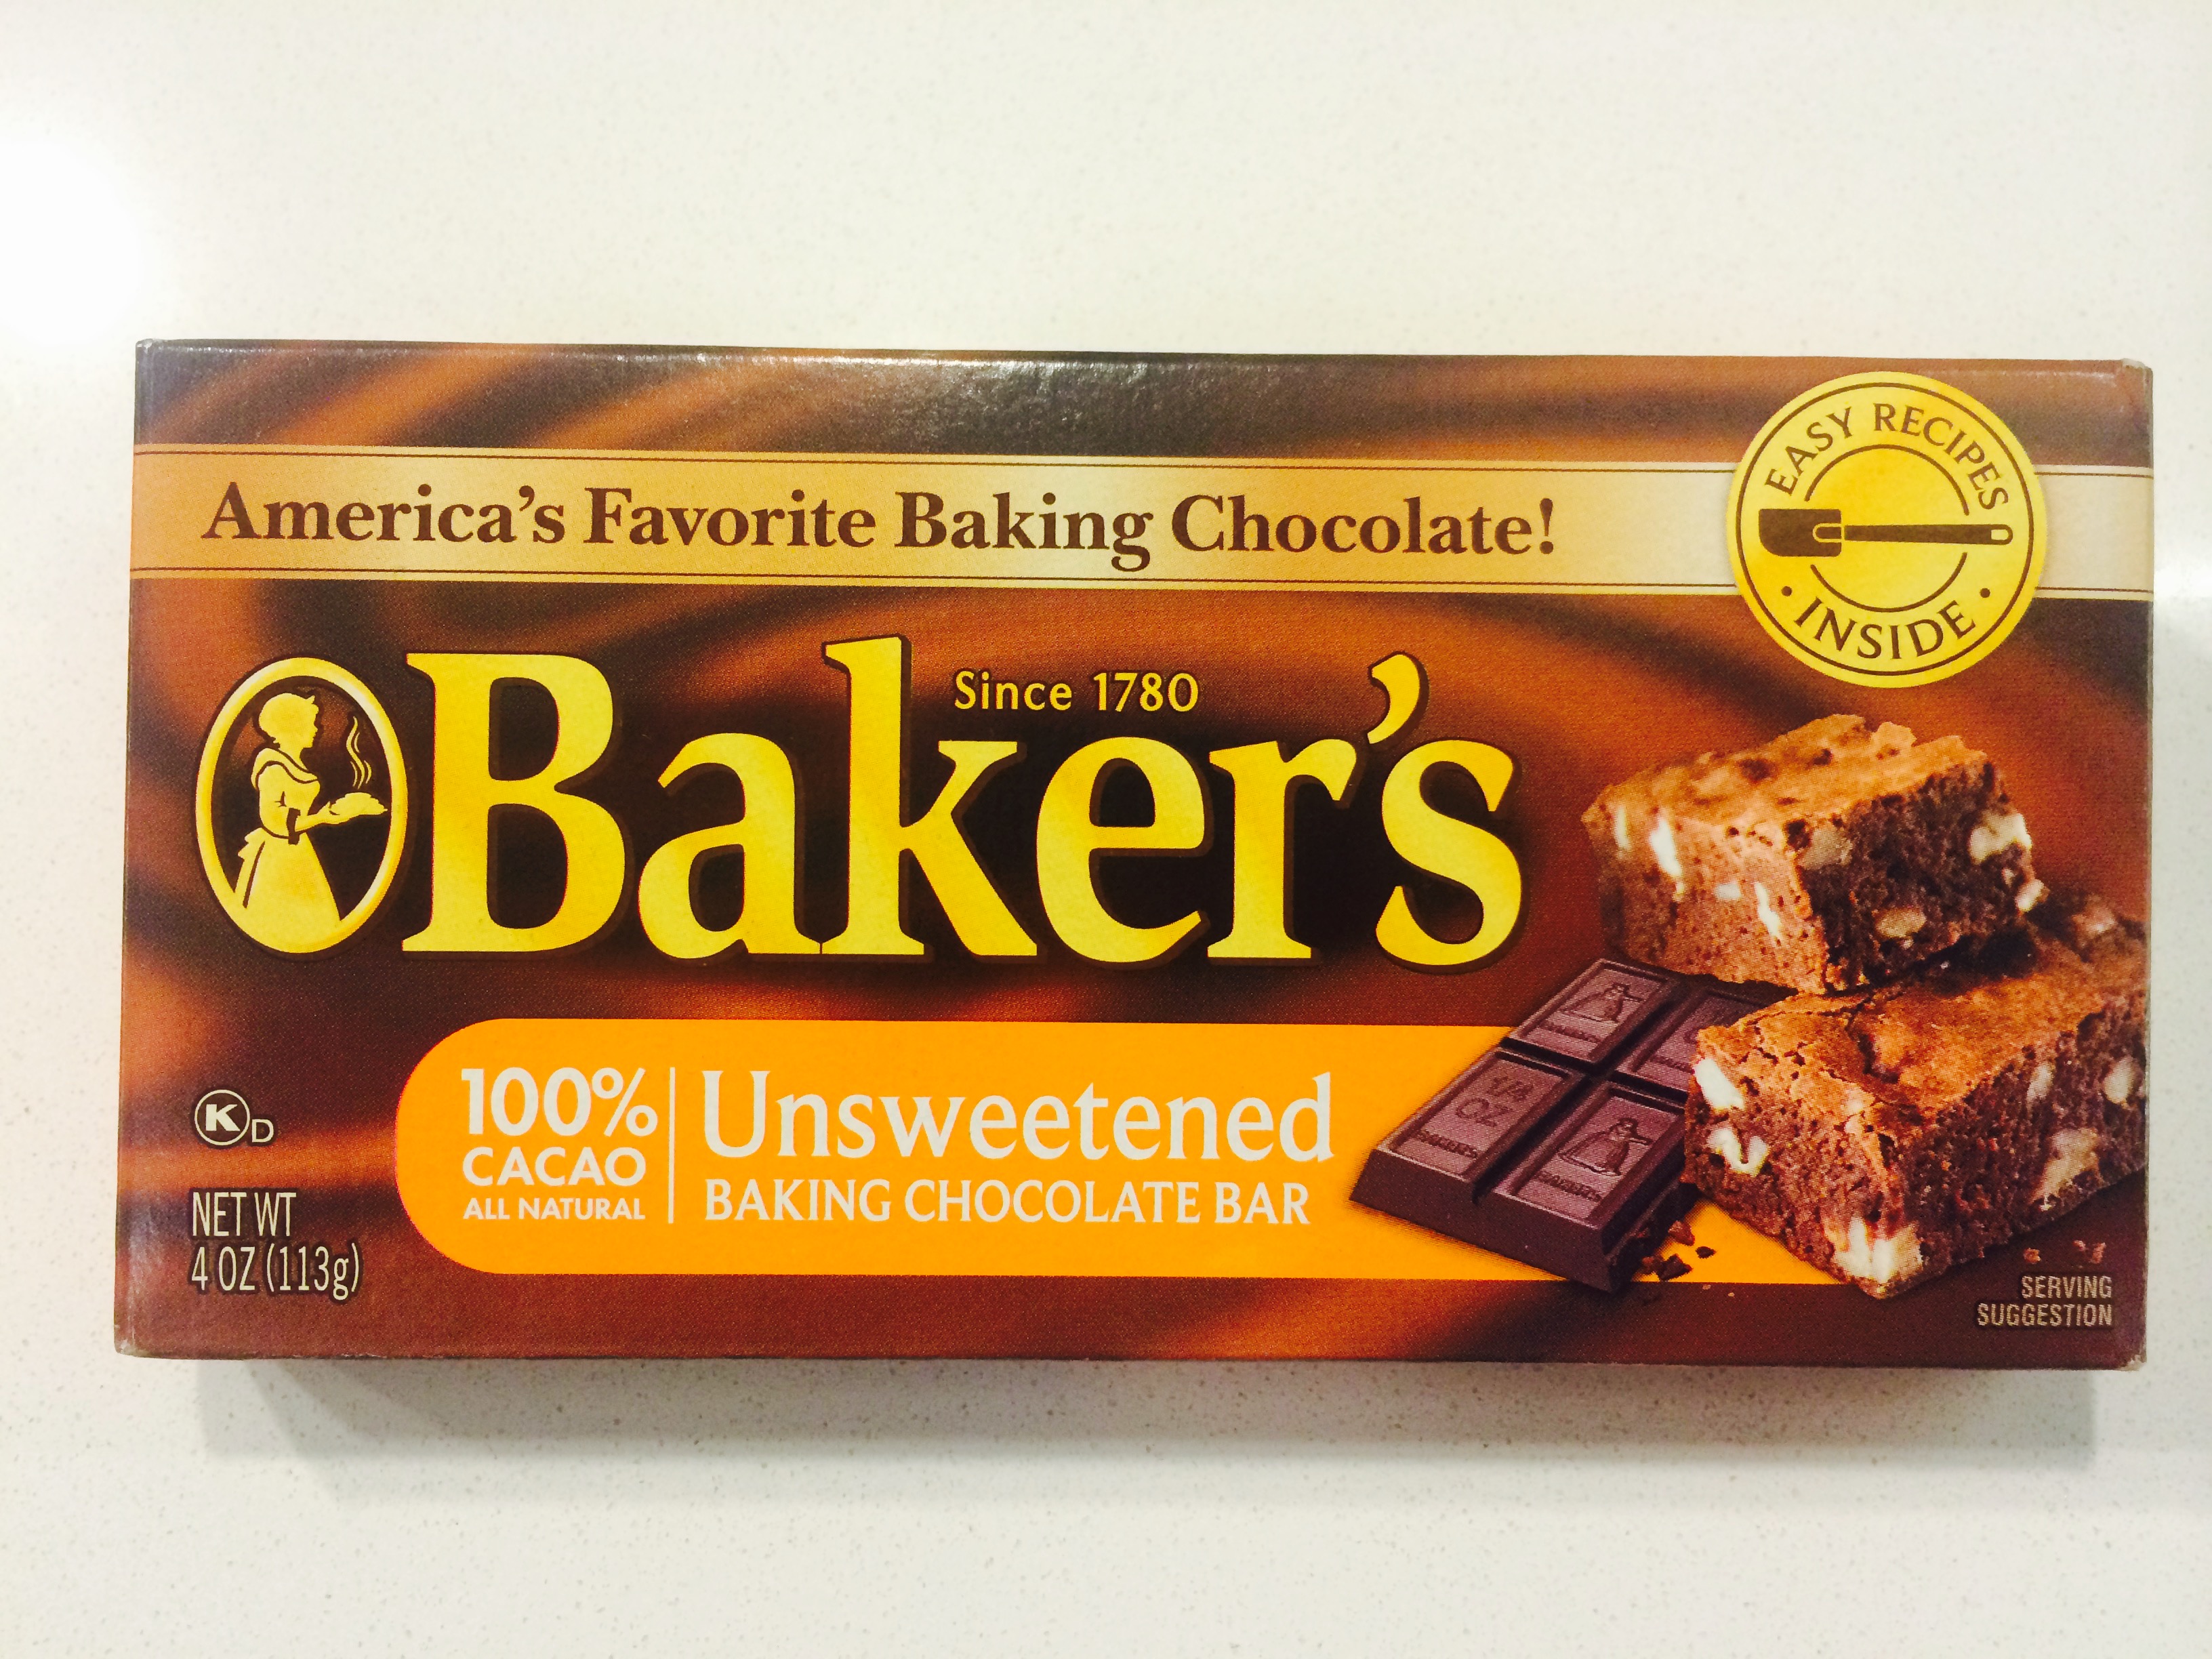
from my mom’s recipe book

Ingredients
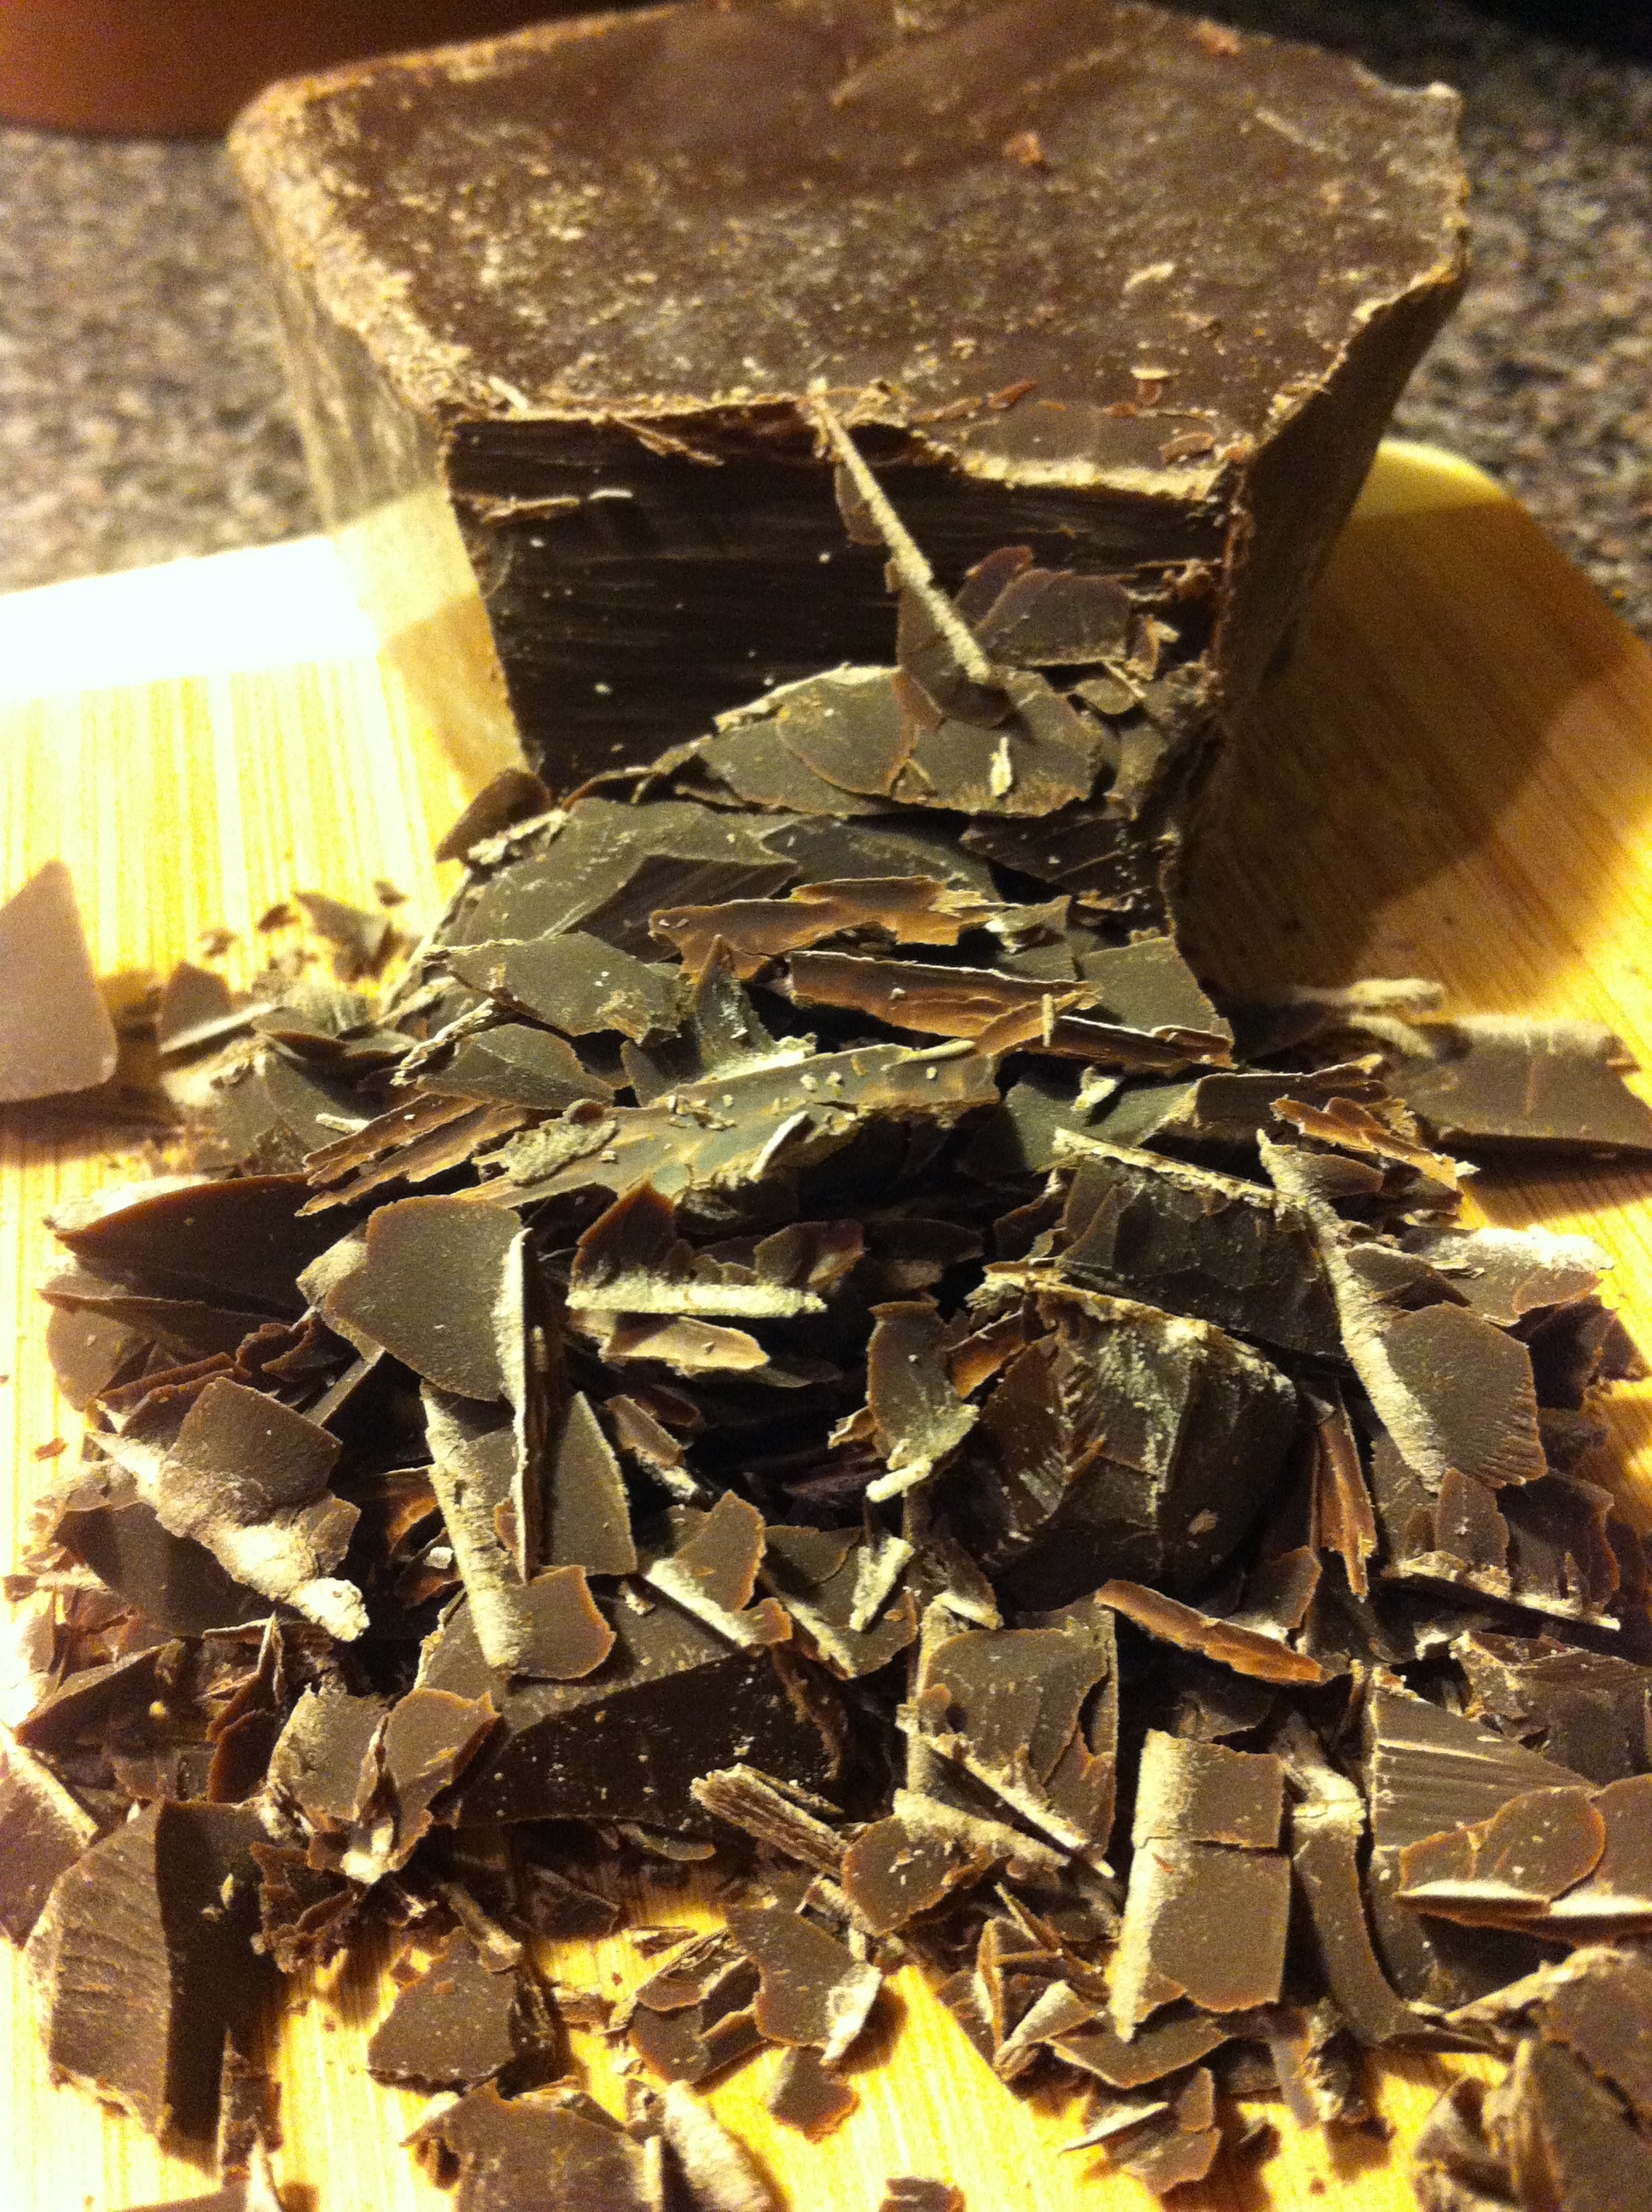
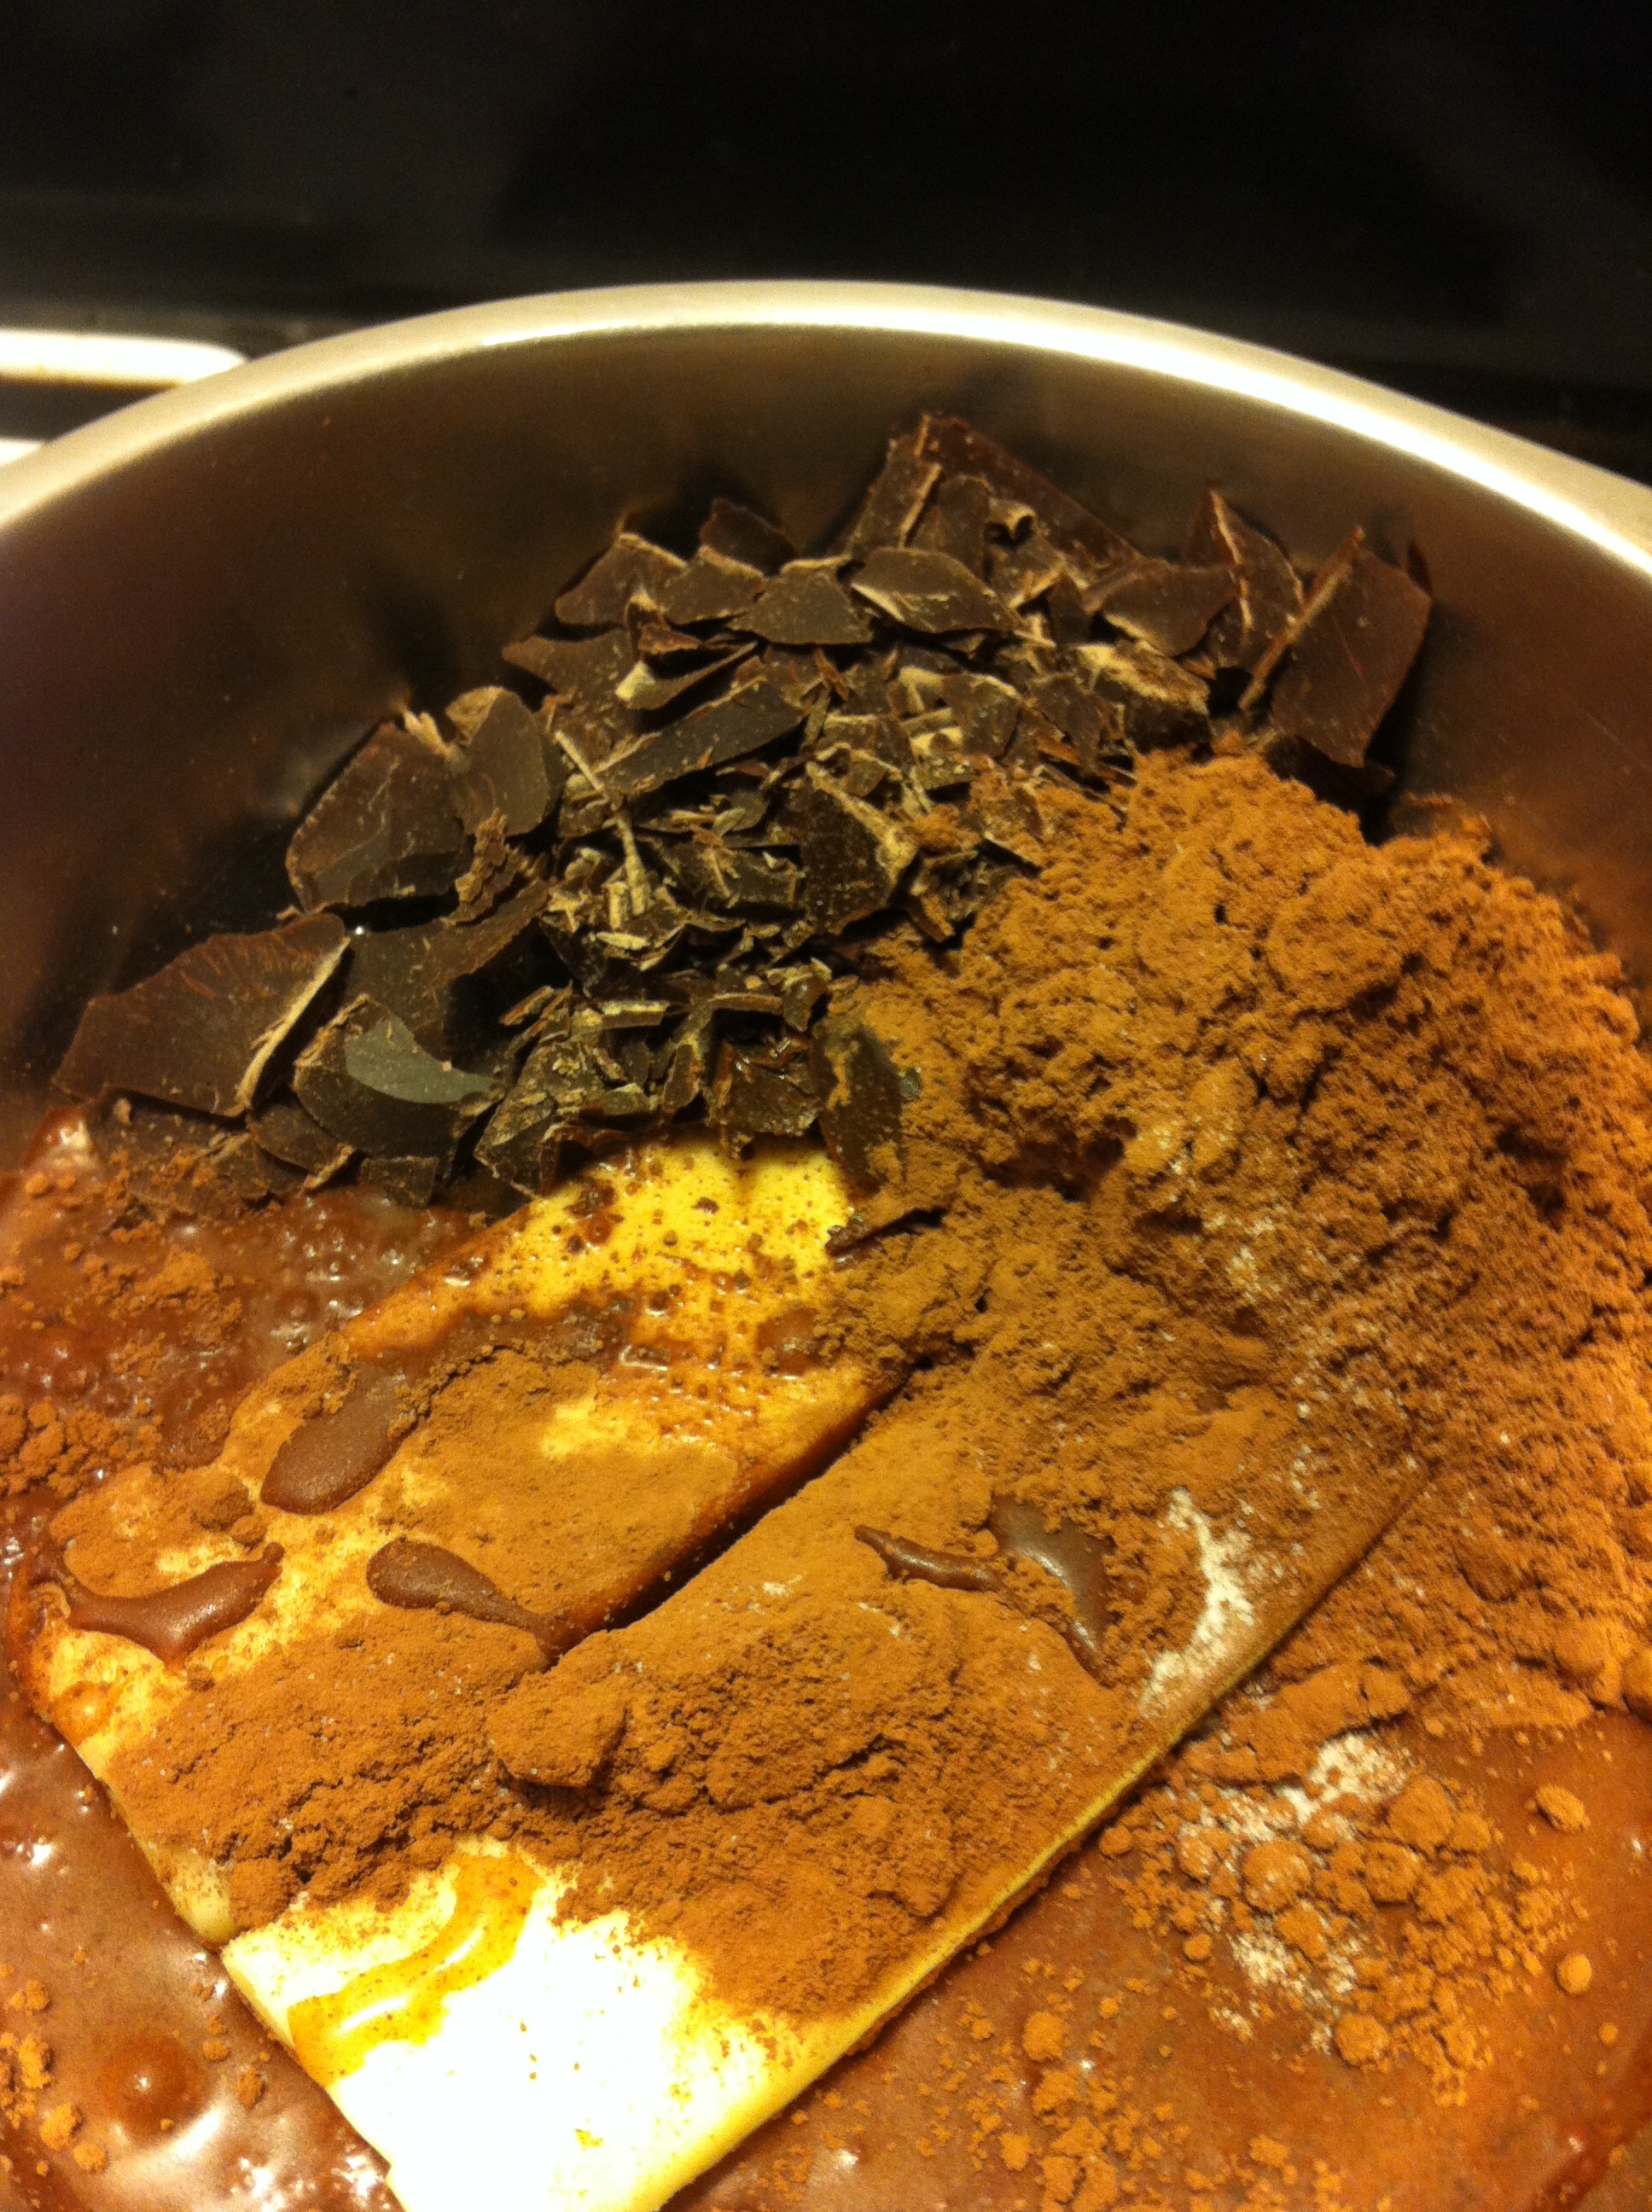
4oz Unsweetened Chocolate (I’ve always used Baker’s)
1/2 cup (1 stick) Butter
2 cups Sugar
4 Eggs
1 tsp Vanilla Extract
1 cup Flour

IMG_1860

  1. Preheat oven to 350 degrees. Grease a 9×13 pan or line pan with parchment paper.
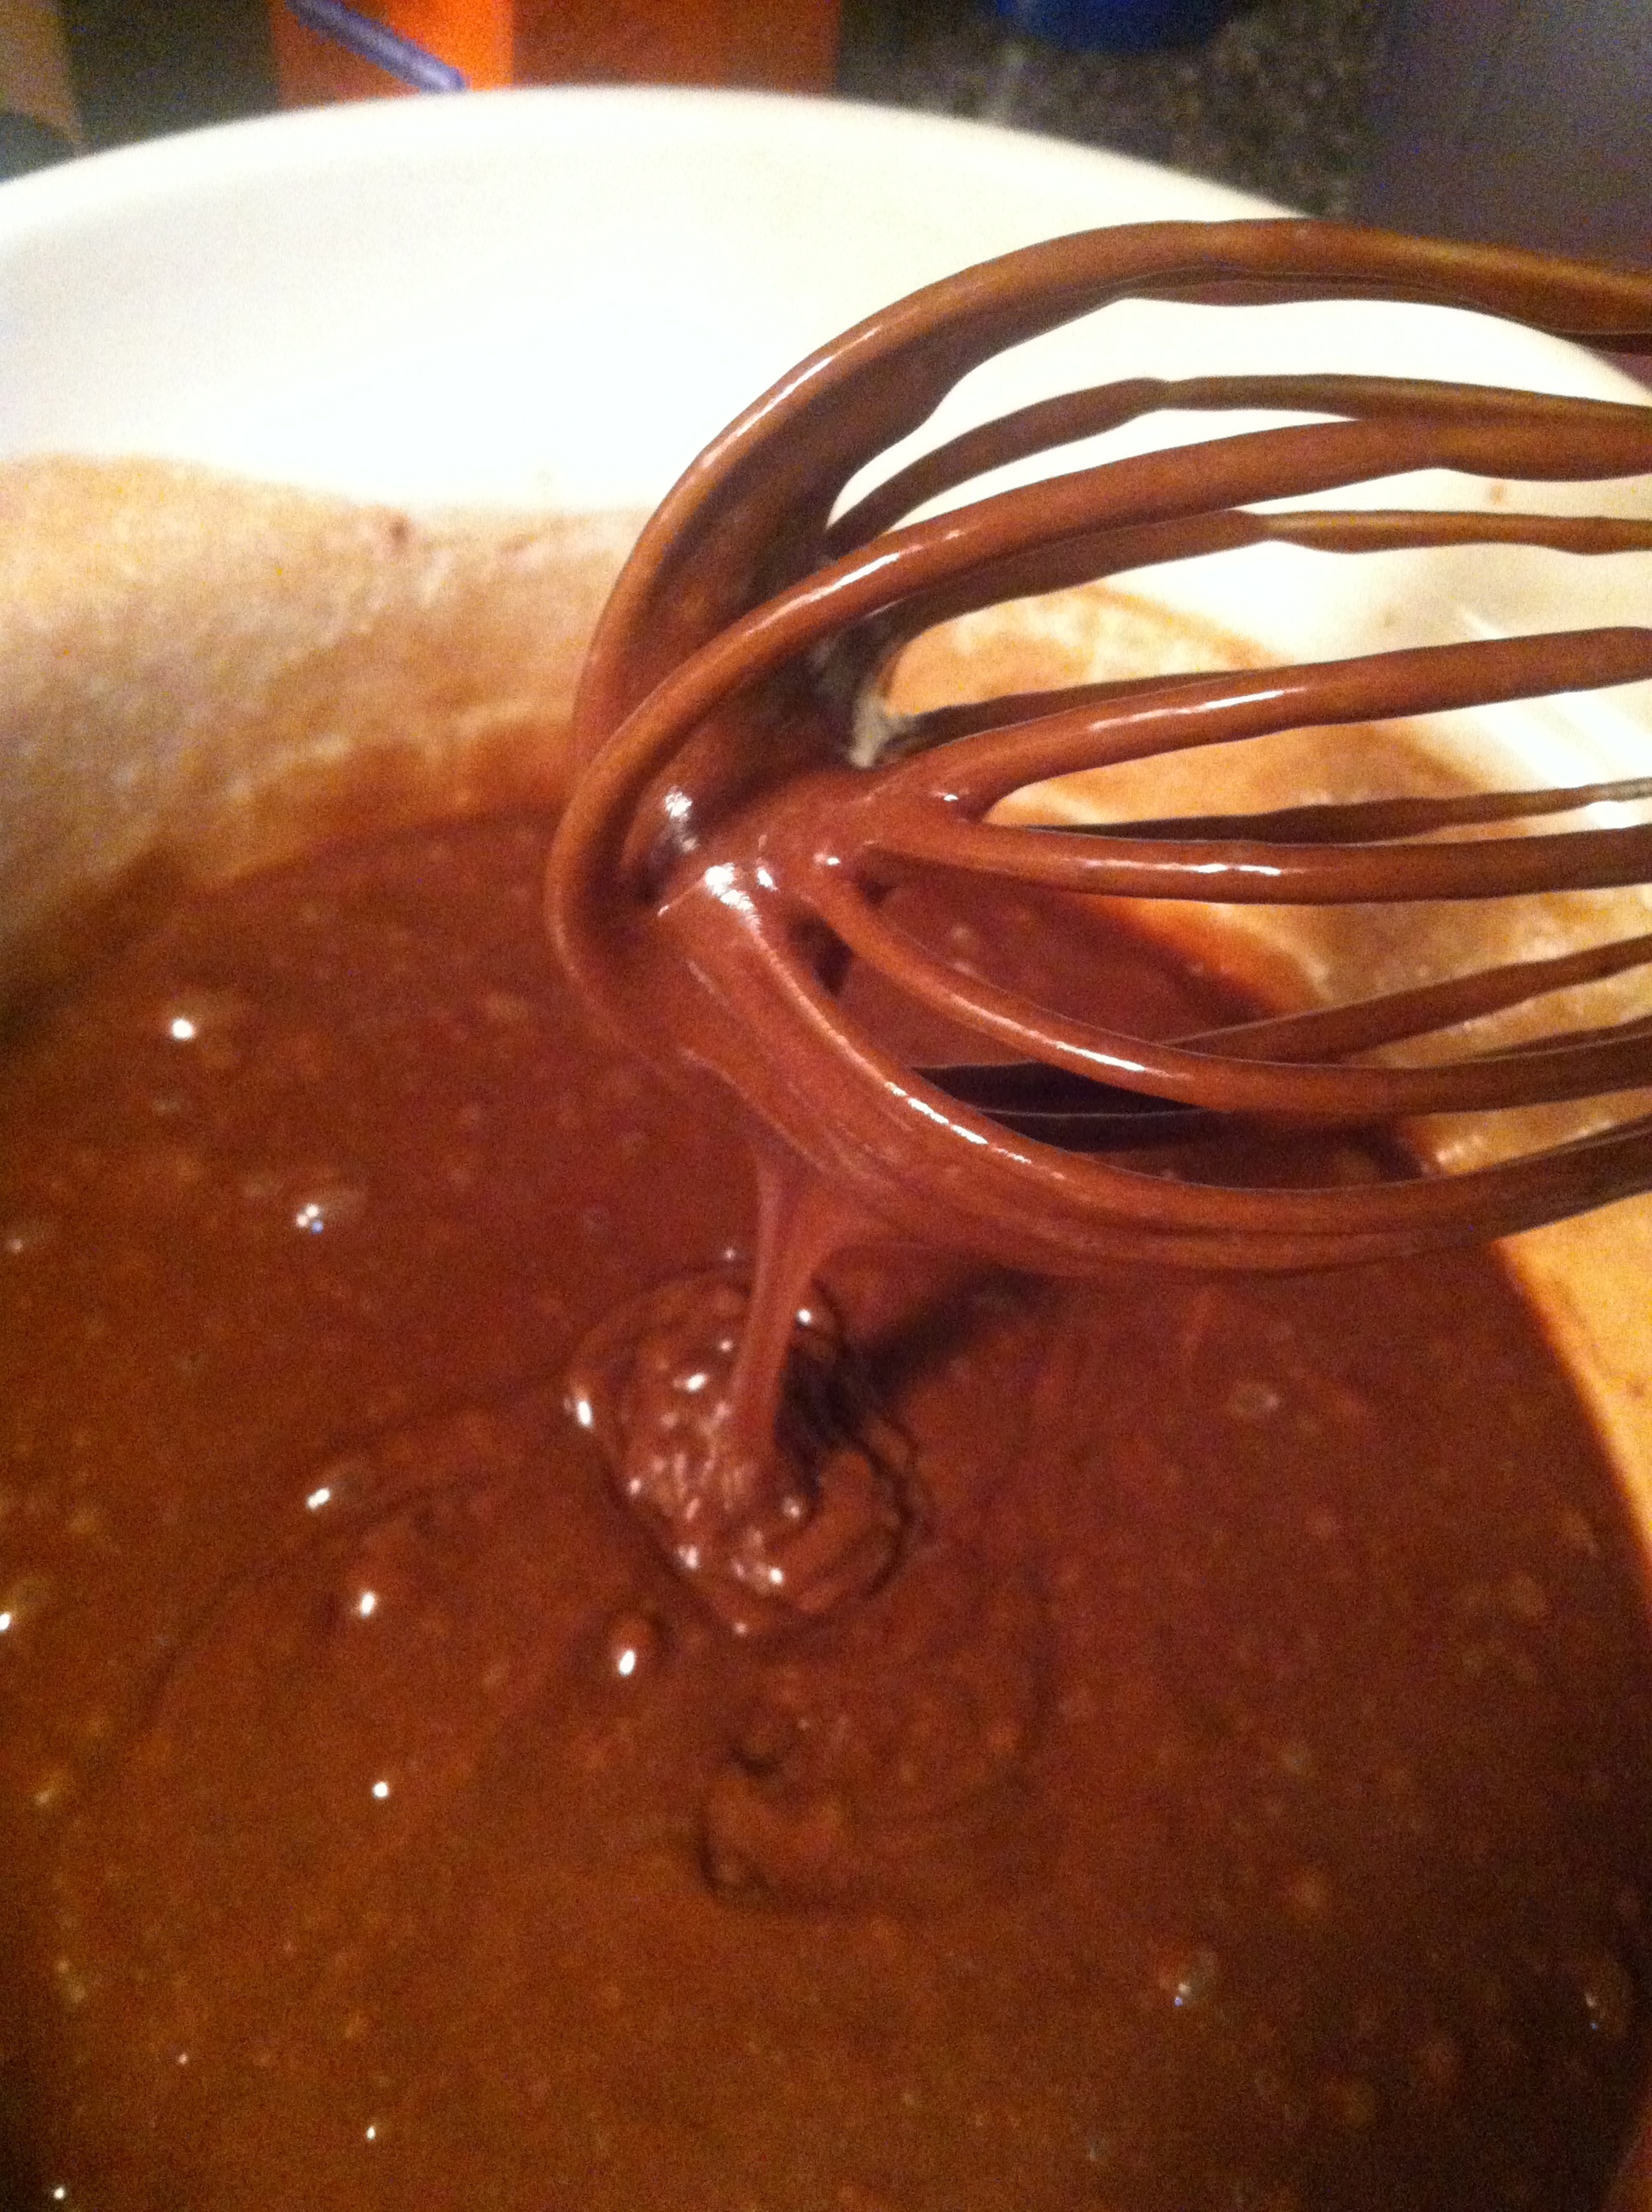
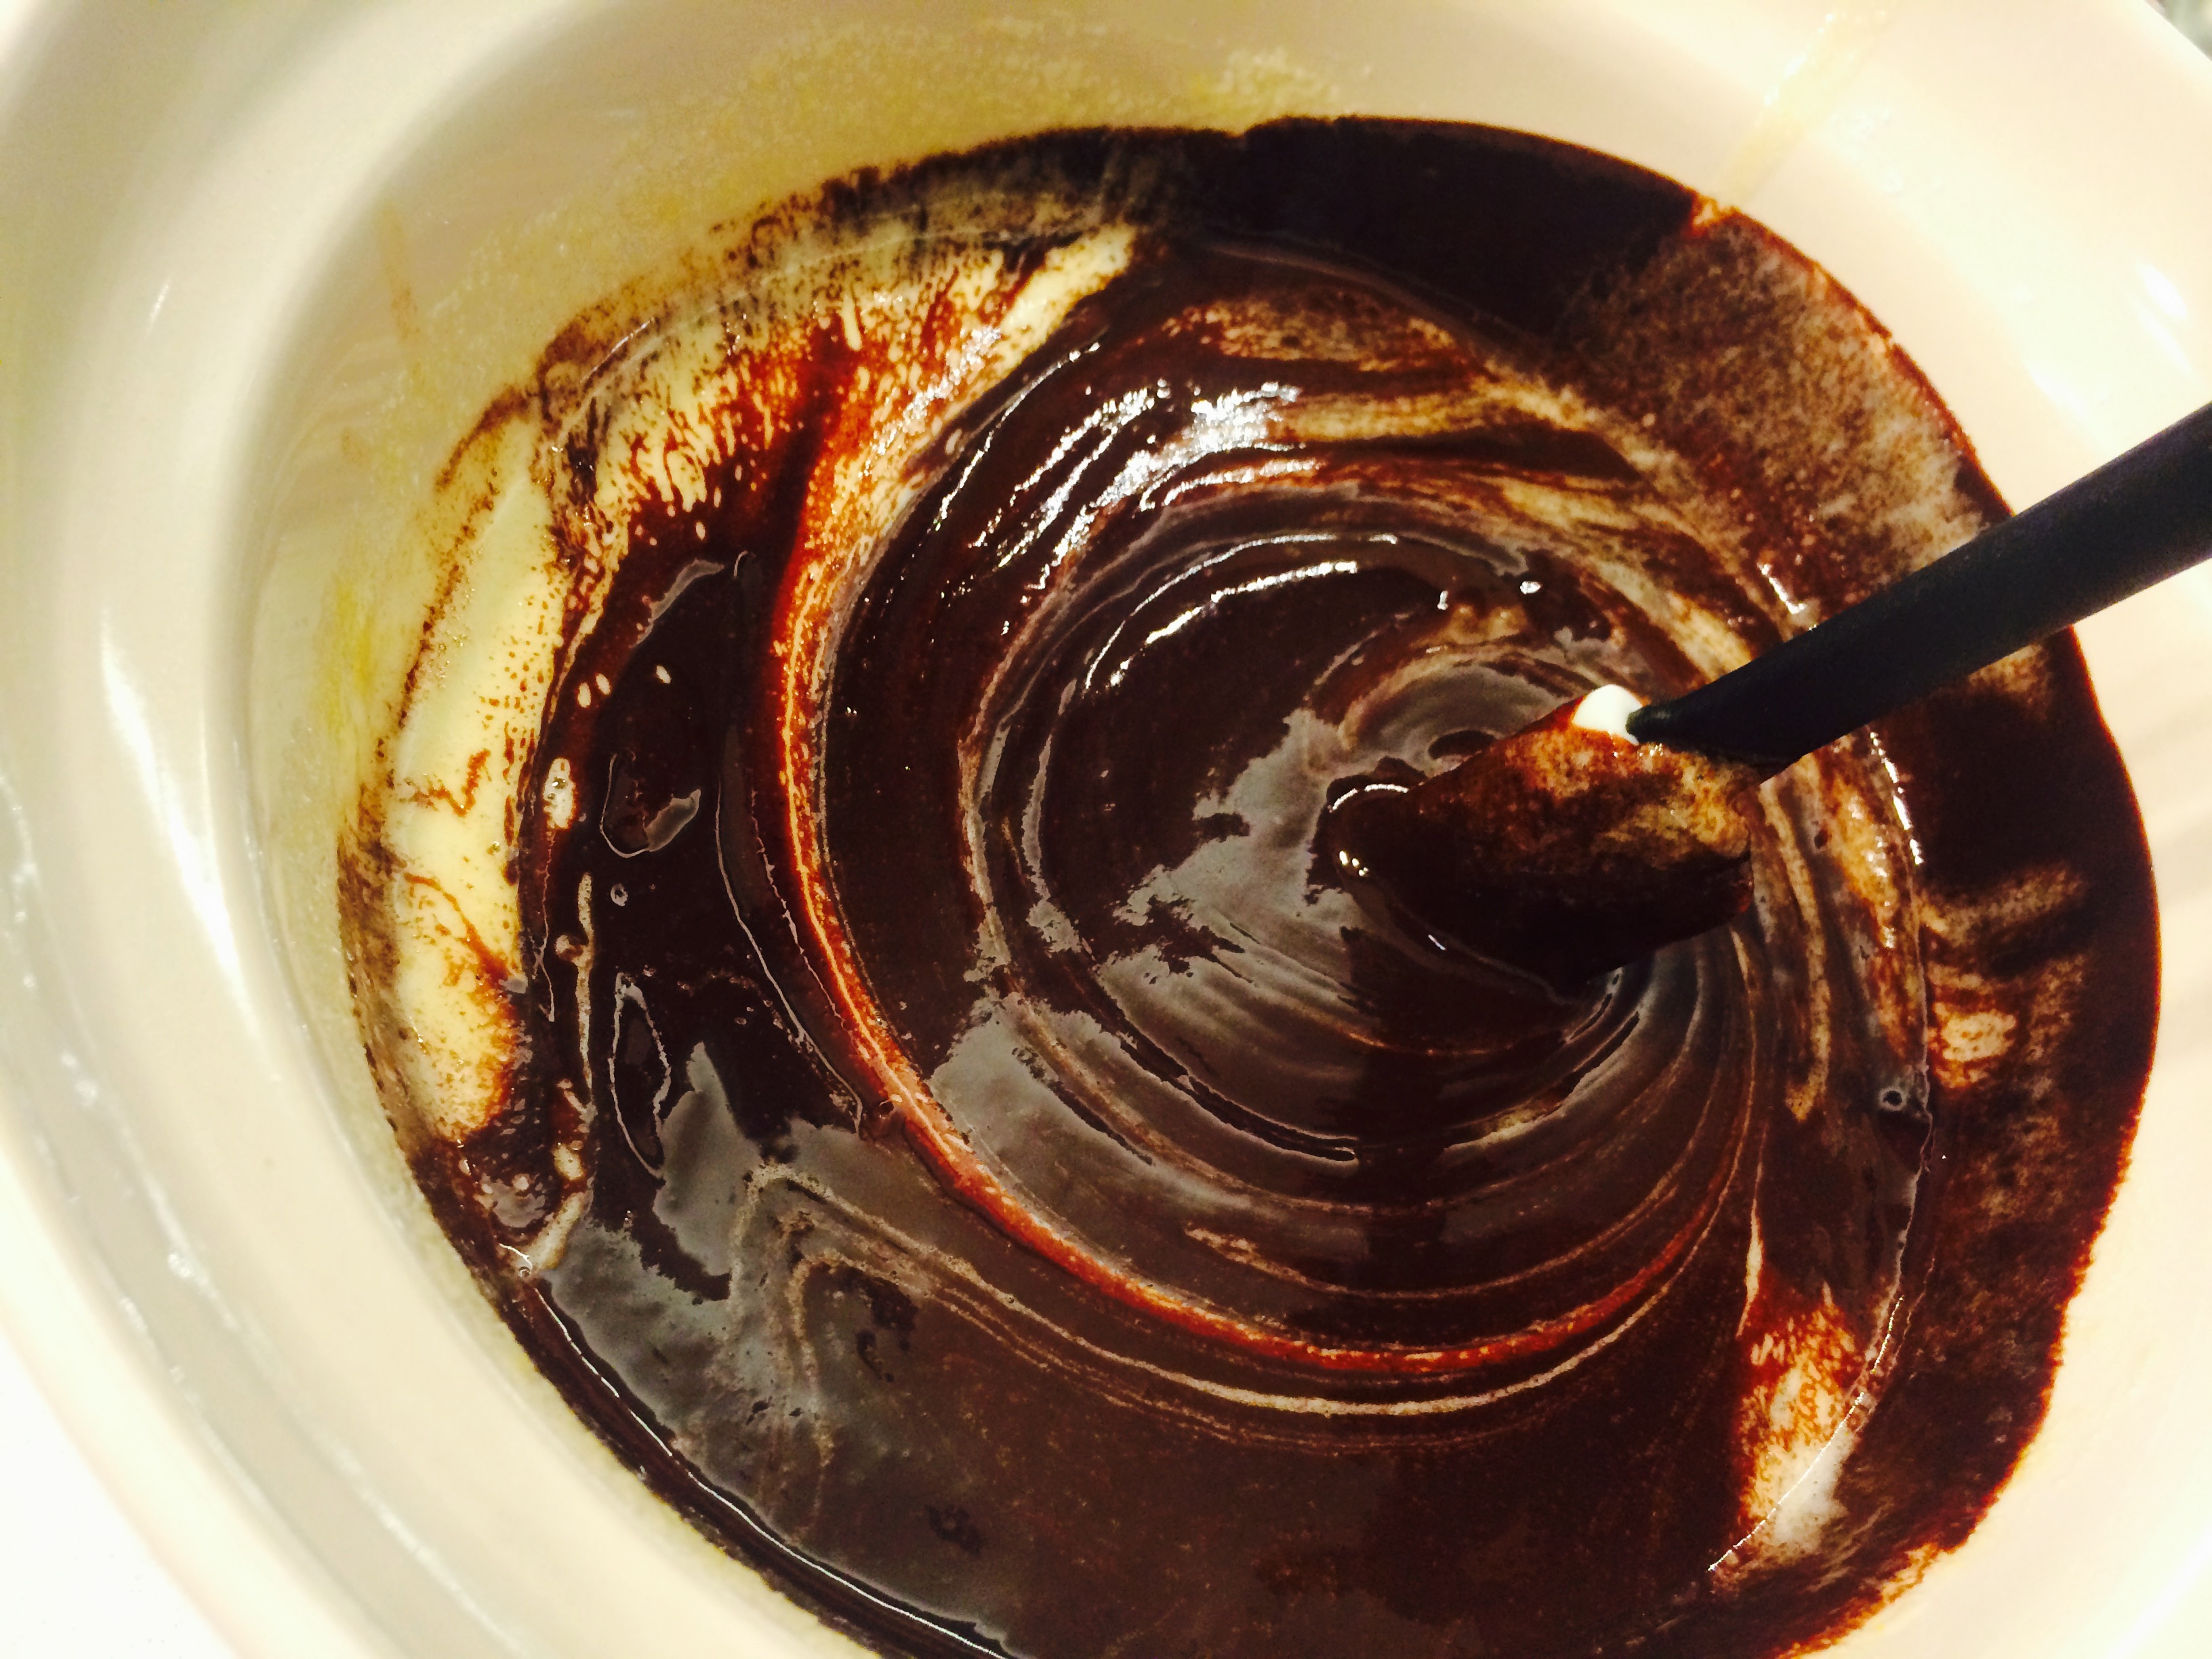
  2. Place chocolate and butter in double boiler and place over medium heat. While chocolate and butter melt (stir every few minutes), mix eggs, sugar, and vanilla in a medium bowl with whisk.
  3. IMG_1862
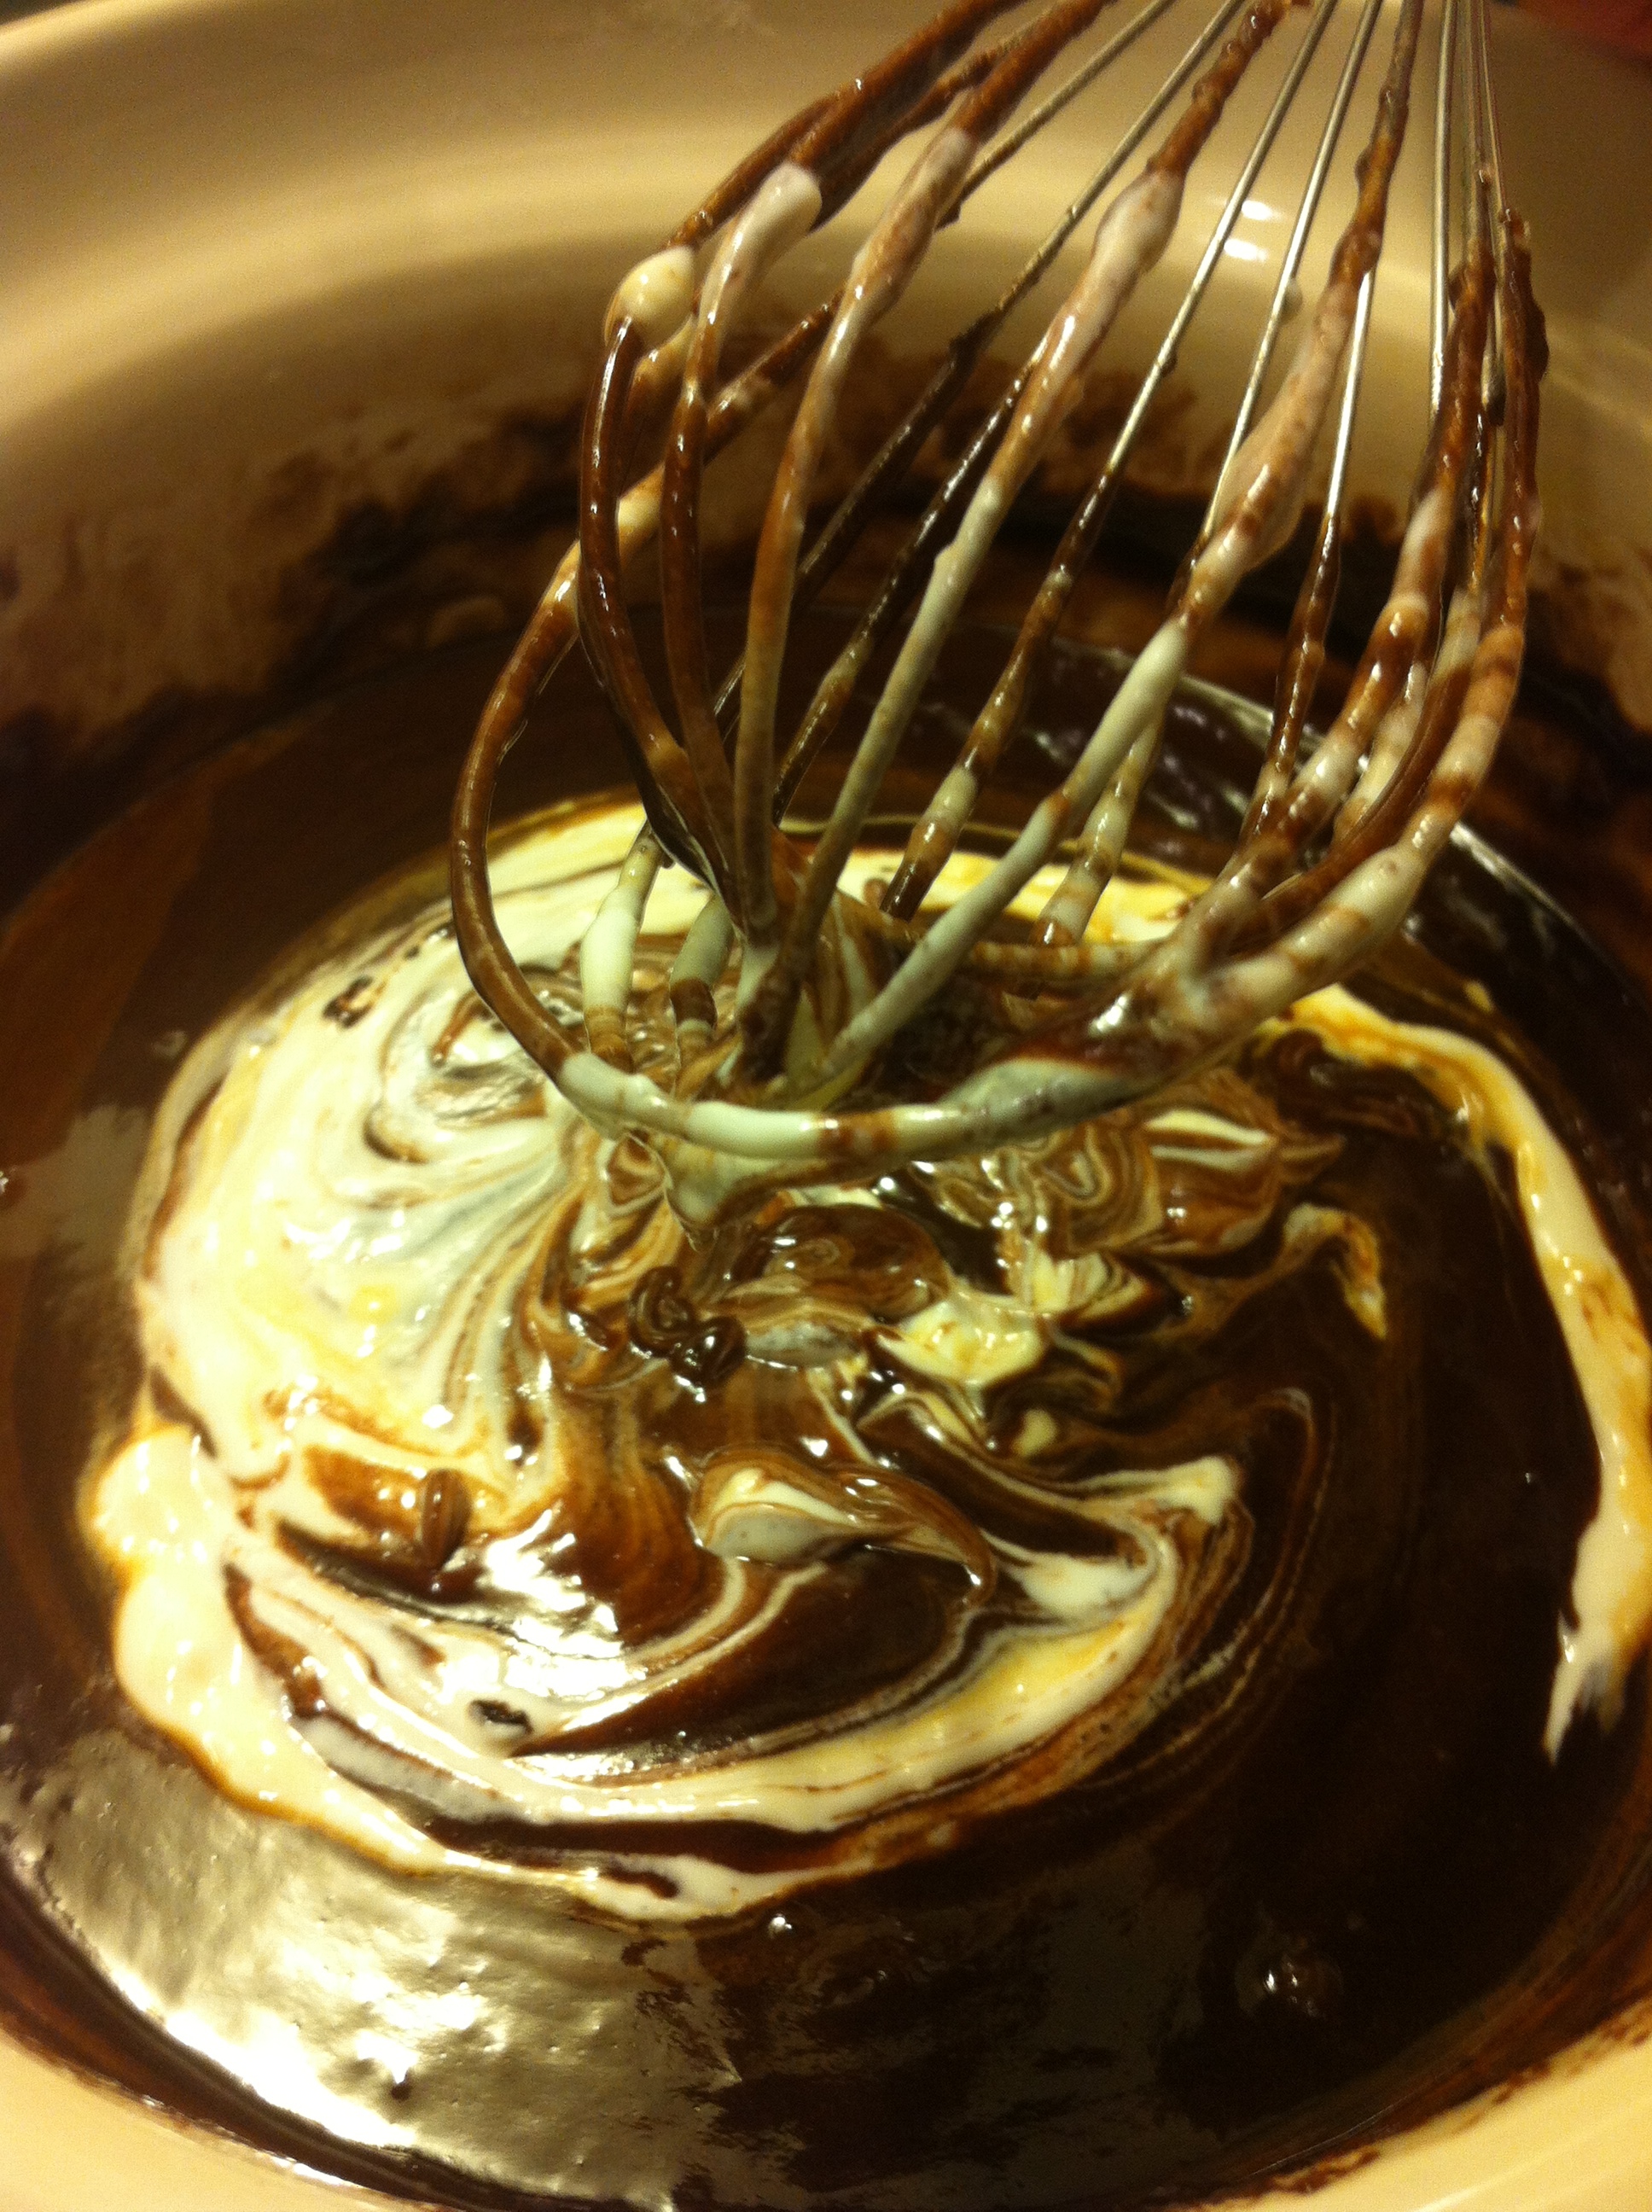
Once chocolate and butter are completely melted, remove from heat and let sit for a minute or two. Then pour chocolate into egg mixture and stir a few times. No need to completely mix in the chocolate yet. Next, add the flour and mix, completely incorporating flour while avoiding over beating batter.
  4. Pour batter into prepared pan, spreading out towards corners as needed, and bake for 23-25 minutes. Check brownies with toothpick. I personally like the brownies to be a bit more dense, so my toothpick will have a bit of brownie on it when removed.
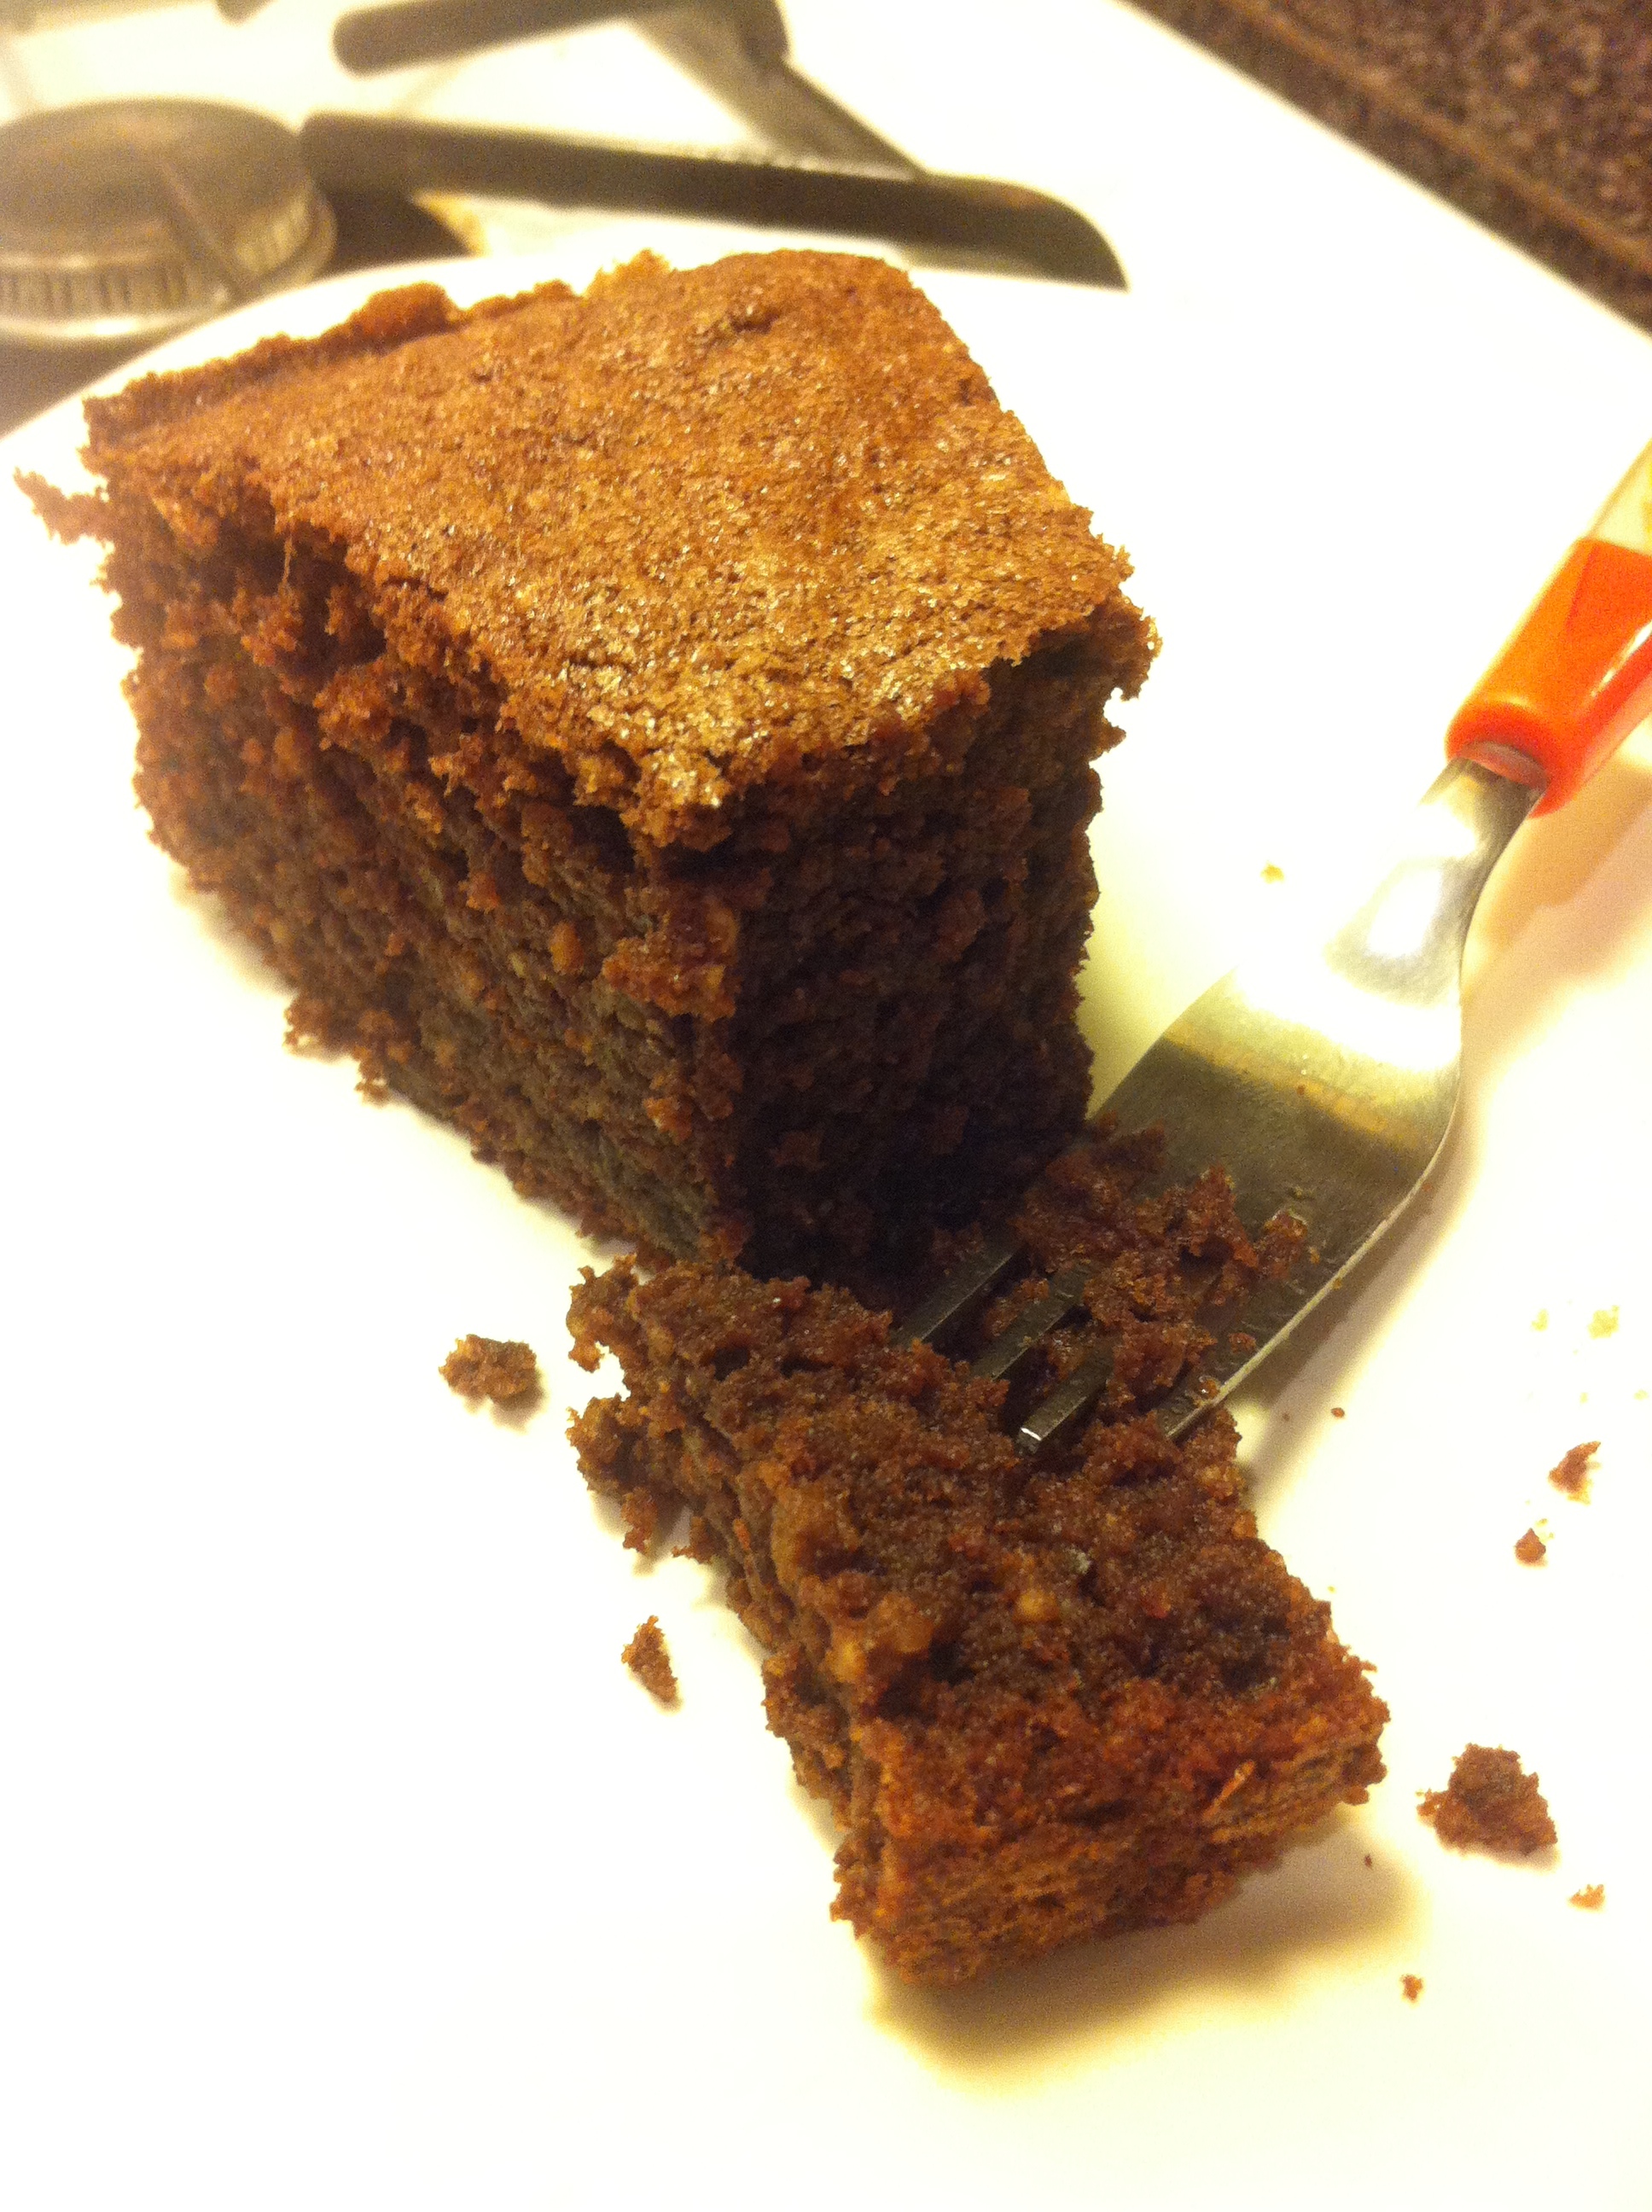
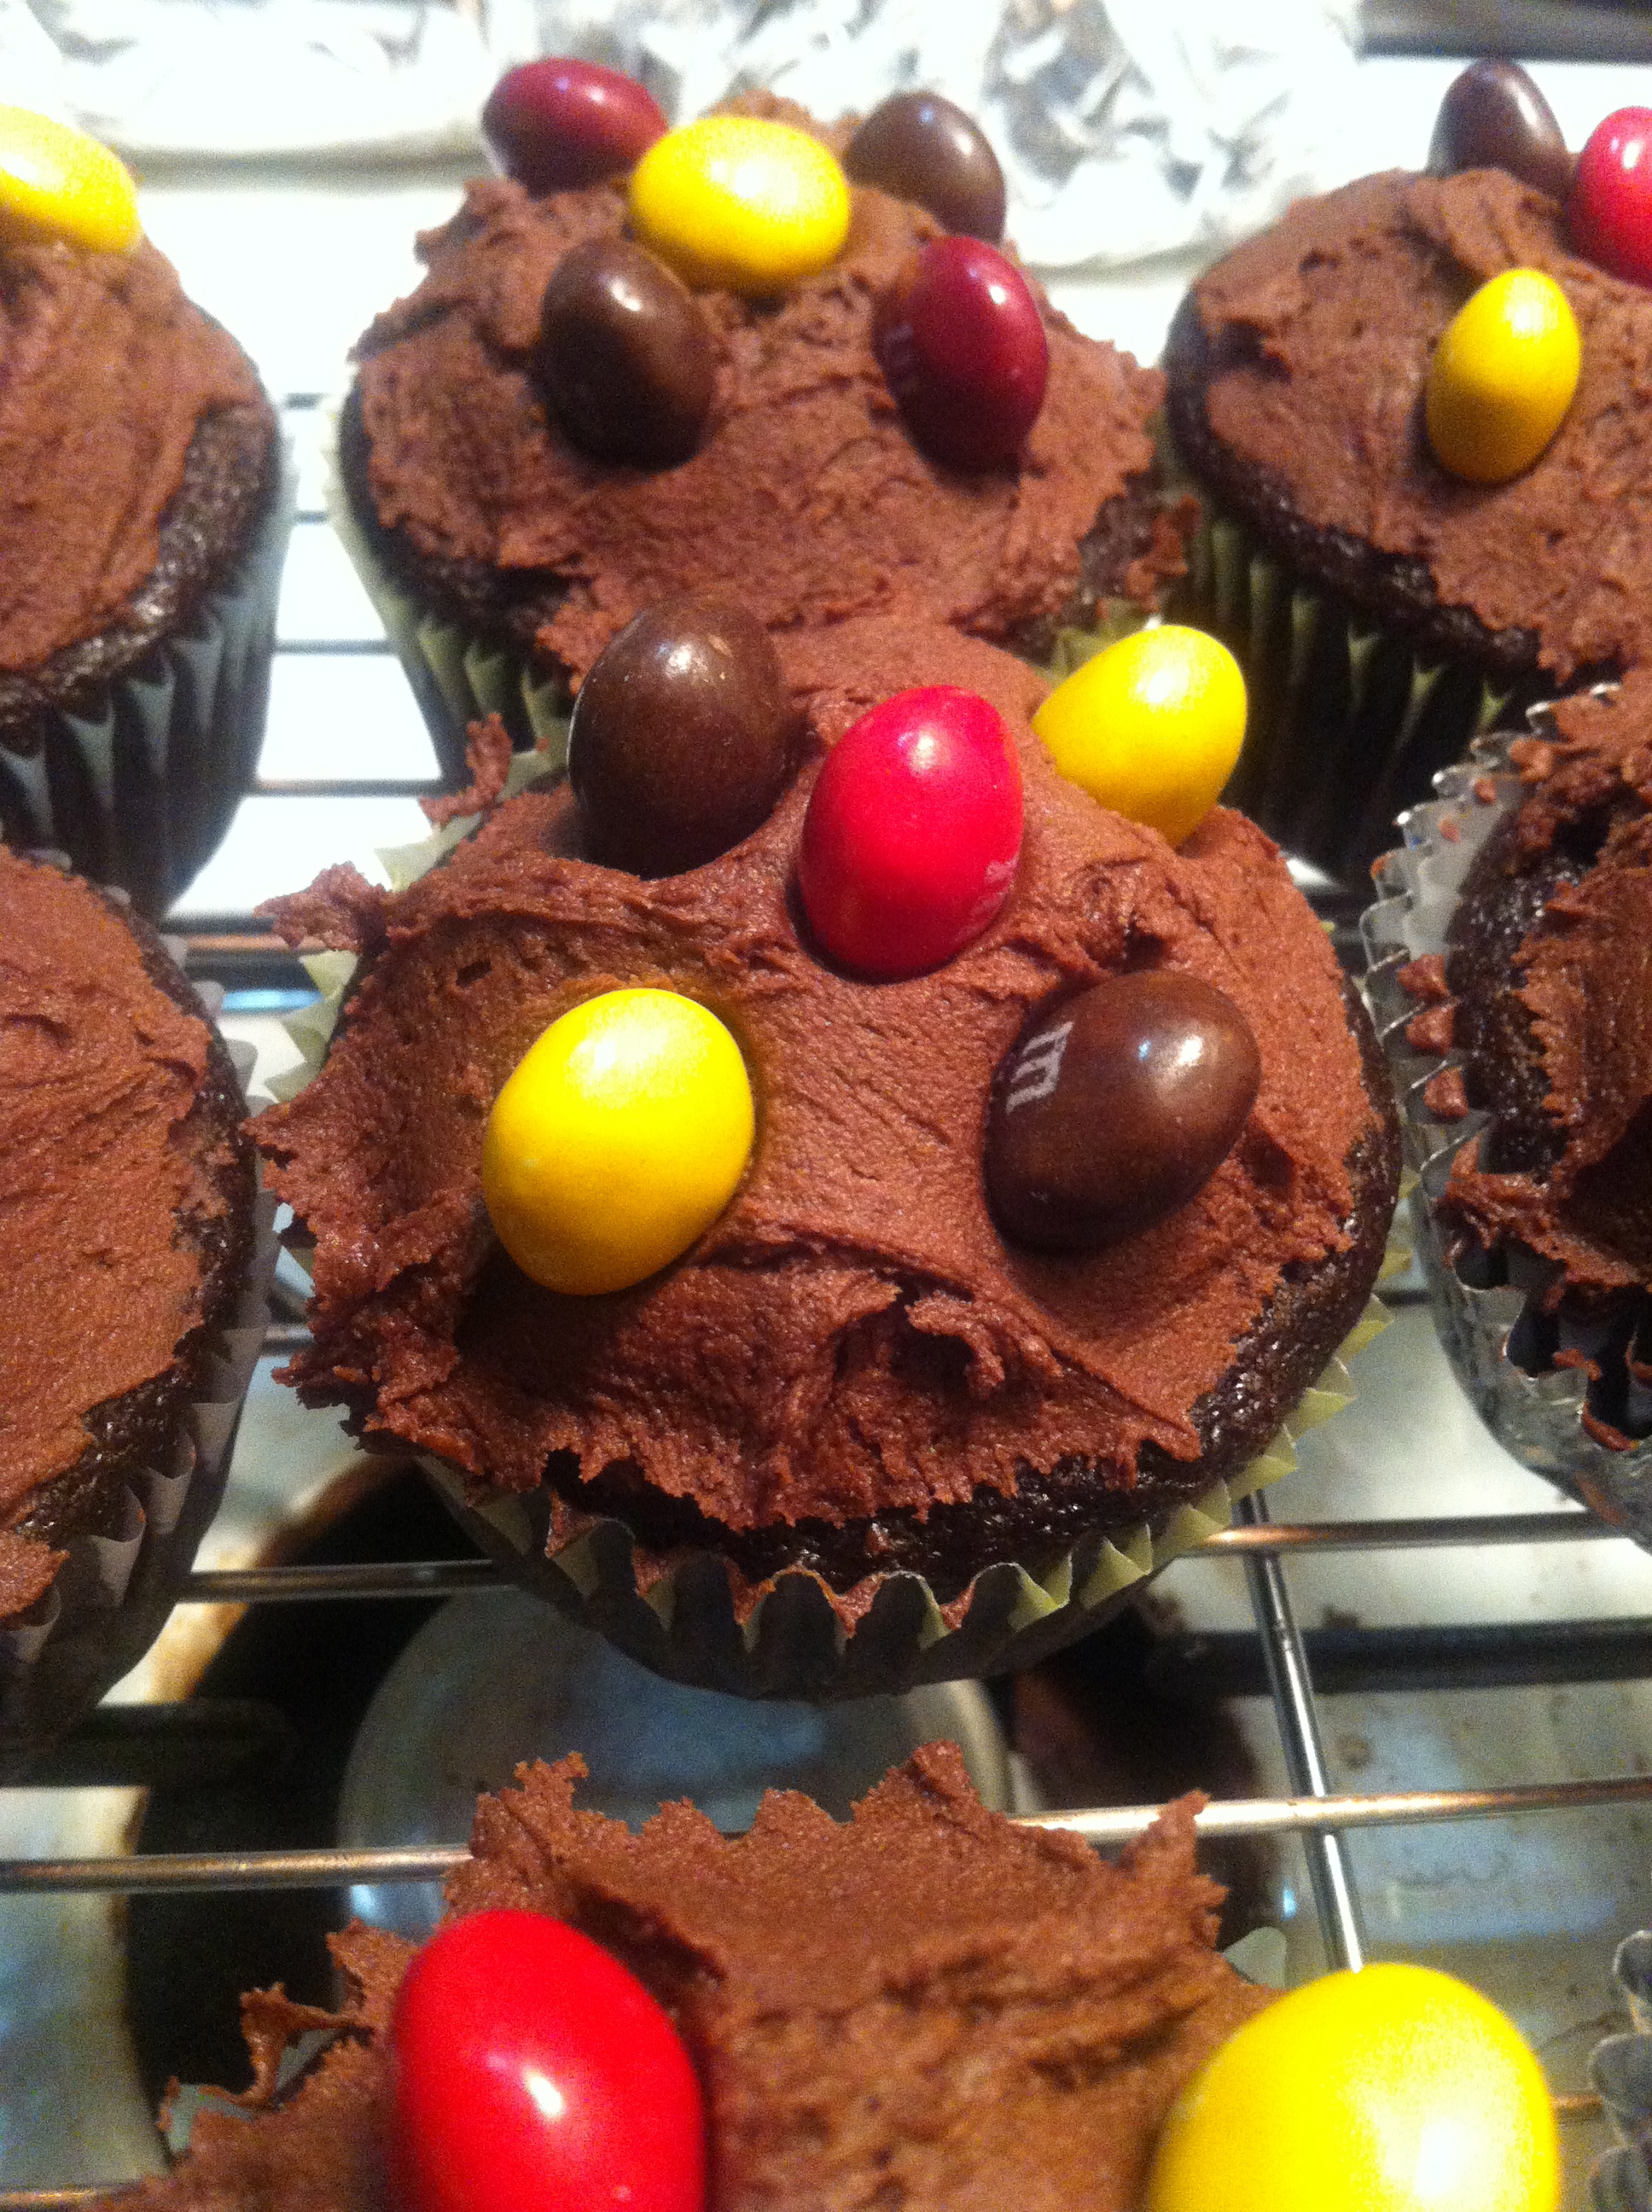
  5. Serve hot or cold. Or don’t serve them. Just eat them all.IMG_1863IMG_1864

Cake, Chocolate

But of course she was PHENOMENAL!

May 11, 2014 by Baking Unicorn Leave a Comment

I have been waiting for last night to occur, probably since I was born. Perhaps even before that. I would not but surprised if I have been waiting since the big bang, just waiting for all the right lil molecules to come together.

Regardless, Cher’s performance was outstanding. That woman can still belt it out with the best of them, and she can do it in her Turn Back Time Outfit! Also, she was hilarious! Ugh…. I cannot wait until her 4th farewell tour. I don’t know how she can top this one, but I have no doubts that she’ll find a way. And if Cher wasn’t enough, Cyndi Lauper opened for her!!! And Cyndi brought Liza Minnelli and Rosie O’Donnell onstage with her. And the three of them sang “Girls Just Wanna Have Fun”. Mind blowing.
Sigh.
THANK YOU, MAMA!!! Last night was all I have ever dreamed of and more!!!
Also, HAPPY BIRTHDAY, MAMA!!!!!
and because I won’t be posting tomorrow, HAPPY MOTHER’S DAY, MAMA! And to all other mom’s, including Cher!!!!

This song was not performed last night, but I am a huge fan, even if Lady Gaga decided it wasn’t worth releasing. It seems like an appropriate Mother’s Day/Birthday song, and clearly appropriate for Cher:

Now for the baking.
I know I haven’t actually posted in a while, but I have been baking. This particular treat was made 2 weeks ago, but I’m only now getting to it (I blame finals!!!!). Interestingly, when my friend tasted this, she was convinced that there was coconut in it (she loves coconut) and was shocked when she learned that it’s actually hazelnuts that give it the taste and texture that it has (she doesn’t like hazelnuts). IMG_2328What that says about my baking and the treat as a whole is unclear, but… I’m amused.
The hazelnuts give it an interesting texture which I was a bit put off by. I was a little lazy (and pressed for time) when I made this, so did not grind the nuts quite as much as I would have liked. But everyone seemed to like the texture. GREAT!
The recipe called for Calvados-Poached Figs as well, but it was April when I made this. How many fresh figs do you think there are?
On a final note, I TRIED to blanch the hazelnuts (removing the skin and all) and got about 1/3 of the way through the nuts and gave up. It’s not fun, nor easy, to remove skins, despite having blanched them. Almonds are much easier in my opinion.

Chocolate Hazelnut Torte
From BonAppetit, December 2013 Issue

Ingredients:
1 cup (2 sticks) butter, room tempIMG_2331
1 cup sugar
8 oz bittersweet chocolate
12 oz blanched hazelnuts (worst!)
1/4 cup flour
2 Tbsp. unsweetened cocoa powder
1 tsp. salt
6 large eggs, separated
1 tsp. vanilla extract
1/4 tst cream of tartar

1. If you are going to blanch your hazelnuts, do that first. Here’s how one does that: Blanching!

2. Preheat oven to 375 degrees and grease (butter) a 9″ springform pan. Line with parchment and set aside.

3. In a double boiler, melt chocolate until smooth. Set aside to cool a bit.

IMG_23344. While chocolate is cooling, place (blanched) hazelnuts in food processor with flour, cocoa powder, salt and 1/4 of the sugar. Pulse until well ground (but not till it becomes hazelnut butter!!!). The original recipe says the mixture should be able to pass through a medium-mesh sieve, but in my world, there’s only one sieve size, and that’s the one that I have. Needless to say, I did not pulse to quite that mesh size. Mine was a bit bigger and I said” F*** it! I’m lazy!” and went with what I had.

5. In a medium bowl, beat butter and remaining sugar until fluffy. Then add in the egg yolks one at a time, beating batter after each yolk gets added. Next, stir in the cooled (but still melted) chocolate and vanilla extract. Finally, add in the dry ingredients bit by bit until all is incorporated into the batter. IMG_2338

6. In a small mixing bowl, beat egg whites until stiff white peaks form! Then, take ~1/3 of the whites and mix into the batter to “loosen” it up (whatever that means). Then, once sufficiently loose, fold in the remaining egg whites, GENTLY, using a spatula. Once all is incorporated, transfer batter to prepared springform pan and bake for 20 minutes. After 20 IMG_2340minutes, reduce the temperature to 350 degrees and bake for anther 30-40 minutes (I think I took the full 40 minutes). Test with toothpick! There may be some crumbs that come with toothpick when pricked, but it should not be gooey inside.

7. Remove from oven and allow to cool on wire rack for ~30 minutes before releasing springform pan.  Then allow to cool completely!!!

8. Serve to unsuspecting people who think hazelnuts taste like coconut. You’ll blow their minds!

IMG_2346

   IMG_2348

Cake, Chocolate, Nuts

Chocolate Wedding Send Off!

March 6, 2014 by Baking Unicorn Leave a Comment

Oh! goodness! This year has been so long already, and we’re only just starting the third month!
But I attribute that to this whole grad-school process. It’s so draining. Interviews are exhausting… and unpleasant really. BUT I’m all sorts of done now! YAY! And plan to make a final decision by Friday. Also, on one of my interviews, I got to play this game. The best game ever!!!! (if you can’t tell, that’s a Dolly Parton Pinball machine!)

IMG_2167

So, the following baked good was actually from a couple of weeks ago (don’t worry, it’s been eaten. Just haven’t posted it till now). My dear friend, Anuya, had a little “I’m bout to get hitched in India” party with her lab and my lab (my lab is Anuya’s former lab). It was great! I finally got to say more than a few words to her husband-to-be (March 8th is their official wedding date), and this was actually one of the few times in the two years I’ve been at the Lab that I’ve hung out with lab members outside of the lab. Always want to. Rarely can. So this was a rare opportunity for me. So. Much. Fun!

The whole thing was a bit silly. We played a “wedding” game where we took paper towels and tried to make a sari out of them. It was lab against lab, but of course, my lab won! AND we won by making a sari for the soon-to-be-husband. With a turban. Sigh, why didn’t I go into fashion design?IMG_4098

Anyway, this cake was created for Miss Anuya. She says she likes my baking, so I asked what I should bring to this wedding bash, and chocolate was the request. I had limited time, so I came up with this. A chocolate Bundt cake. Simple, but yummy. There are a few kinks I think I need to iron out, but overall, the texture was super moist and dense, and the flavor was a lot of chocolate, so… mission accomplished!

IMG_2210When I baked it, a dent formed in the middle of the cake. It was just a ring of cake that was indented compared to the inner ring and the outer edges… not sure why…. OOPS! but again, still chocolatey, so… whatevs!

Chocolate Bundt Cake (Suitable for a wedding bash!)
Inspired by this

Ingredients:The cake:
1 cup (2 sticks) butter
1/3 cup cocoa powder
4 oz Dark Chocolate
1 teaspoon salt
1/2 cup water
2 cups flour (may want to add an extra 1/4 cup)IMG_2182
2 cups sugar
1 1/2 teaspoons baking soda
2 eggs
1/2 cup plain (or vanilla) Greek yogurt
1 teaspoon vanilla extract

IMG_2187The Icing:
4 oz Dark Chocolate (chopped into small bits)
1 1/2 teaspoons agave nectar
1/2 cup heavy cream
1 1/2 teaspoons sugar

1. Preheat oven to 350 degrees. Prepare 12 cup Bundt pan by buttering it and then dusting it with flour. I took probably 10-15 minutes to do this. SO MANY NOOKS IN A BUNDT PAN! yikes.IMG_2189

2. In a double boiler, place butter, cocoa powder, dark chocolate, salt, and water and heat it all up until chocolate is melted and everything is combined into a thin sauce.  Remove from heat and set aside.

3. Place flour, sugar, and baking soda in a large bowl and mix. Then add ~1/2 the melted chocolate and whisk together. Unless you have one of the whisks with the balls at the ends instead of loops, it’s likely the mixture will get stuck inside. Fret not! Add the rest of the chocolate mixture and continue to whisk! Then add in the eggs, one at a time and whisk some more(not sure why it’s always one at a time with recipes… but I do it…). IMG_2197Finally, add in the yogurt and vanilla and whisk it all together. Now the batter should be smooth, and nothing should be stuck in your whisk. If it is, you may have a problem…

4. Pour batter into your prepared Bundt pan and bake for 50-55 minutes. Check if the cake is done with a toothpick and keep baking if it’s not clean (I may have gone up to 60 minutes. Again, that weird dent in my cake happened!).

5. Once the cake is baked sufficiently, allow to sit for ~20 minutes, then turn cake out onto a wire rack and let the cake cool completely. This, for me, took about 2 hours.

IMG_22176. To make the icing, place heavy cream, sugar, and agave nectar into a double boiler. Allow the cream to get pretty warm and for the sugar to completely dissolve. Turn off heat and add the chocolate bits into the cream. Stir until chocolate is completely melted and the icing is smooth. I then allowed the icing to cool for about 20-25 minutes, stirring every 5 minutes. I wanted the icing to stick to the cake rather than just dribble down the sides and pool at the bottom. Your call!!

7. Pour icing over the cake whenever you wish (I threw on some shiny balls after icing). Then serve! Or just take it to your room and eat it all by yourself. No judgements!

IMG_2229

IMG_2238

Cake, Chocolate

Chocolate and Peanut Butter BONANZA!!!

November 5, 2013 by Baking Unicorn Leave a Comment

Been a long time since I posted a recipe. I did bake a few weeks ago for my sister’s birthday, but I didn’t really document that recipe. Apparent the baked goodies had an excellent reception, so perhaps I’ll remake them and actually document them.

Enough about the past. Here we are, the start of November. Halloween has left us, daylight savings has come and gone (or is it still here as the clocks are still turned back…?), the NYC marathon has happened, and people are growing out their facial (or body) hair for Movember to raise awareness for men’s health.

IMG_1784Fall is here.

I did not celebrate Halloween, unless you consider giving a 3 hour massage to be a celebration, but I did see some fantastic costumes (one of the members of my lab was a pterodactyl!!) and some less fantastic costumes (I don’t understand the “sexy __(fill in profession)___”). But to me, the bestest part of Halloween is THE CANDY SALES!!! November 1st rolls around and suddenly all the Halloween candy is unacceptable and goes for 1/2 off. But lets be honest. We all know there are enough preservatives in the candy to let them keep for a thousand years. So of course I go on a shopping spree… because I love candy?
IMG_1778I don’t actually.
But apparently I have this total fear that this will be the last chance EVER to buy candy!!! It must be some remnant of a survival/hoarding mode from  hunter-gatherer days… or so I tell myself. But to be fair, I do share the candy, and generally use it for baking purposes. And that is how this recipe came around. Thanks to the genius of M&M with Peanut Butter (the best kind ever!)

This recipe is definitely an experiment that I concocted in my head as I was heading to my chiropractor. I knew I had the M&M’s but didn’t know how to make them into something interesting. Cookies seemed too simple. So of course I fall back on cupcakes! Chocolate cupcakes! But why not throw some PB in there for fun? I’ve made chocolate cookies with PB centers before… WHY NOT CUPCAKES?
And that’s exactly what I’ve done here. Chocolate Cupcakes. Peanut Butter Centers. Chocolate frosting. With Peanut Butter M&M’s.
What?
Yup.

So without further adieu, let me Cher this recipe with you (Hi Vani and Mik!)

Chocolate Cupcakes with Peanut Butter Centers!
cupcake recipe adapted from Cuisine At Home (my mom had this one her desk several years ago and I snagged the recipe ).
frosting from FoodNetwork

Ingredients:
The Cake-
3 cups flour
2 cups sugar
1/2 cup unsweetened cocoa powder
2 teaspoons baking soda
1 teaspoon salt
2 cups hot water
3/4 cup vegetable oil
2 tablespoons white vinegar
1 tablespoon vanilla extract
PSSST!!! this cake recipe is also vegan!!!!

Peanut Butter Centers-
1/2 cup smooth peanut butter (I used Skippy)
1/2 cup confectioners sugar
1/2 teaspoon vanilla extract
~1 tablespoon heavy cream

The Frosting-
1 lbs confectioners sugar (a whole box!)
3/4 cup unsweetened cocoa powder
7-8 tablespoons heavy cream
1 teaspoon vanilla extract
ALL THE PEANUT BUTTER M&M’S YOU WANT!

1. Preheat oven to 350 degrees. Place cupcake wrappers in cupcake pan. I only have a single 12-cup cupcake pan, but if you have 2 of these, line all 24 cups. I only prepared the 12 and then also prepared an 8″ round pan for the extra. Because of the vinegar/baking soda reaction, I didn’t want to let the batter just sit around while the first batch of cupcakes baked.

IMG_17862. Make you PB centers first. Combine the PB, confectioners sugar, vanilla extract, and half the heavy cream in a small bowl and start mixing. If you’re having difficulty combining the mixture into a paste, add more heavy cream. This mixture should be pretty thick, about the consistency of fresh Play-Doh. Make small balls with the mixture, about a teaspoon size. Make sure you have enough for however many cupcakes you’re going to make. And maybe keep rolling if you are planning on making the 8″ pan too. Set these aside.

3. Sift flour, sugar, cocoa, baking powder, and salt in a large bowl. In a large measuring cup, mix the oil, vinegar, vanilla, and hot water. Add this mixture to the dry ingredients and whisk together. You’ll notice that it bubble quickly because of the vinegar/baking soda reaction. YAY! 3rd grade science still works in my kitchen. Make sure the batter is fully mixed together (I whisked for ~3 minutes).

4. Divide your batter into the cupcake cups and/or cake pans. Place a single ball of IMG_1791PB center in each of the cupcake cups. If you’re going the cake pan route, then also add some PB center to this if you like. I kinda just threw it on top in random bits. I had a plan of making long “ropes” of the PB mixture and forming a nice lattice on top, but I lost patience….

5. Bake until a toothpick inserted (not through the PB) comes out clean. About 25 minutes for cupcakes and 45 minutes for the cake. Remove from oven, allow to cool for ~8 minutes, then transfer to a wire rack to continue cooling.

IMG_18026. For the frosting, sift confectioners sugar and cocoa together in a large bowl. In a medium bowl, cream butter and vanilla extract. Add about 1/4 of the sugar/cocoa mix to butter and 3 tablespoons heavy cream. Beat thoroughly. Add ~1/2 of the remaining sugar/cocoa mix and 2 more tablespoons cream and beat again. Add remaining sugar/cocoa and 2 more tablespoons for heavy cream. Beat until completely combined. I stopped at 7 tablespoons heavy cream, but if you want a lighter, more pliable frosting, perhaps add a bit more cream.

7. Place an M&M in the center of each cupcake (if you notice, the seem to have formed a hollow center. I assume the PB expanded when in the oven and contracted when it cooled, leaving a little “cave” in the middle of your cupcake. Then Frost away and decorate to your liking. Same with the cake, if you made it!

IMG_1805


Cake, Chocolate, Peanut Butter

I SWEAR I’M NOT VEGAN!!!!

October 4, 2013 by Baking Unicorn 2 Comments

I swear it!!!
But once again I have managed to make another vegan delight.
It just happens this way.
I swear!

So it was my original goal to post once a week. Sadly, I have already broken that goal within my first few weeks of doing this.
Sigh.
But I’ve been a bit busy. There was an exam to study for. And then there were meetings that I had to prepare for (which went very well and I’m feeling… better about grad school). And then there were Gotham Girl Roller Derby Jeerleader practices. Sometimes there’s just not enough time in the week to bake. A sad fact we must accept and then move on with our lives.

OH!! But more important than all of that, there was the dropping of Cher’s new album Closer To The Truth which I have been listening to on repeat for the past week or so. And then there was Brit Brit’s new video to get excited for! I have to admit, the song is rather club-tastic, but it get’s me going on the cardio machine. In fact, I bet it’s no so secretly being played into the ears of most of those gym goers in NYC…. Don’t be afraid to admit it, Chelsea boys. Enjoy the video:

But enough of this pop culture. Back to the baking!! I actually made these cookies for a “how to apply to grad school” meeting that I’m going to. One of the grad students who will be at the meeting telling us how to make it all happen is vegan (and also a member of the lab I work at), so I thought I should say “ThankYouForPassingOnAllYourValuableKnowledge” by making some baked goods that he could eat. Seems only fair, no?

IMG_1715I’ve made this recipe in various forms many a time. This time, I added more flour than usual so the cookies would hold their shape a touch more, allowing me to throw in a chocolatey surprise into the center. This idea actually came from a reversed scenario, where I made a chocolate cookie and inserted a ball of peanut butter into the center and baked. Those guys baked quite nicely, and looked like flying saucers or chocolate fried eggs because the dough just melted and baked over the ball of PB. Though adorable, the shape made them a bit annoying to package and carry around. So I tried to make these cookies a bit more “baker on the move” friendly.

YIKES!!!! I was just typing my ingredients below and realized that in my batch of cookies, I completely forgot to add 1 cup of sugar. I only added brown sugar… WHOOOOOOPS! But they cookies taste fine nevertheless. The sugar may have been nice to counteract the super dark chocolate chunks in the middle, but whatever…. you can add the sugar if you wish.

Vegan Peanut Butter Cookies with Chocolate Centers
Yields ~40 cookies

18 oz Crunch Peanut Butter (or smooth, but I like crunchy…)
1 tablespoon baking soda
1/2 cup apple sauce
1/2 cup brown sugar
1 1/4 cup flour
2 teaspoon vanilla extract
~4 1/2 ounces vegan dark chocolate, broken into bite sized pieces

1. Preheat oven to 350 degrees. Line baking sheet with parchment paper.

2. Place all the ingredients into a large bowl and combine completely.

3. WASH YOUR HANDS COMPLETELY!

IMG_1717

Roll. Flatten. Chocolate Bit. Reform. Done.

4. Begin rolling the cookie dough into ping-pong sized balls. Flatten the ball, place a piece of chocolate in the center, and then roll the dough around the chocolate piece. Place on baking sheet, with about 1 inch between balls. Because we added a fair amount of flour, they don’t spread out much.

5. Bake for 10-12 minutes, depending on how soft you like your cookies. I like them fairly gooey, so I compromised and baked them for 11 minutes. Once baked to desired softness, take baking sheet and hold 2-3 inches above counter. Drop sheet onto counter. Repeat 1-2 more times. This gets out air bubbles trapped inside the cookies, allowing your cookies to remain soft and gooey instead of getting crunchy as they cool. Allow cookies to cool for ~5 minutes and then move to cooling rack to completely cool.

6. ENJOY!

IMG_1722


Chocolate, Cookies, Vegan

Next Page »

Recent Posts

  • That’s a Wrap! January 5, 2017
  • TURTLE! nom nom August 30, 2016
  • Nailed It! July 17, 2016
  • Simple and Sweet May 30, 2016
  • Happy Autumn November 2, 2015

Categories

Alcohol Birthdays Cake Candy Cheese Chocolate Cookies Fruit Gluten free Nuts Peanut Butter Pie Savory Scone Uncategorized Unicorns Vegan

Copyright © 2025 · Going Green Pro Theme on Genesis Framework · WordPress · Log in