Bonjour!
Happy end of August! I don’t know about where you’re at, but apparently the end of August in St Louis is just a scorching, humid mess of a time…. so pretty much like the rest of the summer here. Granted, I cannot hate on the weather too much. I have been hard at work, training in this weather for various races, and I think that training in this weather has prepared me well. I ran in a Spartan Super (8 miles, 25 obstacles) in mid August in the Boston area. Local racers were complaining about the heat, but I felt like it was a beautiful day with little humidity. The race felt like a walk in a park… a walk that had alot of mud, heavy lifting, climbing, and fire, but a walk none the less. This race was SO much fun that I have since signed up for 2 more races, one in Seattle and another in Boston. If I successfully complete those two races, I have the Trifeca- 3 Spartan races, 1 year, 1 of each level (Sprint, Super, and Beast). Here’s hoping I don’t die (and if anyone wants to join me, all you have to do is ask!). My victory pose: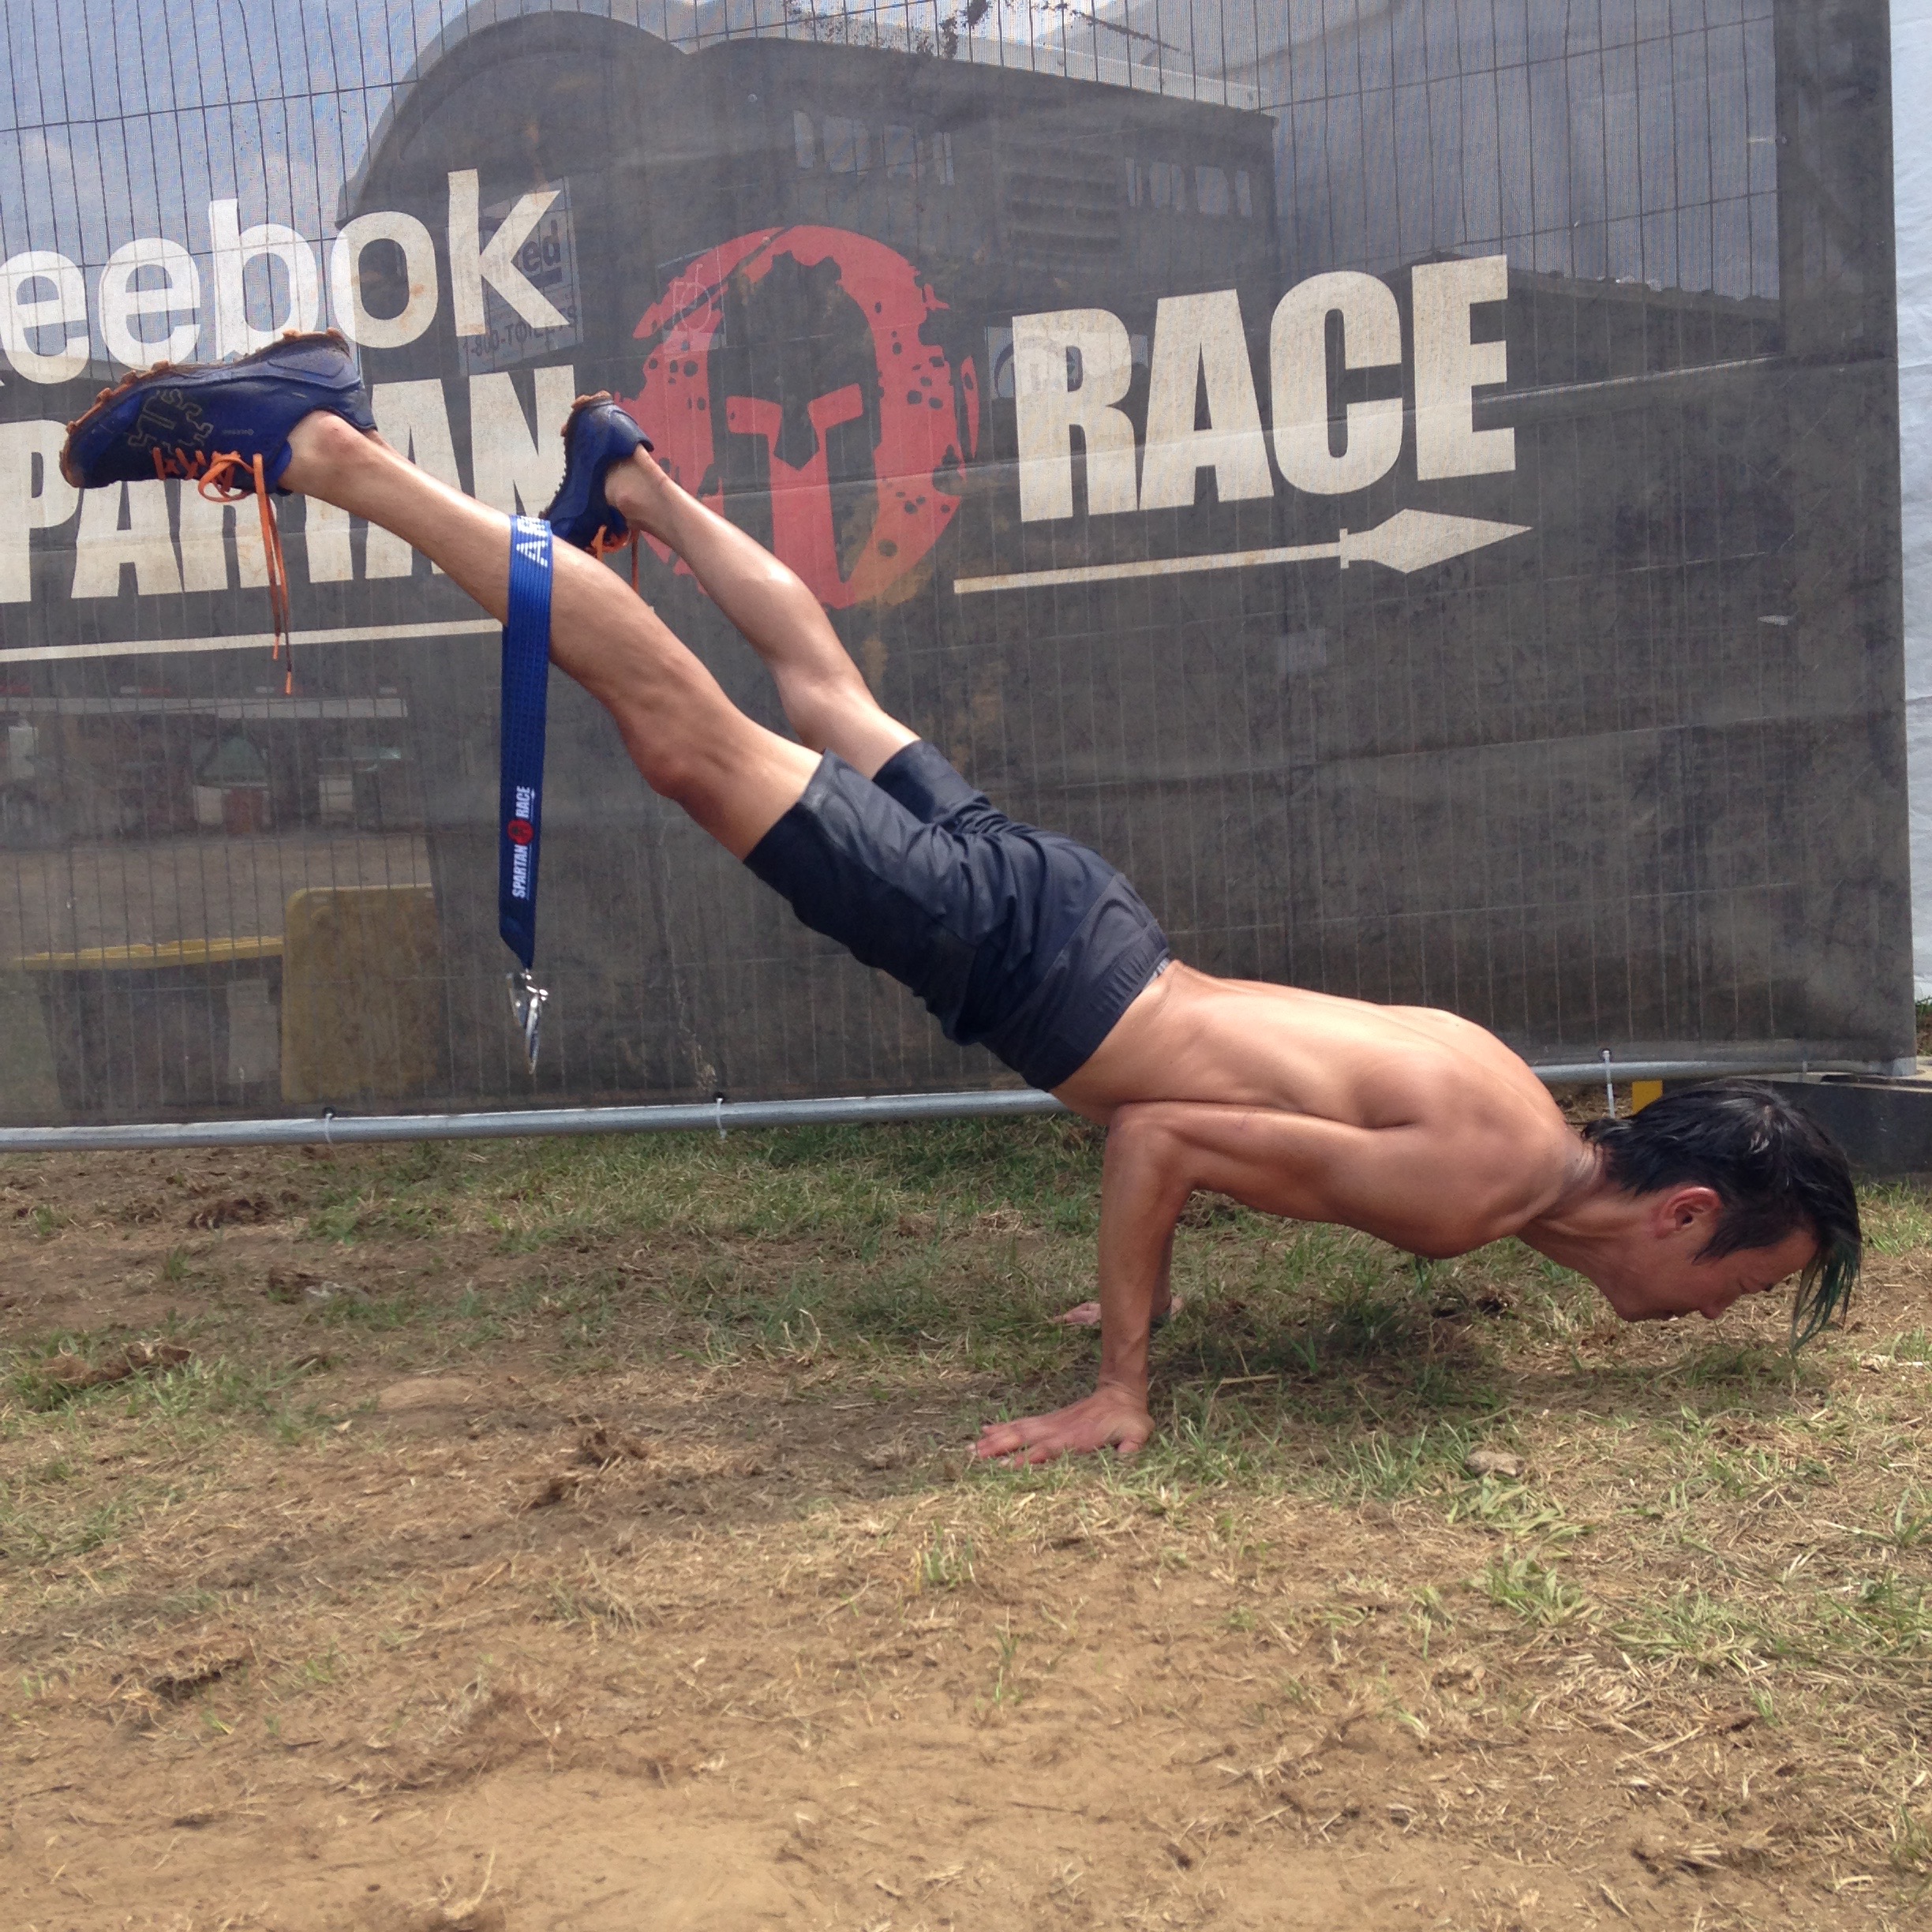
But since it is the end of August, it also means classes have started back up. Thankfully, I’m not really taking any classes. But I will be TA-ing for a neuroscience course. Poor kids. They have no idea how unhelpful I am likely to be with all their questions about action potentials, neuroanatomy, and reflexes. But I’ll do my best, and perhaps just bake them conciliatory cookies for after their exams.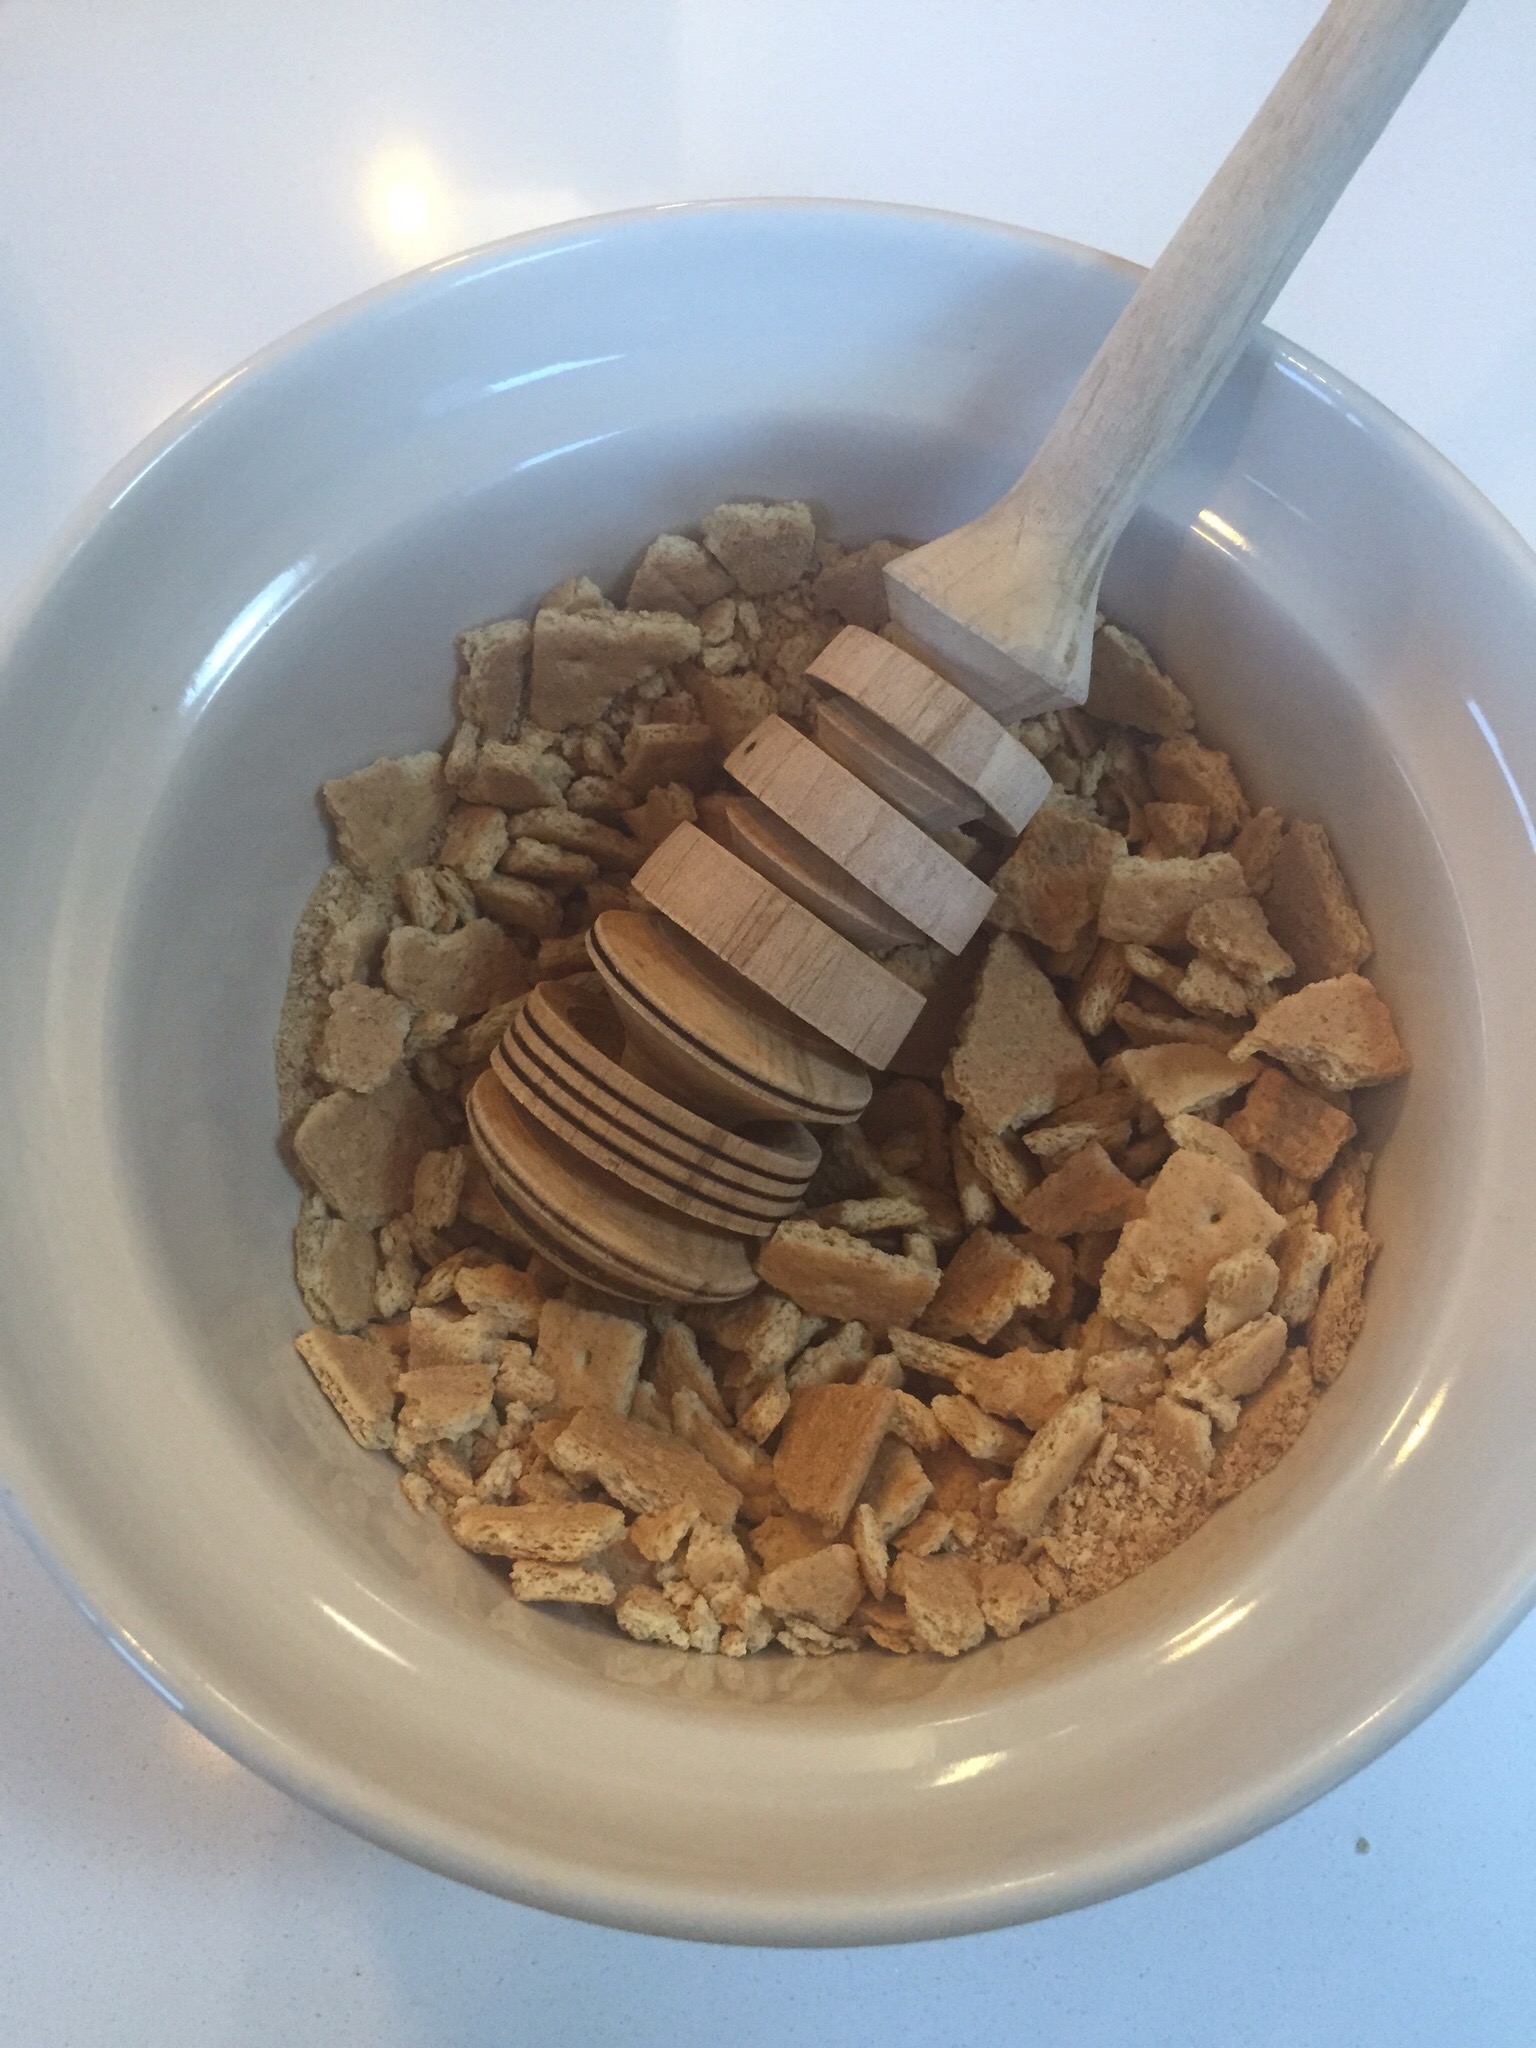
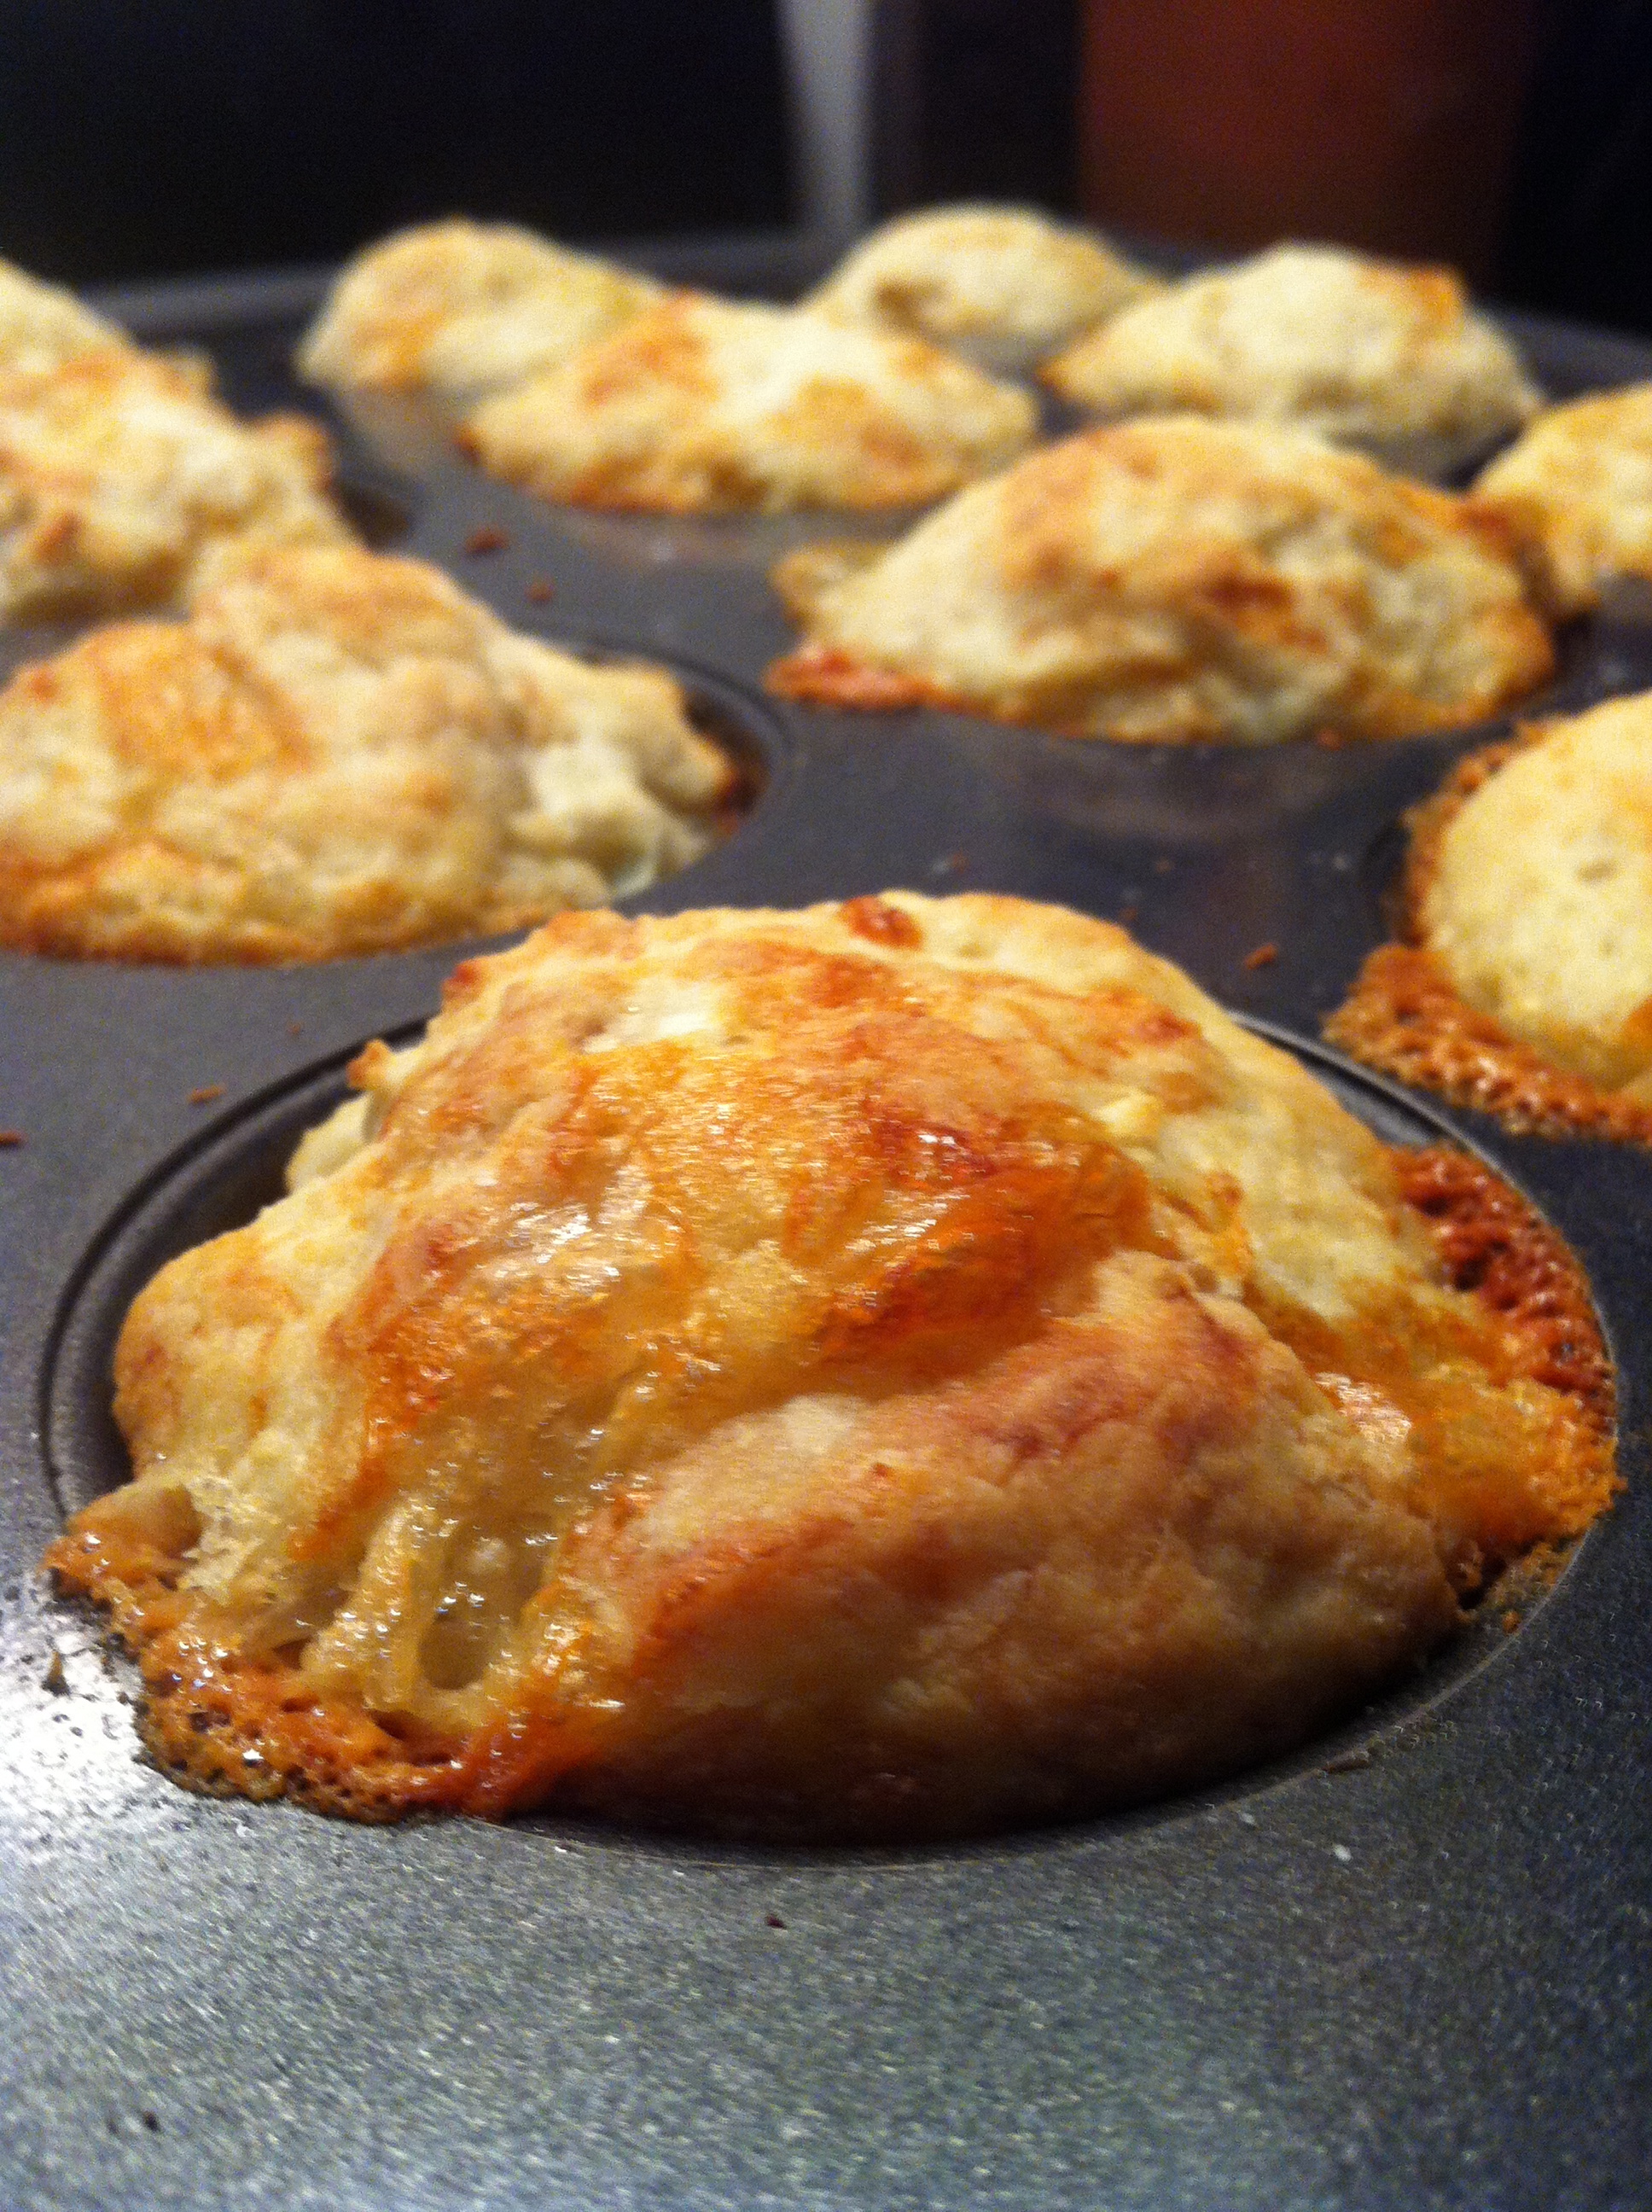
The end of August also means that alot of people in my life have birthdays. Like, and oddly disproportionate amount. Surprisingly, I have managed to not bake at all for any of the birthdays that I have attended, however my friend asked me to help her bake for her friend’s birthday. Clearly, I had no choice but to oblige her. Any excuse to bake!! Plus, I had just been on Pintrest and seen a recipe for a Turtle Cheesecake. Now, I’m not much for Turtle anything, unless it’s the lil reptile sauntering around the dessert or careening through the sea, but it sounded interesting and the Pinterest post made it look pretty (I’m a sucker for shiny things).
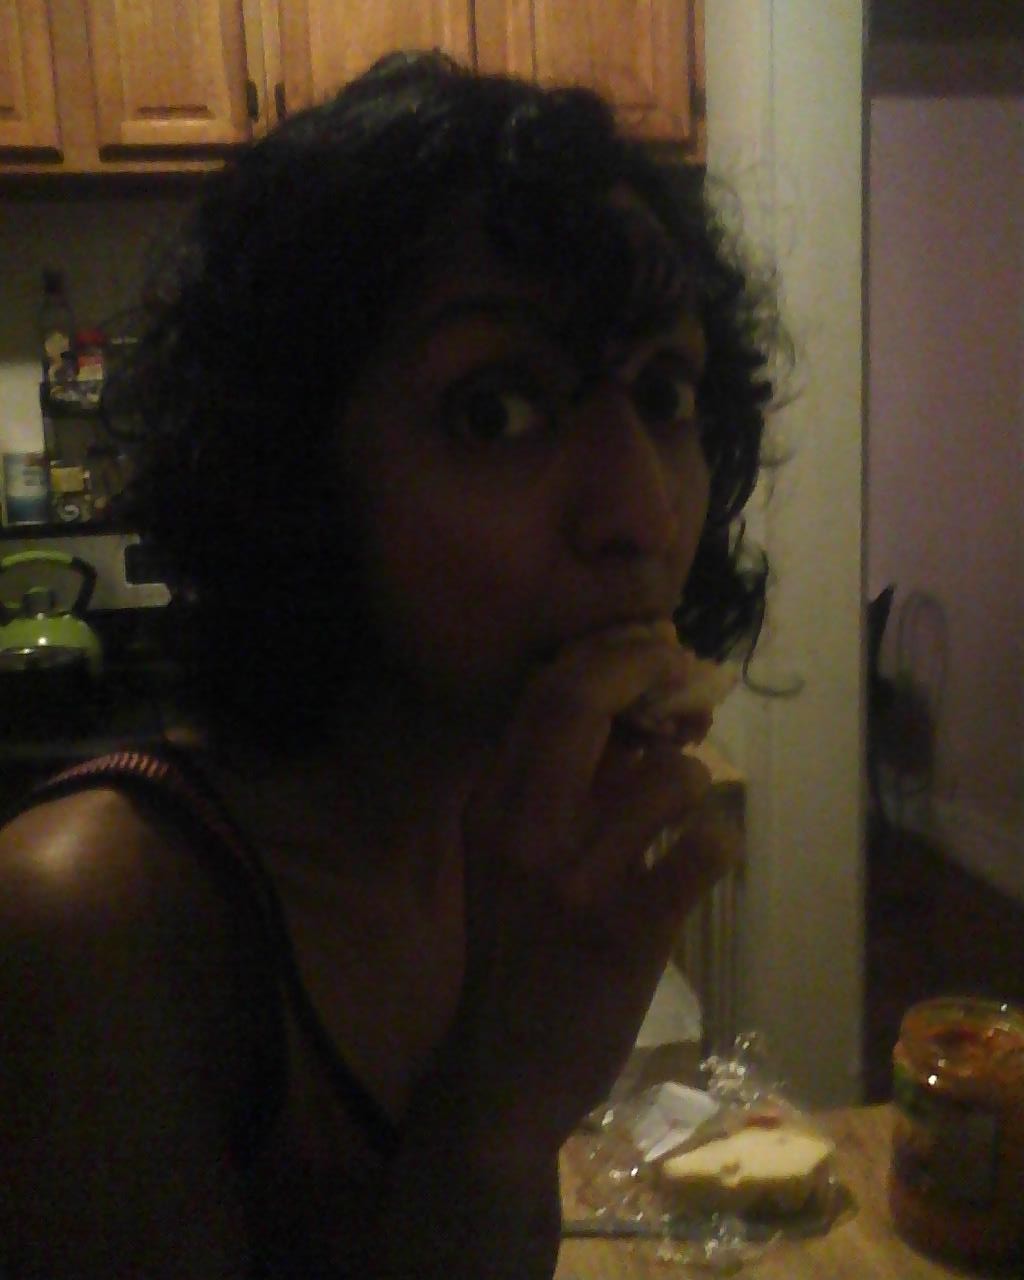
I forwarded to recipe to Reshma (the friend in need), having not looked at it at all. She wrote backing asking if she needed to get all the stuff, and at first I thought “F^!@, did I send a really hard recipe?” Luckily, it’s not too difficult of a recipe, and doesn’t actually require you to do too much to make it a “Turtle” cheesecake. Just buy some sauce and some nuts and BAM! insta-turtle! So, the following is the recipe, and how it all went down. All photos of food are courtesy of Miss Reshma herself (and all alcohol imbibed during the baking is courtesy of Mr. Vitaly, Reshma’s manfriend and my teammate for an upcoming Bike MS 100 mile ride)
TURTLE TURTLE TURTLE CHEESECAKE!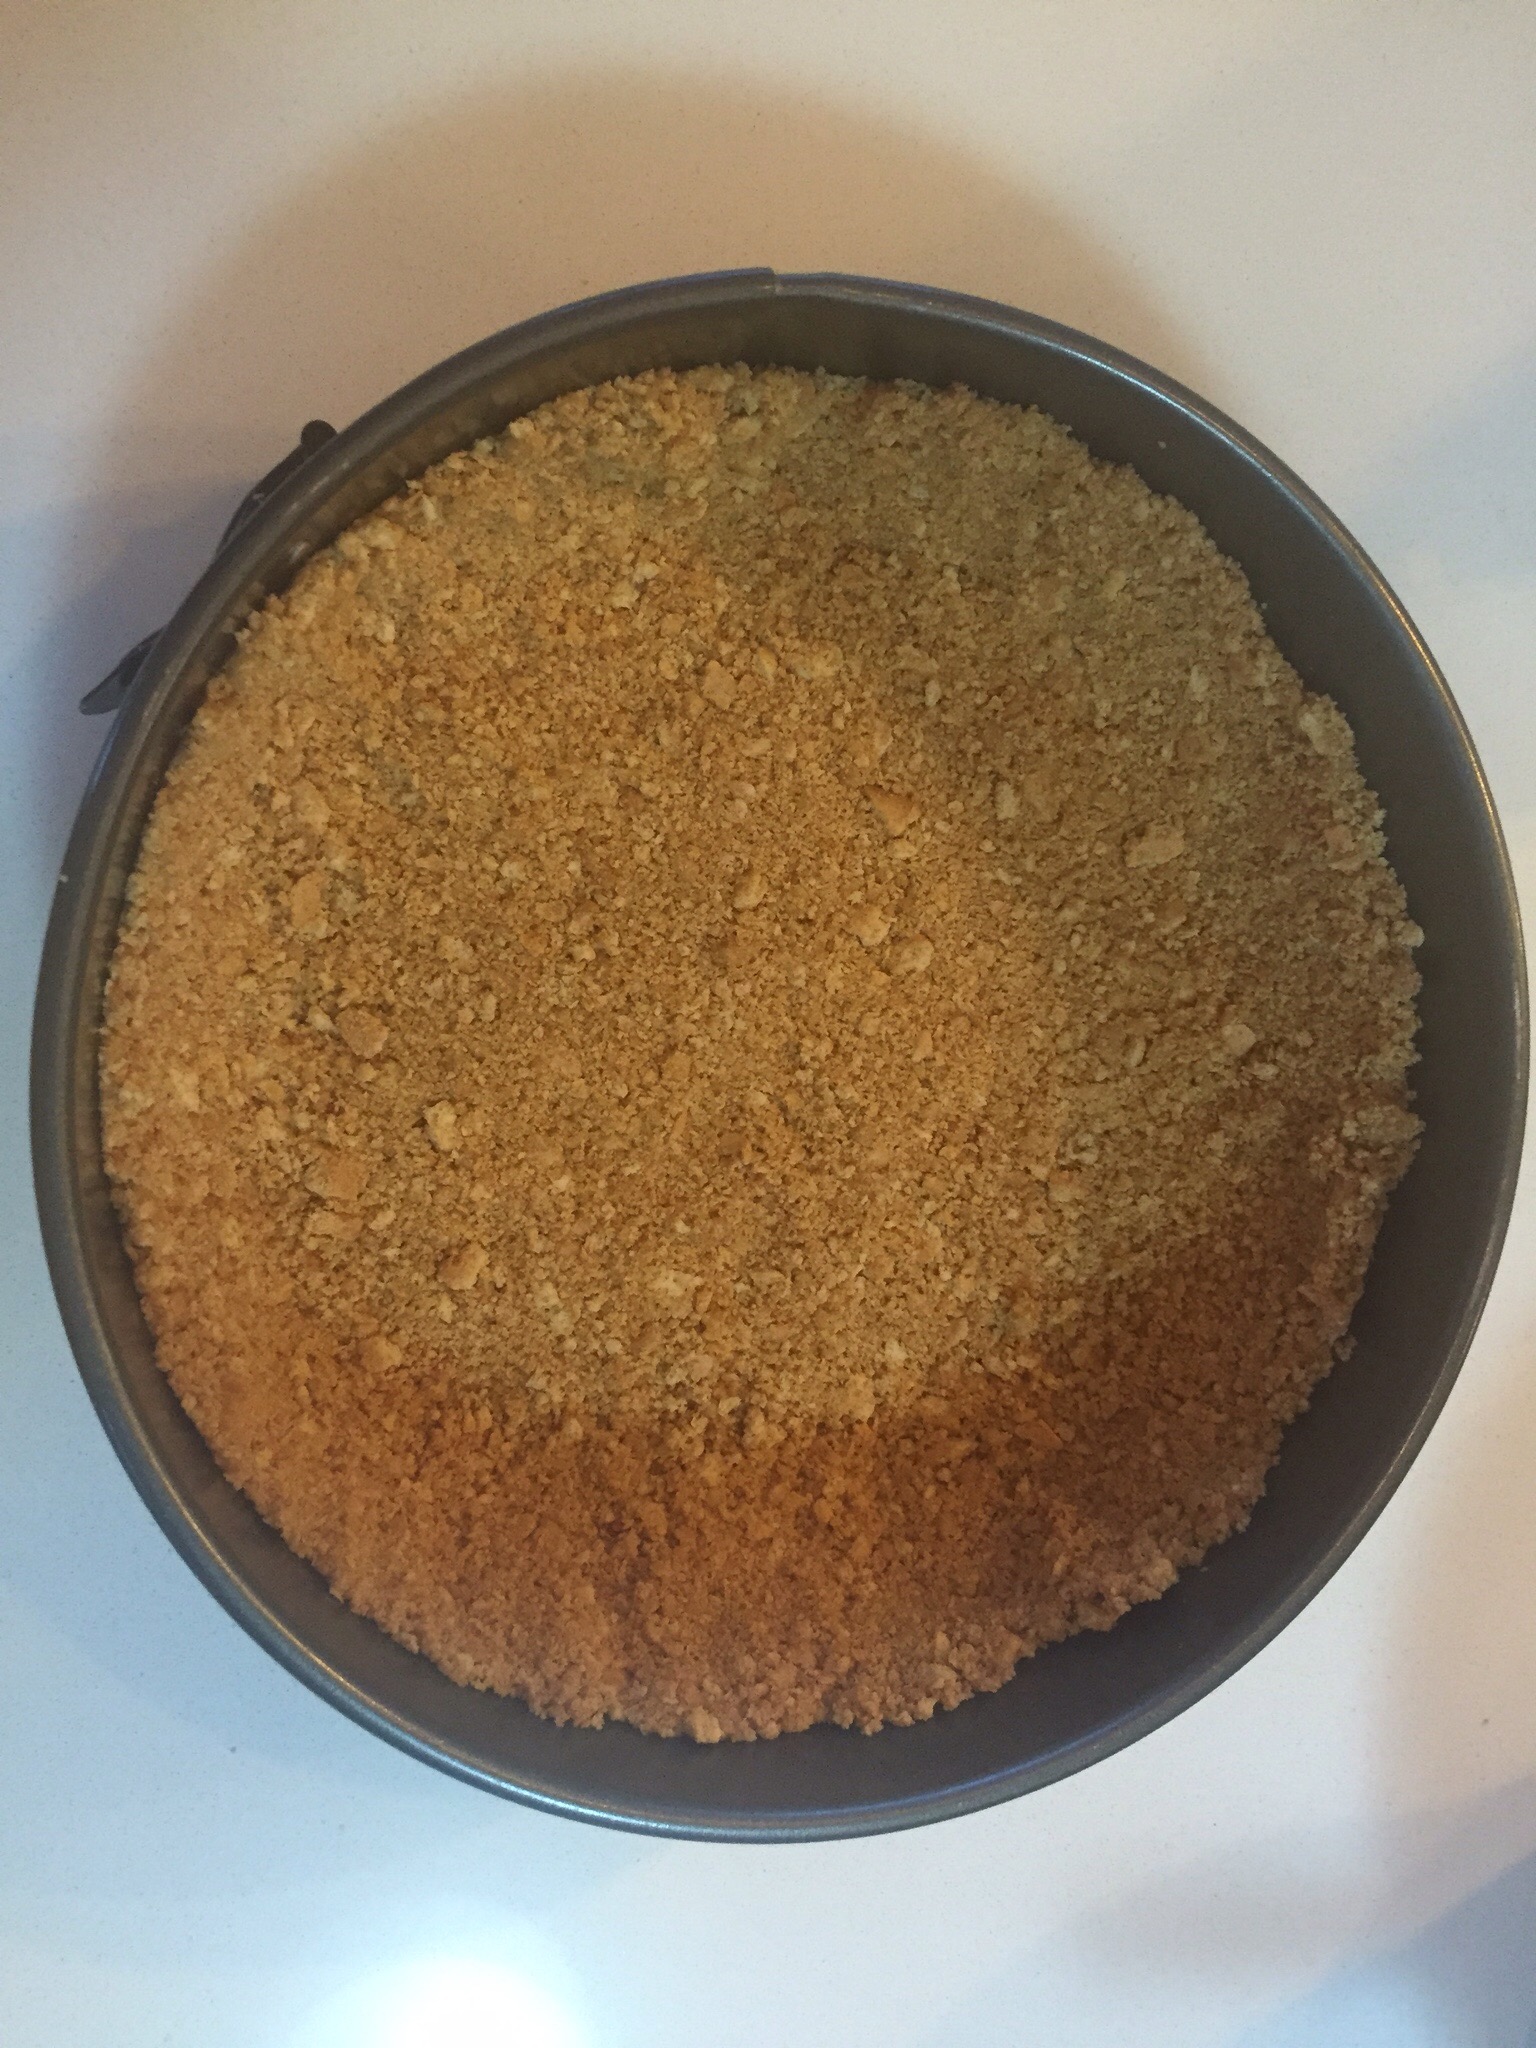
graciously snatched from here!
Ingredients:
CRUST
1 1/2 packages of graham crackers (We used regular)
1/3 cup melted butter
FILLING
24oz cream cheese (room temp)
14oz (1 can) sweetened condensed milk
1/2 cup sugar
3 eggs
Juice from 1 lemon
1 tbsp vanilla
6oz chocolate chips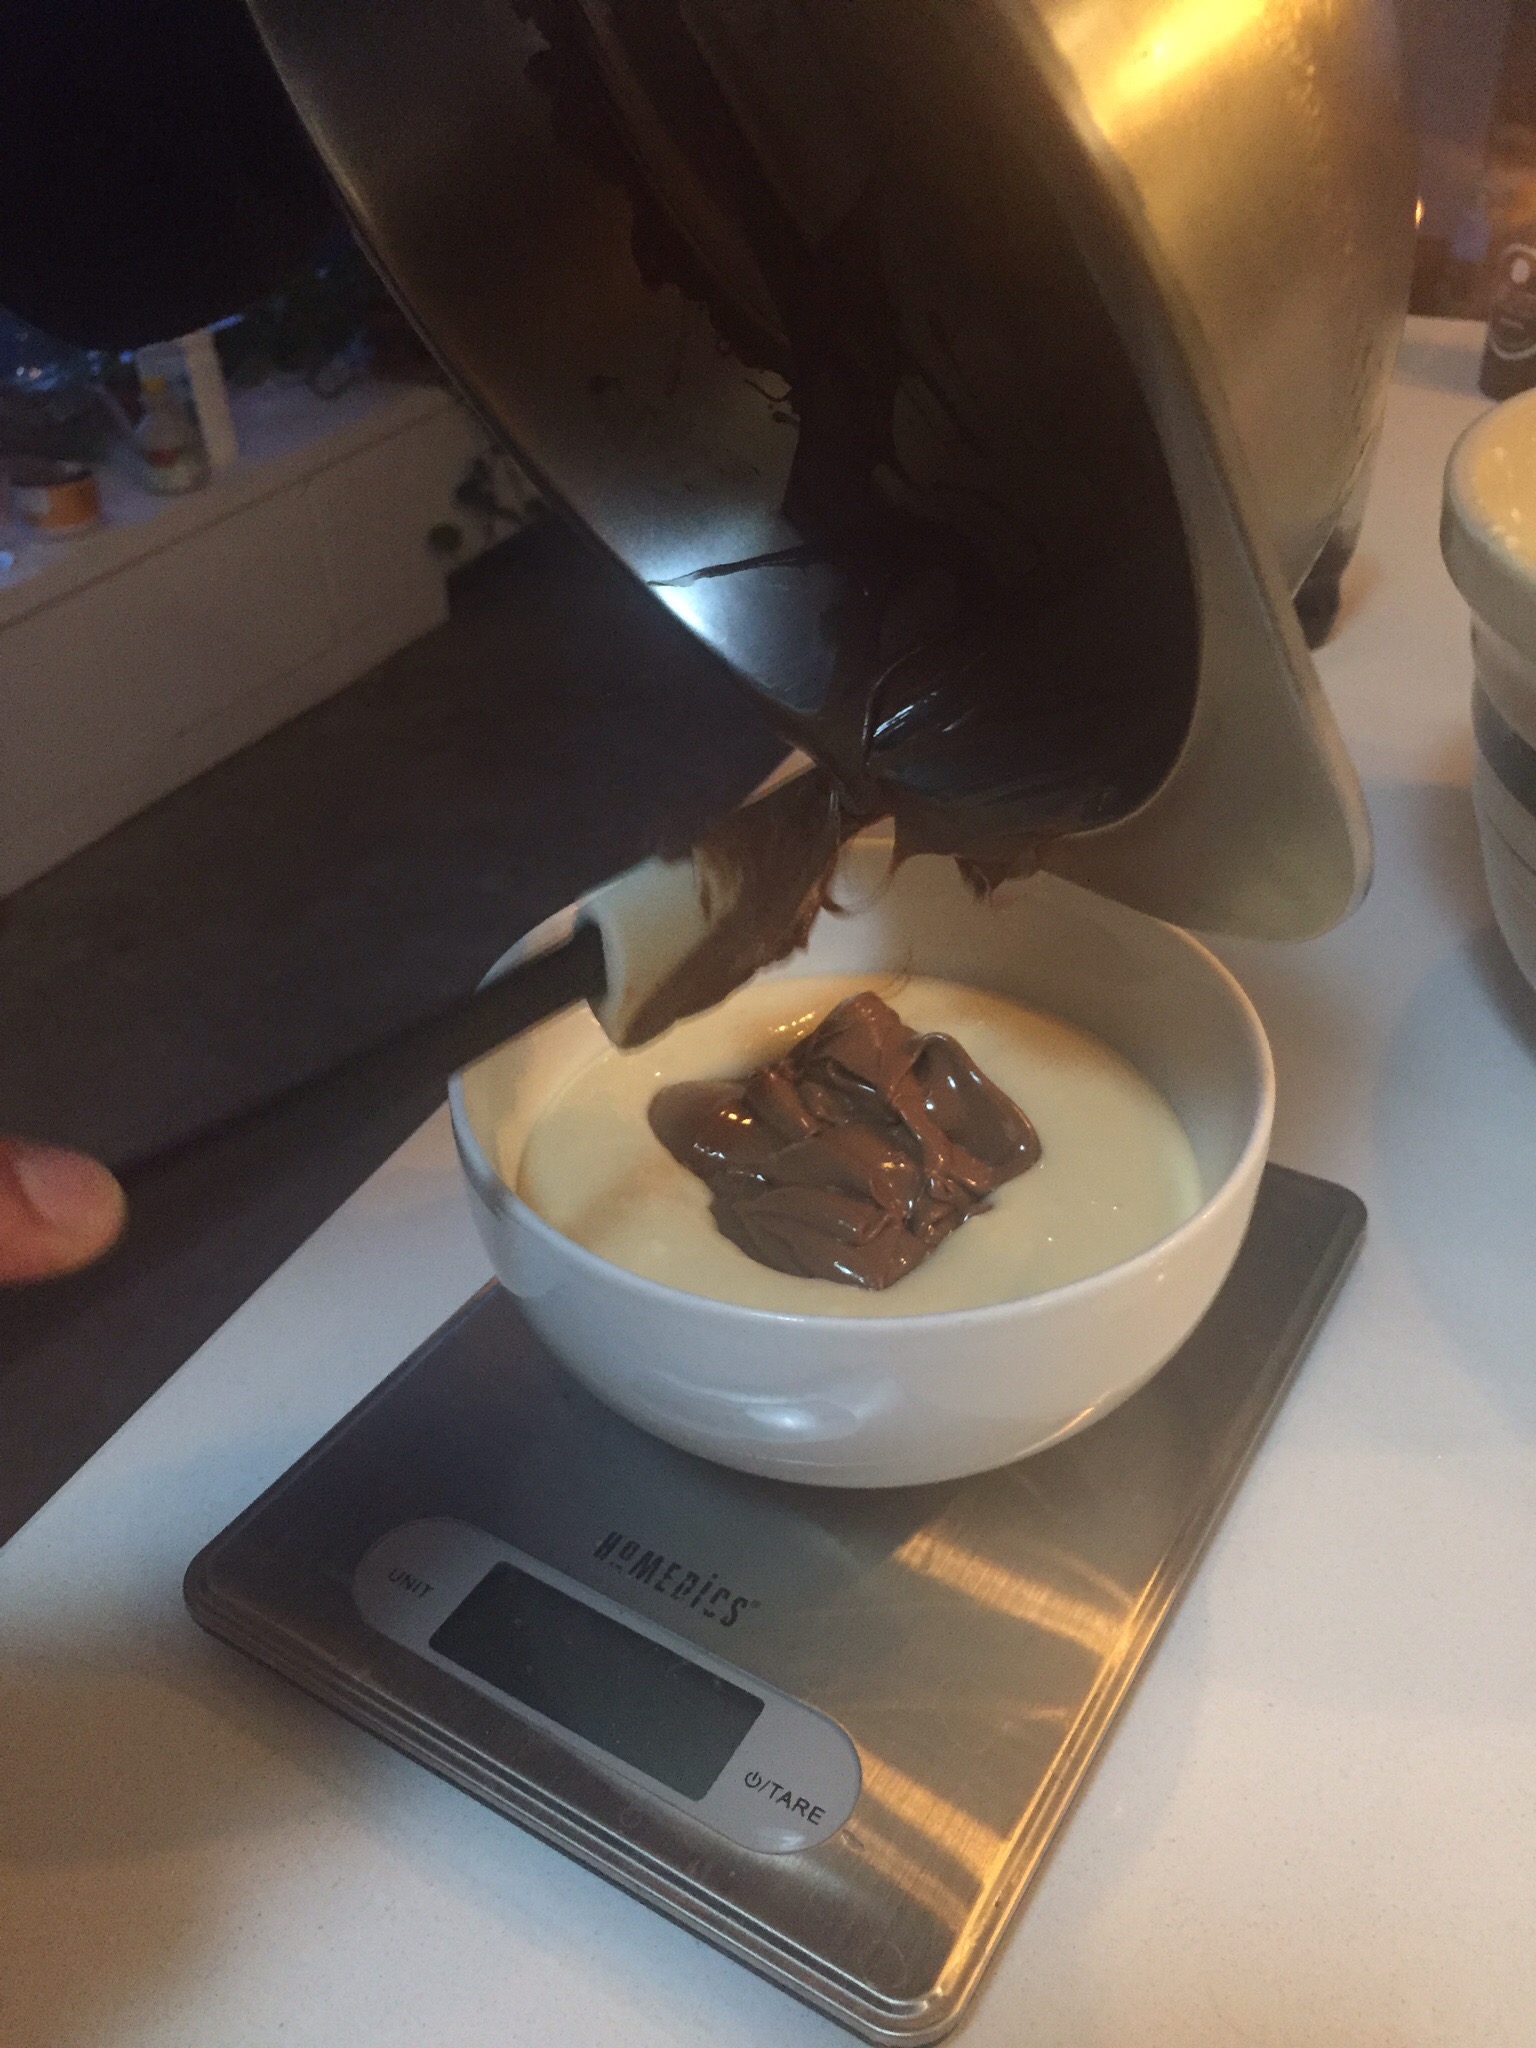
TOPPING
1/4 cup mini chocolate chips
1/2 cup caramel ice cream topping
1/2 cup hot fudge ice cream topping
1/4 cup chopped pecans
- Preheat oven to 300 degrees and prepare your cheesecake pan (9″ spring form pan is what we used). By “prepare” I mean maybe throw down some parchment paper like we did so that it was easier to slide out of the pan when done.
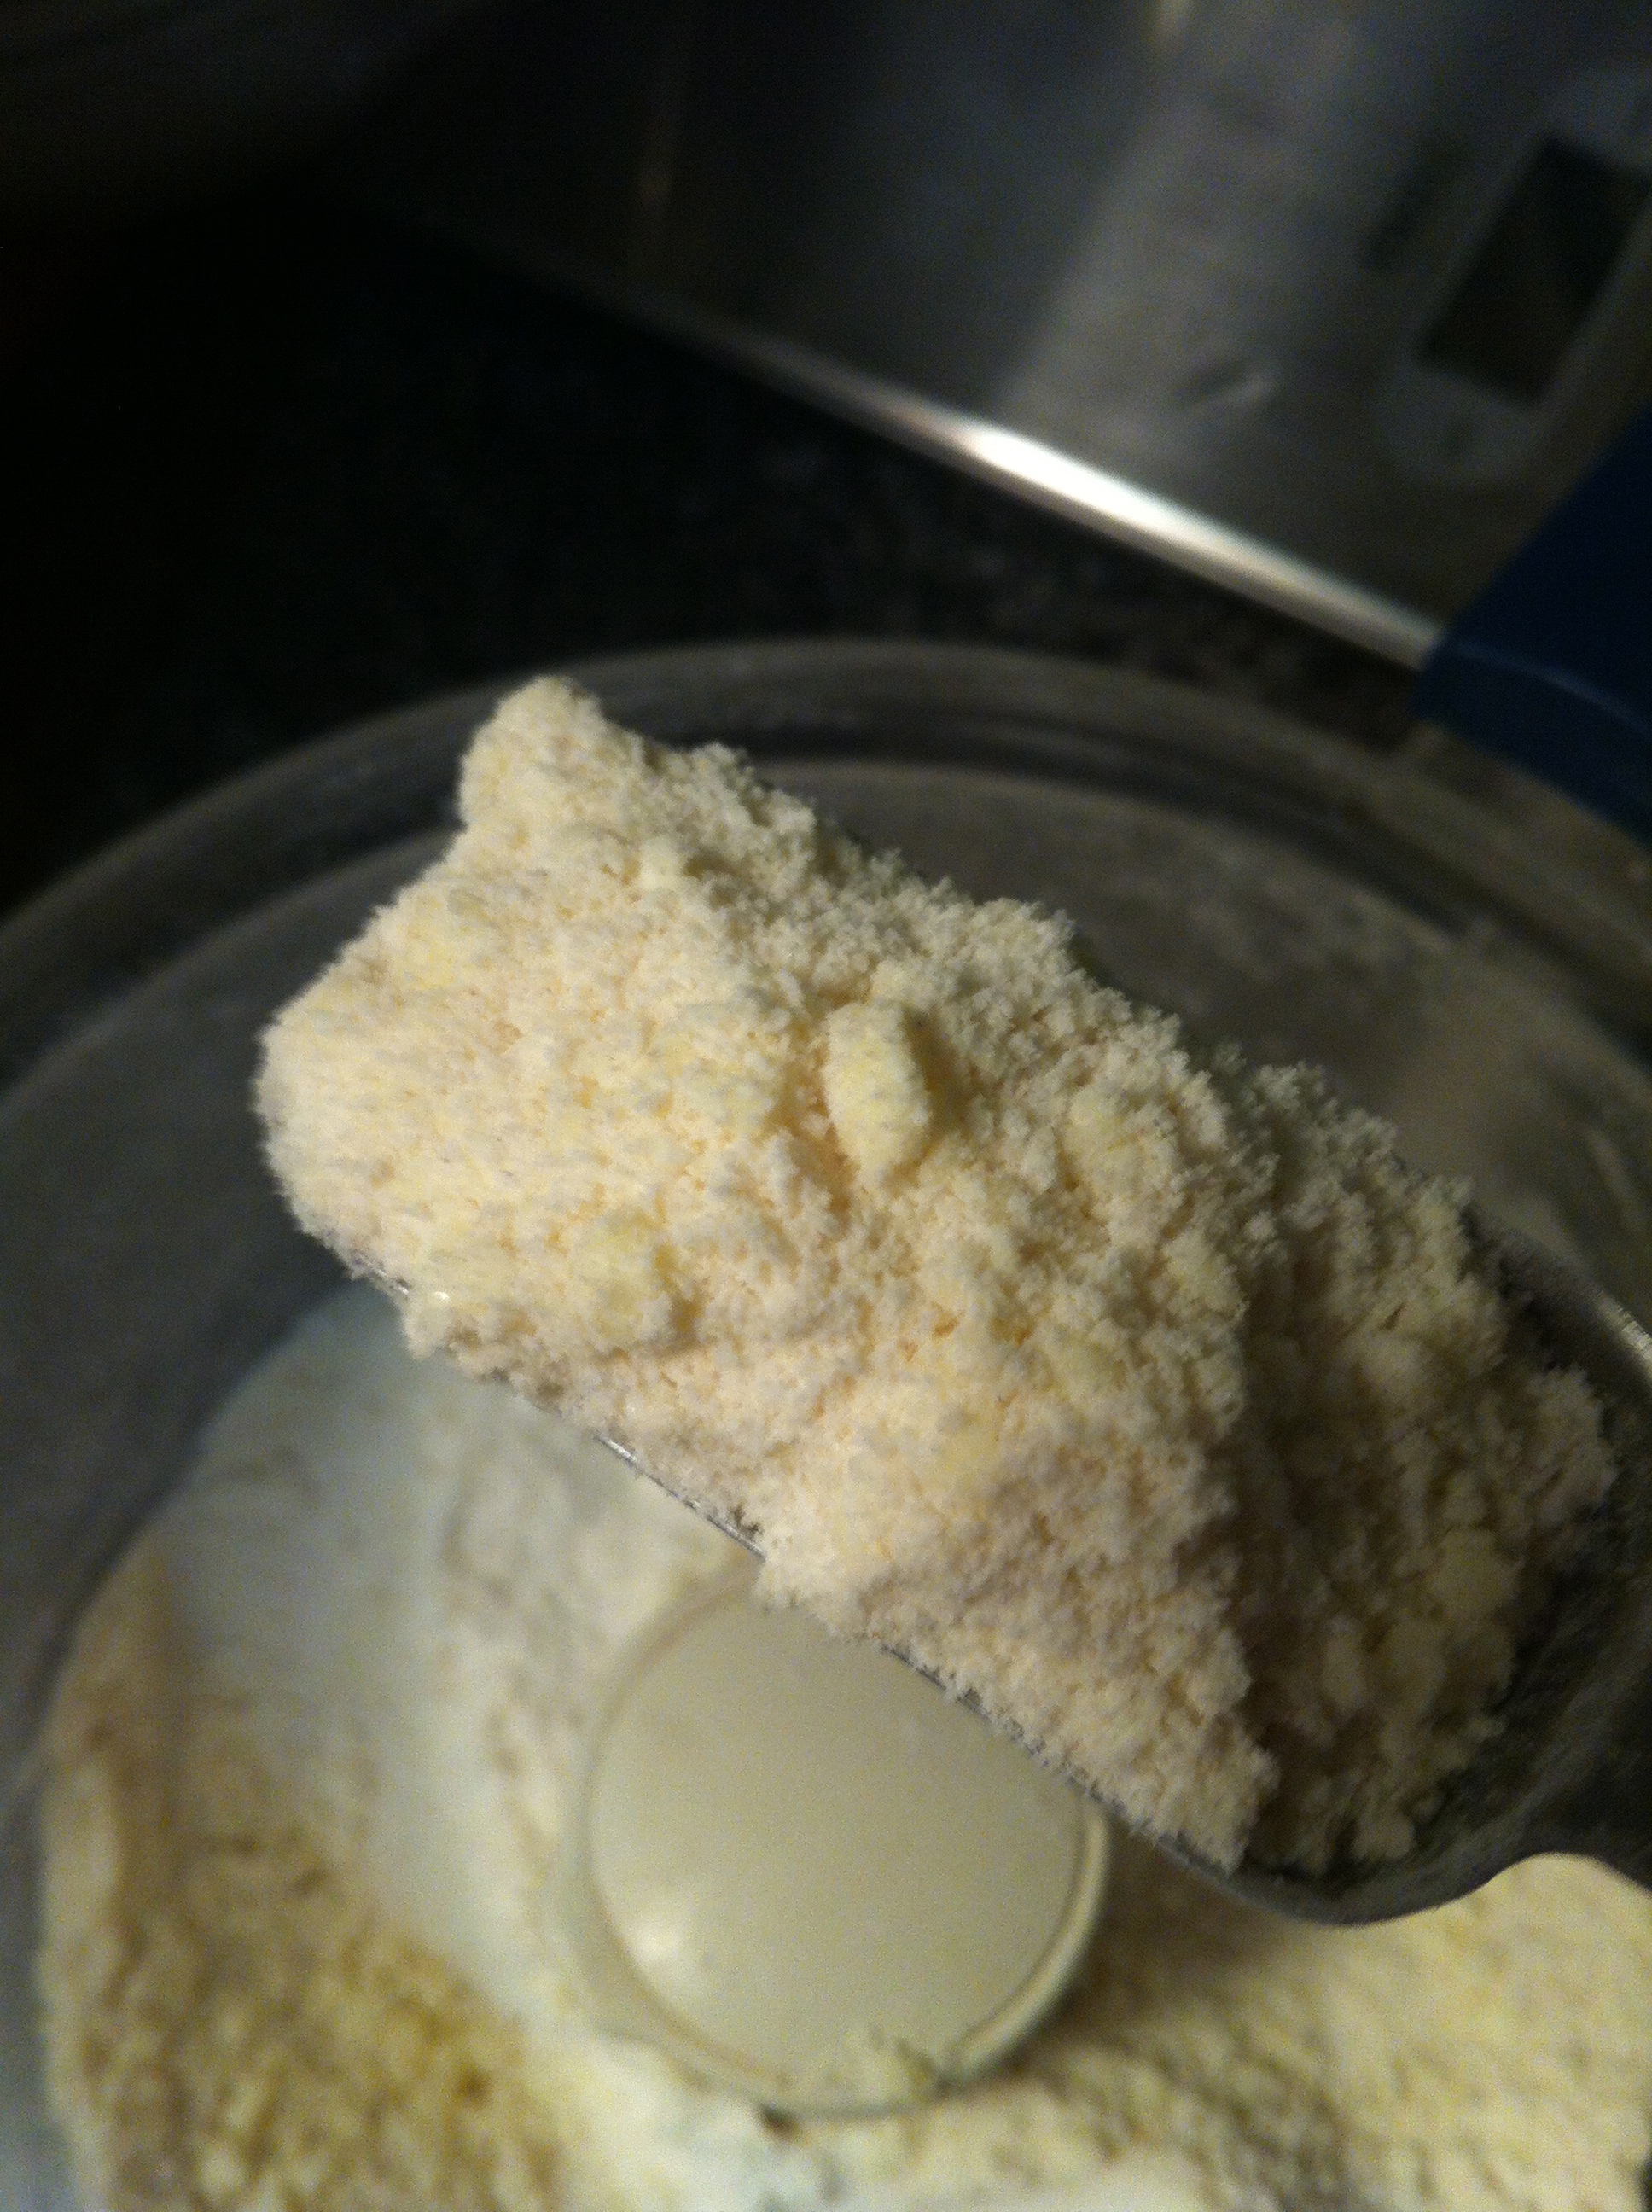
- Crush, mangle and crumble the graham crackers into a semi-fine powder. We had some chunks in ours still. This probably can be done in a food processor, but it’s messier if you do it by hand. Then add in the melted butter and stir it all around. Press the crumbled crackers into the prepared pan, forming the base as well as the wall, ~ 1 1/2 inches up the sides. I think ours was ~ 1/4 inch thick. Once done, place the crust in the
 fridge to let it cool down and solidify a bit.
 - Stir cream cheese with condensed milk, sugar, eggs, and vanilla. Try to make it as smooth and creamy as possible. We had a few tiny chunks (pea sized?) in our batter. It doesn’t have to be perfect. Then add in the lemon juice and stir some more!
- Melt the chocolate chips (we used milk chocolate, but I would suggest dark or semisweet in the future). Remove 1 cup of the cream cheese batter and add to the melted chocolate (removed from heat). Stir, stir, stir.
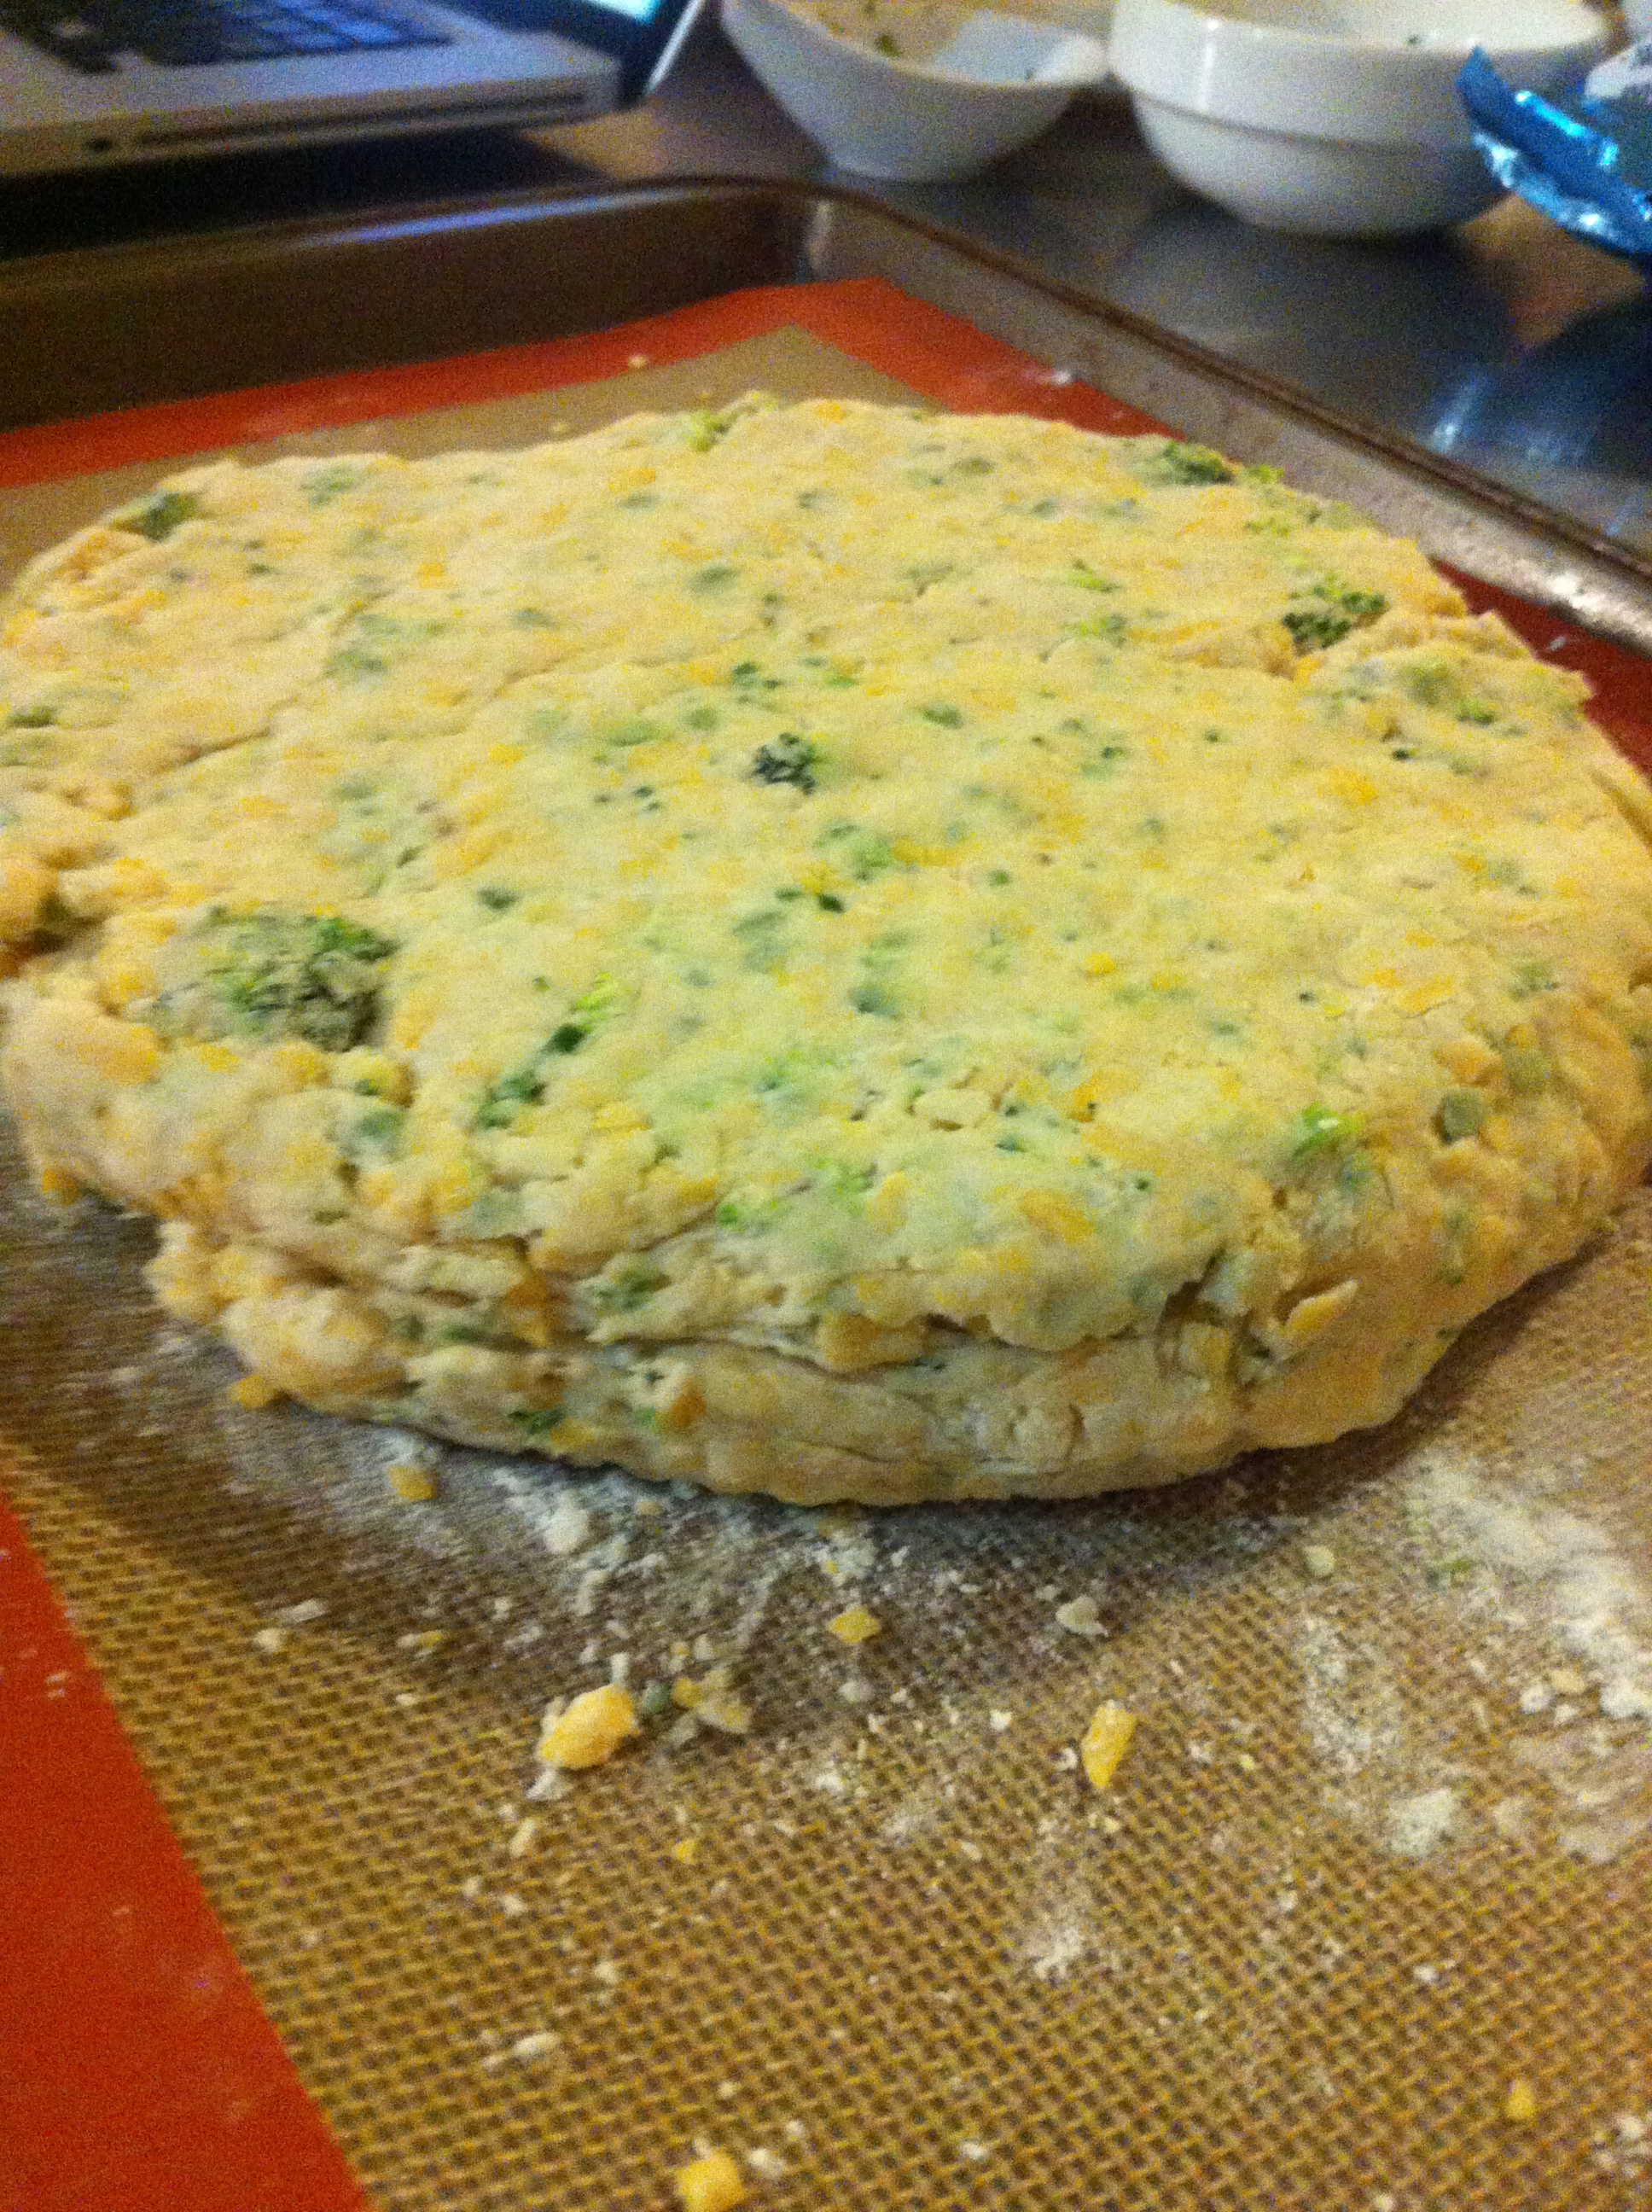
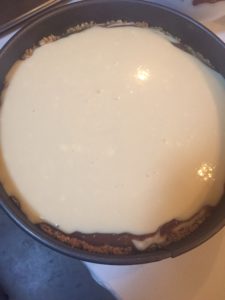
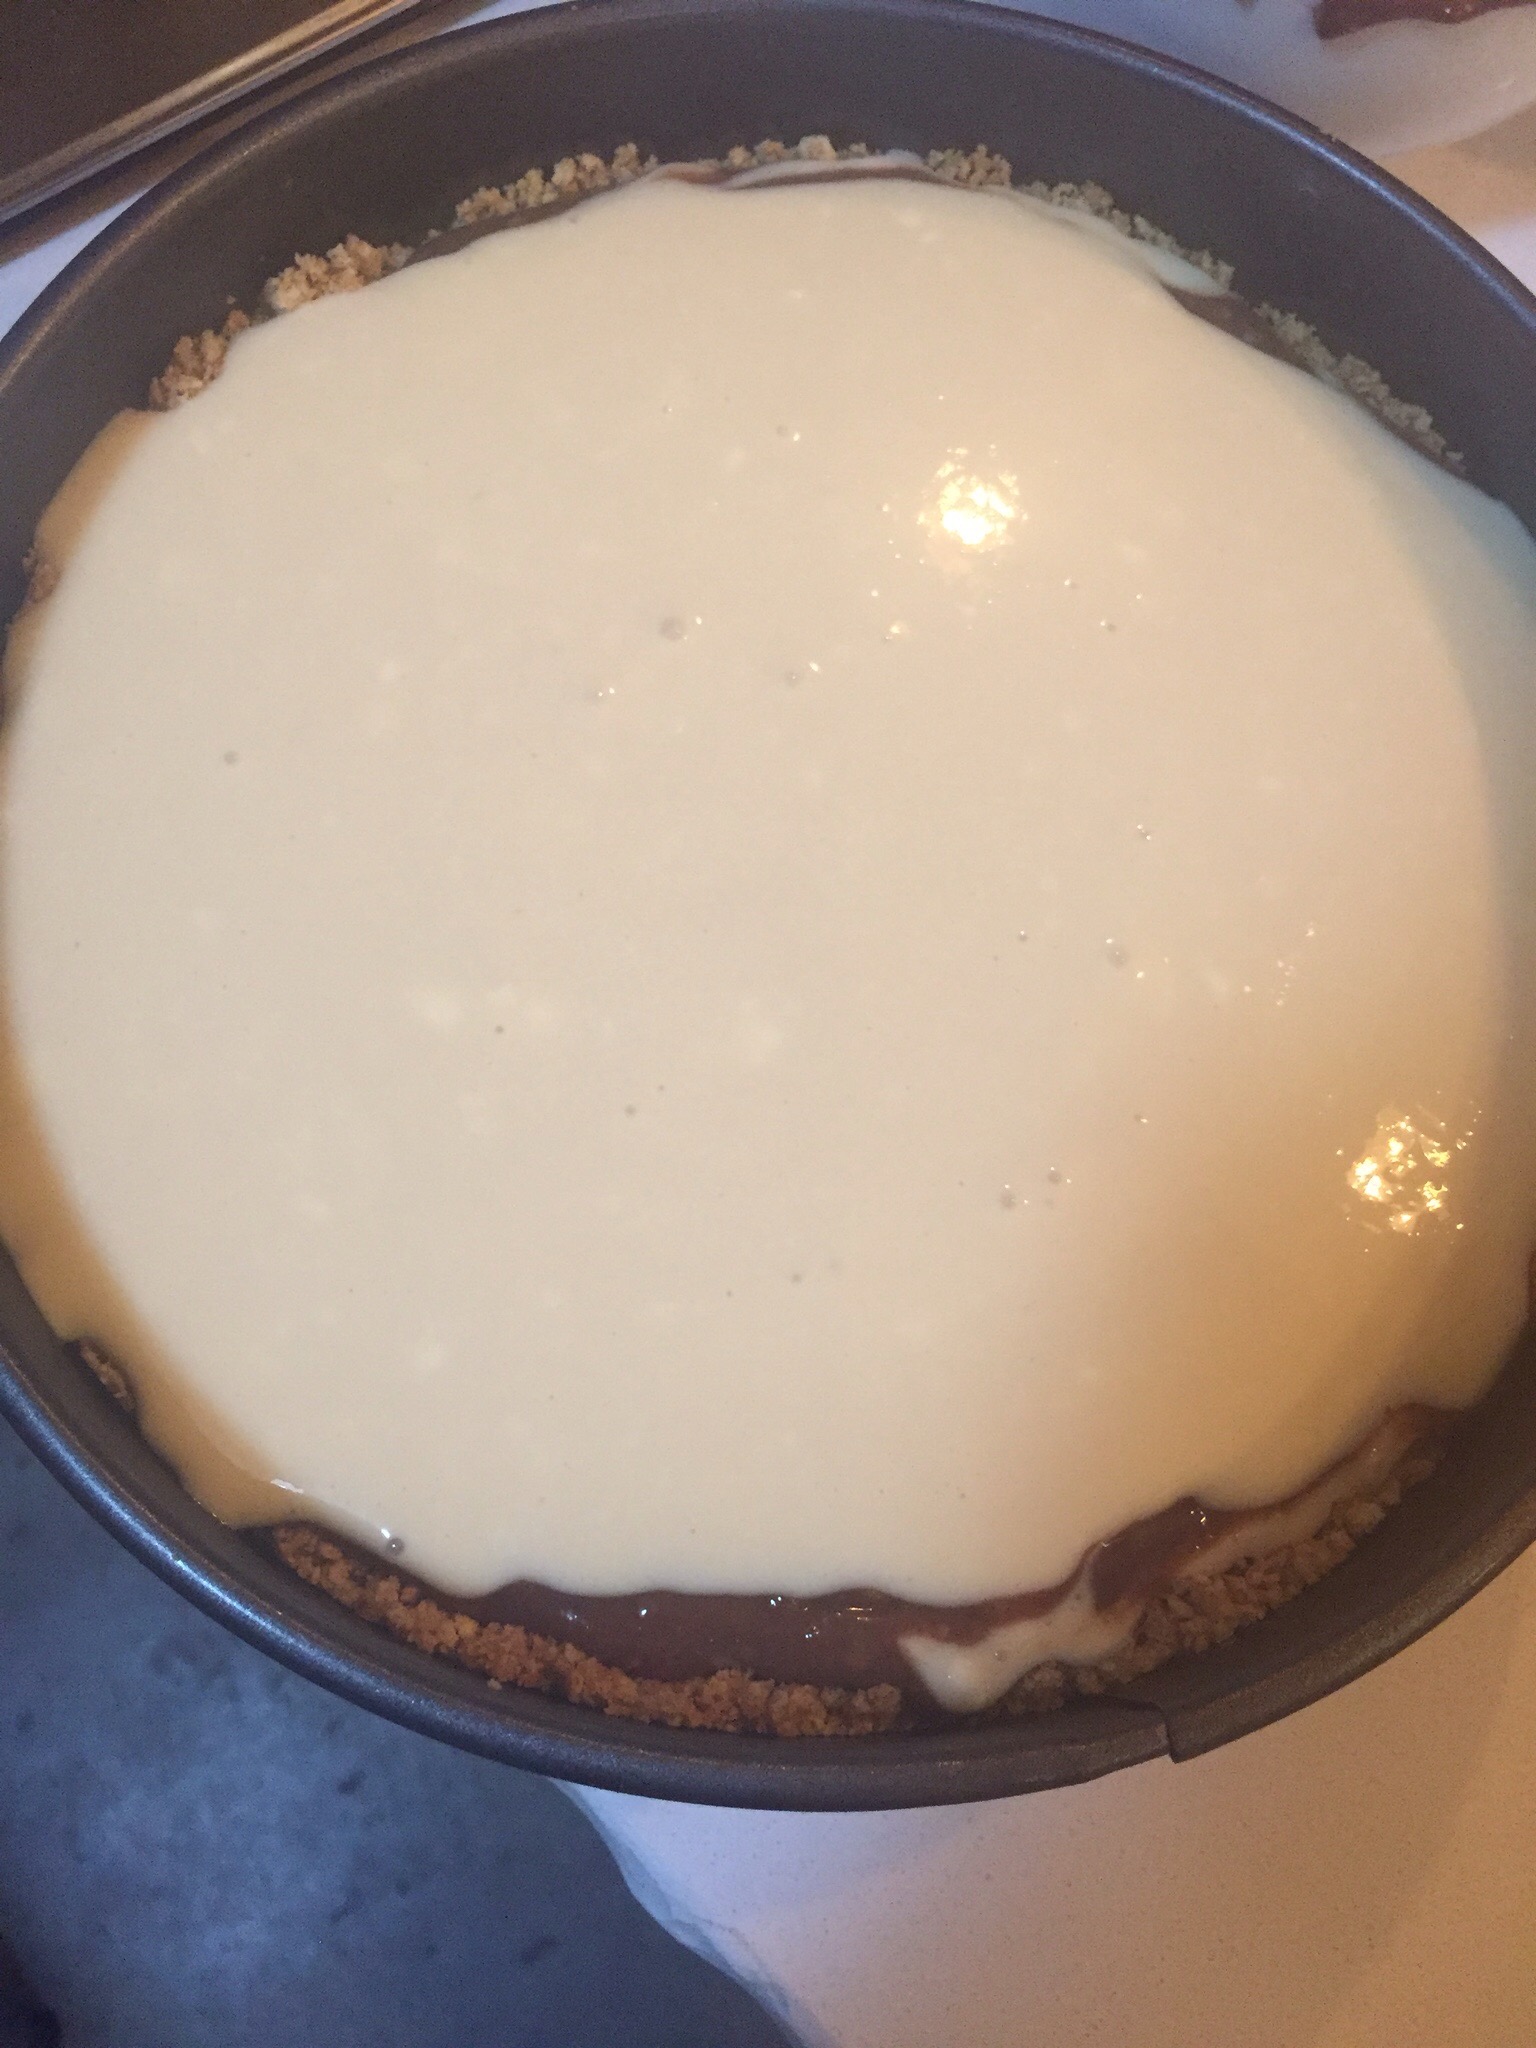
- Take your cooled crust out of the fridge. Pour about 1/2 the remaining cream cheese batter into the crust. Then add the chocolate batter. Gently, without tearing up the crust underneath, swirl the two batters together (this isn’t necessary, and let’s be
 honest, no one is looking at the swirl pattern when their stuffing their faces with cheesecake). Then add on the rest of the cream cheese batter. I admit, for this step, we cut it pretty damn close. Our crust was barely high enough to contain the batter.
 - Gently place the pan into your preheated oven and bake for 75-90 minutes. We took about 93 minutes. Because we were still enjoying Vitaly’s beverages, once the cake was finished, we turned the oven off, but left the cake in the oven to cook a lil bit more.
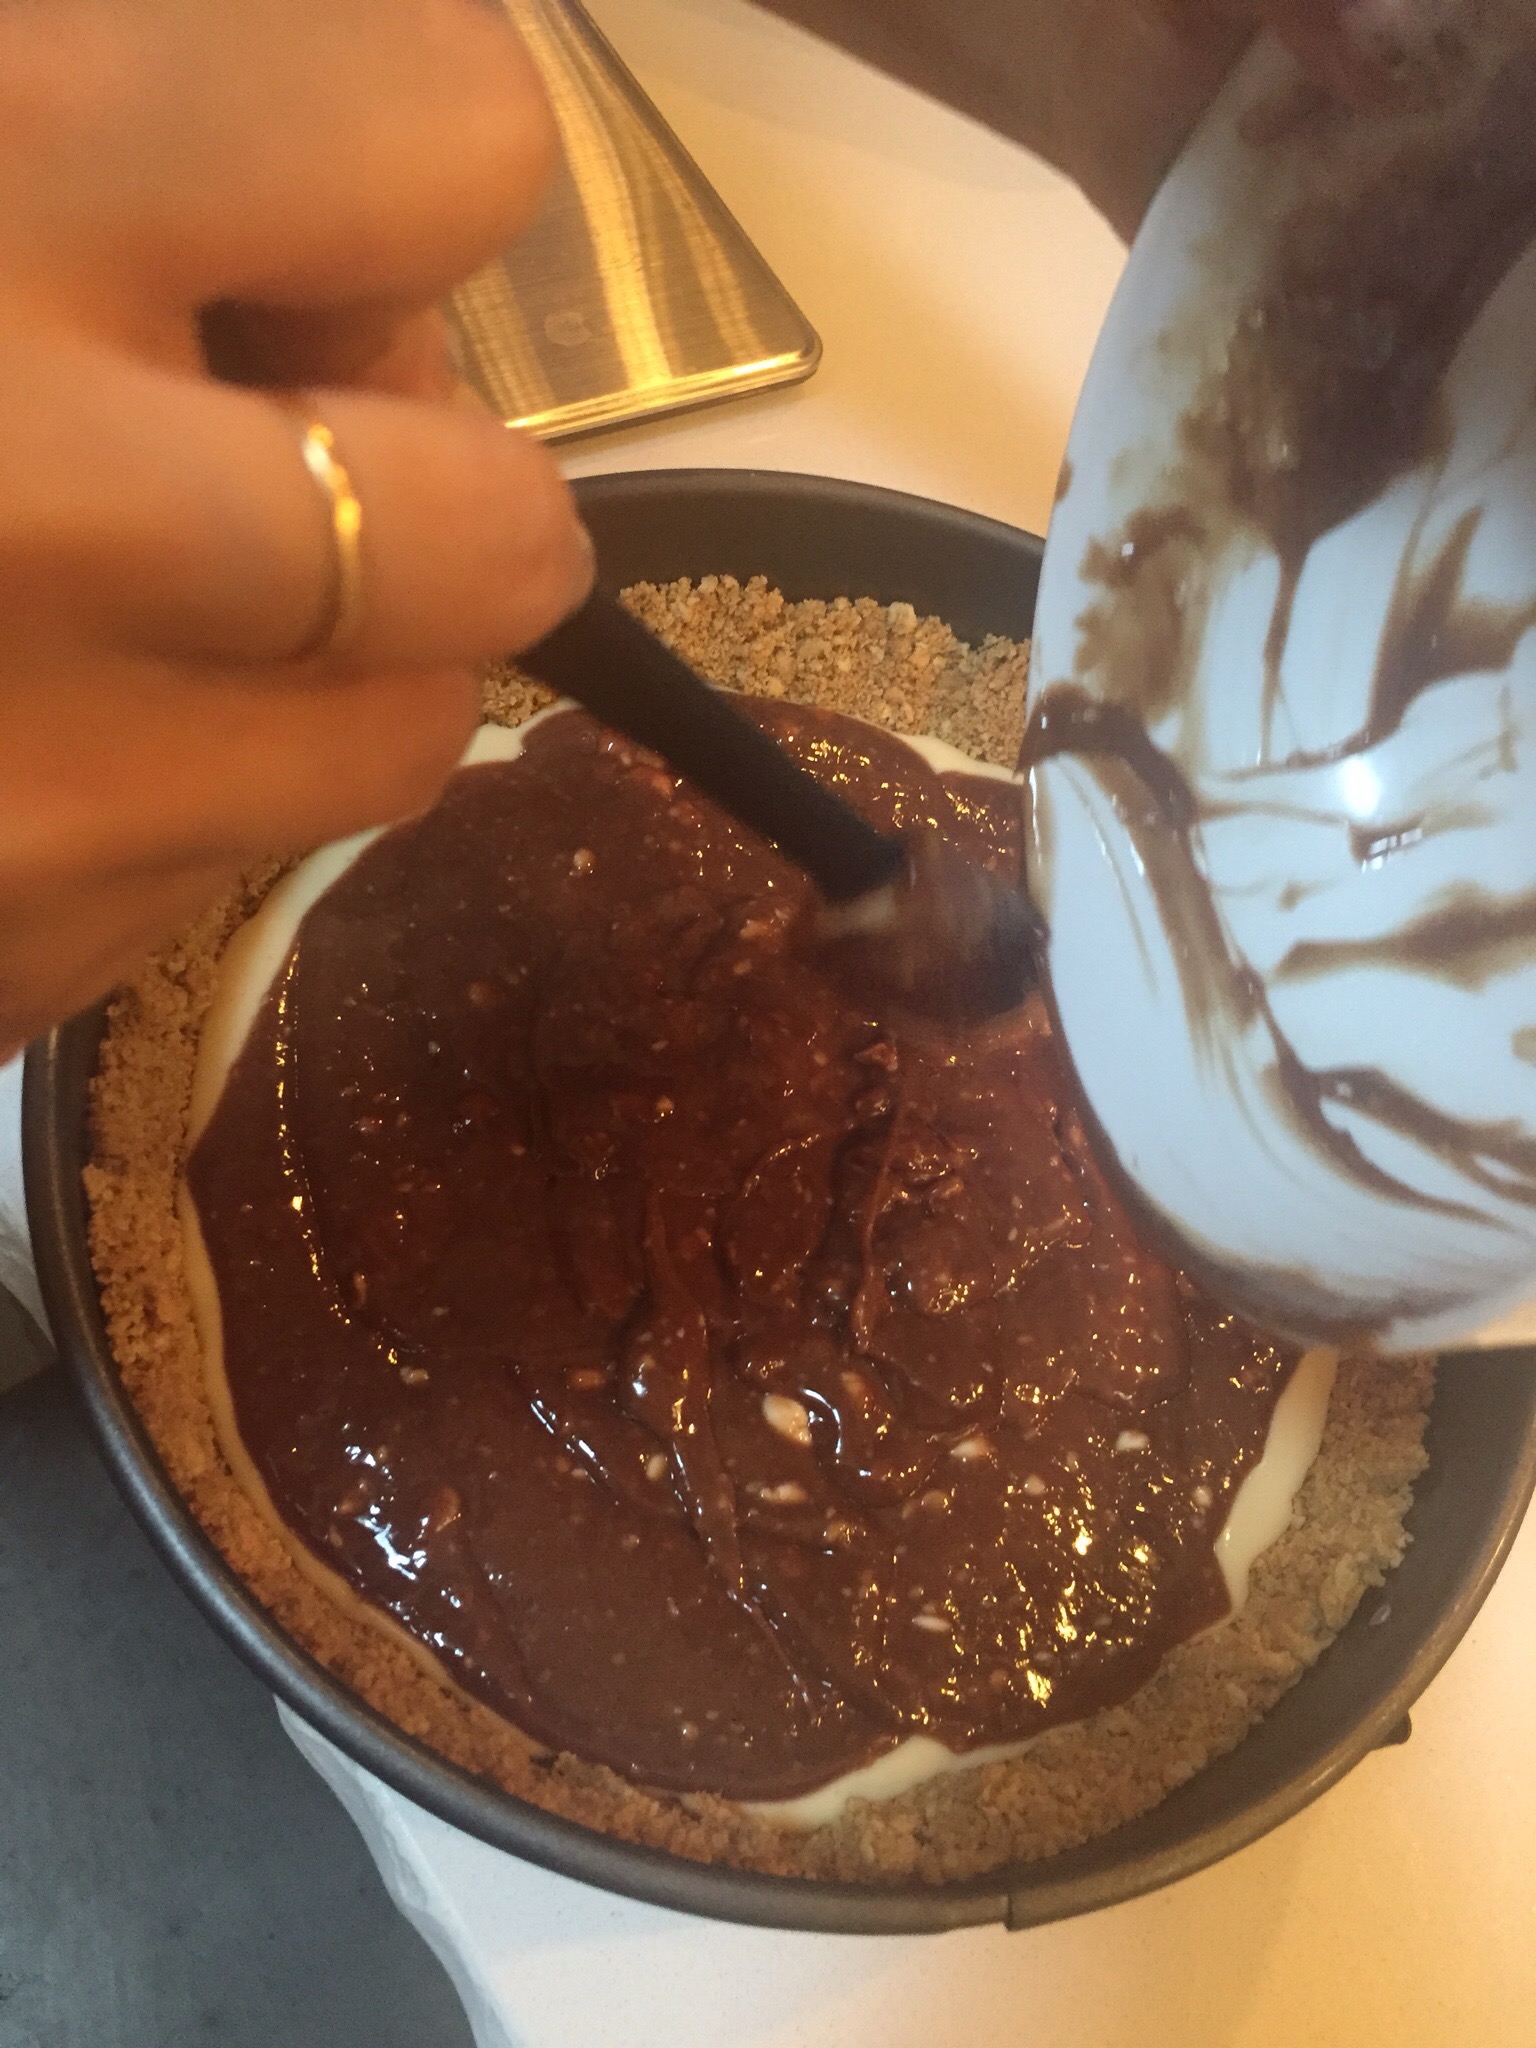
- Next, Reshma took the cake home because it was for the next day and I have no idea what she did with it after, but here’s what I suspect happened:
Place cake in fridge until you’re ready to serve. Take it out. Drizzle chocolate sauce on the cake. Drizzle caramel sauce on the cake. Sprinkle chocolate chips and pecans on cake. Take cake to party, remove from pan. Let birthday boy eat a large portion and share the rest with everyone else at the party. WOOT!

P.S. MUSIC! How could I forget until the end to add in my musical joys of the current moment? Near epic fail on my part. But here’s what I’m jamming to these days;
Hold Each Other- by A Great Big World
Adorable! ugh!
Bombshell- by Ashley Monroe
I love her voice. Love it. And I like the video interpretation.