Ah yes. Here we are in 2015….
And that’s pretty much all I have to say about that. I just sat here, attempting to come up with some witty or insightful follow up to that, but nothing came to me. Meh. Moving on.
With my winter break nearly over, I look back on the list of things I planned on accomplishing during the break, and find my scarf remains unfinished in my crochet bag, I have posted only once on here (and this post too I suppose), I have yet to meet Cher, the small stack of papers I wanted to read has gone untouched…. All in all, a break well spent. Clearly.
To my credit, I stayed out of trouble. Thumbs up for that! WOOT! And while staying out of trouble, I also fell in love with this song:
 I was first introduced to Hi Fashion by my close friend, Trish, when she showed me Amazing! From there, it was a fun and colorful spiral down a rabbit hole of their music. Trish and I have been down many a rabbit hole actually, most of which involve animals, drag, and nerdy science. (want to know why ostriches are said to bury their heads in the sand? Check it out)
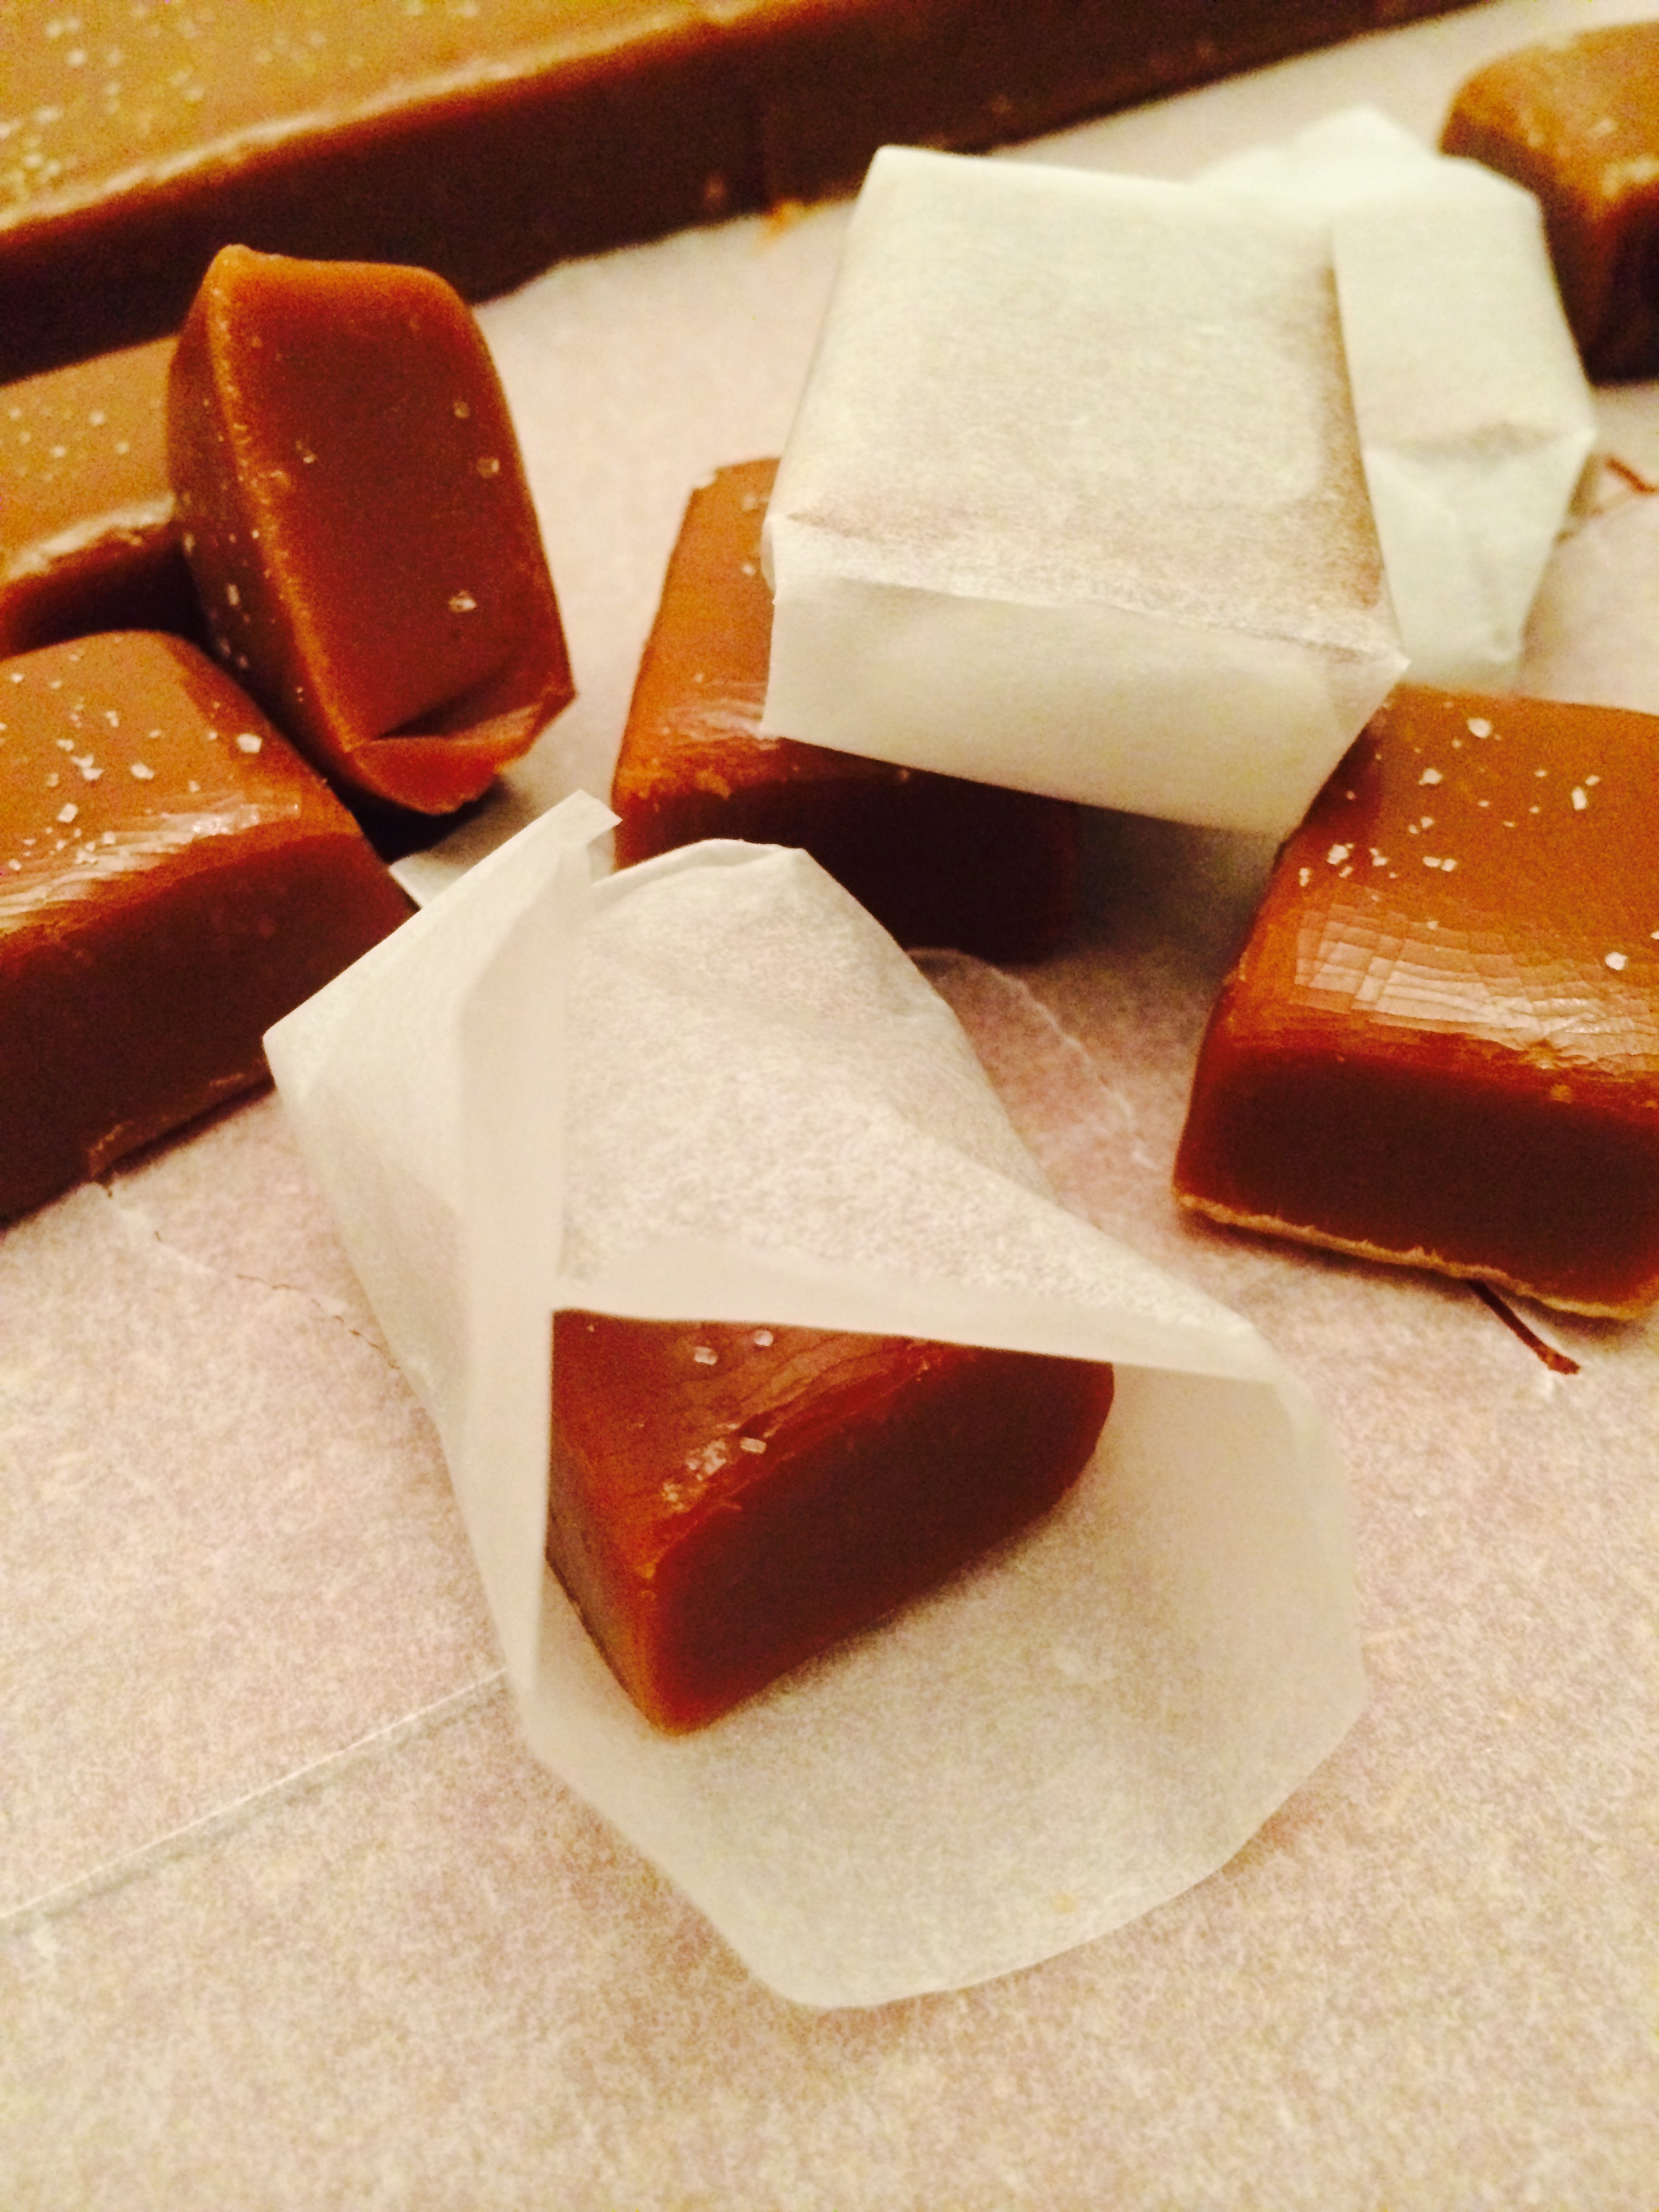
 As for this post’s baking, I was inspired by my dear friend, Terry Sheppard. Last year, he made some delicious caramels, and I had the honor of tasting them (or several actually :-D). They were delicious! I made caramels 2 years ago, and they did not turn out nearly as yummy as his. So this year, I decided to try his recipe, and I think it is fair to say that they turned out quite yummy and are a vast improvement from 2 years ago. Thank you, Terry, for sharing this recipe with me (and I suppose with anyone who reads this blog…so all of 3ish people…)!
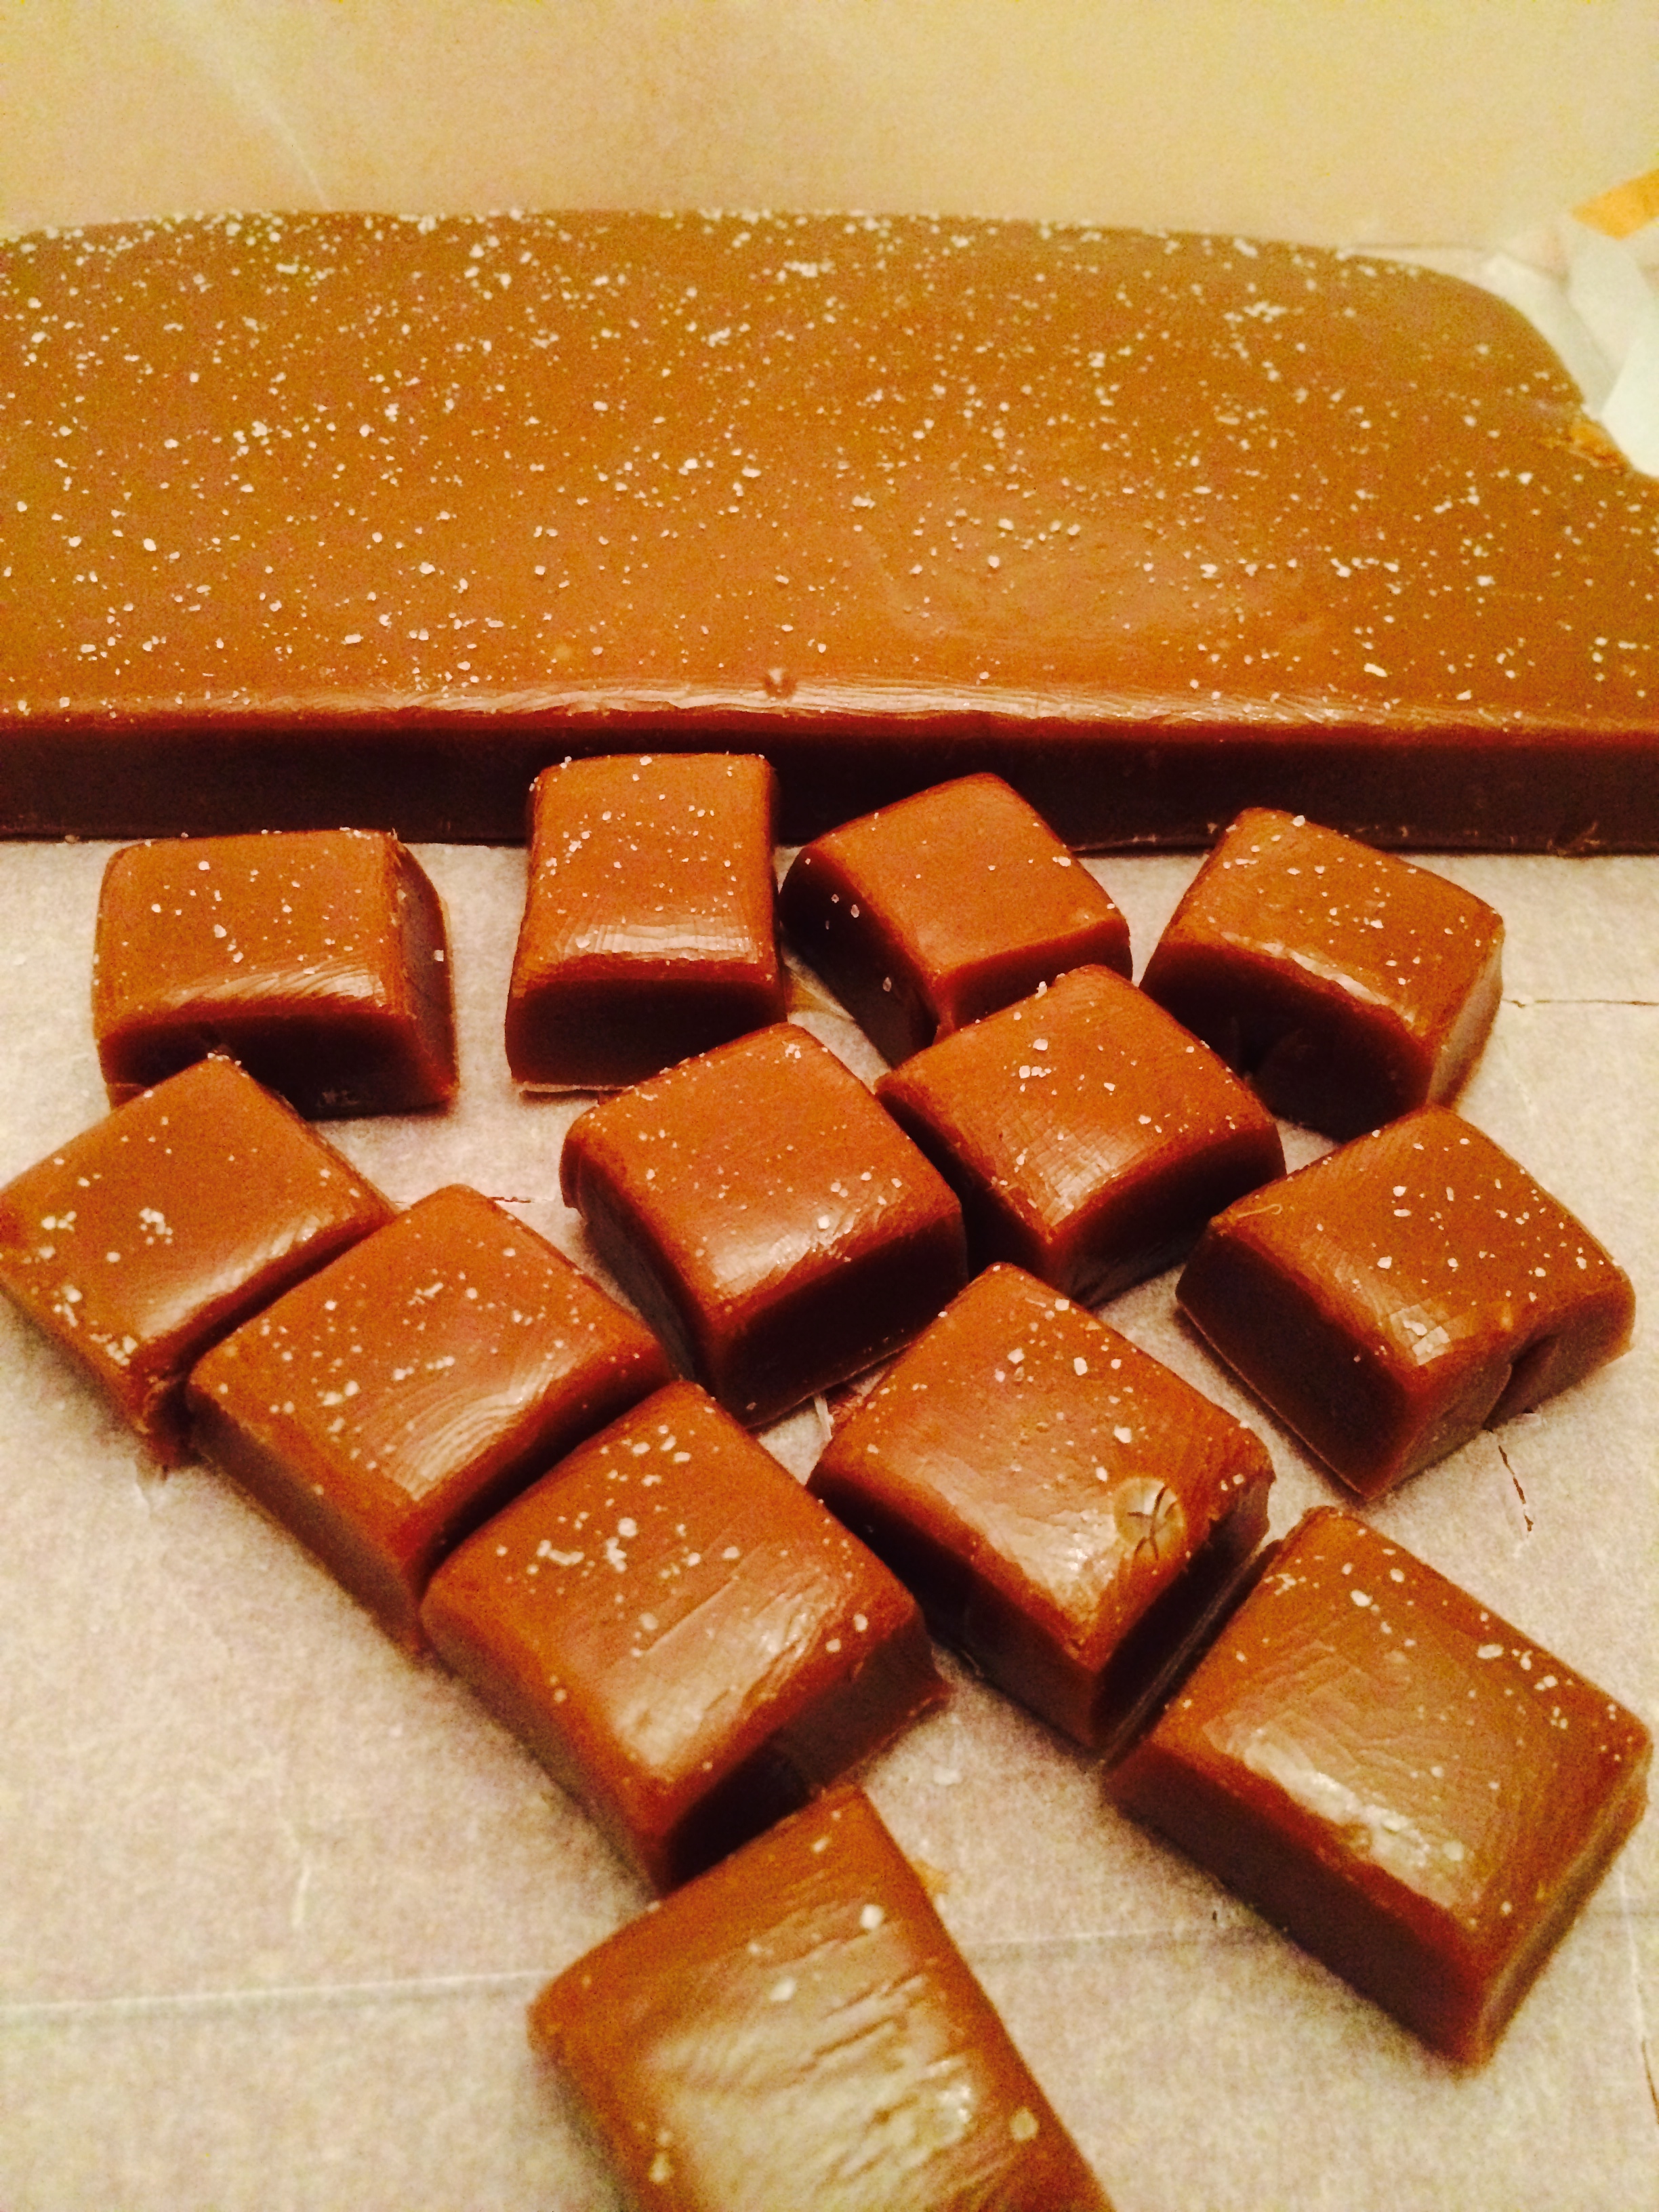
Bourbon-Sea Salt Caramels
 recipe respectfully borrowed from here!
Ingredients
2 cups sugar
1/2 cup corn syrup
1/2 cup water
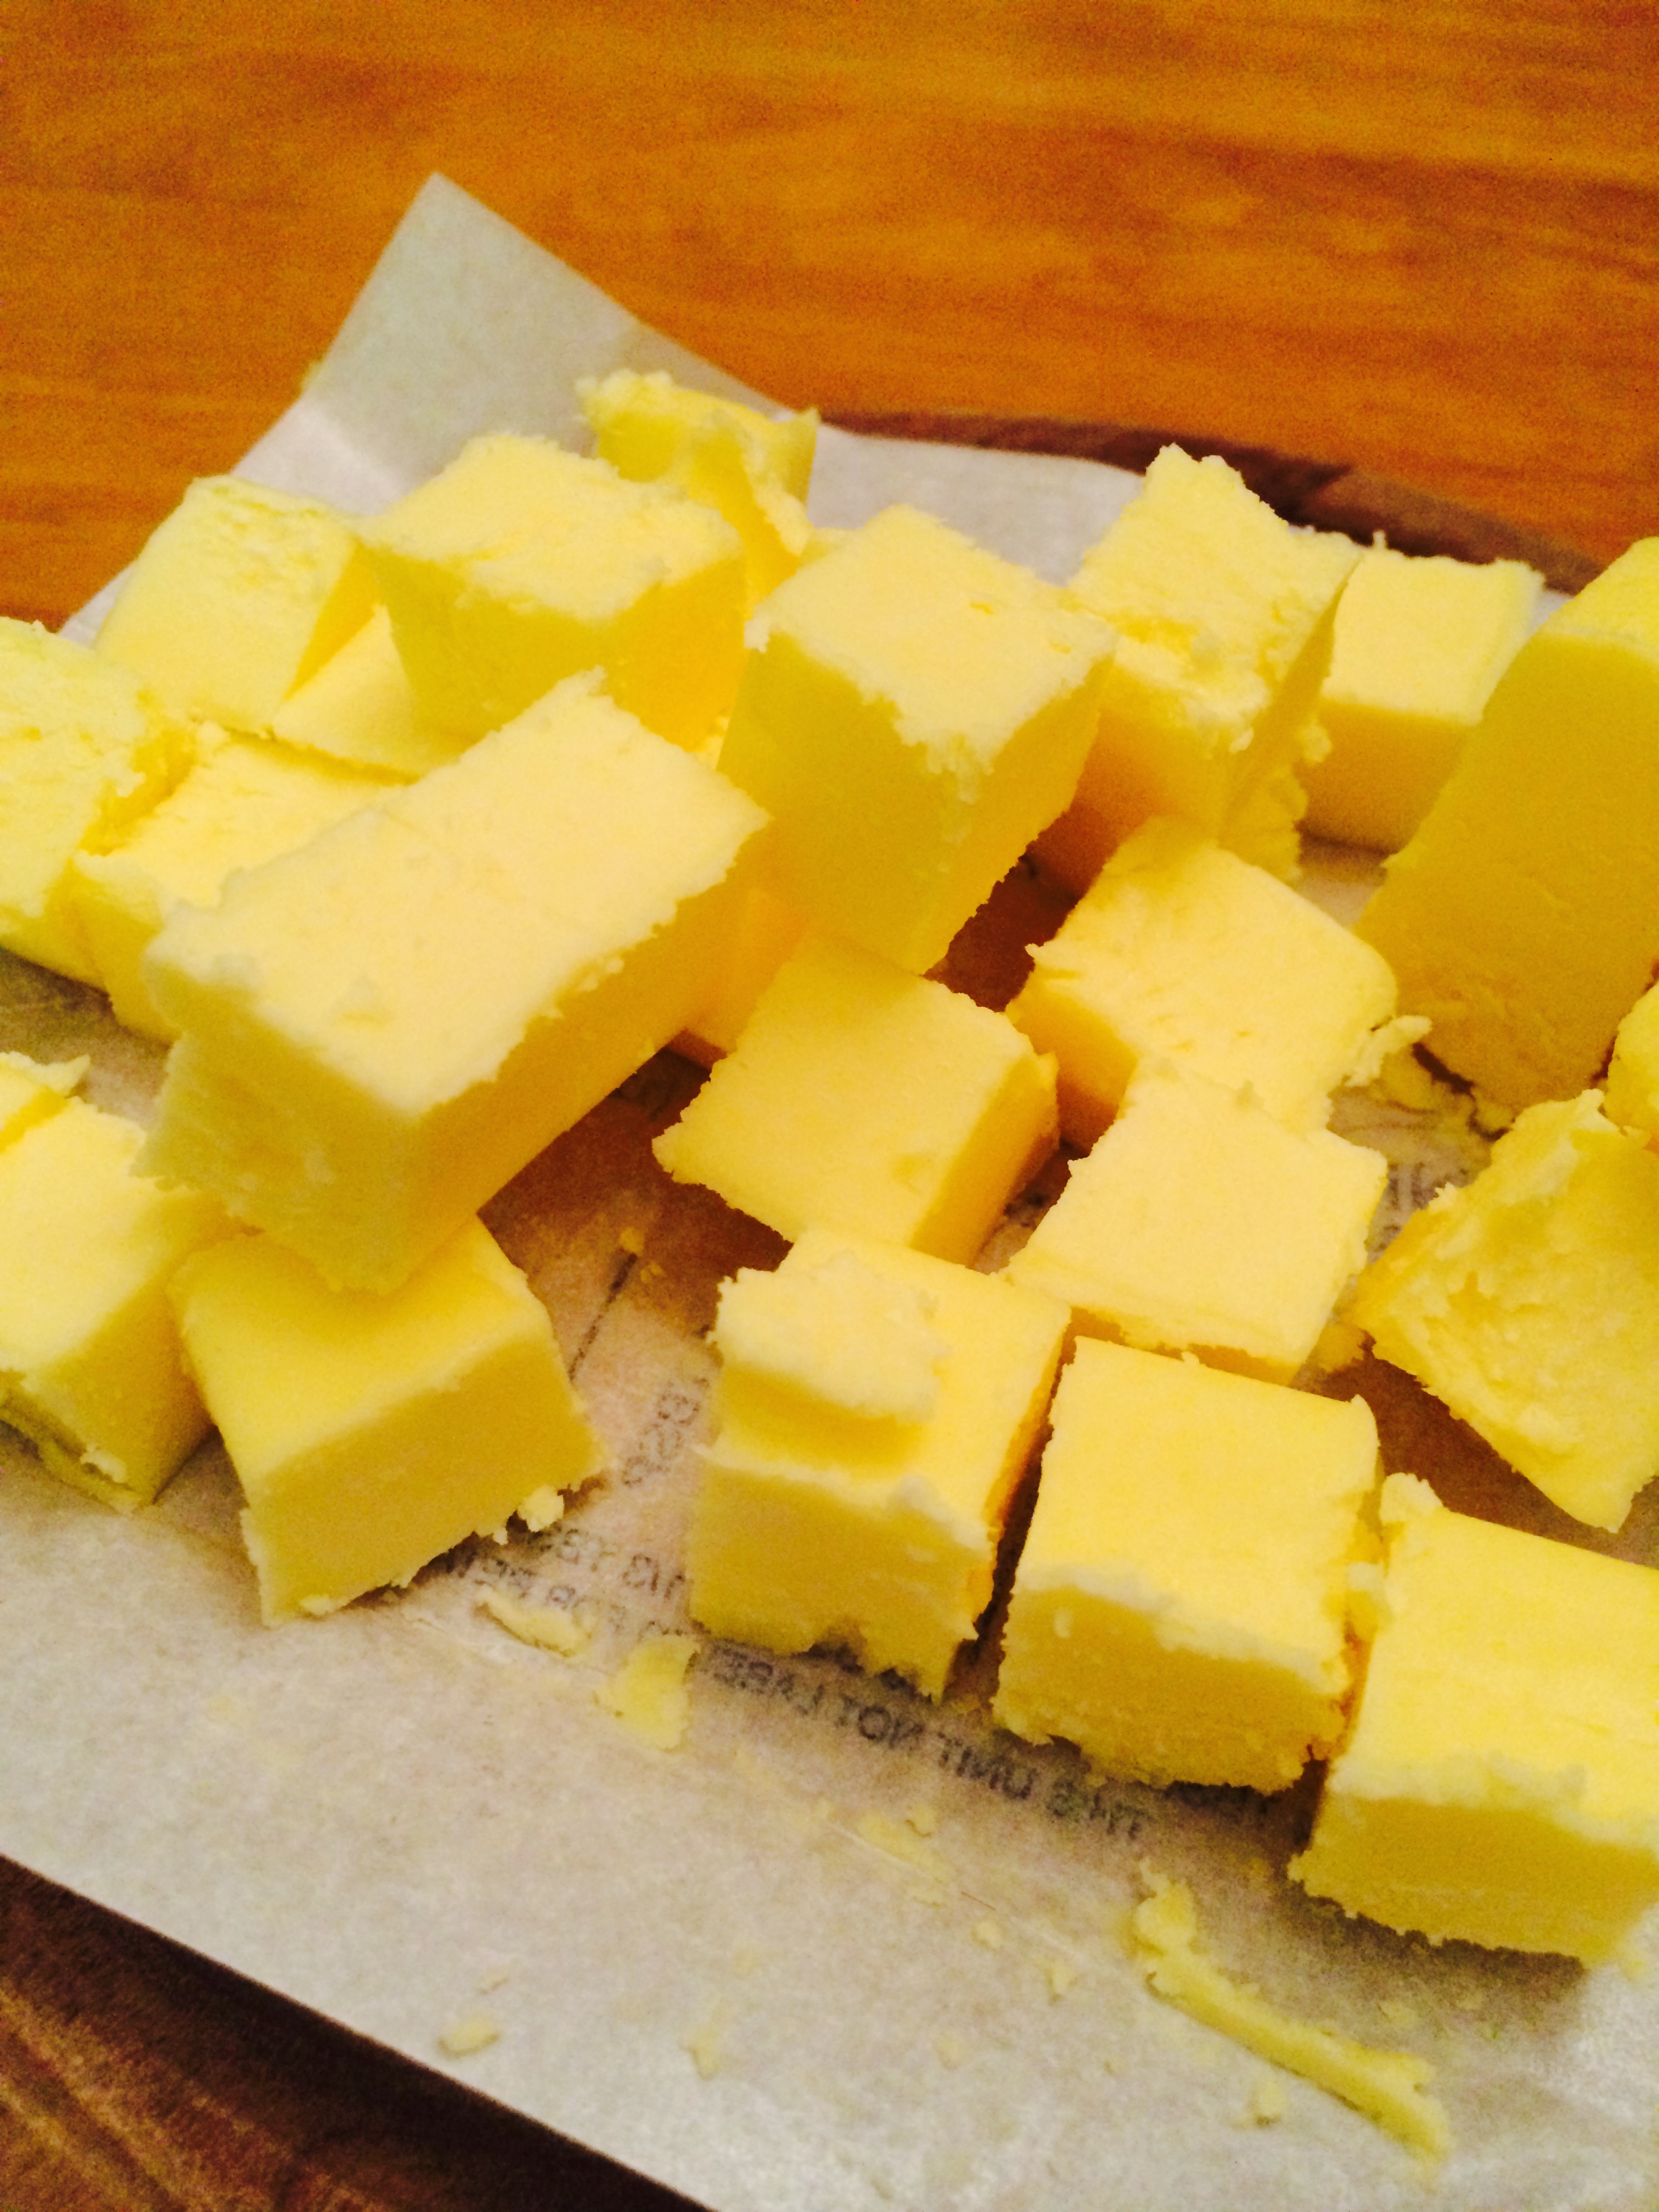
1 stick butter
14 oz can sweetened condensed milk
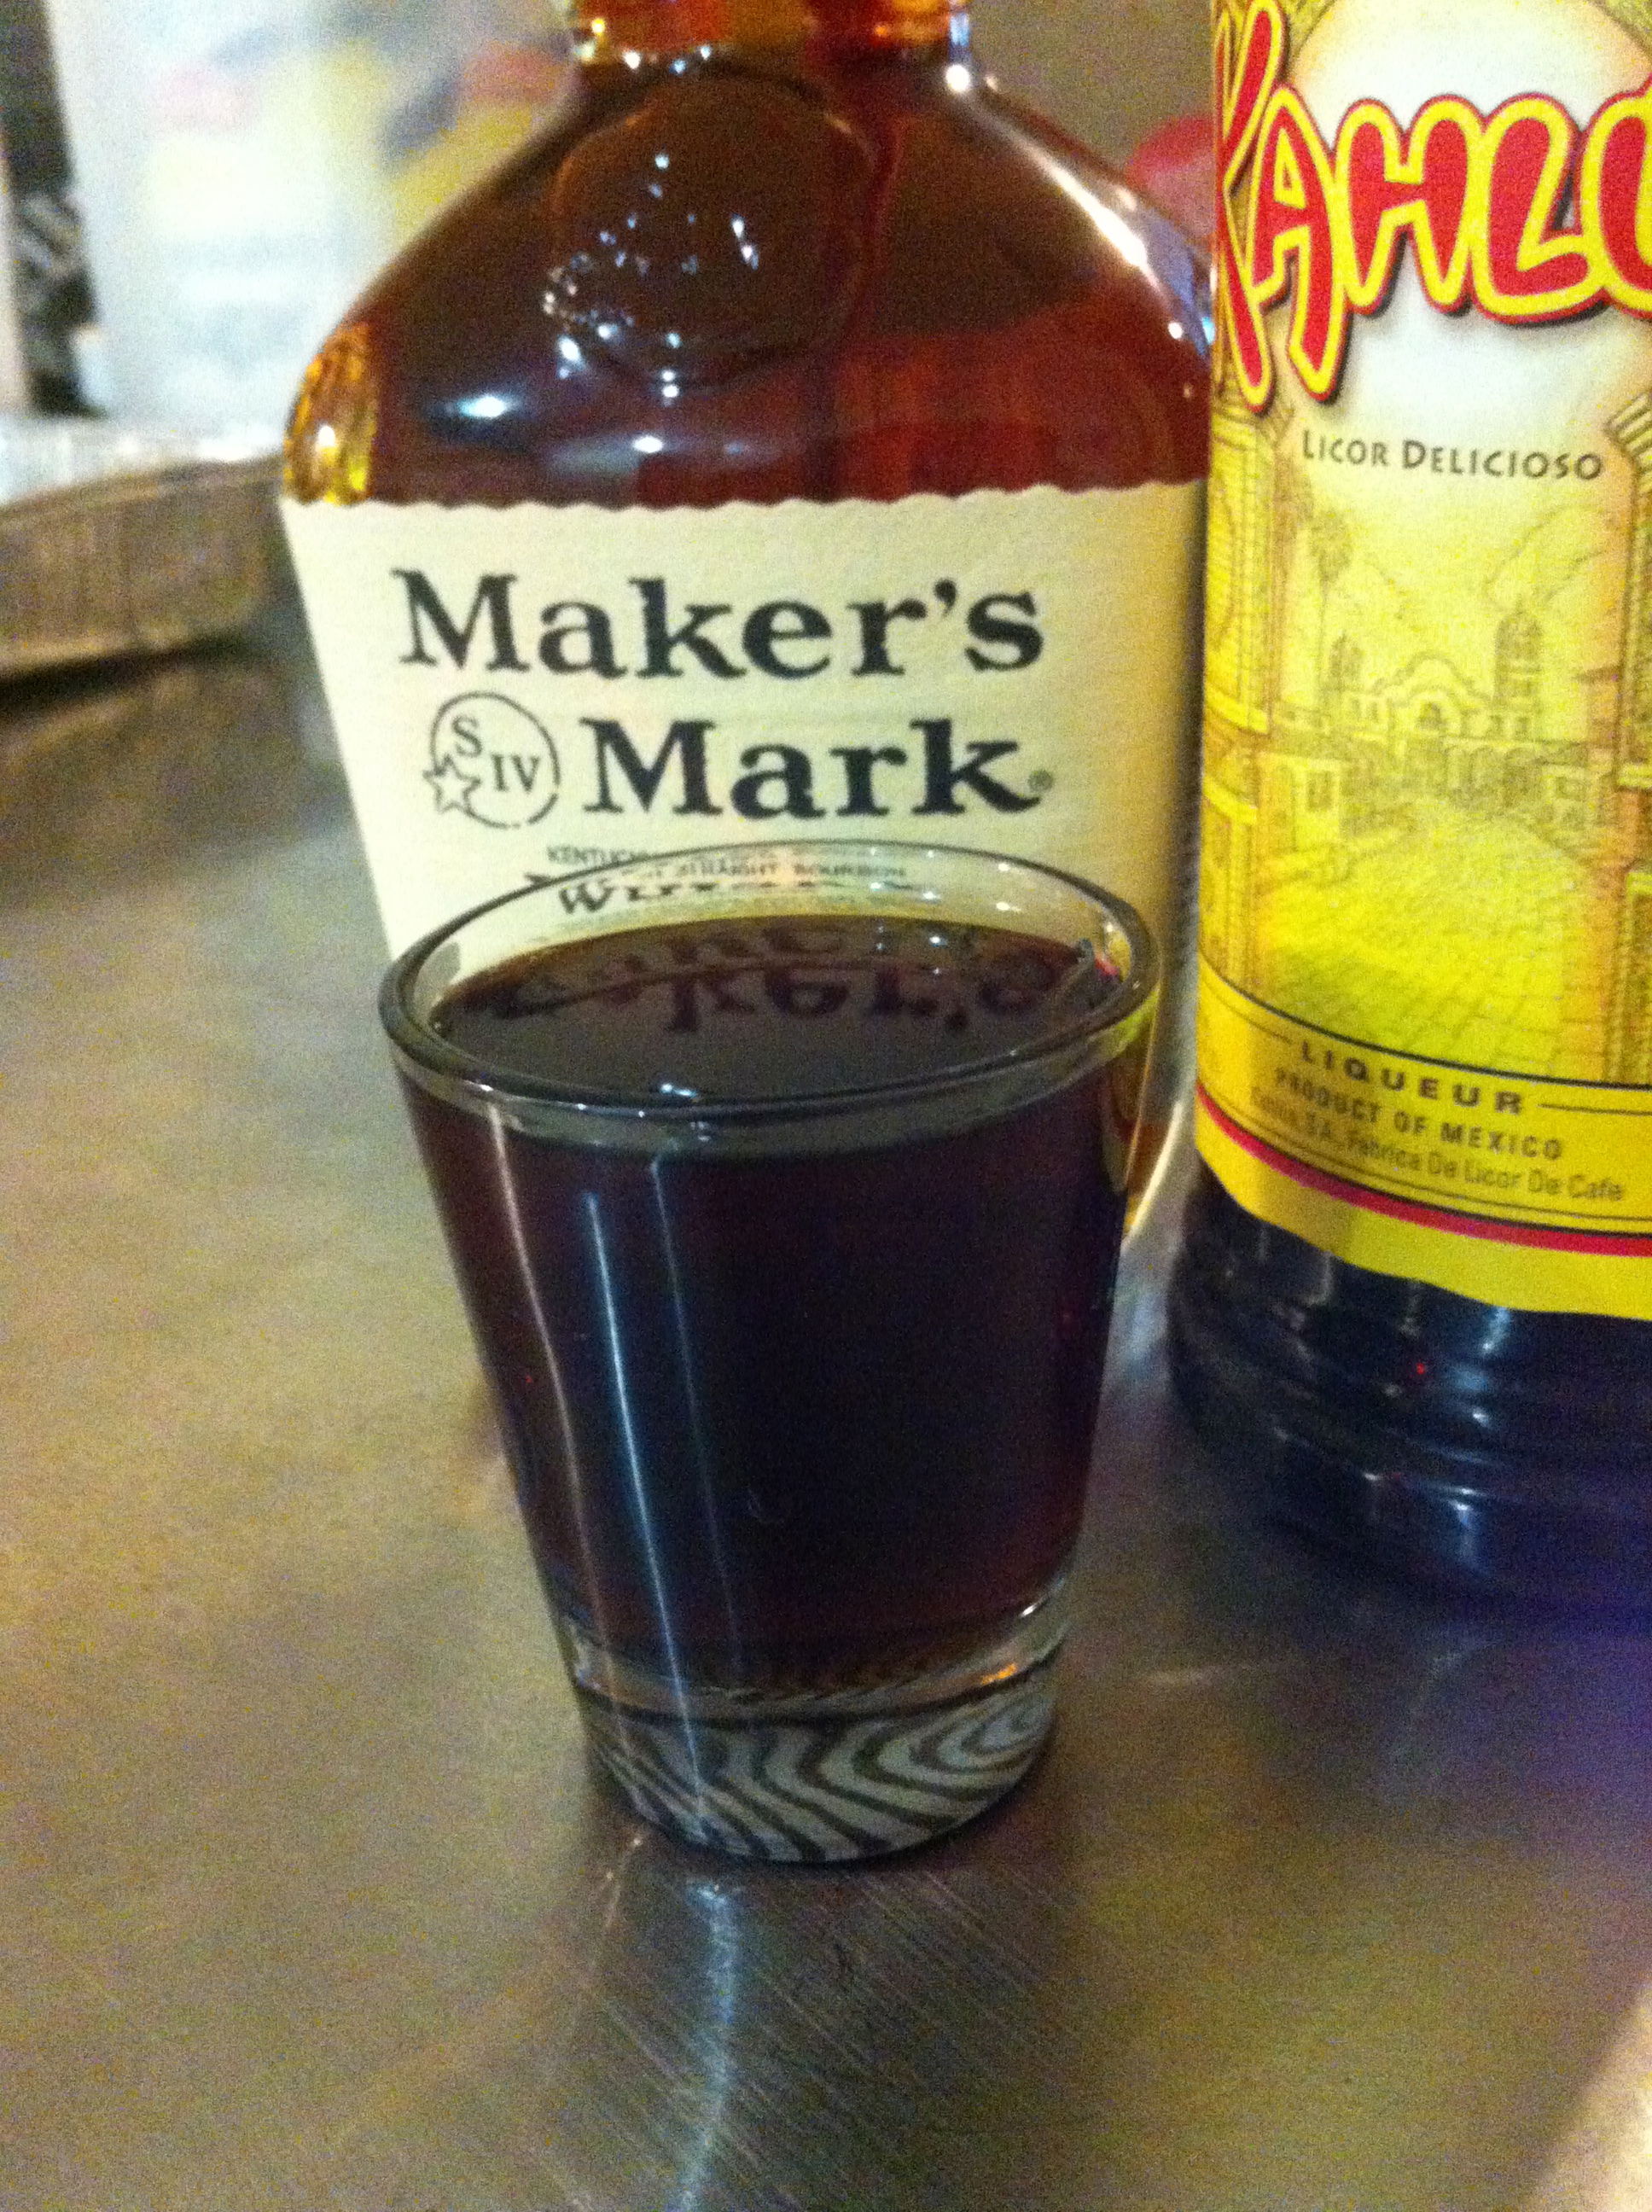
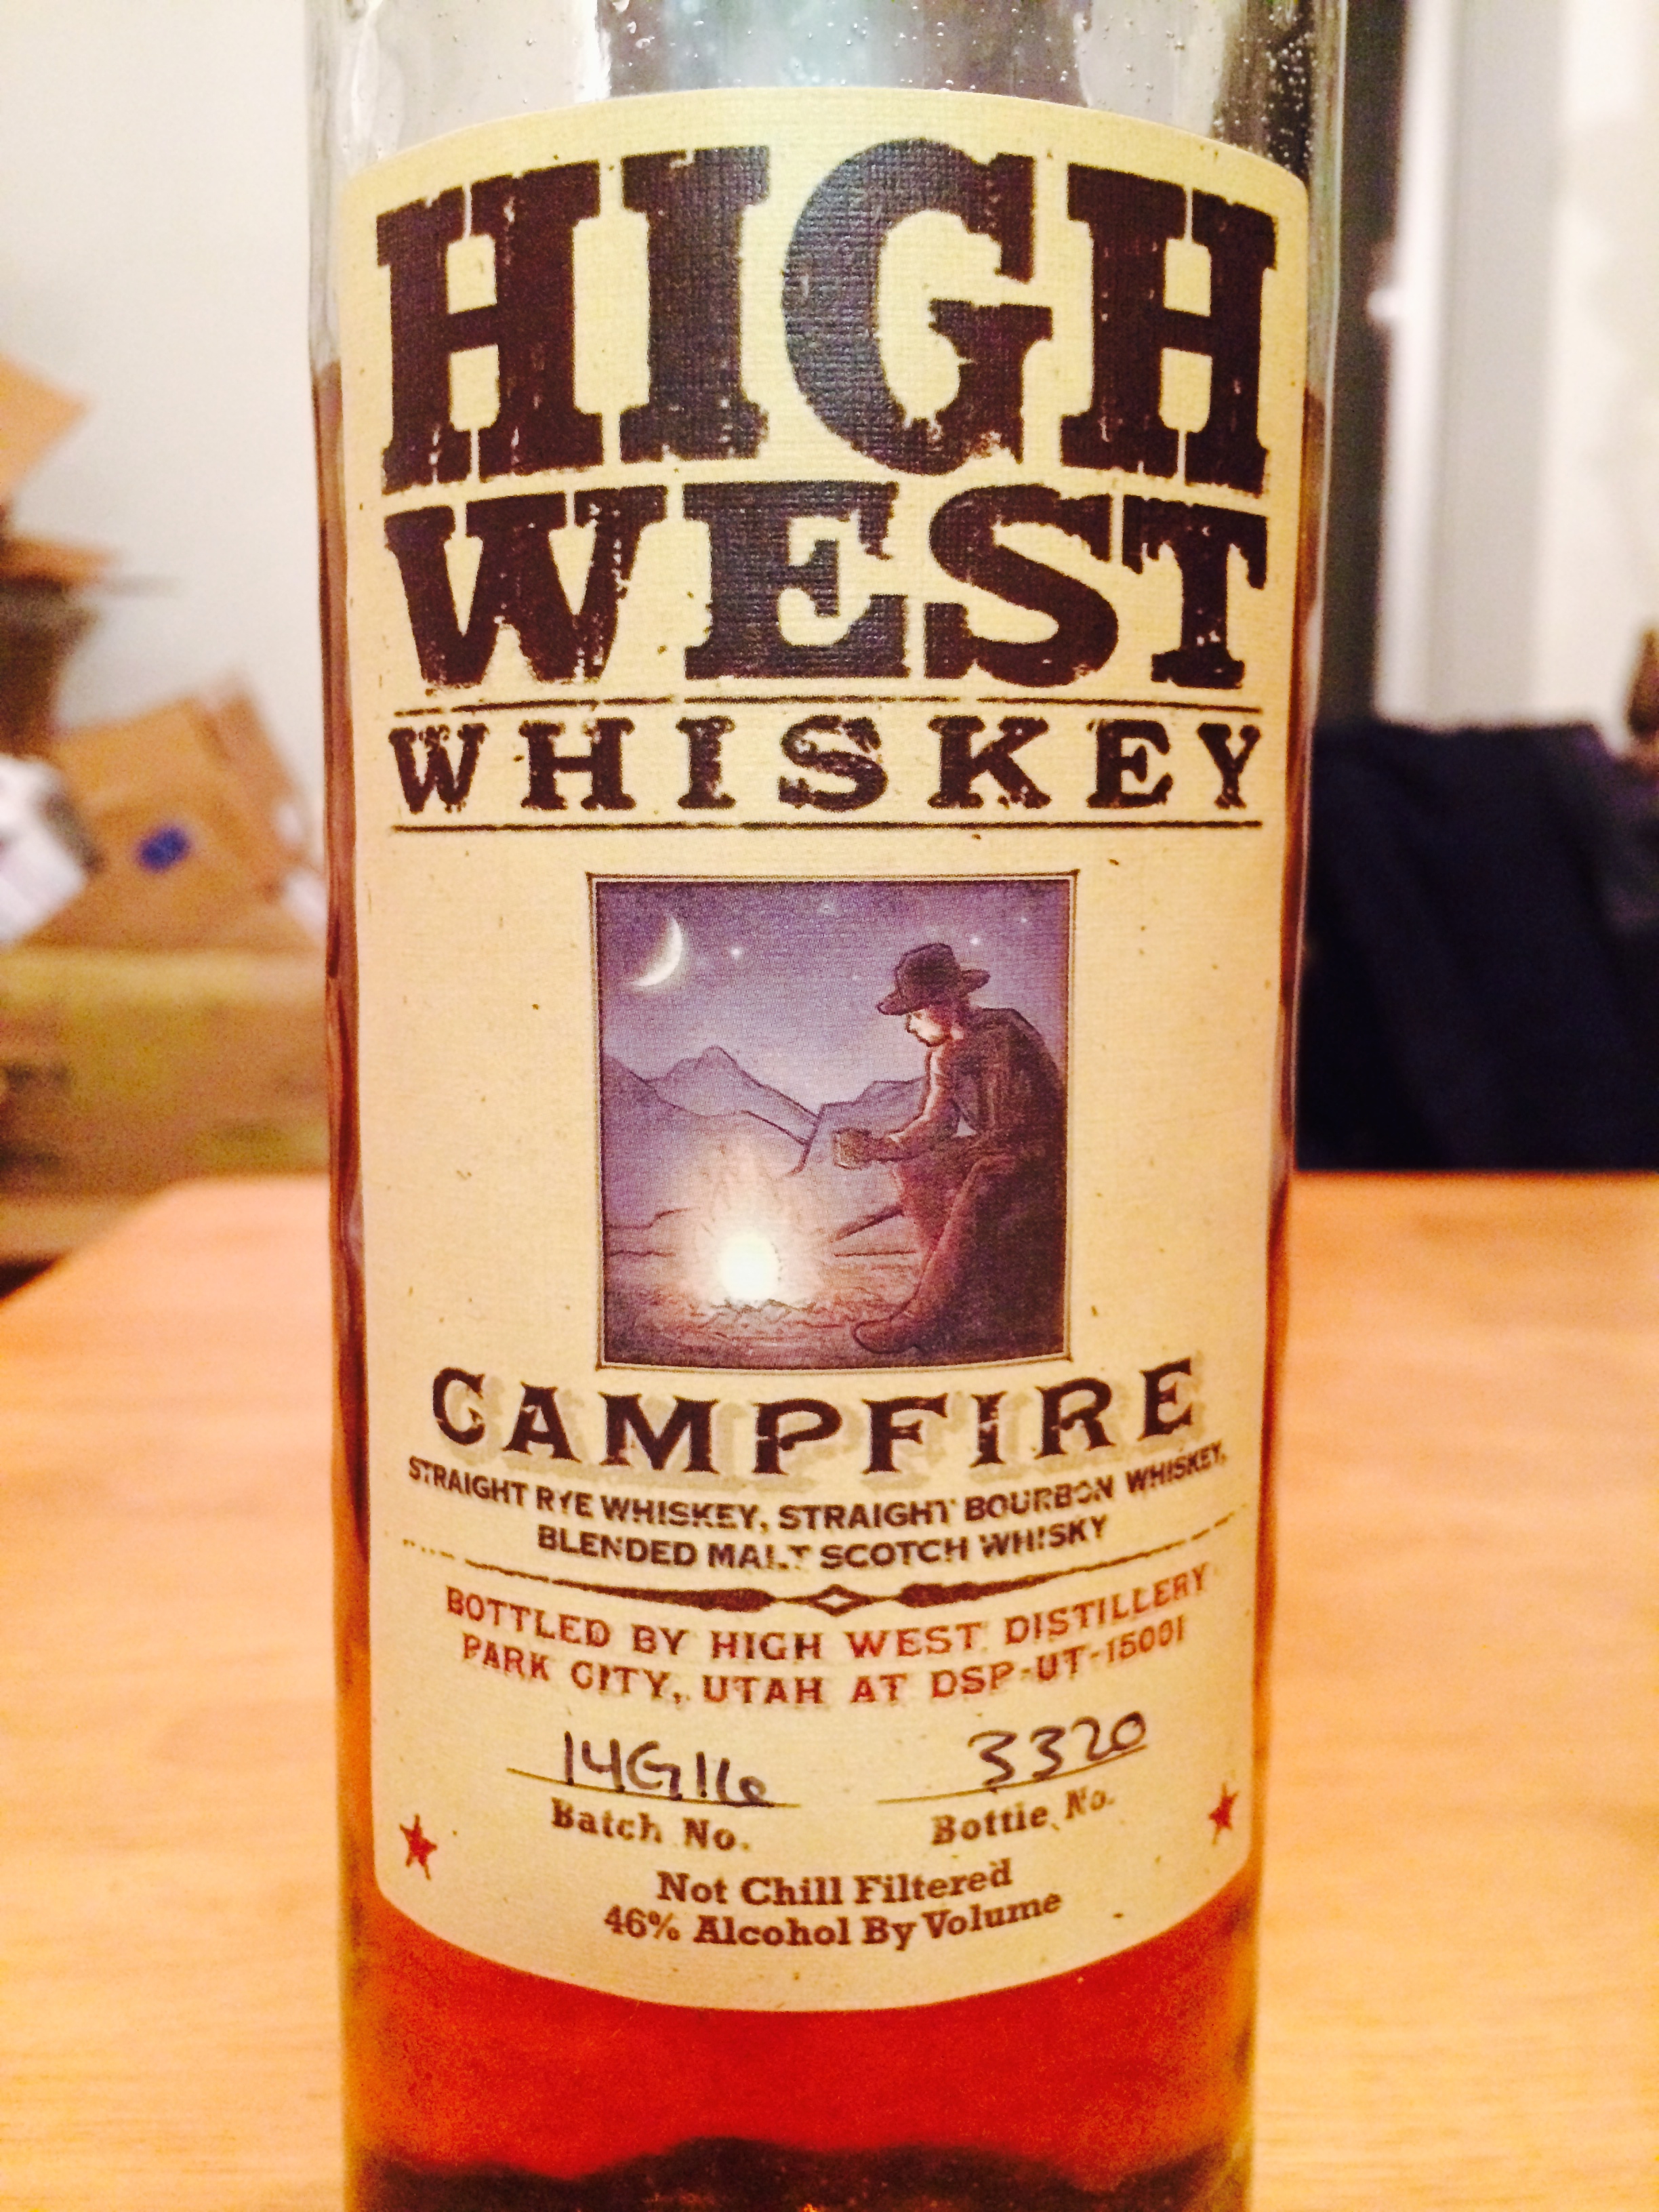
3 tablespoons bourbon/whiskey
1/2 teaspoon vanilla extract
1/2 teaspoon salt + extra for sprinkling

Boil Starts
1. Line a 9×9 inch pan with parchment paper. I suggest folding it rather than cutting it to fit in the corners. This helps prevent the piping hot caramel from running out the corners and into the pan, making a sticky, though manageable mess. Leave ~1 inch or so of extra parchment above the pan rim to help with lifting the caramel out once cooled.
2. Cut stick of butter into small bits (I cut into 8ths, then each 8th into quarters). Set aside. Open the can of sweetened condensed milk and set aside. Measure out the bourbon, vanilla, and salt and combine in a small dish (I used a shot glass). You also get to set this aside. (Why all the prep work? Once the cooking starts, you’ll want to move swiftly through the steps to avoid too much cooling and too much heating).

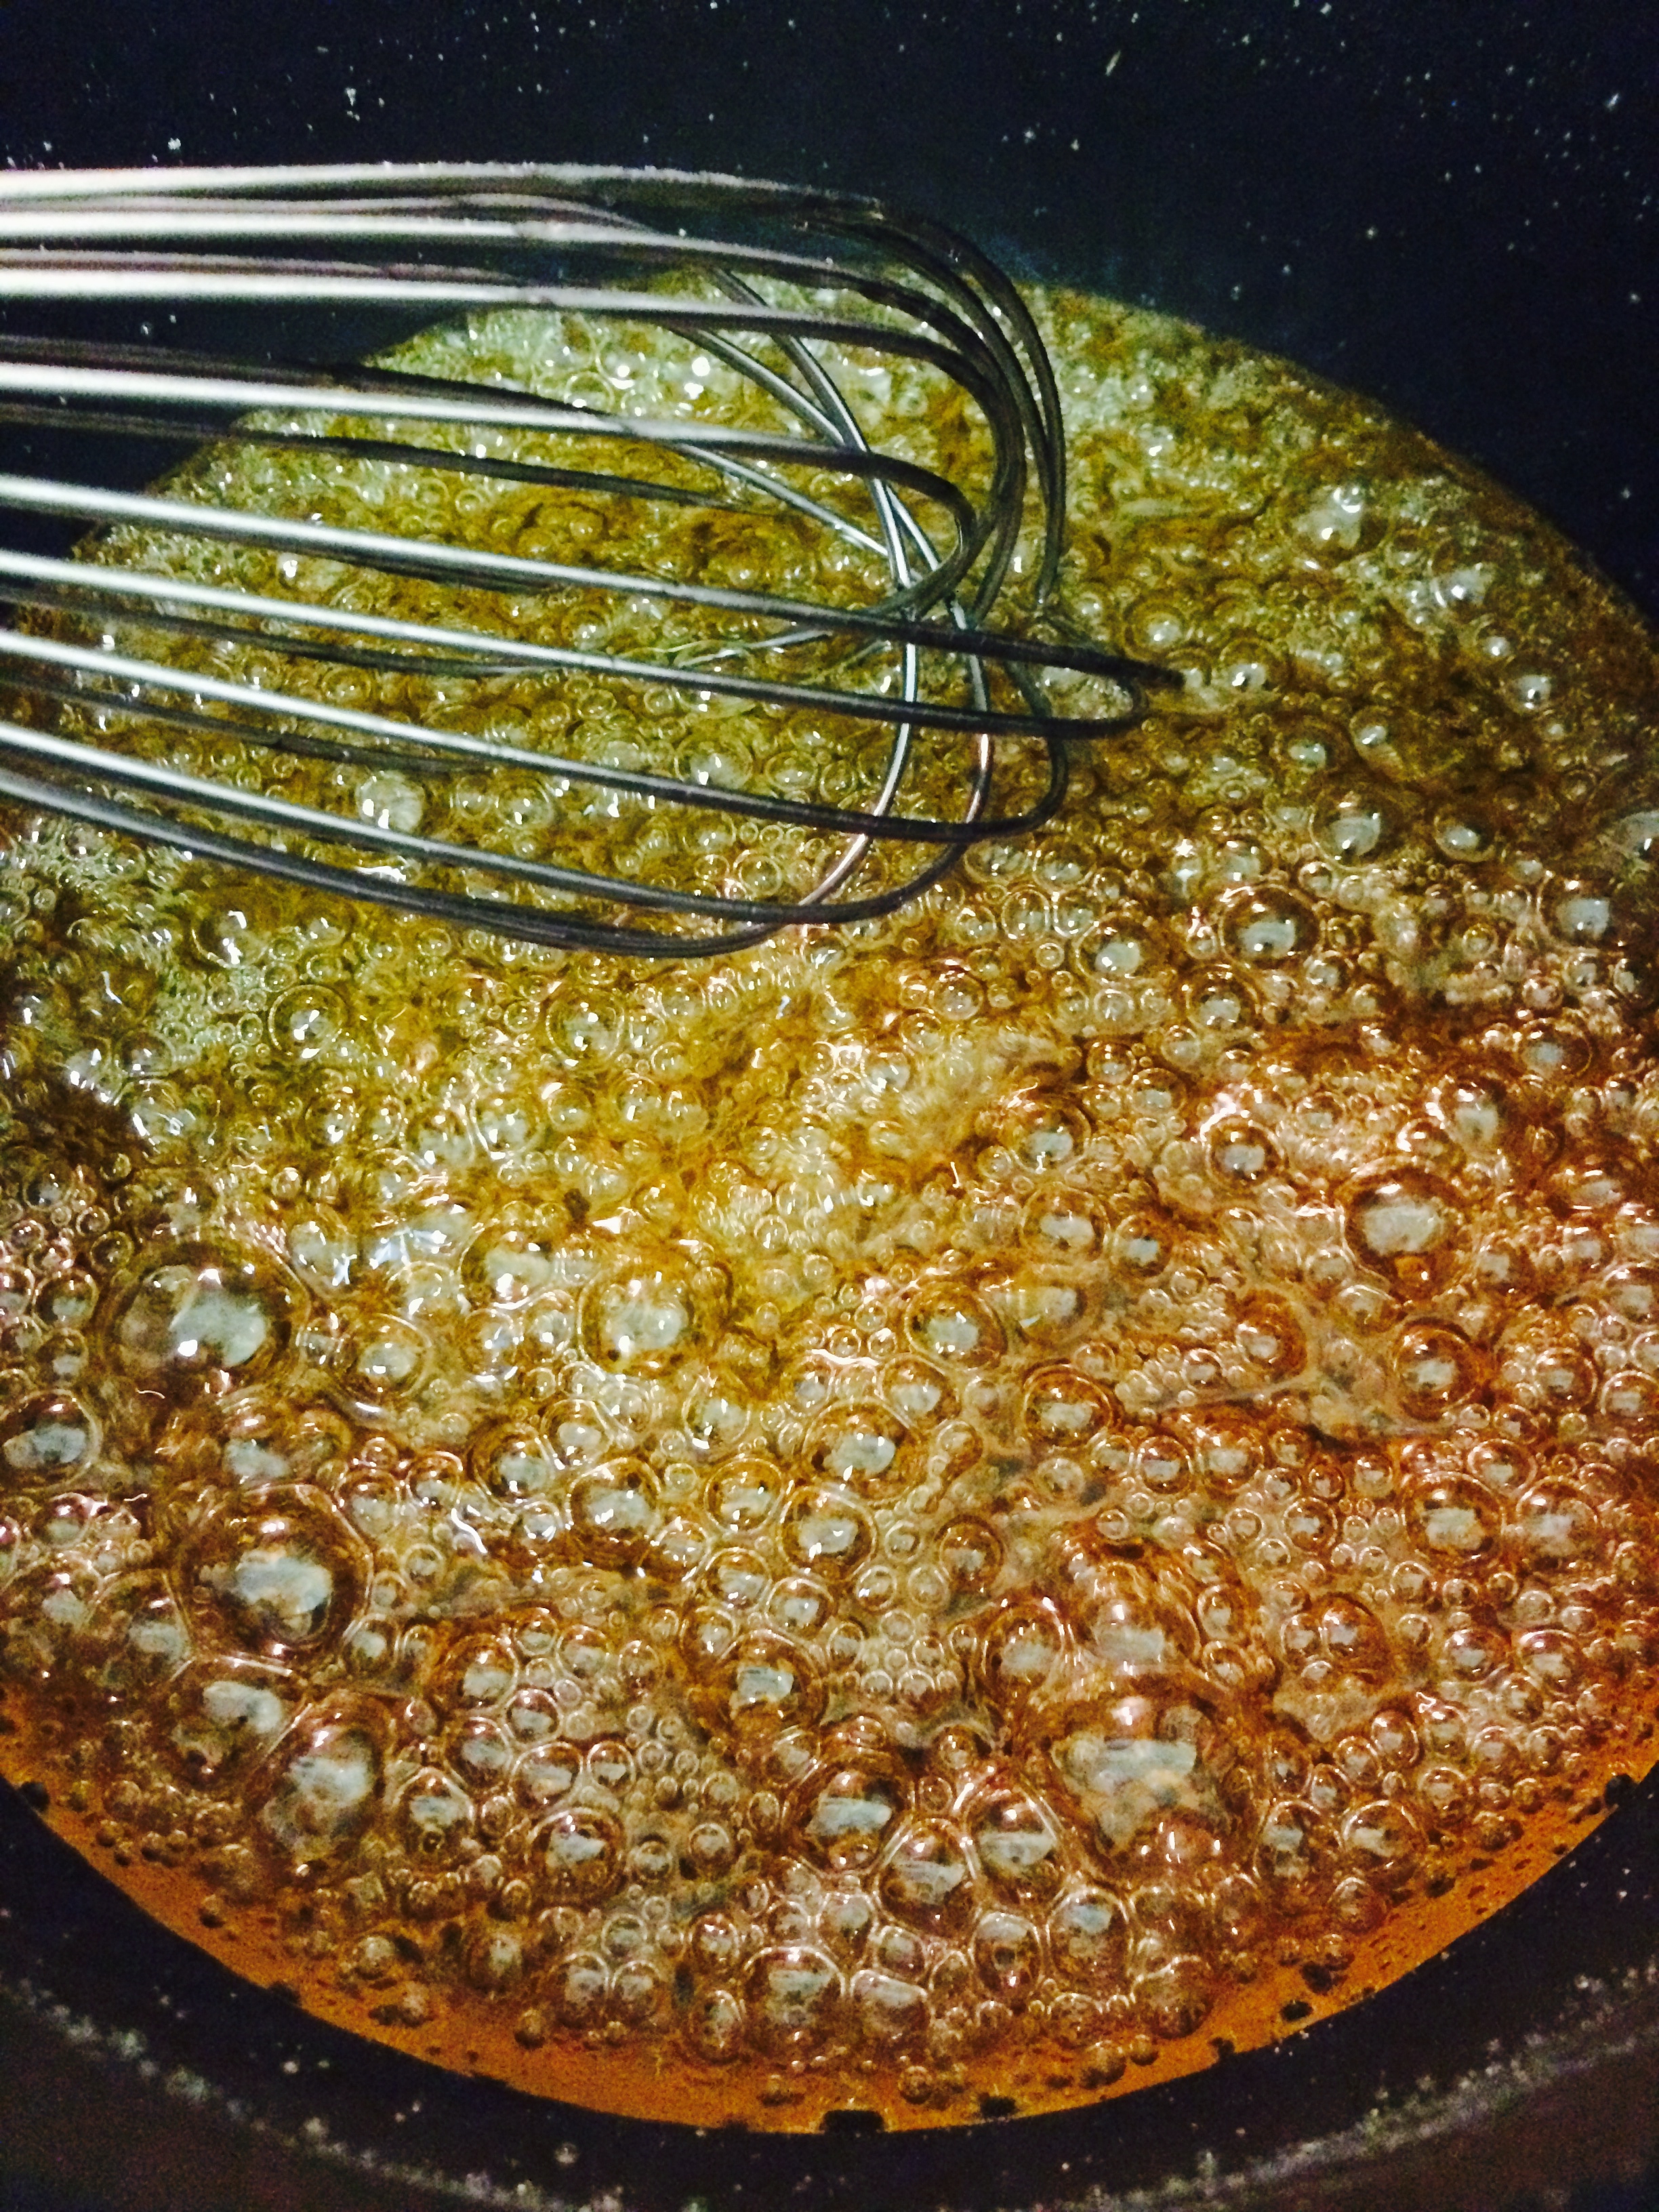
5 Minutes Boiling
3. Combine sugar, corn syrup, and water in large saucepan. Place over medium head and stir with whisk until sugar is completely dissolved and the mixture is boiling. Allow the sugar to boil for ~8-10 minutes, stirring every minute or so and watching it carefully. This is a point where burning could occur! You want the sugar to become a “deep amber”. I found once the amber hue started, it rapidly became “deep”. Any deeper and there would have been a lil bit-o-burning.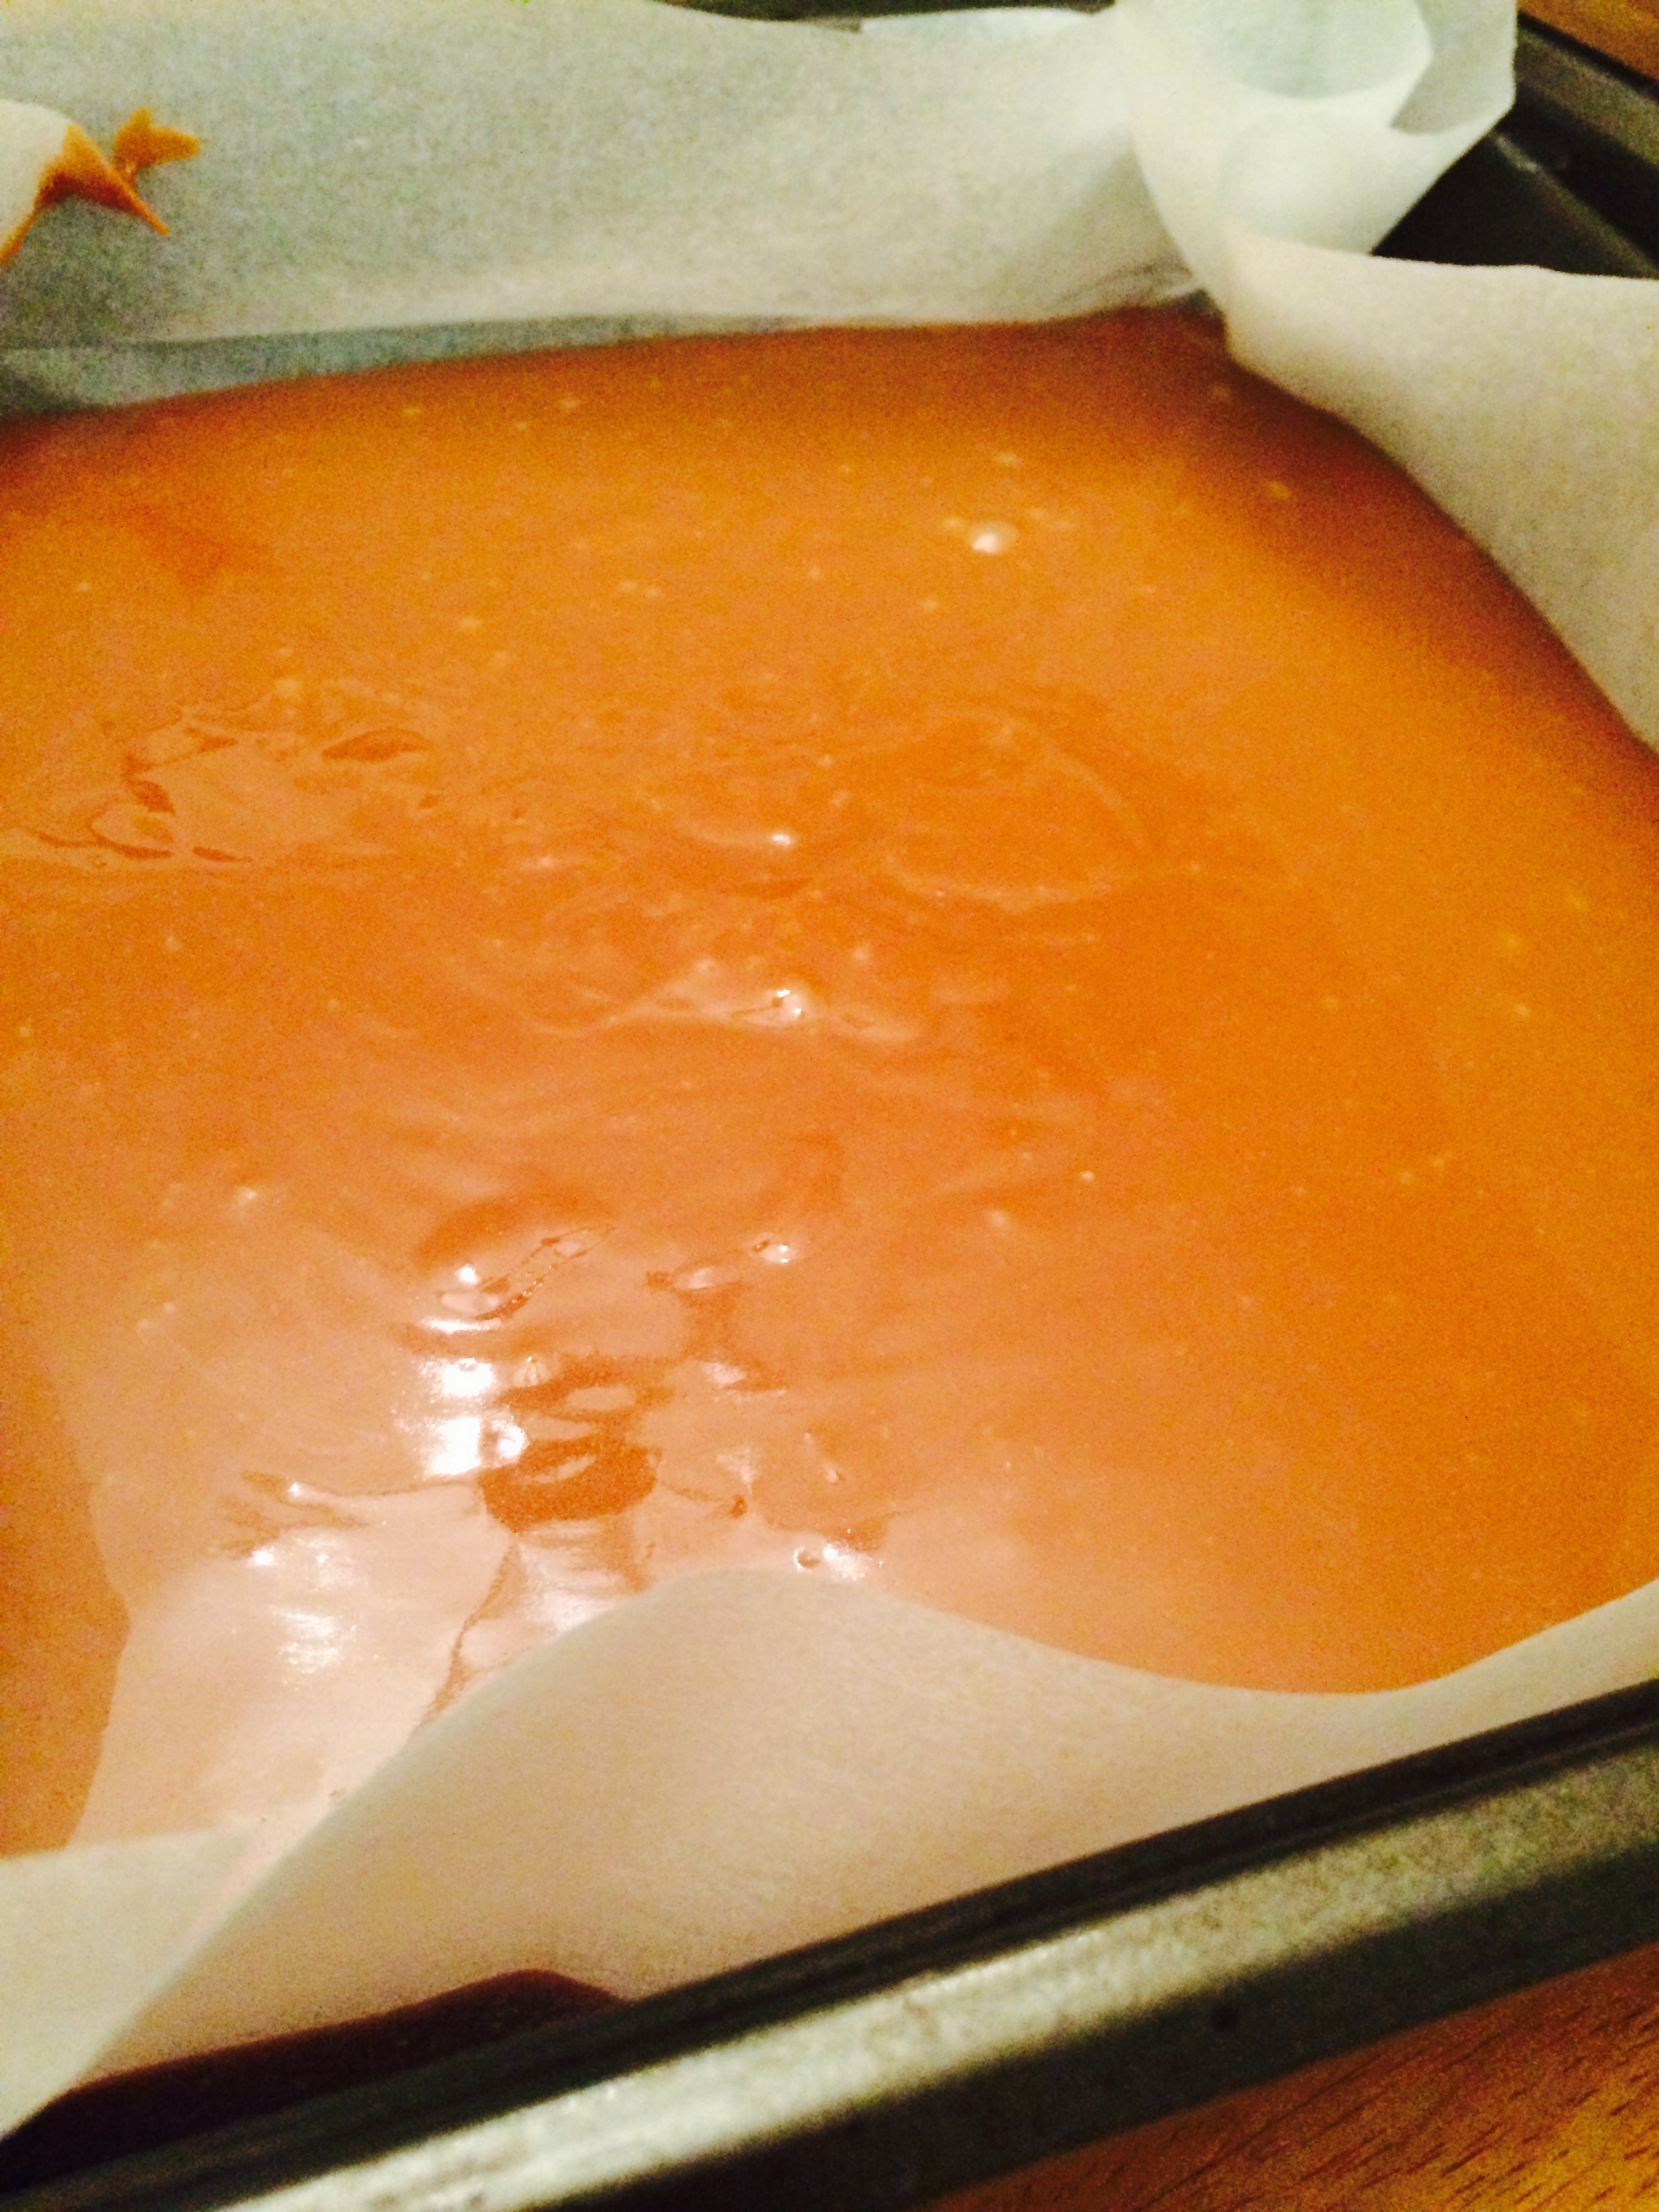
4. Once this deep amber hue has been achieved, remove from heat. Quickly add in the butter and condensed milk and stir until completely combined and smooth. Adding these ingredients will make the hot sugar spatter a bit, so be careful!
10 Minutes, Done!
5. Place the pan back on the burner at medium heat, and fit a candy thermometer to the pan. STIR CONSTANTLY (for me, this meant moving the thermometer around as I stirred). Once the thermometer reads 240 degrees, remove the pan from the burner and pour in the bourbon+vanilla+ and salt and quickly combine. Again, spattering will happen!
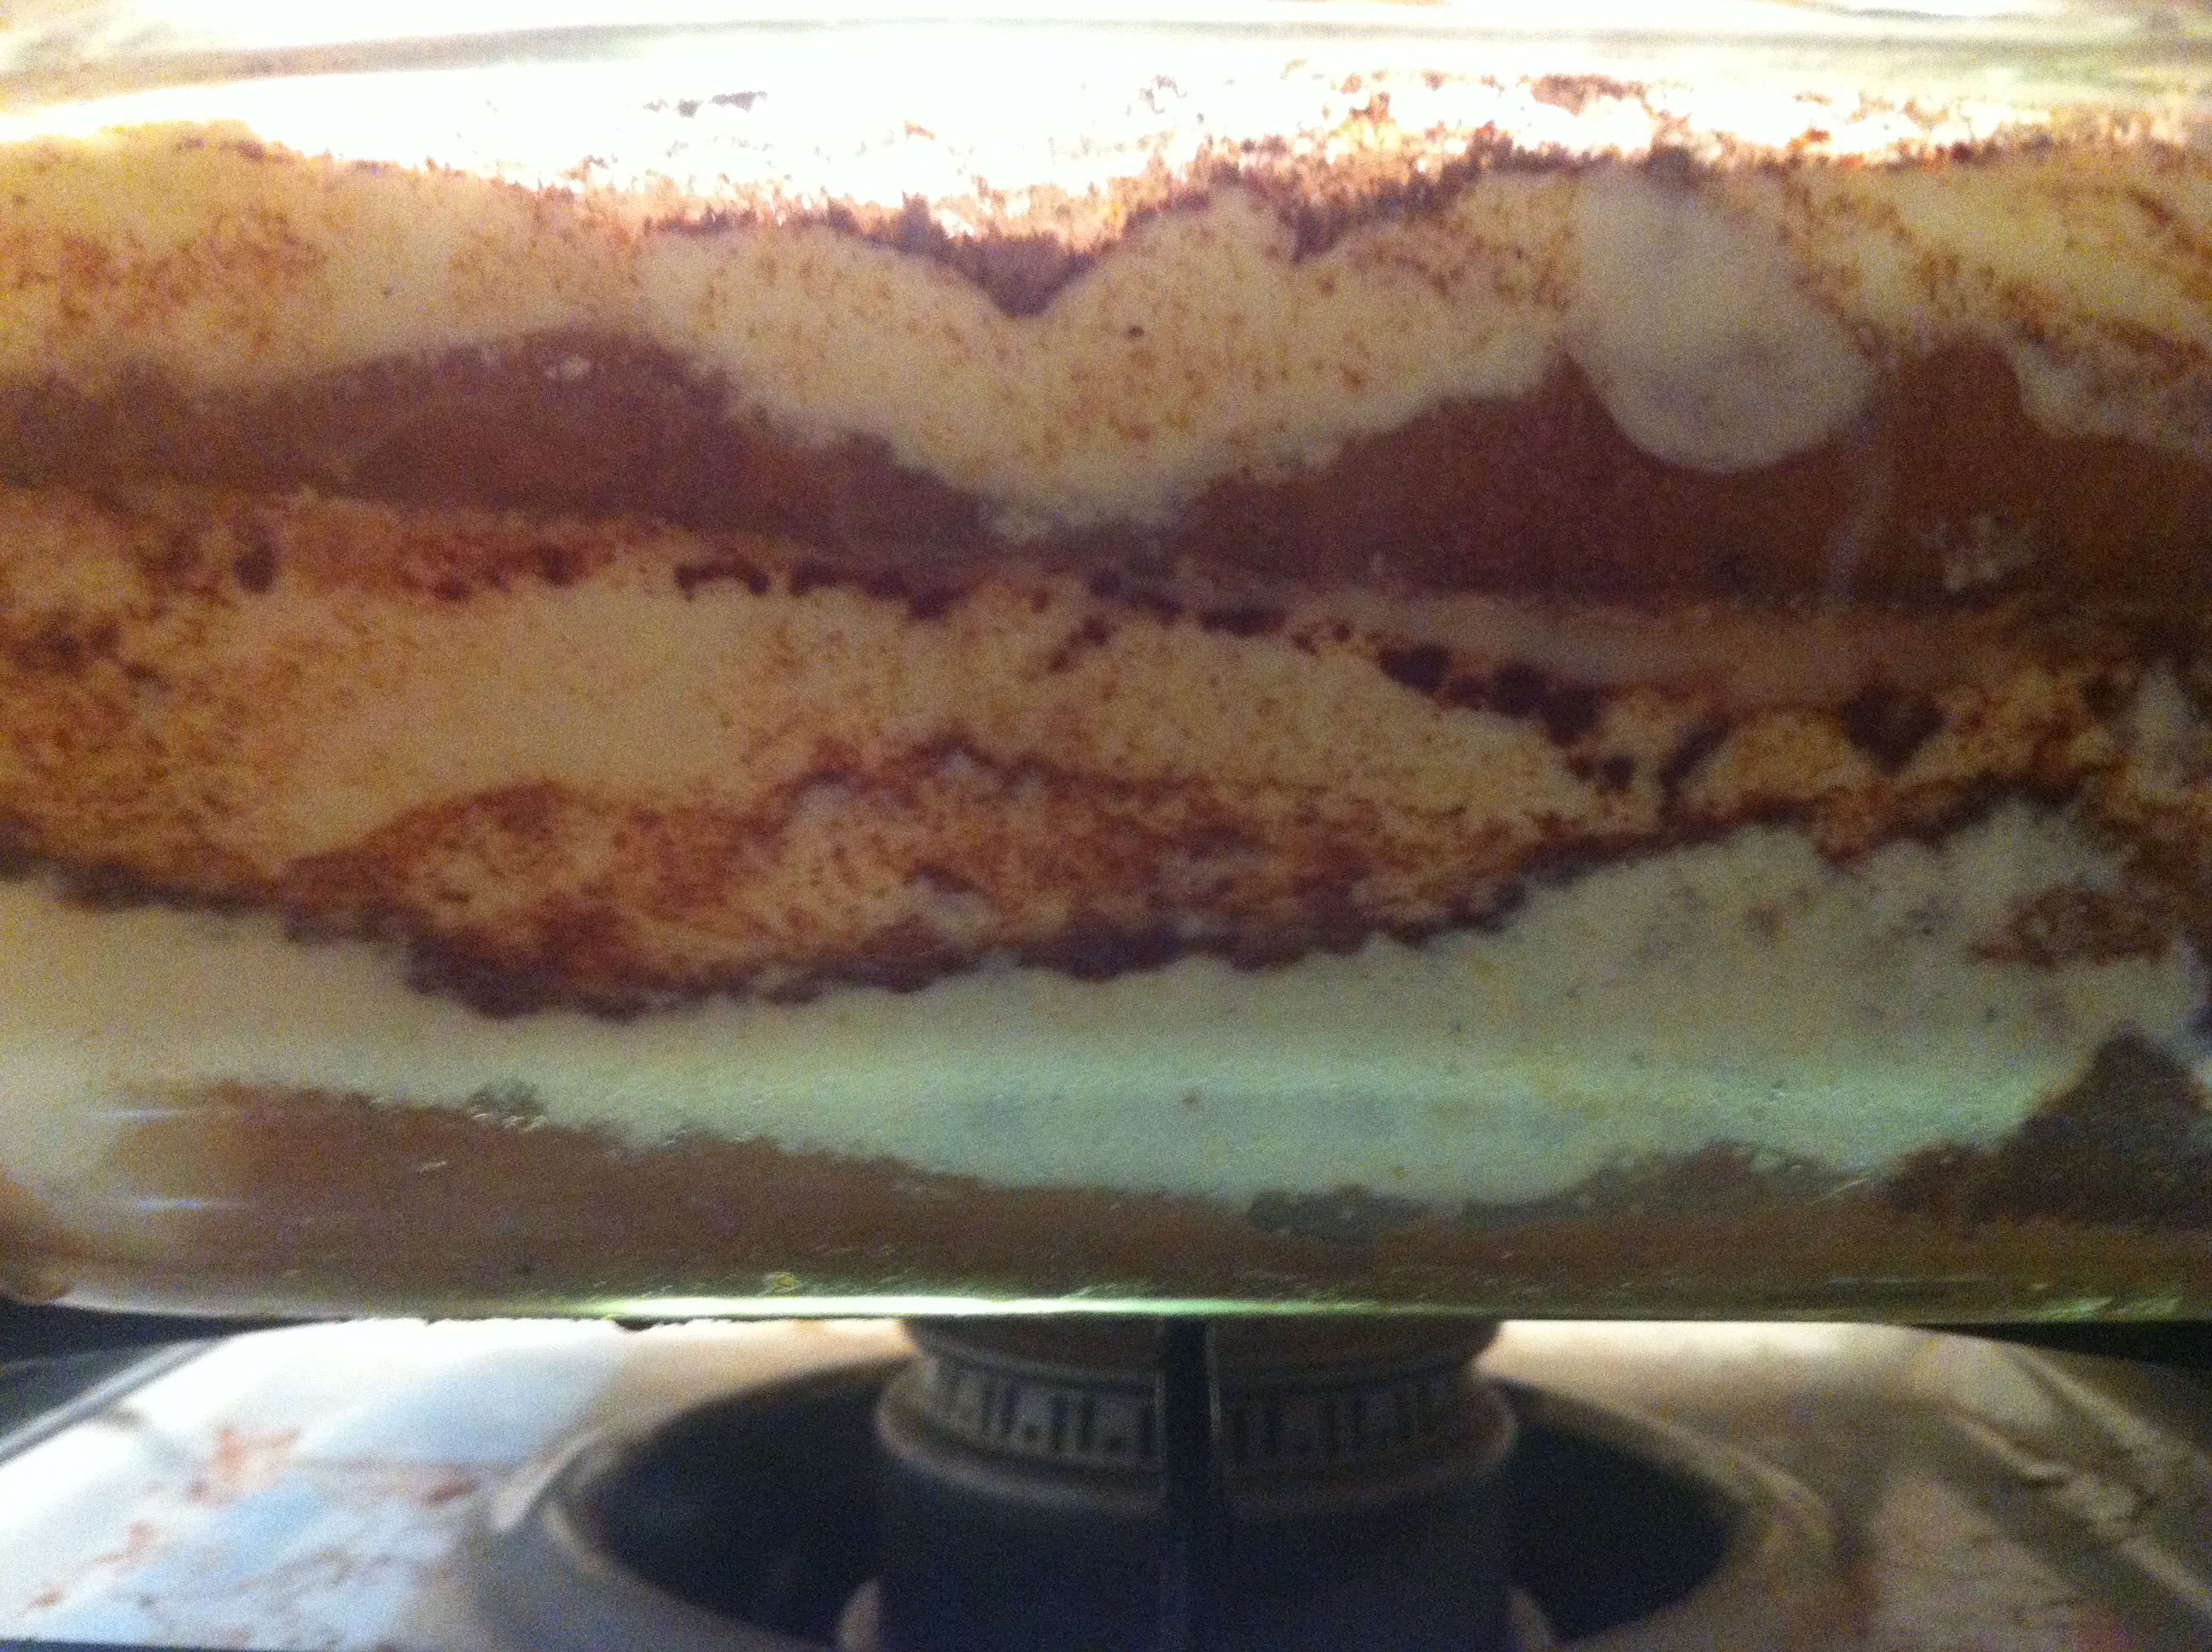
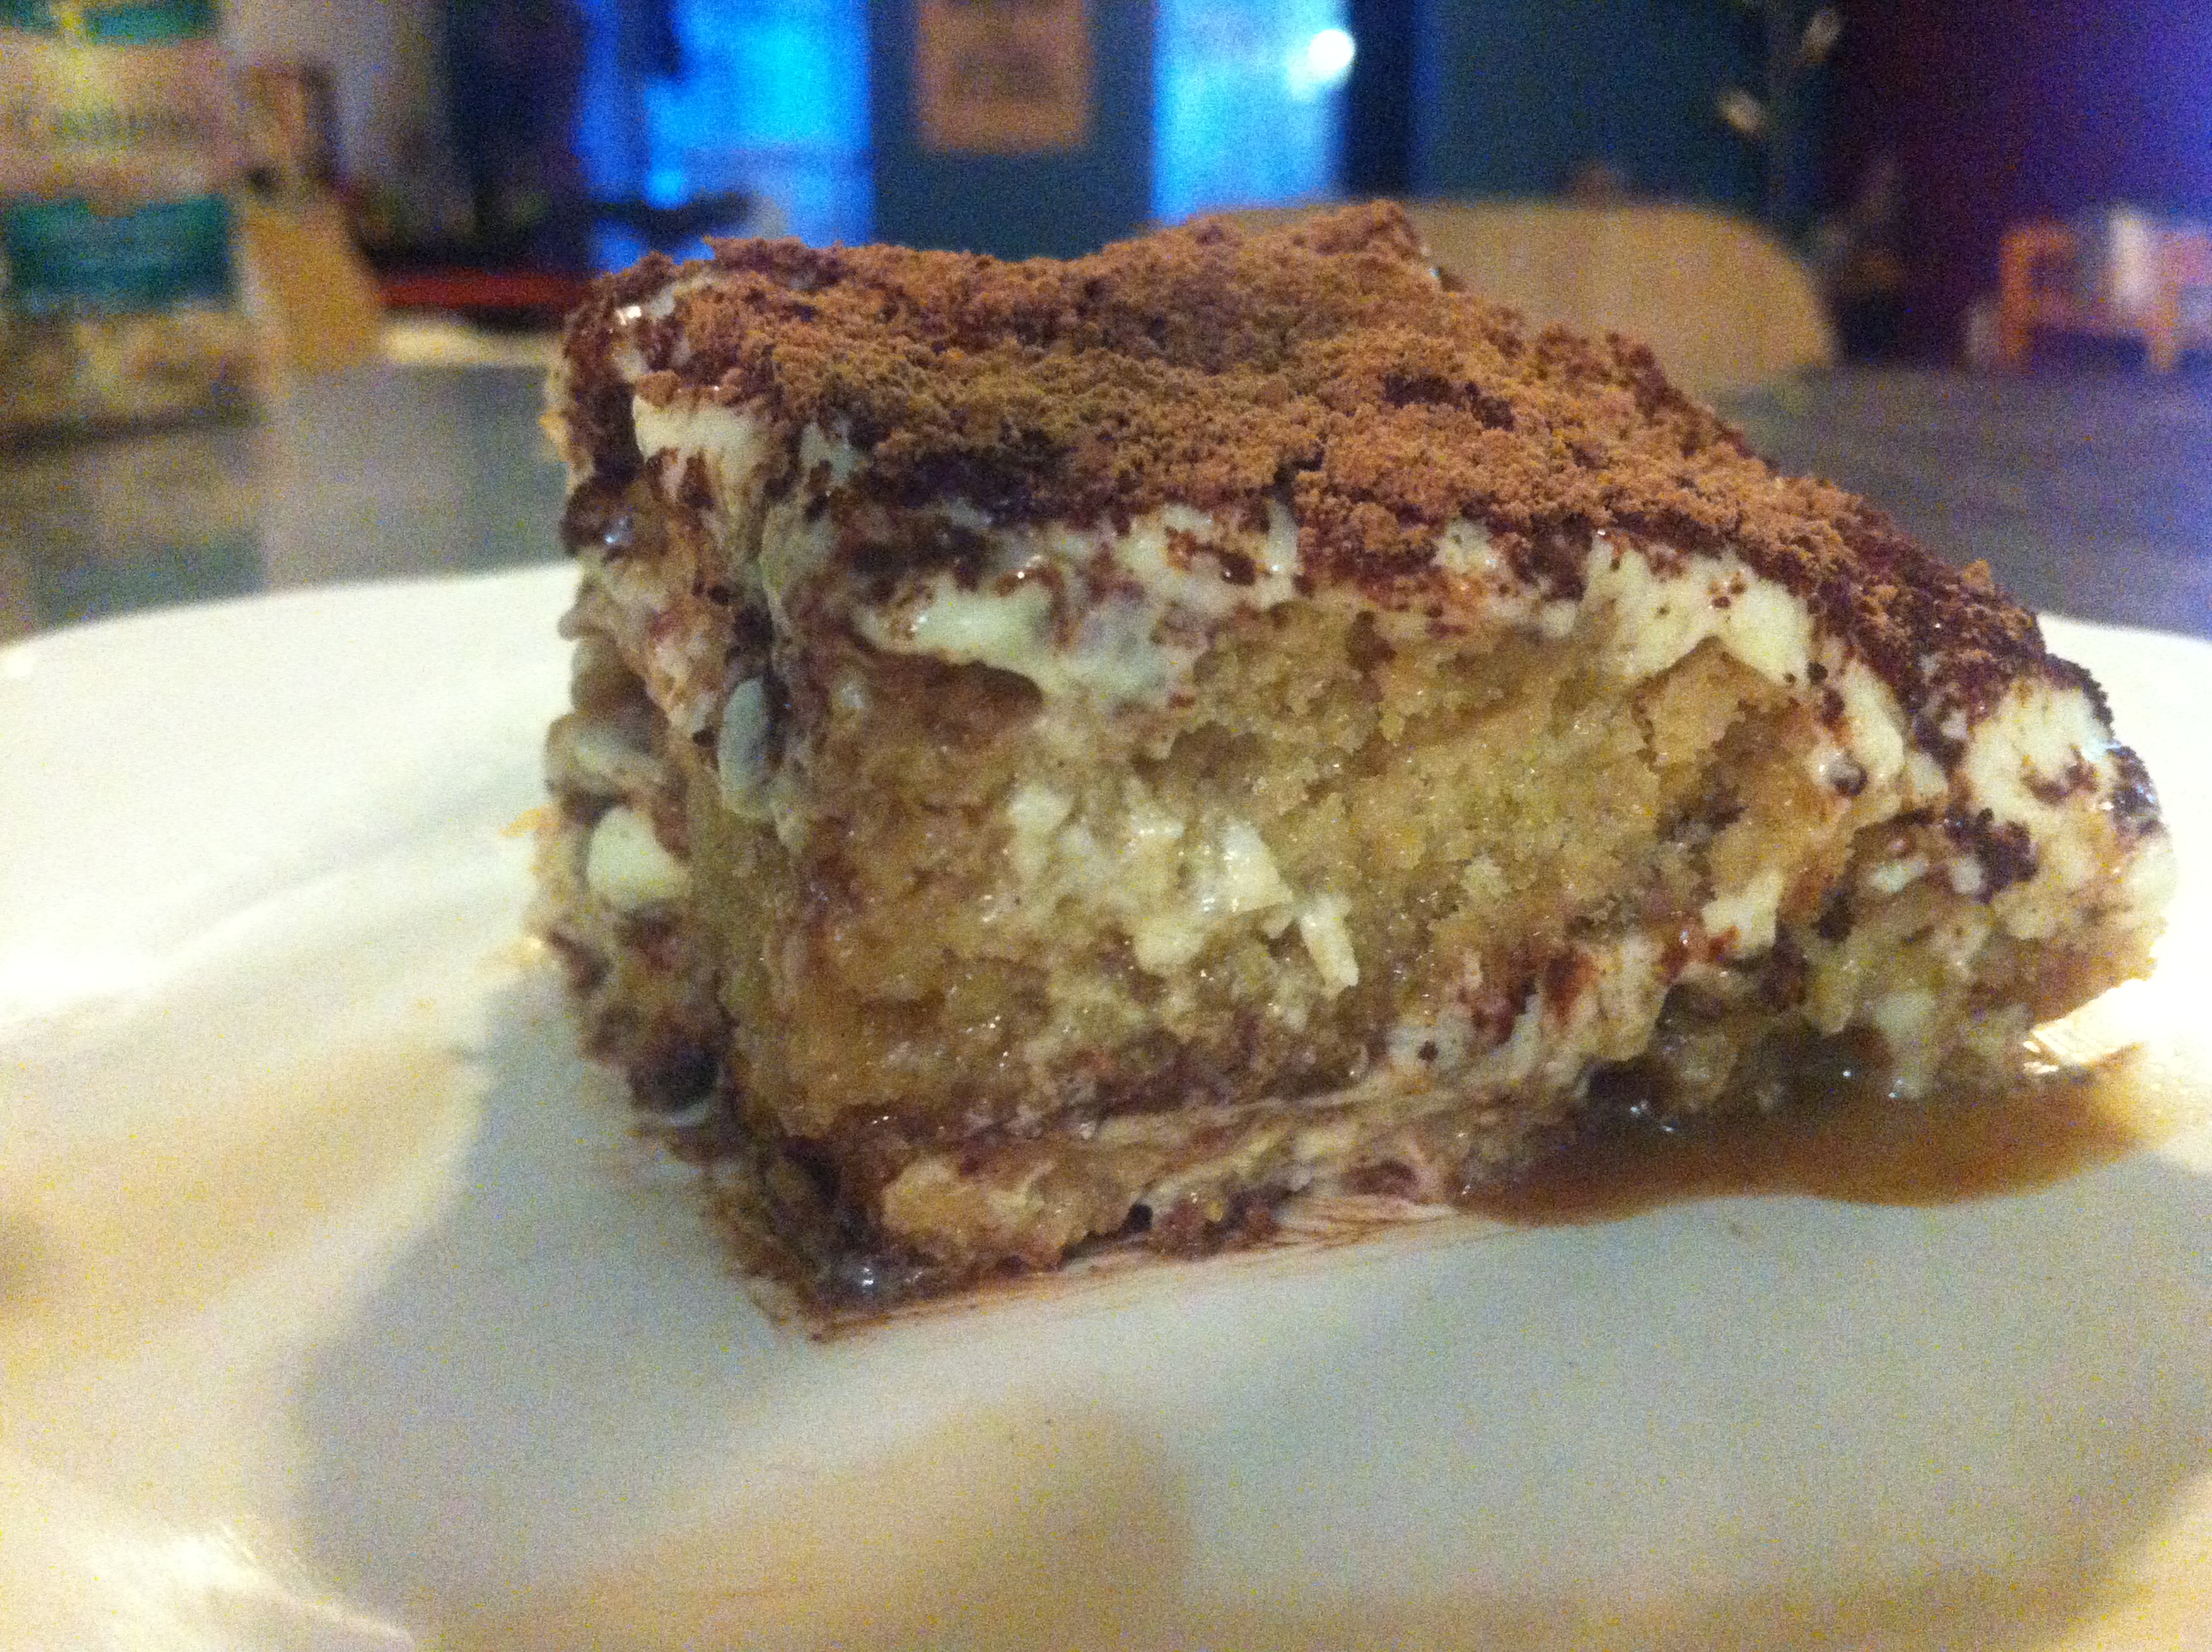
6. Pour the molten sugar mixture into the prepared pan and let it completely cool (this took about 5 hours). Once cooled, sprinkle with extra salt and cut into whatever size pieces you wish (I did 8×8 cuts cuz it’s far easier than 9×9 cuts). If you have the patience, you can individually wrap the caramels in parchment paper.
p.s. not wanting to wait 5 hours for it to cool before you taste it? Luckily, anything left in the pan and on the whisk will cool much faster! So don’t clean up too quickly. NOMNOM!